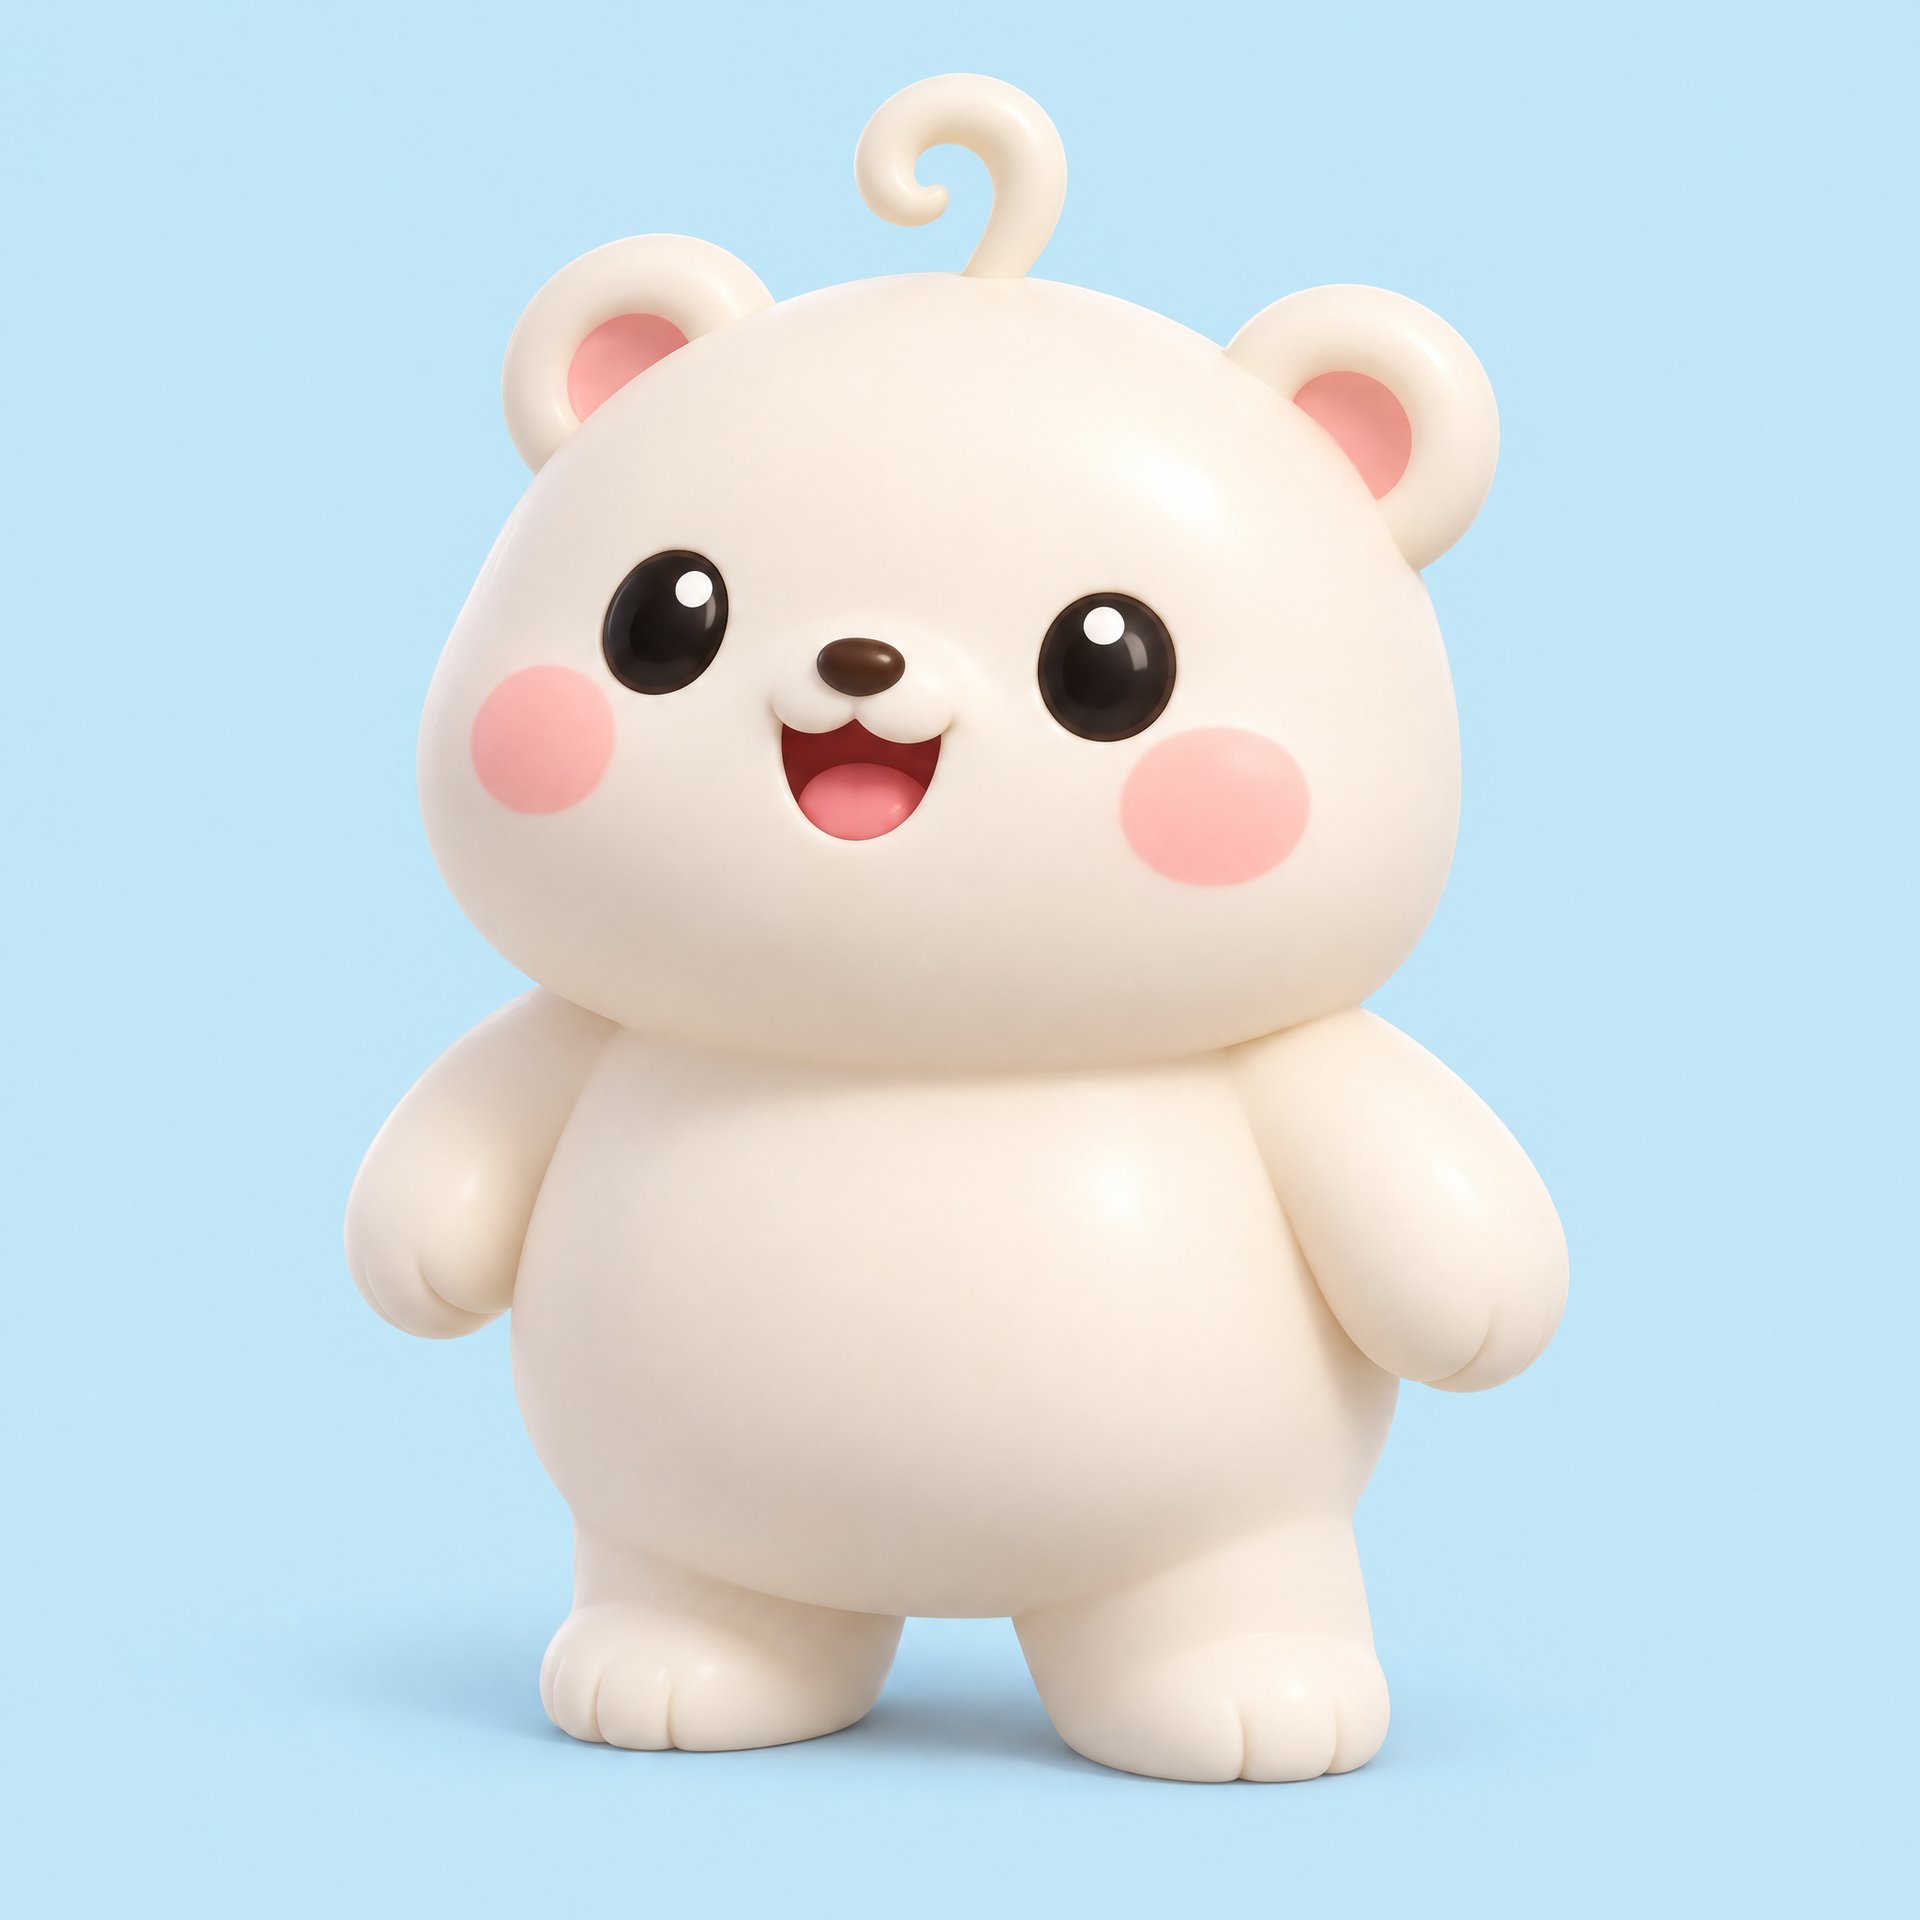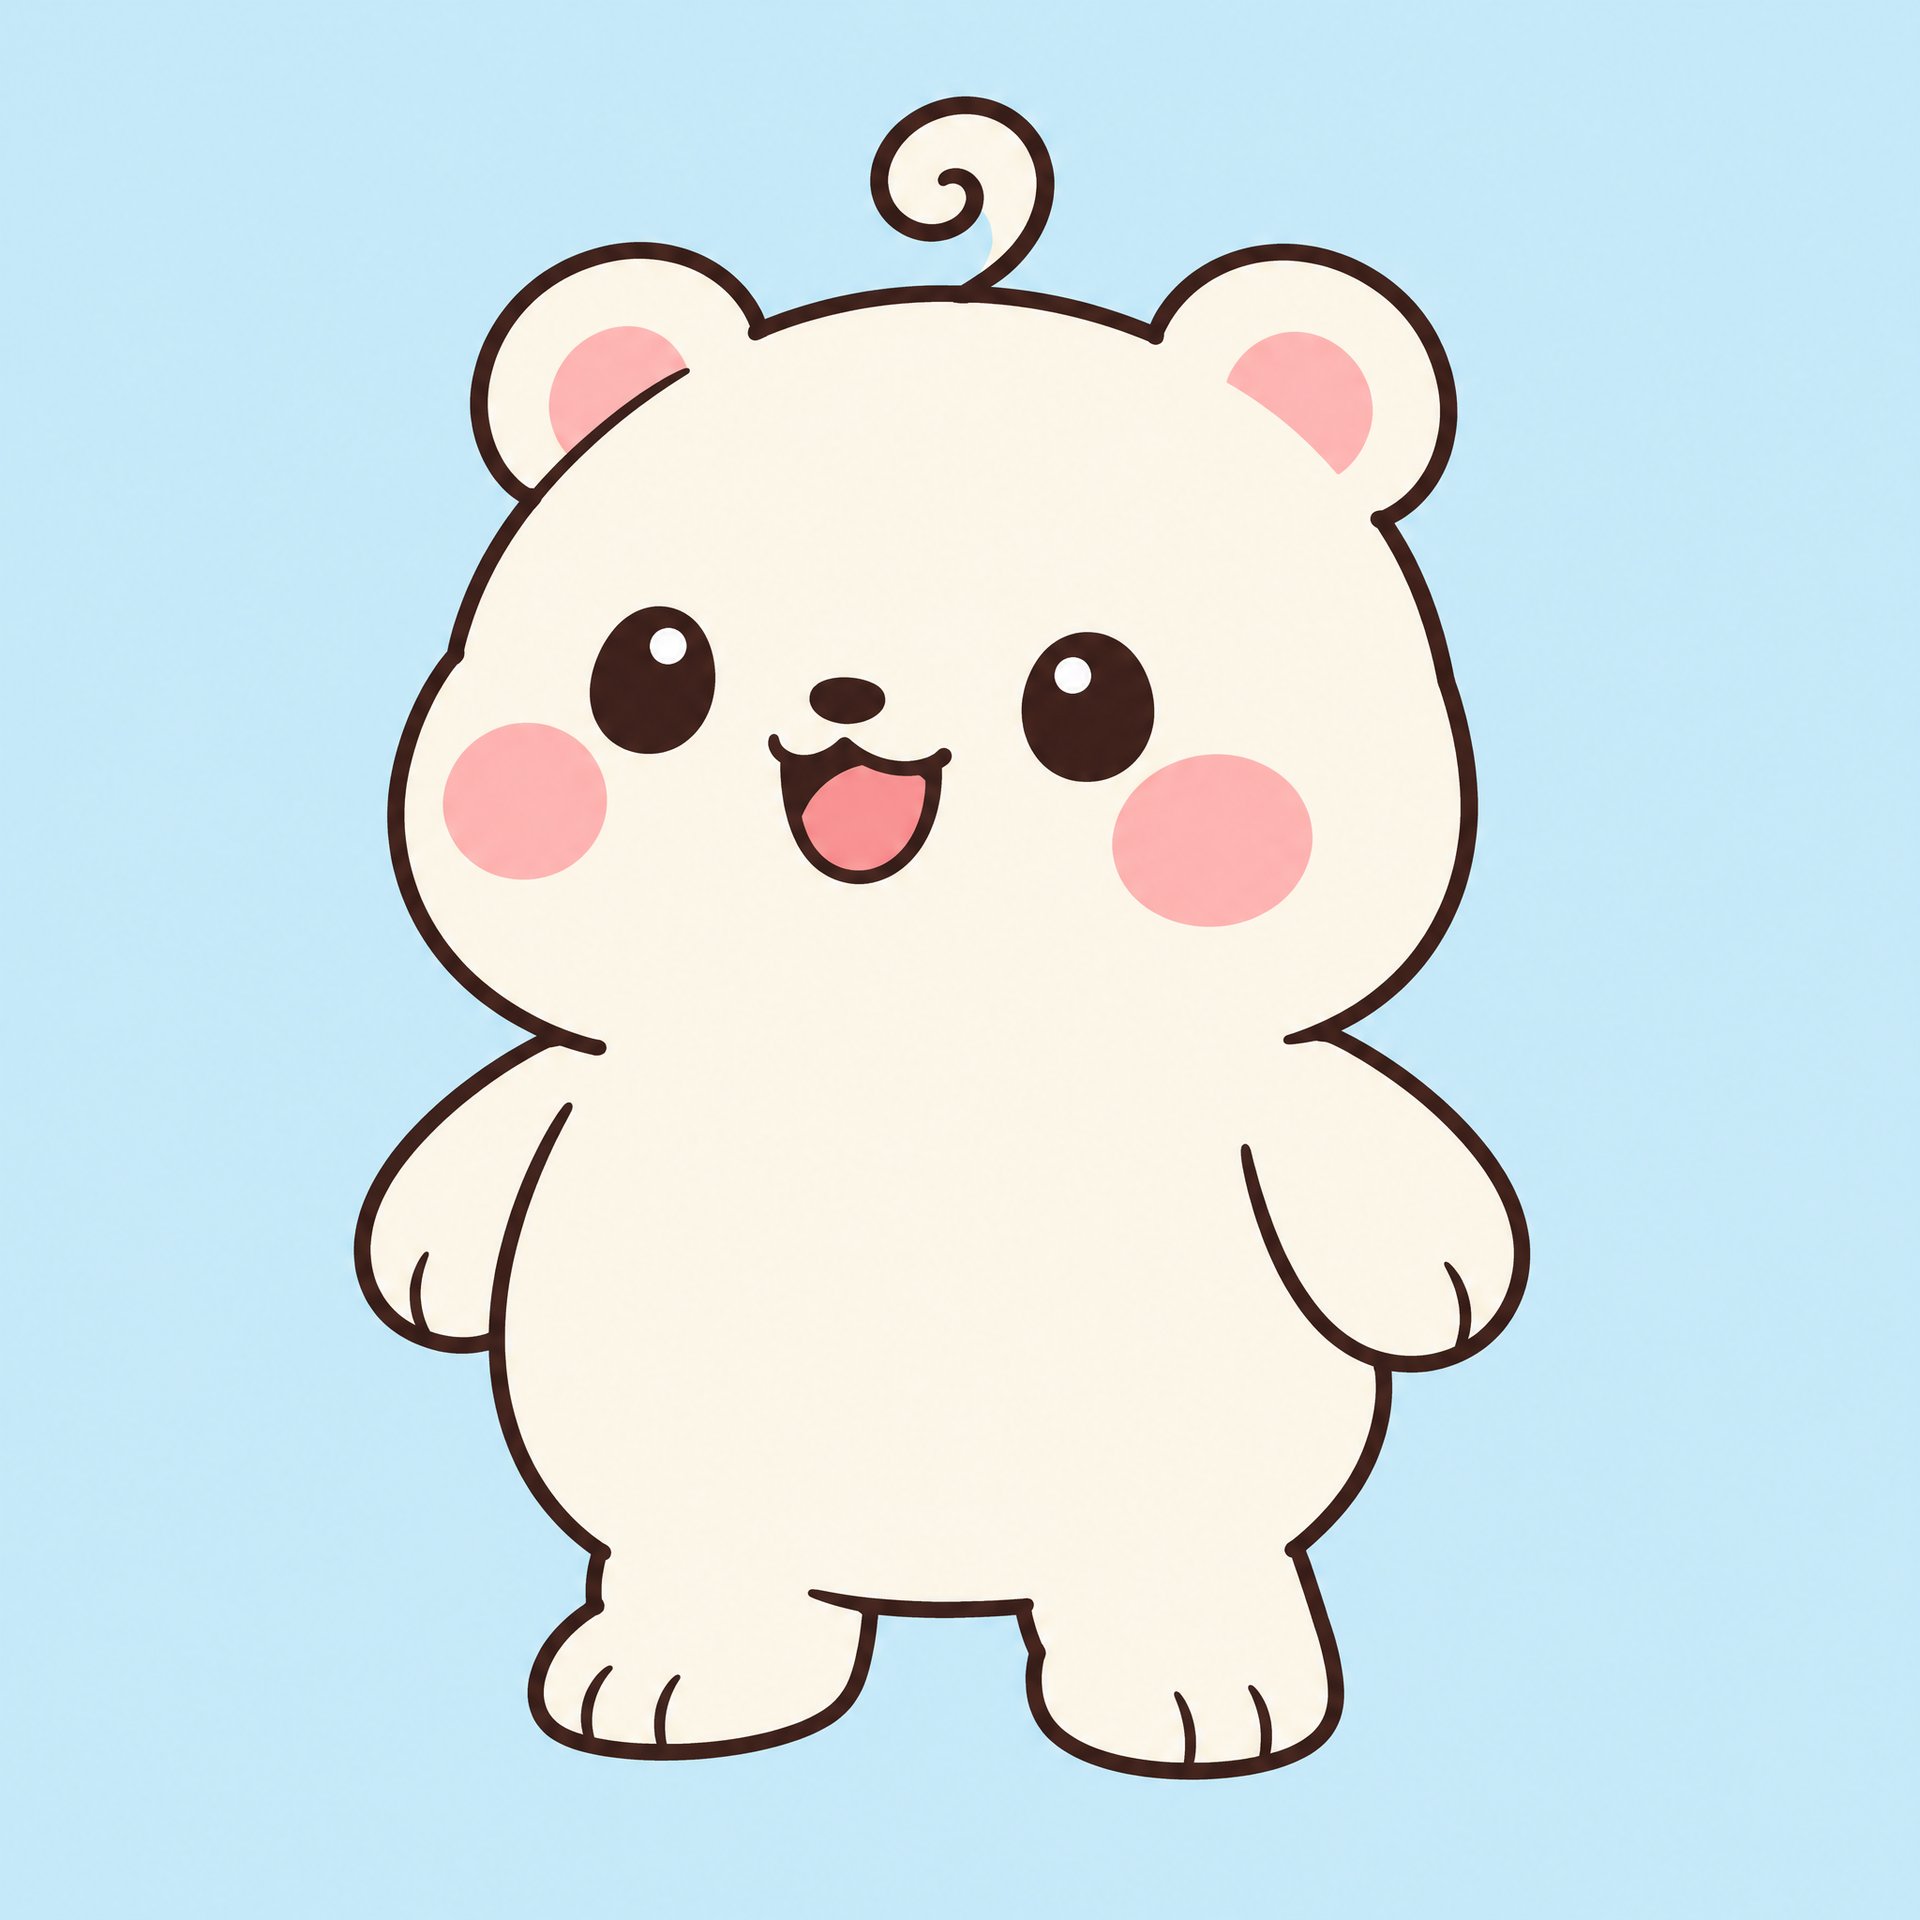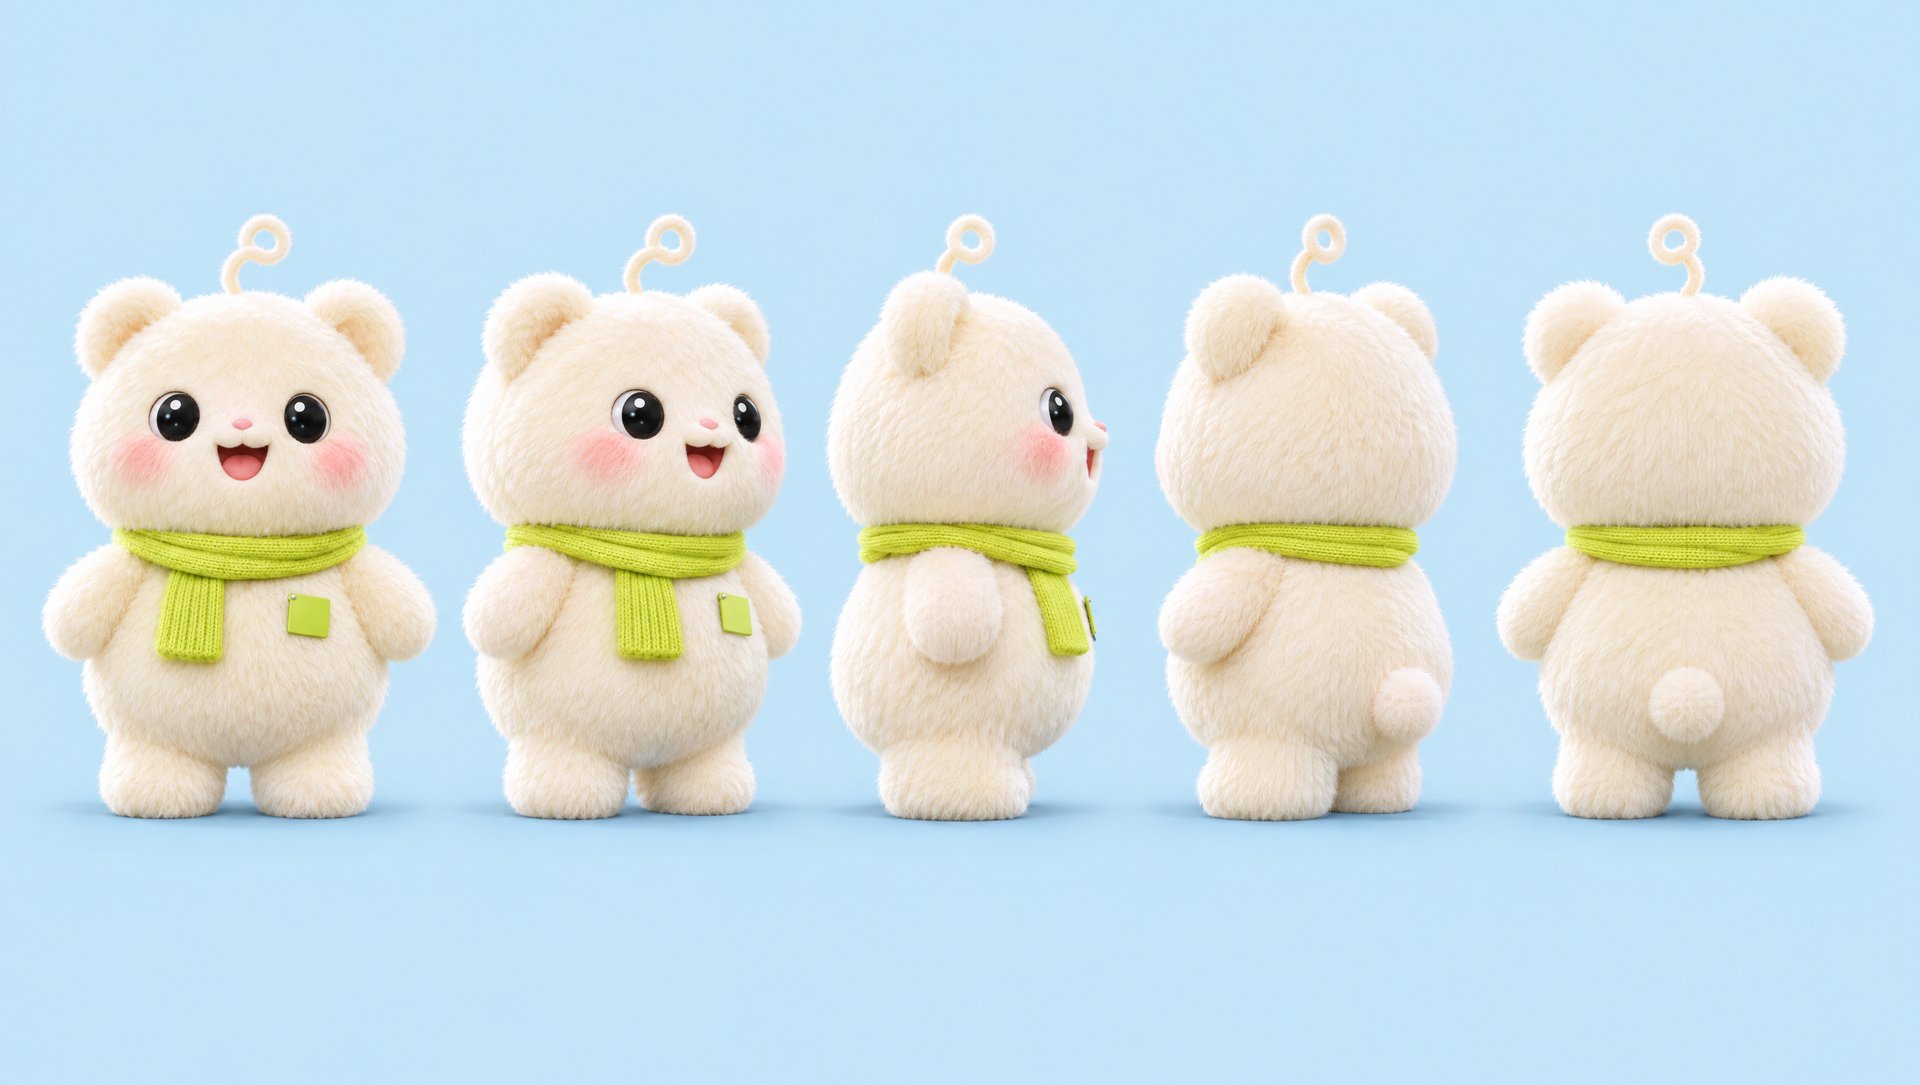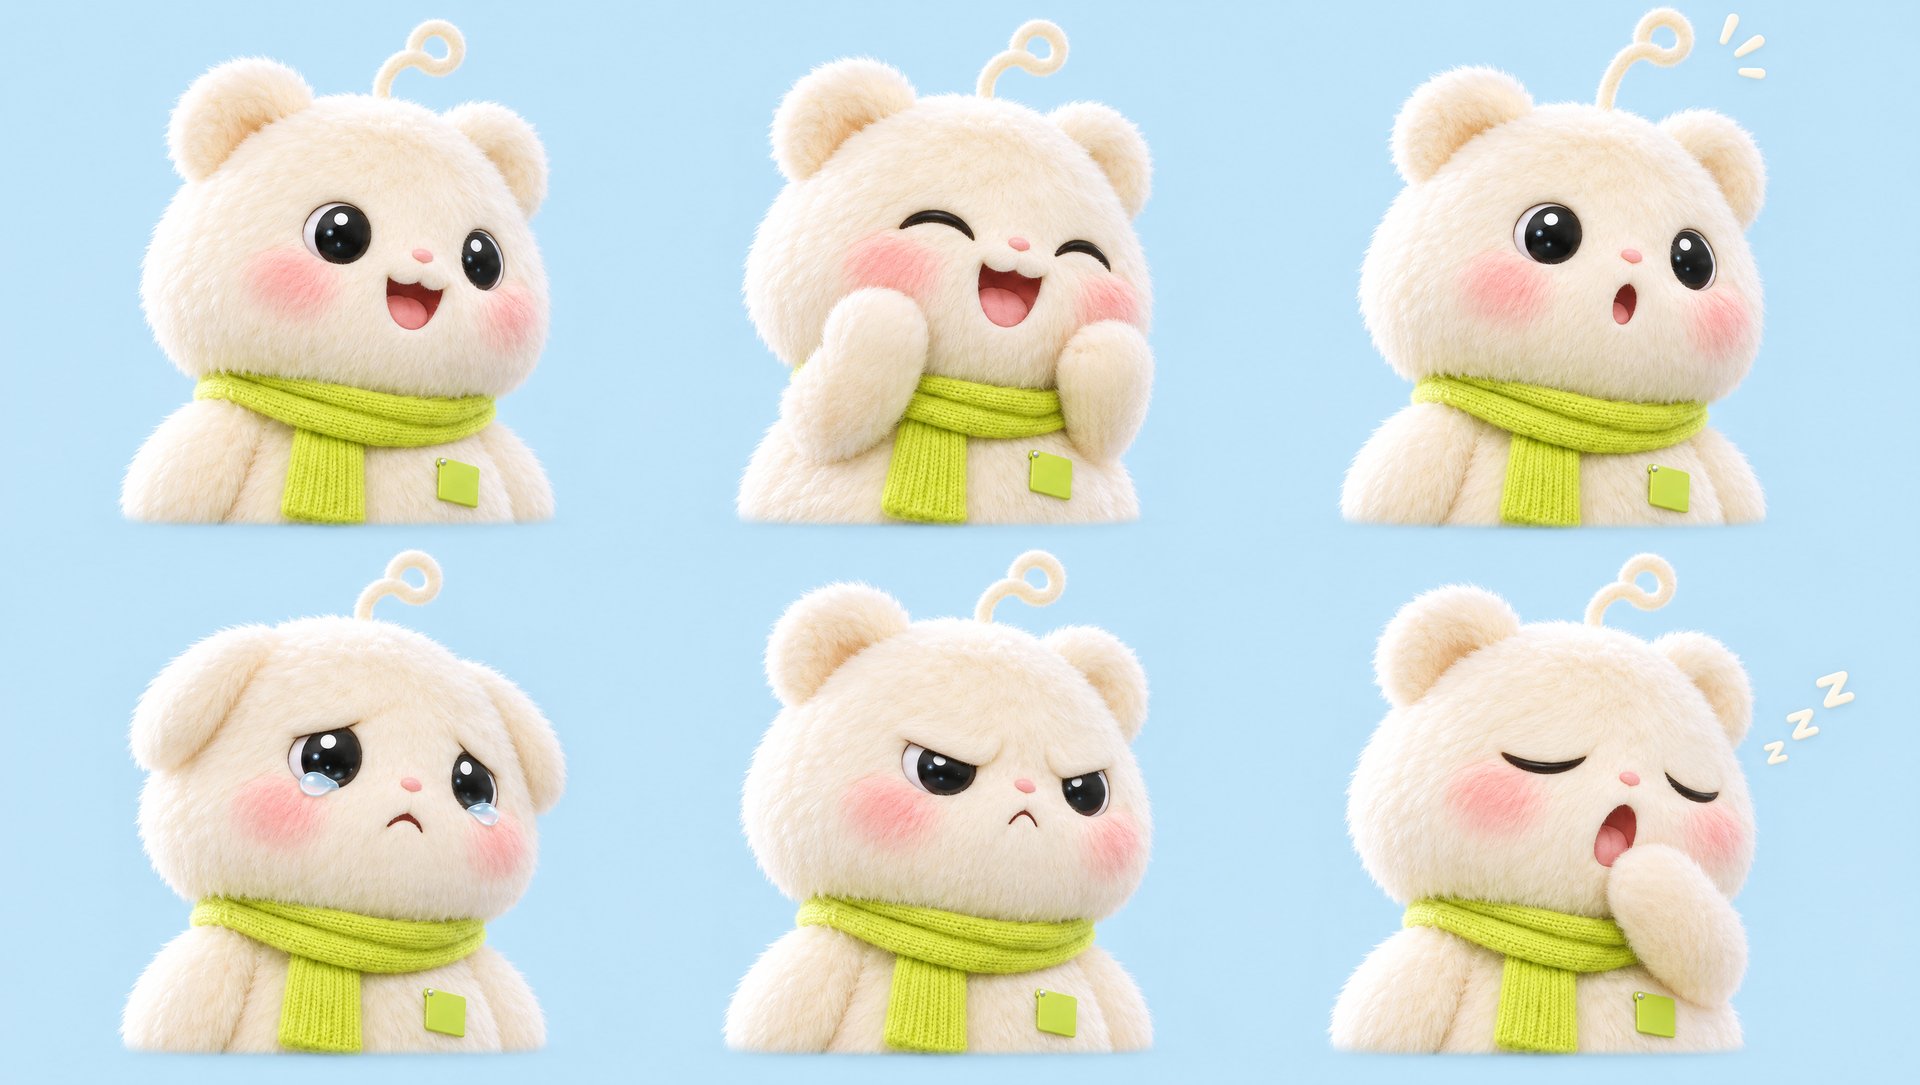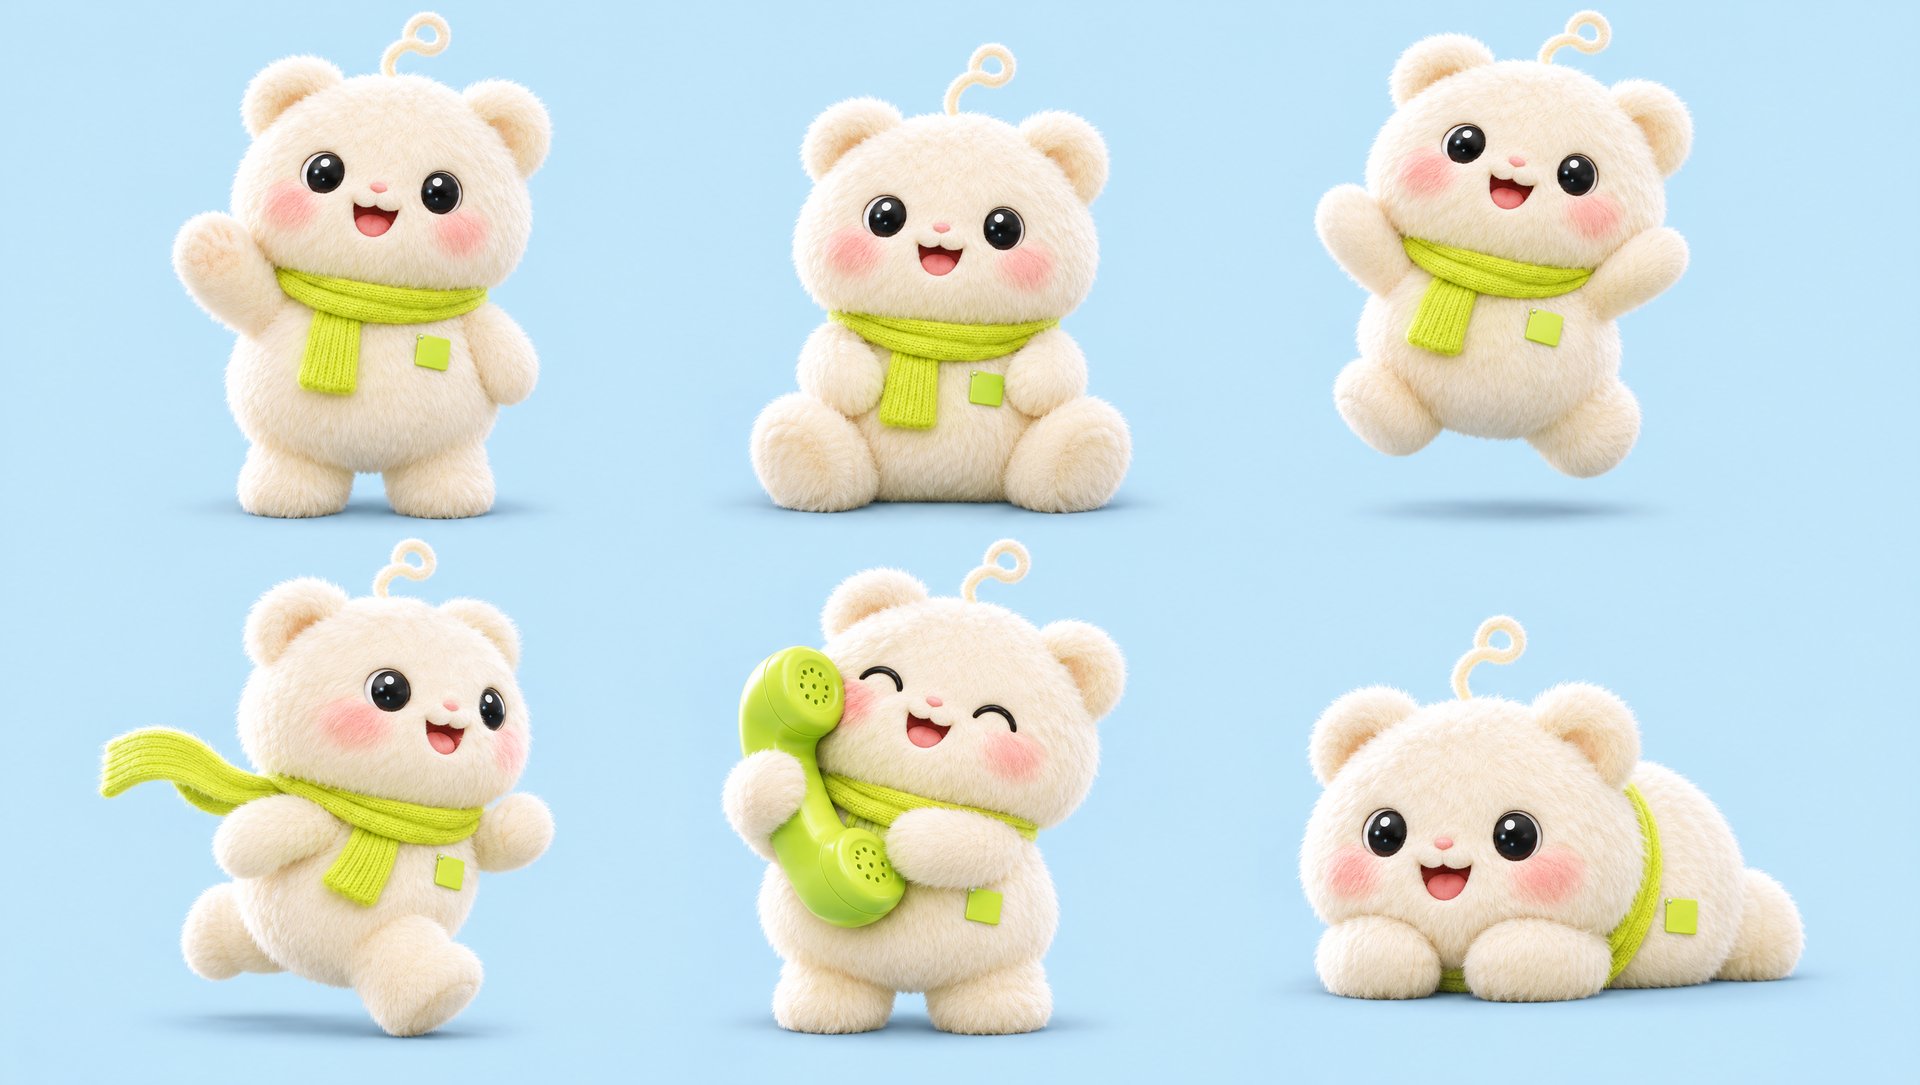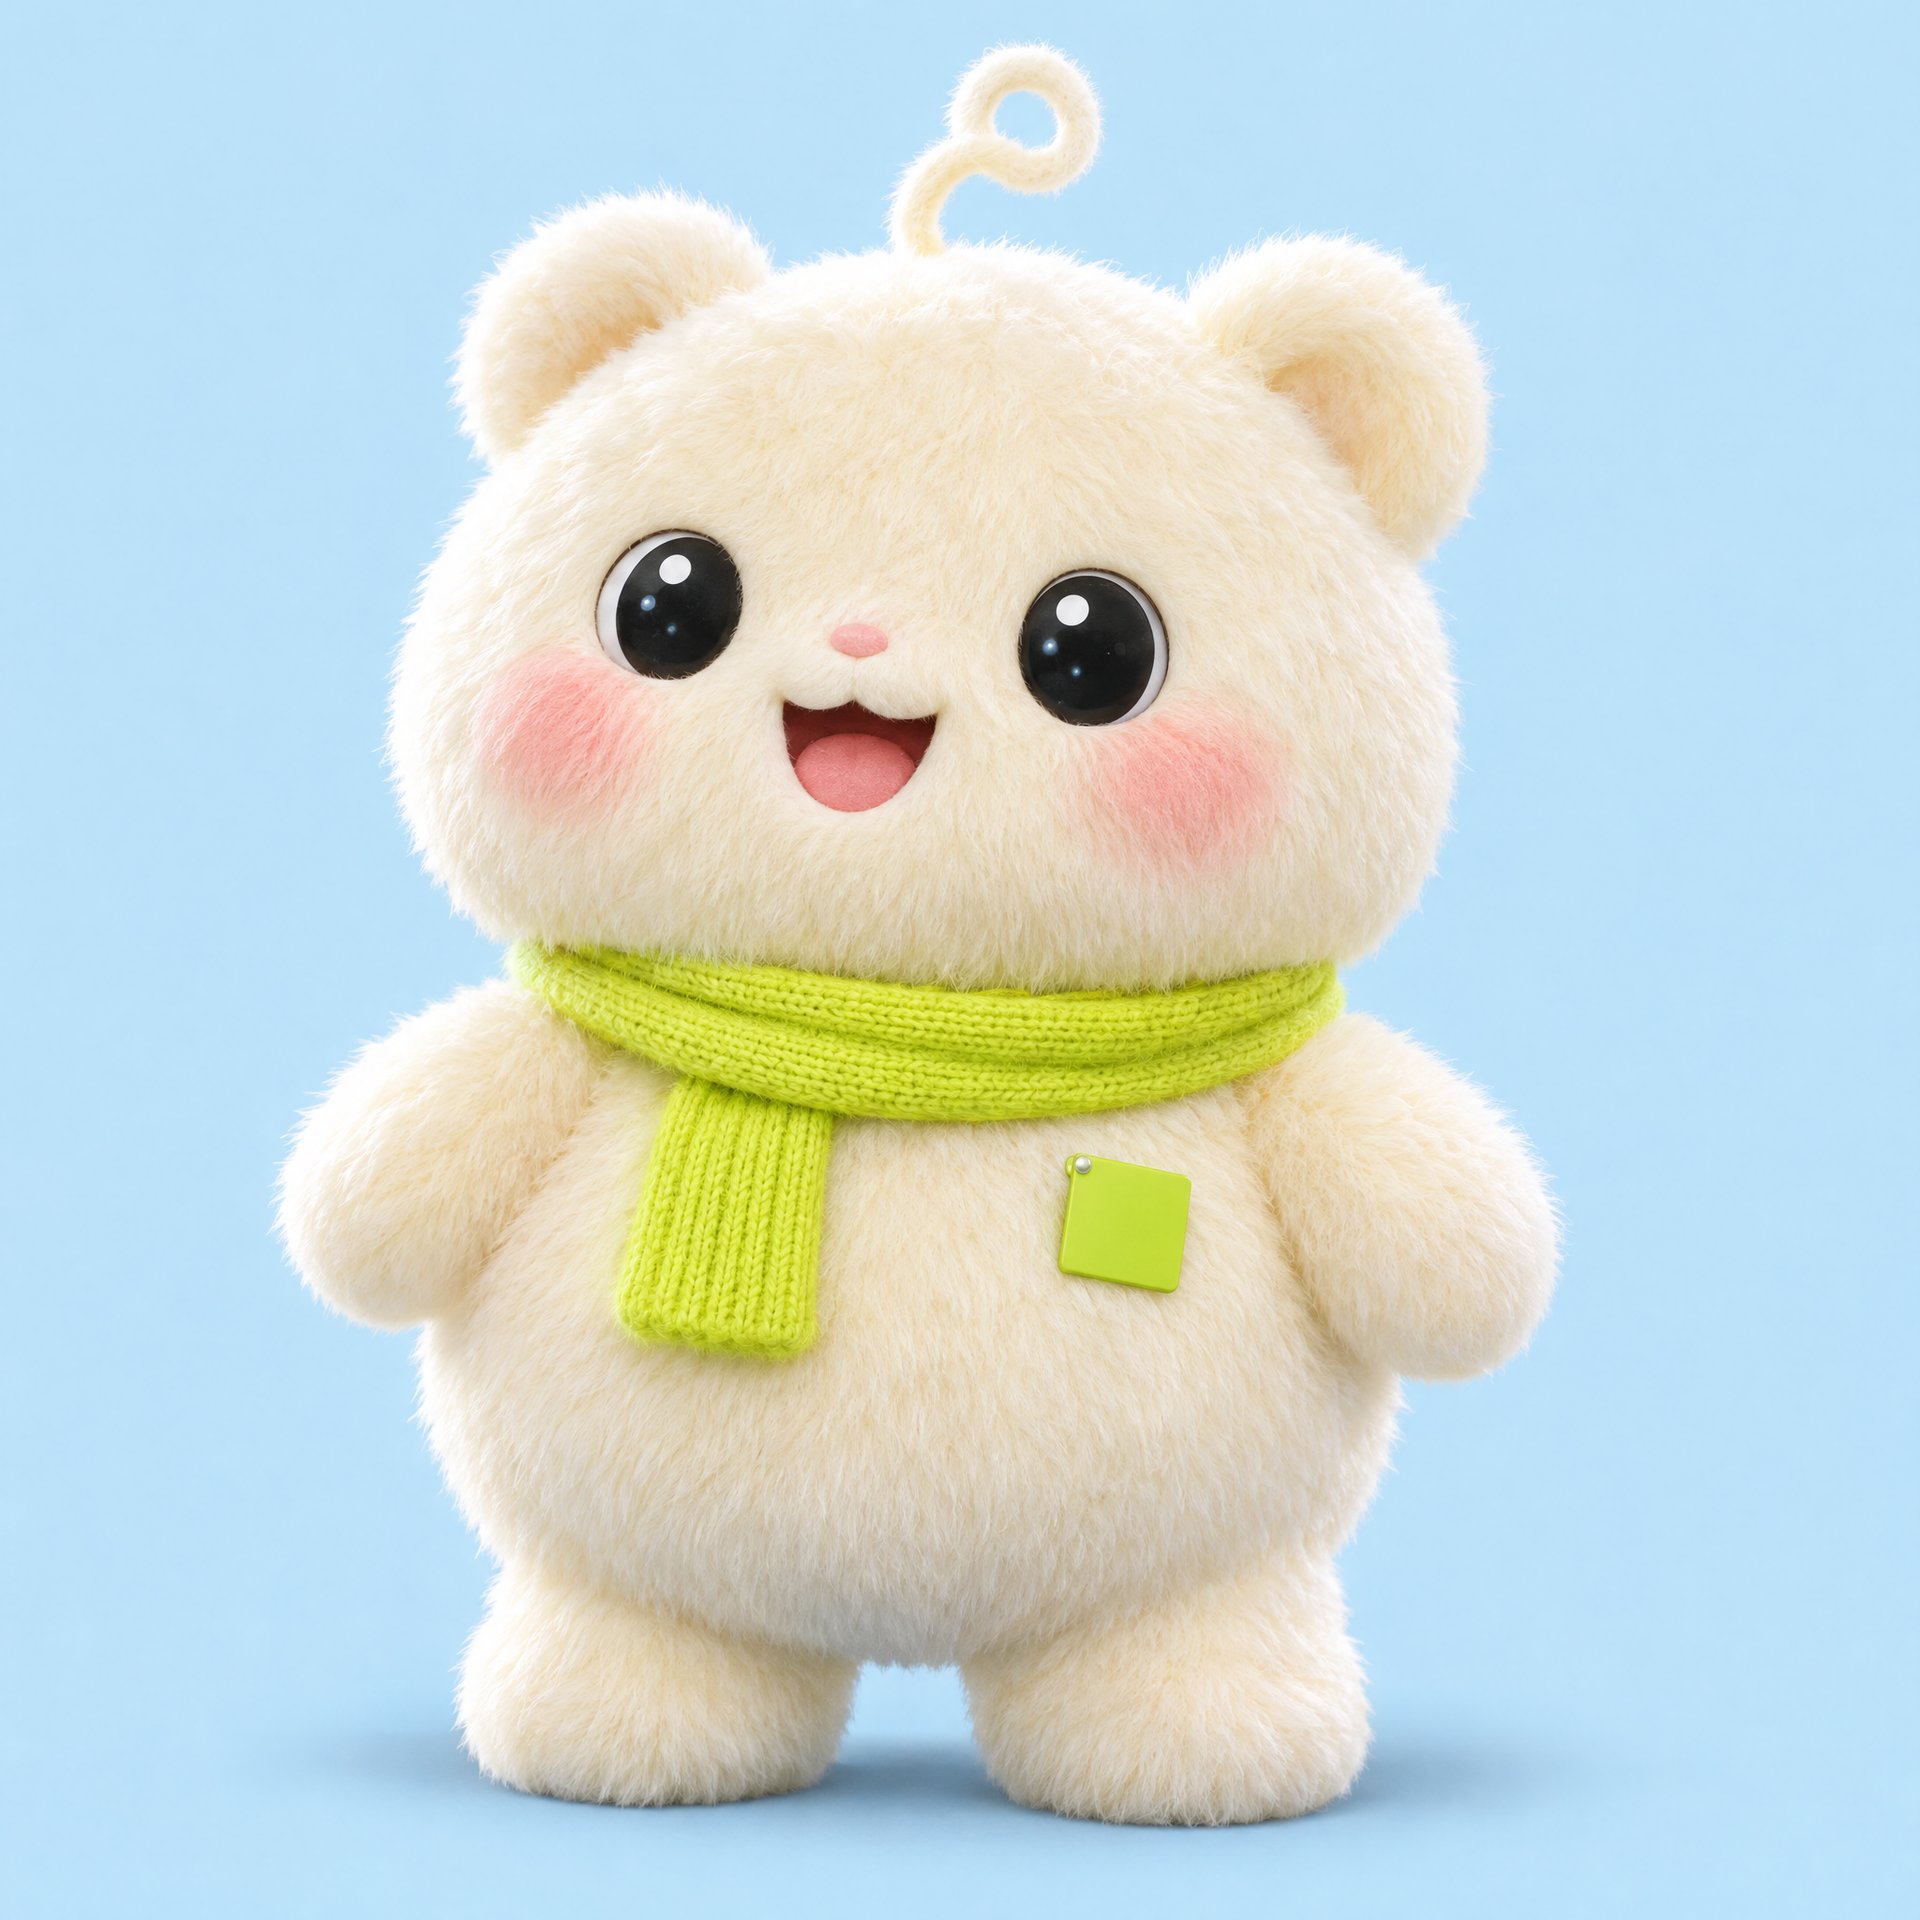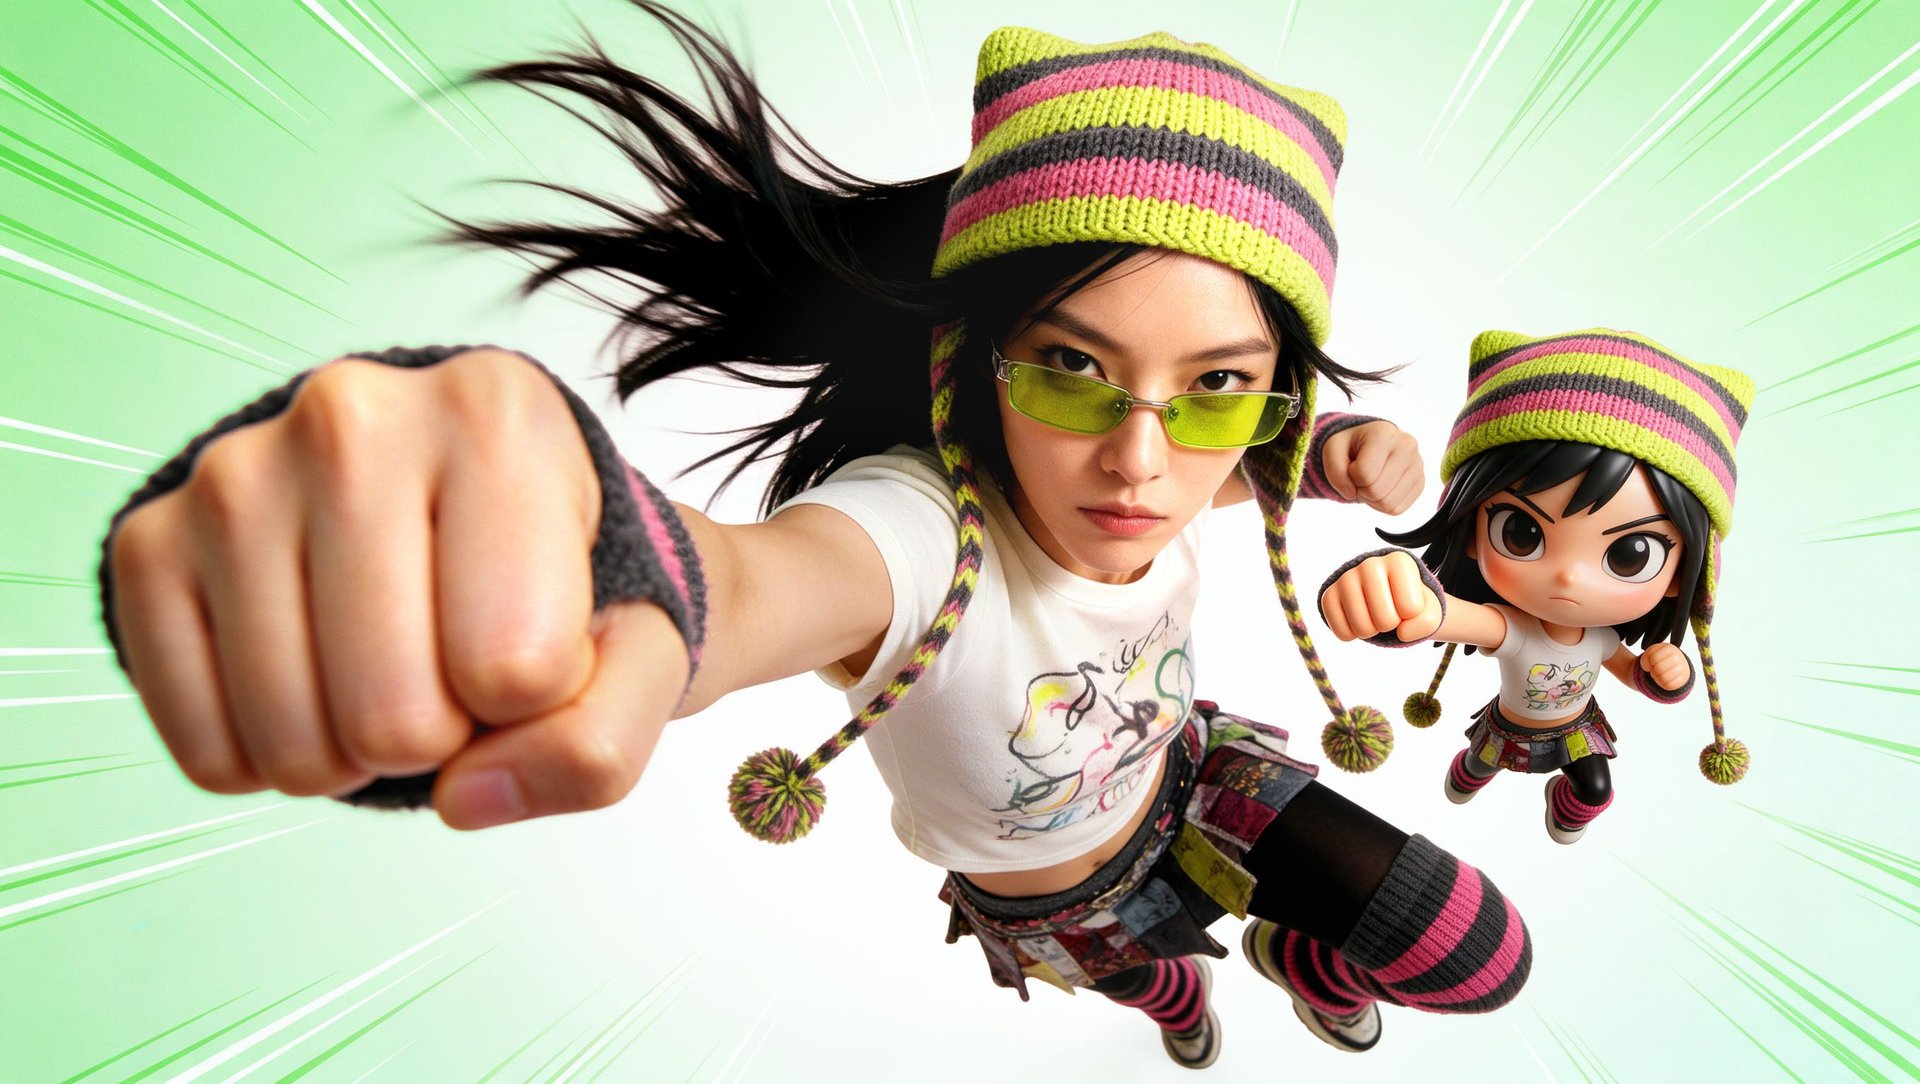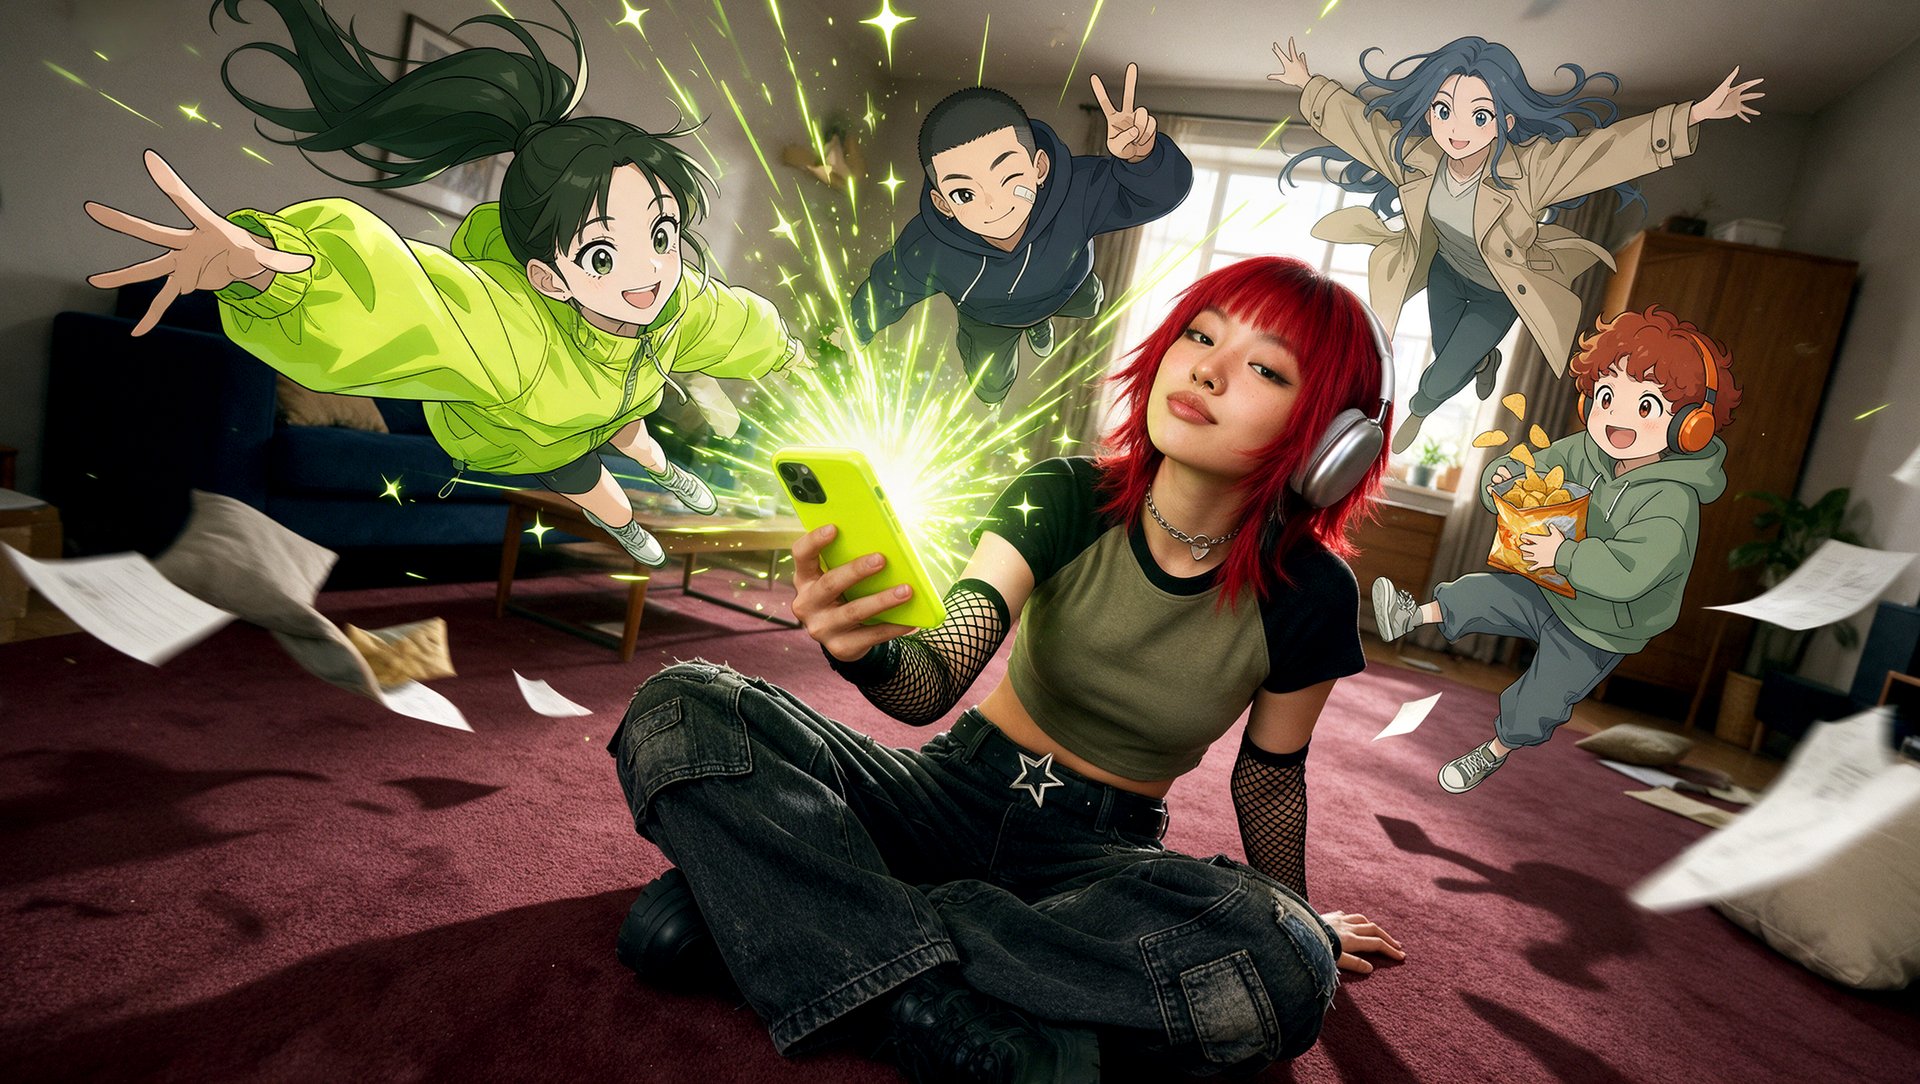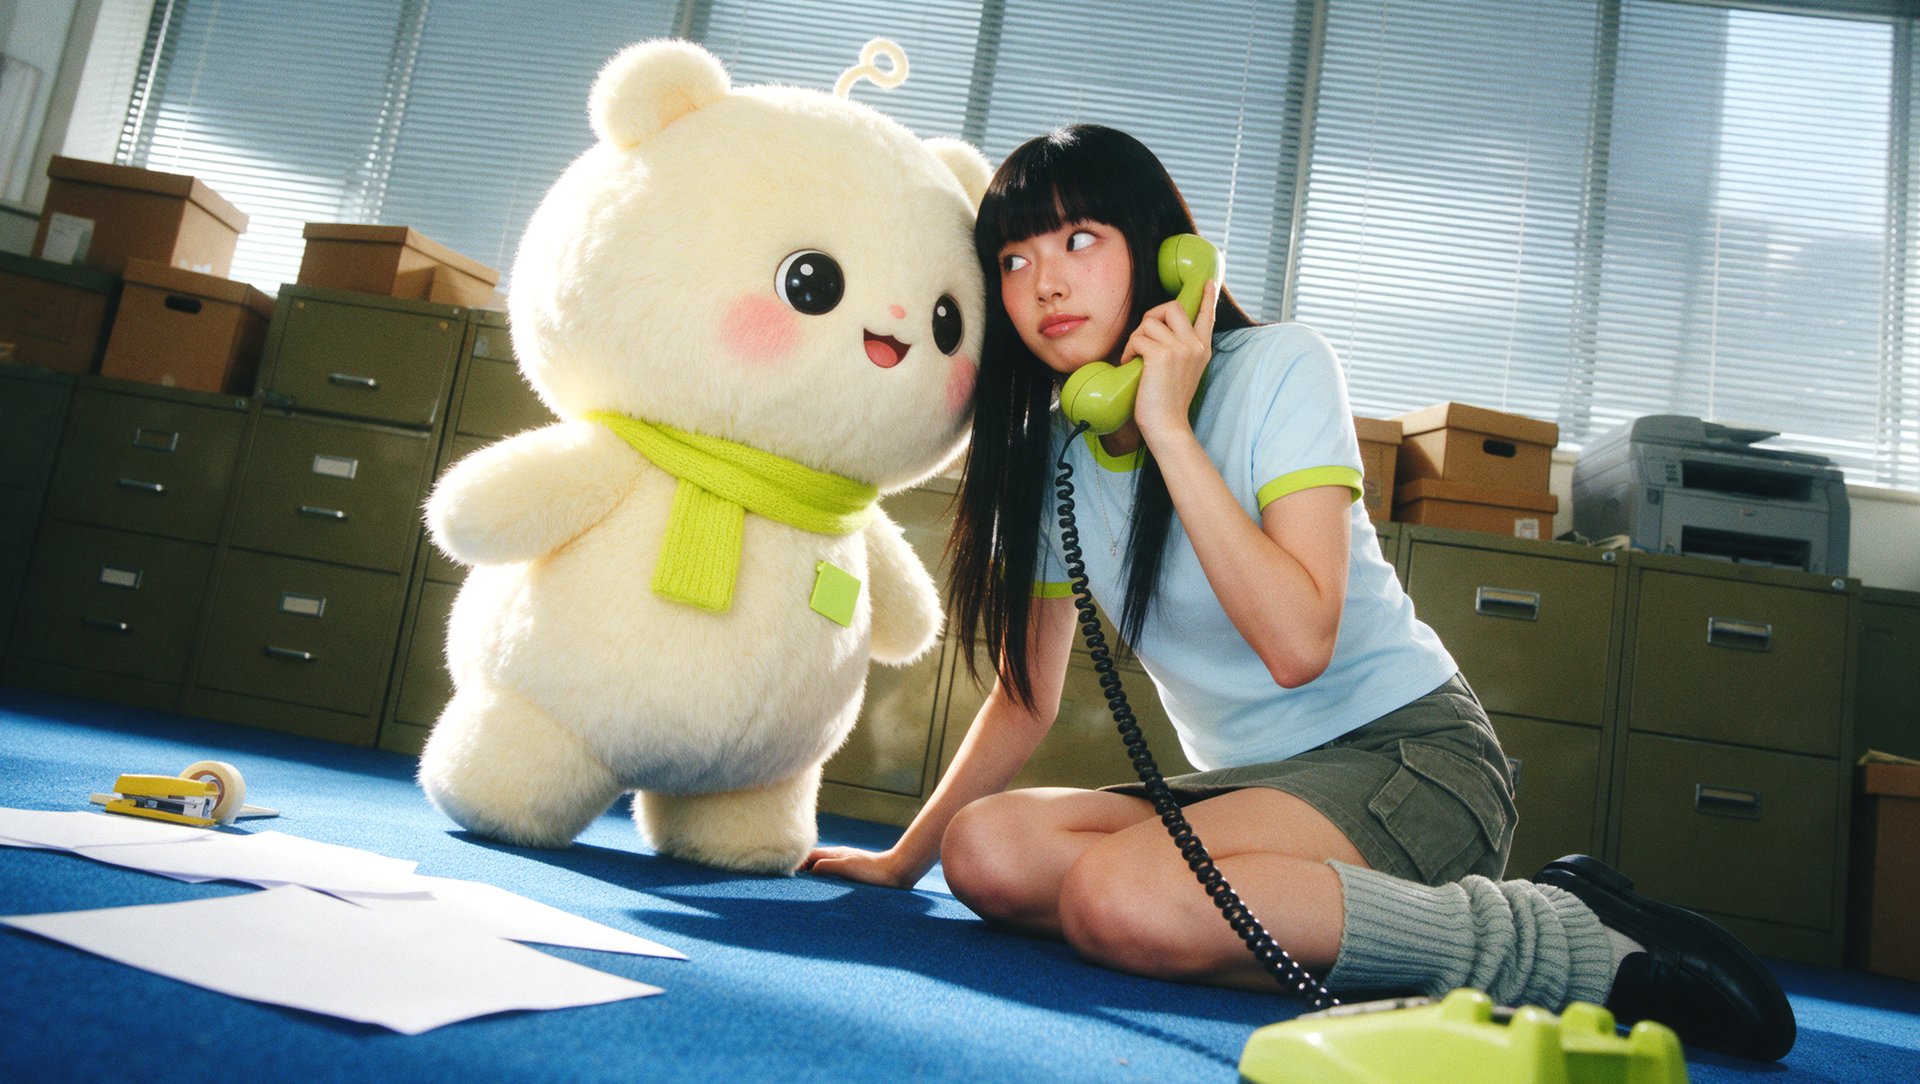
To make a consistent brand mascot with AI, approve a base design, build reference sheets, and reuse one identity paragraph in every prompt. This guide builds one with GPT Image 2.6 on Higgsfield, from a base design to reusable prompts and animated GIFs. It ends with a reusable mascot kit. The example mascot is Biscuit, a fictional cream plush bear.
Key Takeaways
- Describe the mascot once, in fixed words. One identity paragraph goes into every prompt, word for word.
- Pick fixed visual signs. A silhouette, a palette, and one signature feature make a mascot recognizable at a small size.
- Build reference sheets before creating campaign assets. Separate sheets for angles, expressions, and poses provide a consistent visual reference for later generations.
- Split every prompt into a constant part and a variable part. The identity line, the constraints, and the saved Element (called with @ in Higgsfield) stay, while the action, setting, and composition change.
- Check every result against the reference. Drift is easier to fix at the first image than after fifty.
What Makes an AI Brand Mascot Consistent?
To keep an AI brand mascot consistent, define its fixed features and include them in each generation through prompts and reference images. For this workflow, attach the approved character reference whenever you create a new image.
These things should stay the same in every image:
- Body proportions and silhouette. The overall shape is what people recognize first, even at thumbnail size.
- Facial structure and distinguishing details. Keep the same eye placement, nose, cheeks, and underlying face shape while allowing expressions to change.
- Color palette and placement. Biscuit’s fur stays cream-white, its knitted scarf stays lime-green, and its square badge remains in the approved position.
- Materials and illustration style. Flat color, clay, glossy 3D, or watercolor, once chosen, stays chosen.
- Signature features and accessories. Biscuit’s loop antenna, knitted scarf, and square badge remain recognizable across poses and scenes.
The pose, expression, action, background, and camera angle can change as long as the character’s defining features remain consistent. The mascot kit in Step 8 documents both the fixed design and approved variations.
Full Workflow: Step-by-Step Guide
Step 1: Define Your Mascot’s Role and Personality
Before generating images, decide what your mascot represents and which features should stay consistent.
This guide uses Biscuit, a round, cream-white plush bear with a loop-shaped antenna, a lime-green knitted scarf, and a matching square badge.
Decision | What to define | Example: Biscuit |
|---|---|---|
Brand role | Where and why the mascot appears | Welcomes visitors, introduces features, and helps explain a digital service |
Audience | Who the mascot speaks to | New and returning users |
Personality | Three or four concrete traits | Playful, curious, friendly, reassuring |
Character type | Human, animal, object, or imaginary creature | A plush bear with a loop-shaped antenna |
Visual style | Materials and rendering style | Soft 3D rendering with fluffy faux fur and knitted fabric |
Signature features | Details that make the character recognizable | Cream loop antenna, lime-green scarf, and square belly badge |
Main placements | Where the mascot will be used | Website, onboarding screens, support graphics, social posts, and GIFs |
Separate fixed features from flexible ones. Biscuit’s proportions, materials, colors, and accessories define the character. Its expression, pose, surroundings, and props can change.
Step 2: Generate and Refine the Base Design
Create an initial concept in GPT Image 2.6 Flare, then refine the selected draft in GPT Image 2.6 Sunburst.
Generate the Flare Draft
Open Image, switch to Manual, and select GPT Image 2.6 Flare.
Setting | Value |
|---|---|
Resolution | 2K |
Aspect ratio | 1:1 |
Quality | High |
Reference images | None |
Two initial directions were explored: a rough 3D version and a flat 2D version.
Rough 3D prompt: