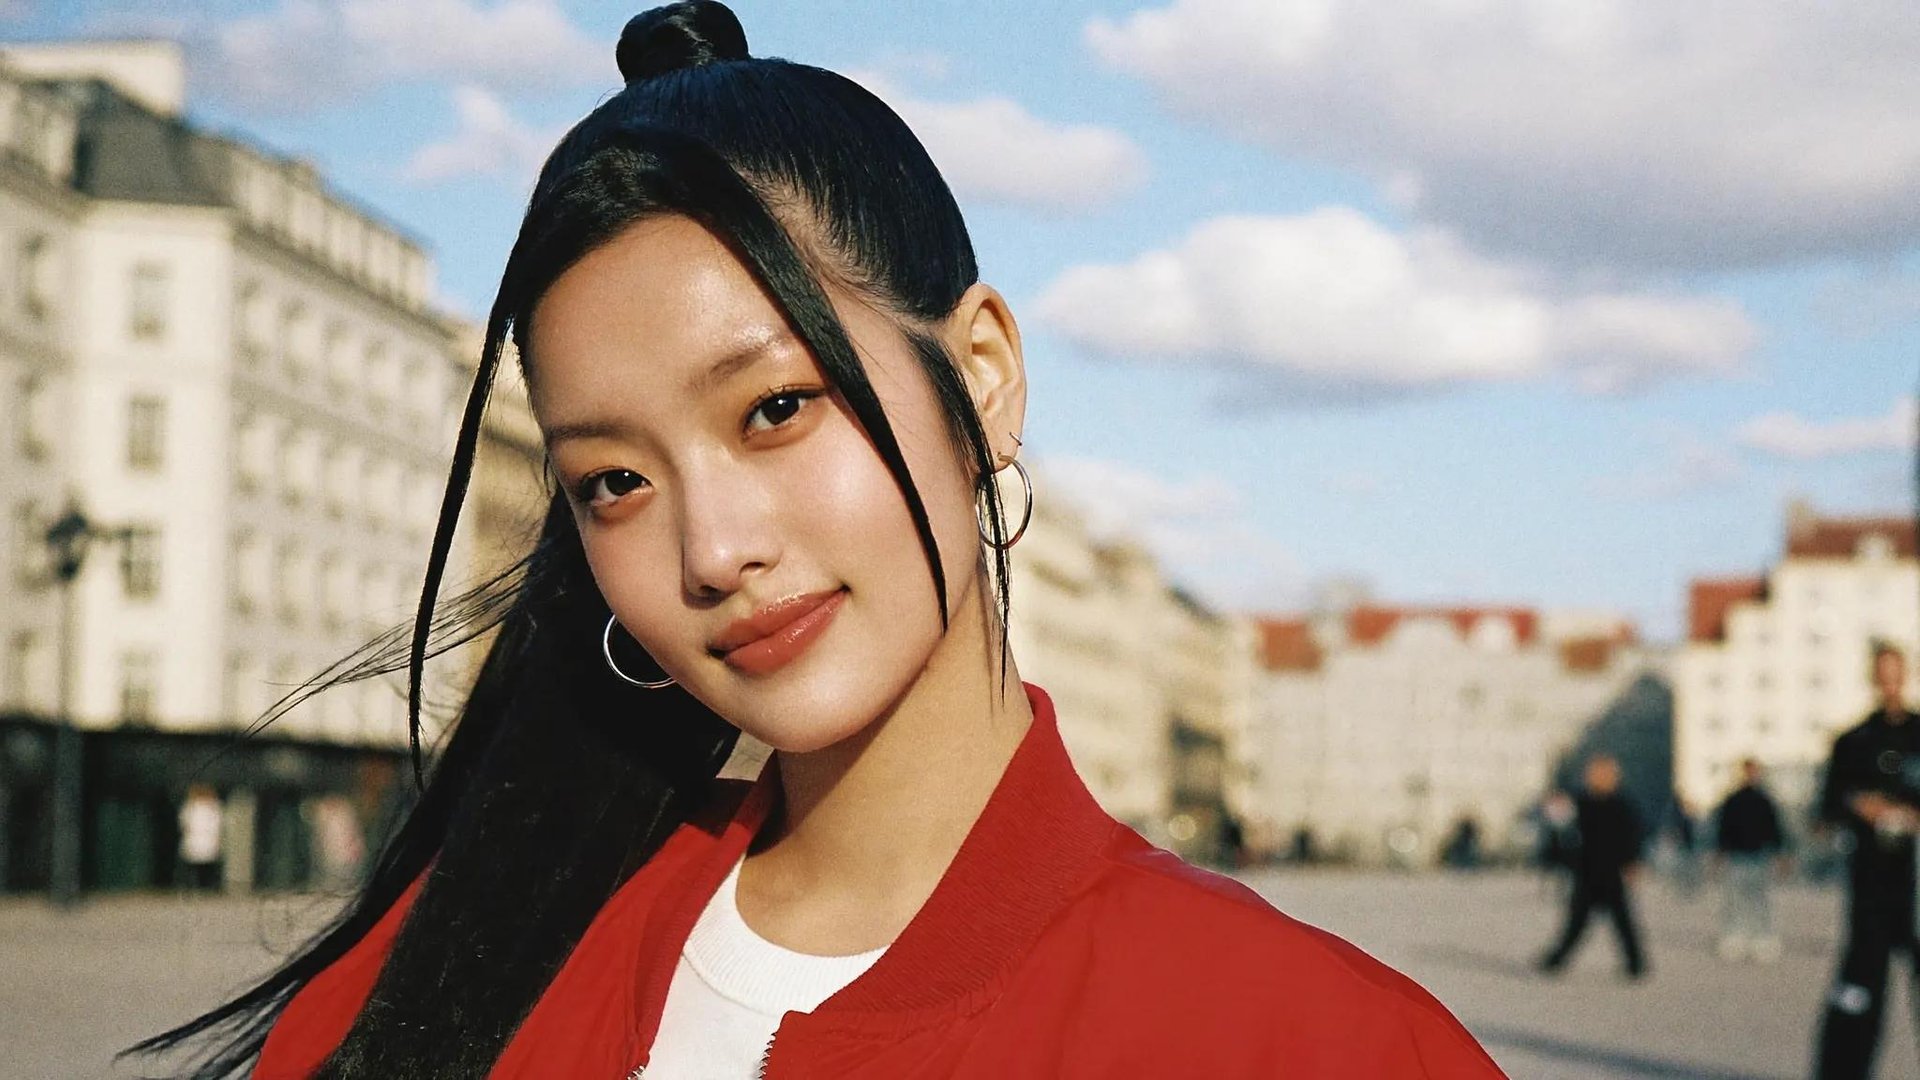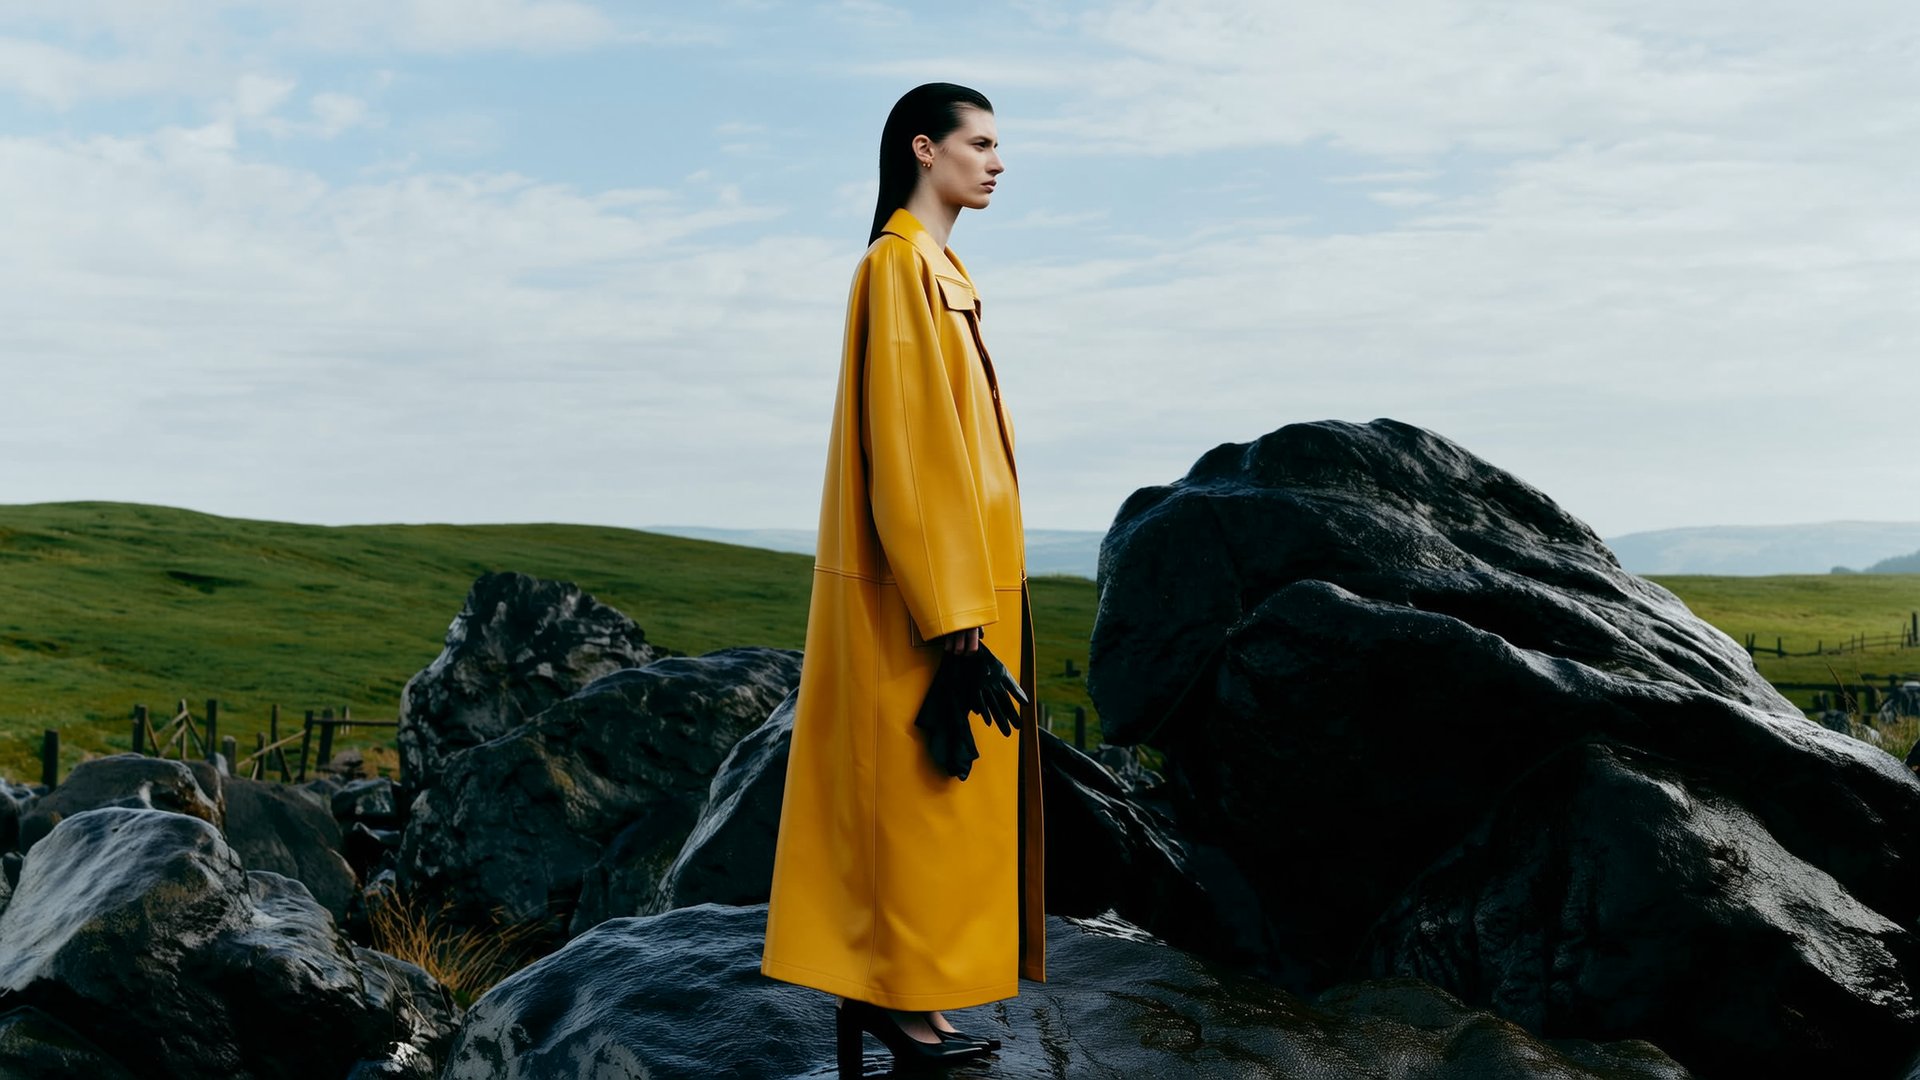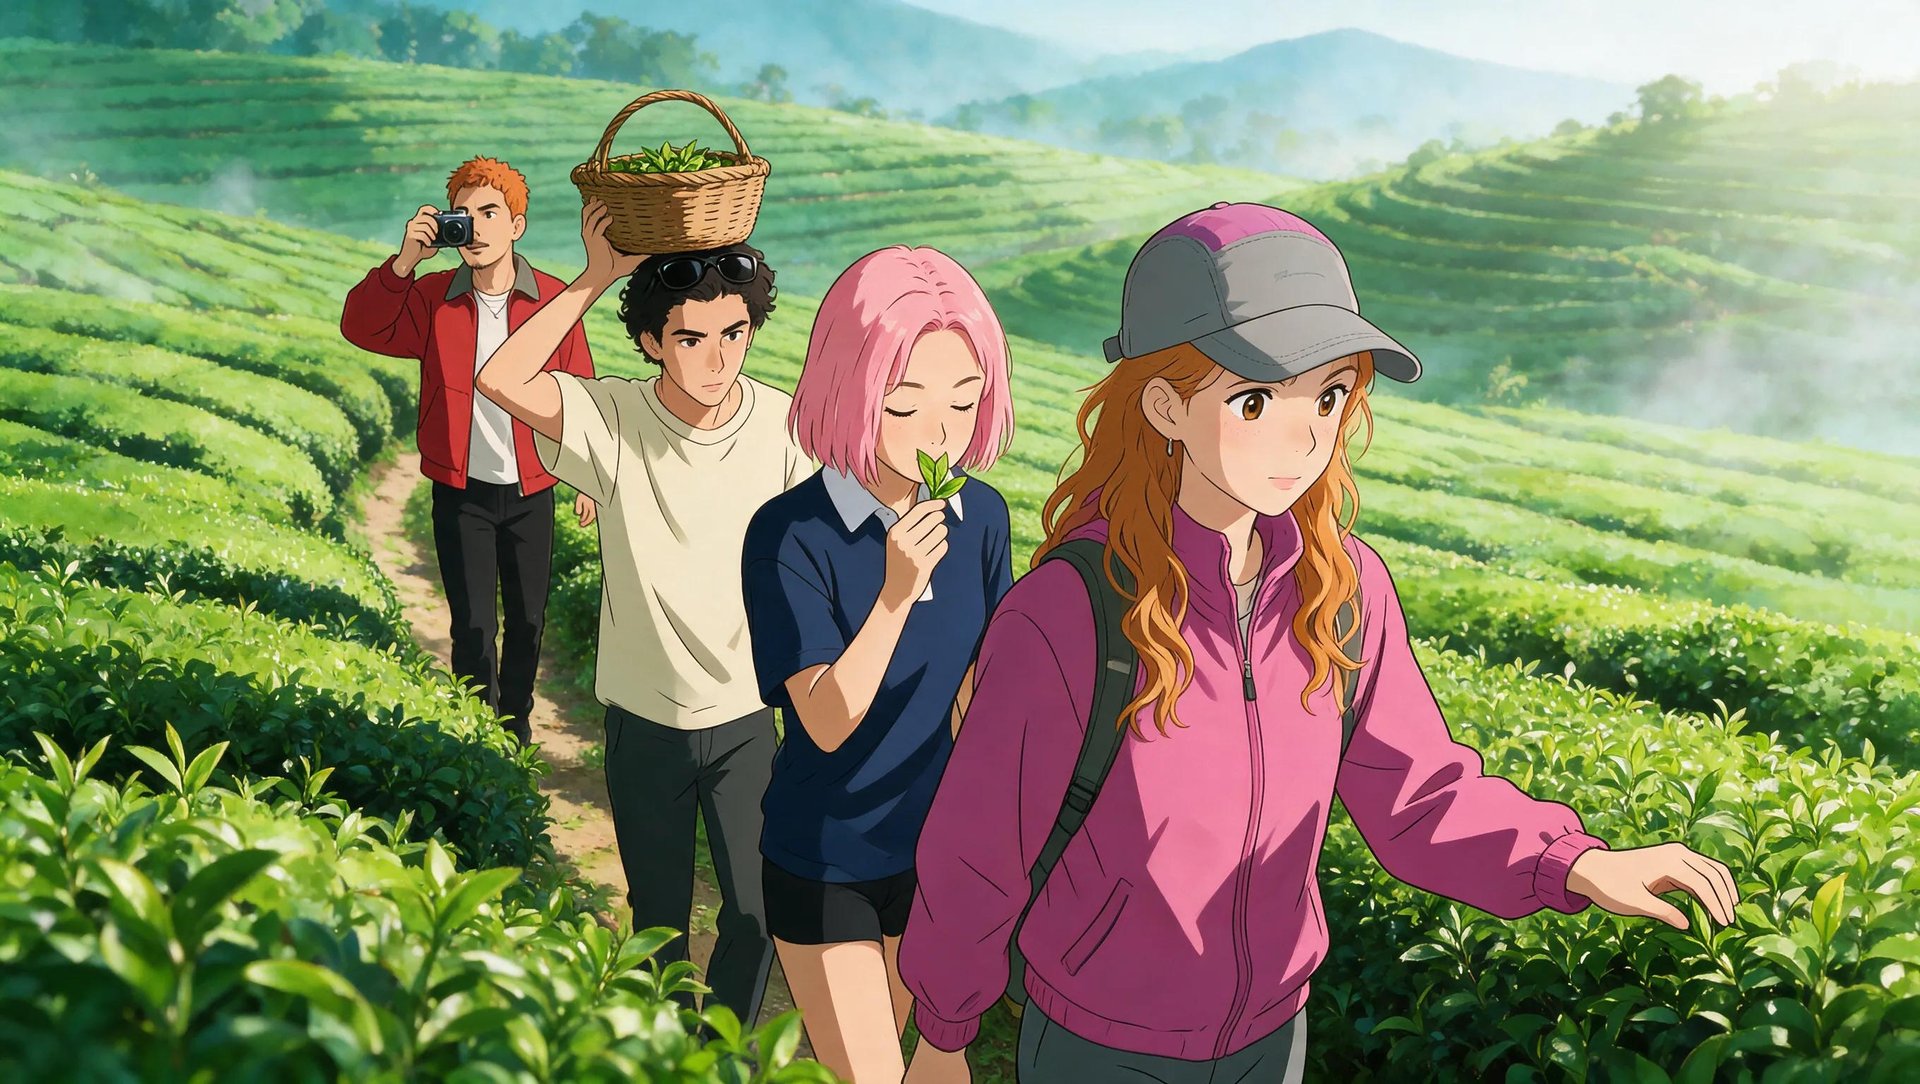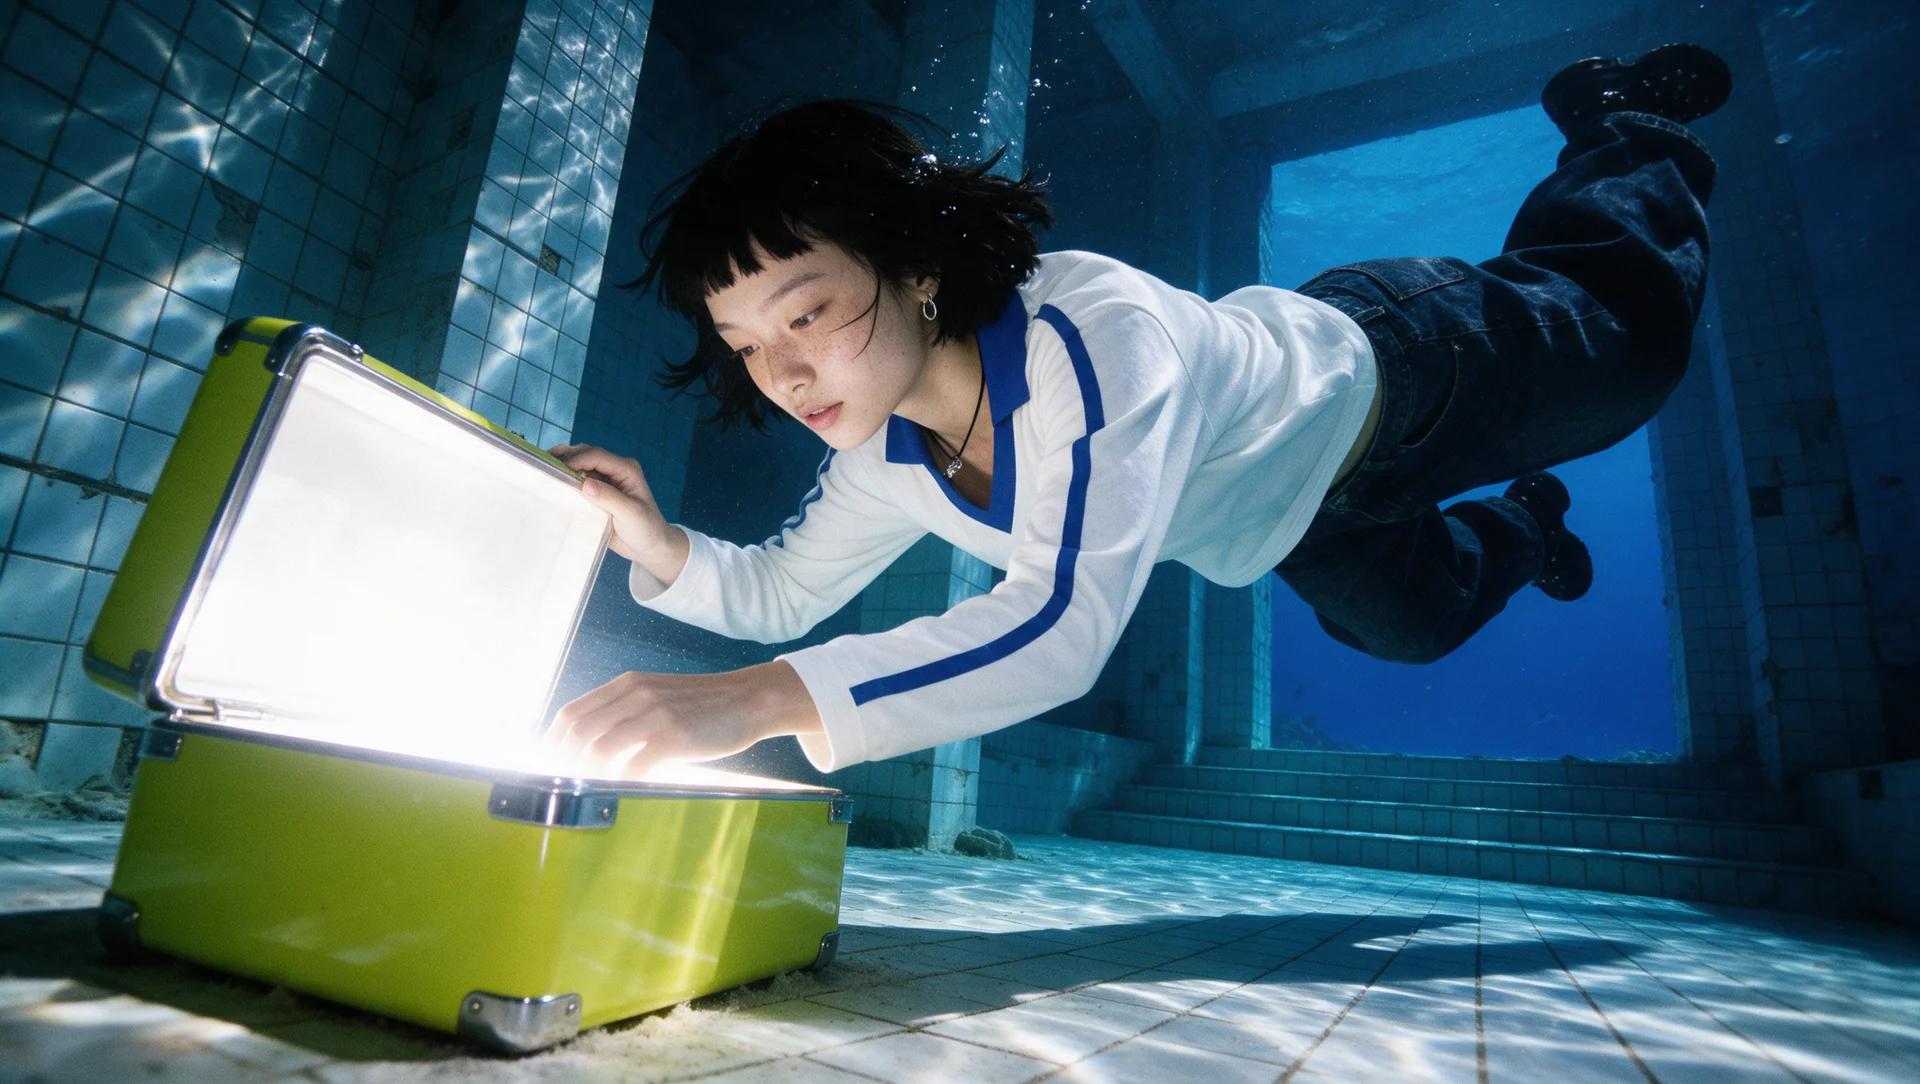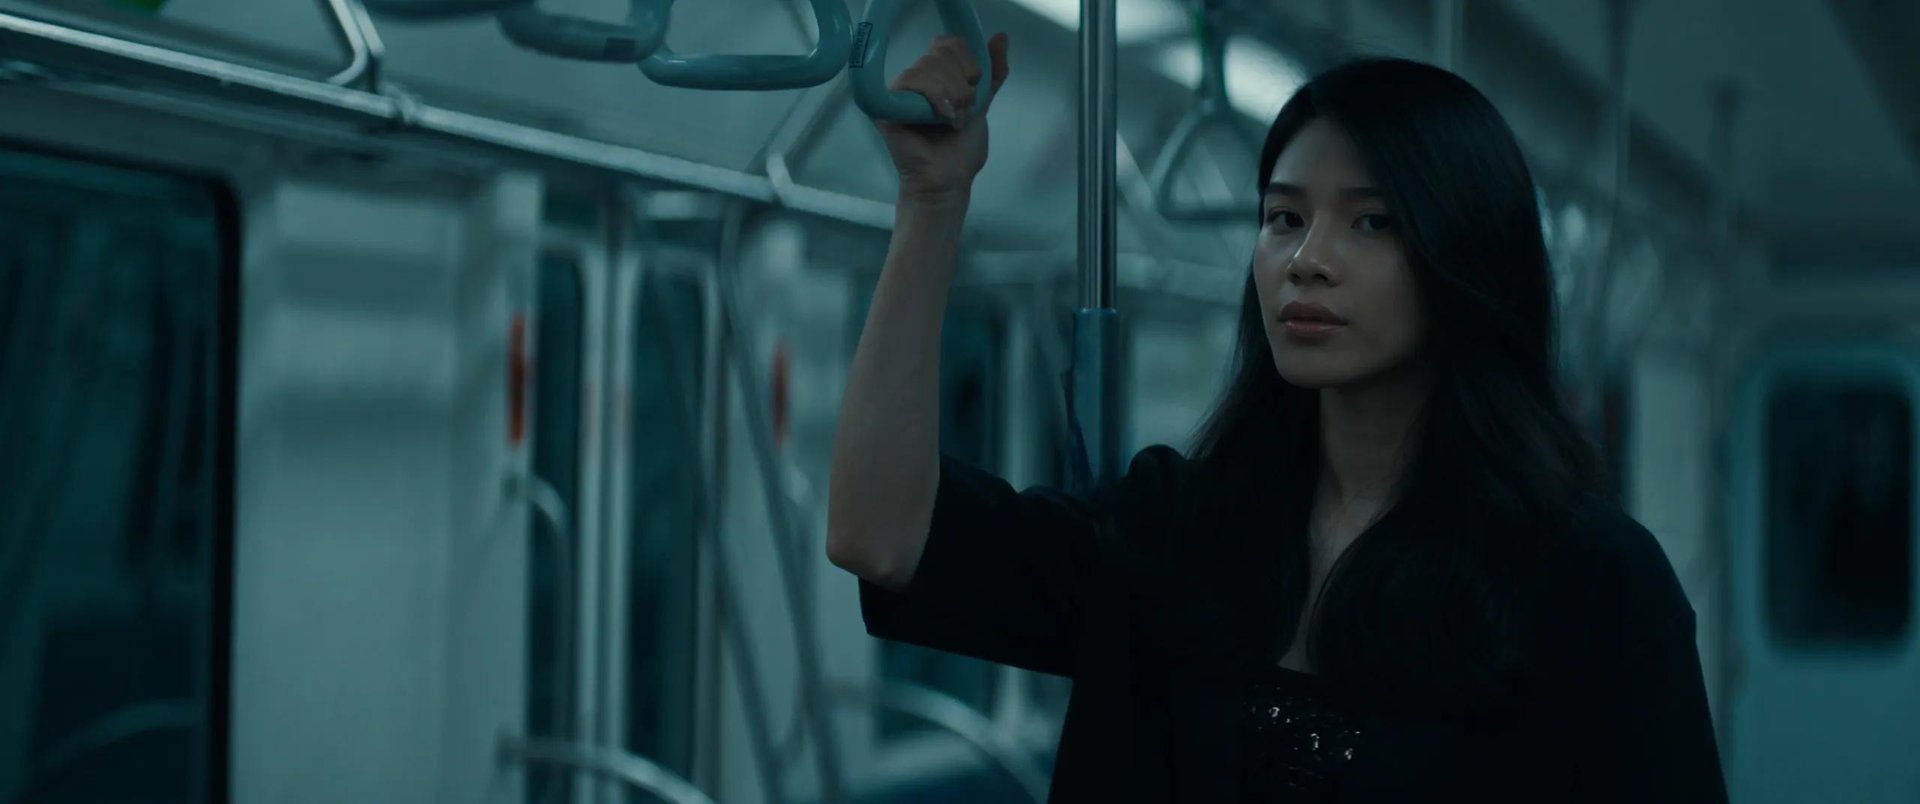
Add a detailed motion prompt to a reference photo, and an AI video generation gets noticeably more accurate than a text prompt alone. It doesn't matter what the reference actually is, a location photo, an AI character, a product shot, a real person, the model has something concrete to hold onto instead of guessing at what you meant. This guide covers how to do that correctly, why reference photos reduce distortion in the first place, and the specific ways to turn a photo into video depending on what you're actually trying to make.
How to Turn a Photo Into Video the Right Way
Getting a good result out of a photo-to-video generation usually comes down to a few things worth keeping in mind along the way. Start with a strong prompt, one that describes the specific motion rather than the general idea, notes what happens to the background while the subject moves, and is clear about pacing, since slow and deliberate reads differently than fast and abrupt, even from the same source photo.
Reference images can help further from there, especially once more than one is involved. A single reference photo usually works fine for a simple shot. When multiple references need to appear in a particular order, a face here, a location there, a product revealed partway through, it can help to plan that order out before generating rather than figuring it out along the way. Popcorn is a useful tool for this specifically, letting you set up 4, 6, or 8 frames in Auto or Manual mode to sketch out the sequence and spatial logic ahead of time.
Before You Start
- A sharp, well-lit source photo with a clear subject gives every method in this guide a real head start, a blurry or cluttered one makes the model guess, and guessing is where distortion creeps in.
- The paths in this guide aren't ranked, they're built for different situations: fastest path, most hands-off path, and most controlled path.
- Camera movement and motion prompts matter more than most people expect, "make it move" leaves everything to the model, a specific instruction gives it something to execute.
- Reference images can carry a face, a product, or a location into the video generation directly, up to 9 at once on some models, which is what keeps a subject consistent rather than reinterpreted from scratch.
How This Works on Higgsfield
Higgsfield gives you 10+ image models and just as many video models, and turning a photo into video can happen a few different ways, all inside the same platform rather than switching between separate tools for each step. Seedream 5.0 Pro can generate the still and hand it directly to a video model. Supercomputer can run the entire photo-then-video sequence as one guided conversation. And Cinema Studio can skip the still entirely and animate reference photos you already have, with full director-level control over genre, lighting, lens, and camera movement. Which one you reach for depends on how much control you want at each step versus how much you'd rather hand off.
Doing This for Free, Without a Watermark. Most tools that convert a photo into video ship a watermark on the free tier by default, and getting a clean export usually means paying for a plan or finding the specific setting that removes it. On Higgsfield, watermark removal is tied to plan tier or an active Unlimited period rather than a separate paid add-on, so check your export settings before generating rather than after, since regenerating a clip you already liked just to remove a watermark afterward costs credits you didn't need to spend.
Full Workflow: Three Ways to Turn a Photo Into Video
Option A: Seedream 5.0 Pro, Then Turn to Video
Seedream 5.0 Pro includes a Turn to Video feature that appears directly on a generated image. Once a still is finished, this button routes it straight into a video model, Seedance 2.0, Kling 3.0, Veo 3.1, WAN 2.7, MiniMax Hailuo 2.3, and others are all available from that same handoff, without downloading the image and re-uploading it somewhere else.
Step 1: Generate the still in Seedream 5.0 Pro. Write the image prompt with the same care you'd give a final photo, since this frame is what the video model will actually animate.
Step 2: Review the image before moving forward. This is the cheapest point to catch anything wrong, a regenerated still costs far less than a regenerated video.
Step 3: Hit Turn to Video and pick the video model. Seedance 2.0 is a common default for general motion, Kling 3.0 for human subjects specifically, WAN 2.7 for physics-accurate camera movement.
Step 4: Write the motion prompt for that video model. This is a separate prompt from the image prompt, describe the specific motion, not just "make it move."
Step 5: Generate and review the finished clip.
Option B: Supercomputer, Approve Each Stage
Supercomputer runs this as a guided conversation rather than a manual handoff between tools. You describe what you want once, and the agent generates the image first, waits for your approval, then generates the video from it.
Step 1: Open Supercomputer and describe the full shot, written as a video prompt from the start. Even though the first thing generated is a still image, describe the motion, camera, and scene as if you were briefing the video generation directly, since that's what the agent is actually planning toward.
Step 2: Let the agent generate the image first. This is the first checkpoint.
Step 3: Approve or request changes to the image. Nothing moves to video until this is approved, so this is the point to fix anything about the subject, framing, or style.
Step 4: The agent generates the video from the approved image. It carries the approved still forward as the reference frame automatically.
Step 5: Approve the finished video, or send it back for another pass.
Option C: Generate Directly From Your Own Reference Photos in Cinema Studio 3.5
This path skips generating a new still entirely. Upload your own reference photos, up to 9 at once, and animate them directly, with full control over genre, lighting, color palette, camera movement, lens, focal length, and aperture.
Step 1: Upload up to 9 reference images. A character photo, a location image, a product shot, and a style reference can all feed the same generation simultaneously.
Step 2: Set genre, lighting, and color palette explicitly. These apply as production parameters rather than being inferred from prompt text.
Step 3: Set camera movement, lens, focal length, and aperture. This is what separates a directed-looking shot from a random one, a slow dolly in behaves completely differently than a static frame, even from the same references.
Step 4: Write the detailed motion and scene prompt. Since Cinema Studio 3.5 takes explicit settings, the prompt itself can focus on describing the actual action and dialogue rather than trying to also describe lighting and camera in prose.
Step 5: Generate and review.
How Much a Full Workflow Will Cost
Workflow | Steps | Approximate cost |
|---|---|---|
A: Seedream 5.0 Pro → Seedance 2.0 | Seedream 5.0 Pro image (2K) + Seedance 2.0, 8 sec, 720p | 3 credits + 36 credits = 39 credits ($1.95) |
B: Supercomputer | Image generation (first approval) + video generation (second approval) | Credit cost shown at each approval step before you confirm |
C: Reference images→ Cinema Studio 3.5 | Direct video generation, 8 sec, 720p | 40 credits ($2) |
Workflow A's total assumes one approved generation at each step, credits shown are approximate and confirmed on-screen before each generation. Workflow B's exact credit cost depends on the specific models the agent selects for your prompt, shown before each approval.
Workflow A is generally the cheapest of the three, since the still and the video are each priced at their own standard rate with no additional director-level parameters layered on. Workflow C, Cinema Studio, tends to run higher per clip because of the added production controls, genre, lighting, lens, and camera movement all applied as explicit parameters rather than left on default. Workflow B's total depends entirely on how many regenerations happen at each approval stage, since every rejected image or video before final approval adds its own credit cost on top of the base generation.
Which Path Actually Fits, and Why It Matters
None of the three paths in this guide is objectively better than the others, they solve different problems, and the wrong choice usually shows up as wasted credits rather than a wrong result. If you already know exactly what still you want and just need it moving, Seedream into Seedance is the shortest distance there, generate once, hand off once, done. If you'd rather describe the end result once and let an agent manage the image-then-video sequence, catching issues at the image stage before they become an expensive video regeneration, Supercomputer trades a little control for a lot less manual back-and-forth. If the shot depends on holding a specific face, product, or location steady while also controlling exactly how the camera behaves, Cinema Studio is worth the higher per-clip cost, since it's the only path that gives you both multi-reference input and full director-level settings in the same generation.
What ties all three together is the same underlying principle this whole guide is built on: a reference photo plus a specific prompt beats a text prompt alone, every time, regardless of which path generates the final clip. Picking the right one starts with knowing which part of the process you actually want to control, and which part you're happy to hand off.