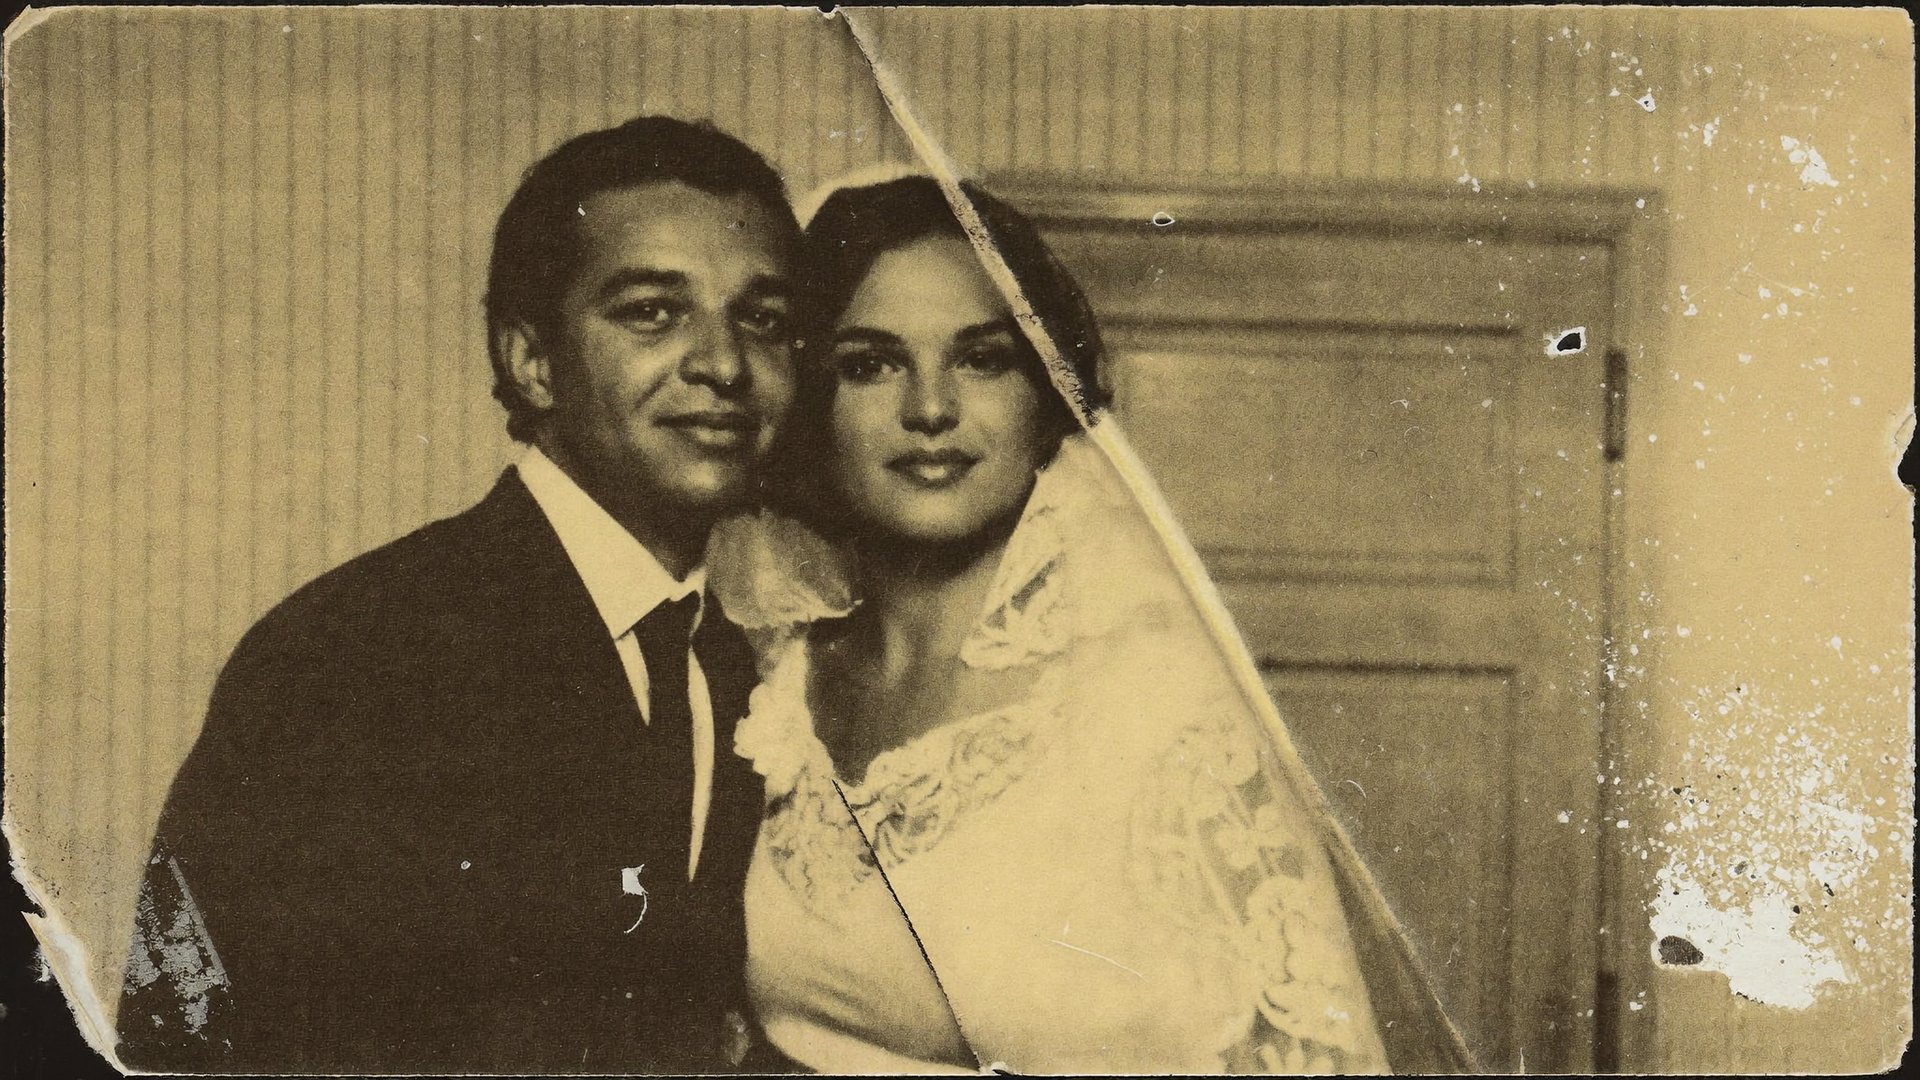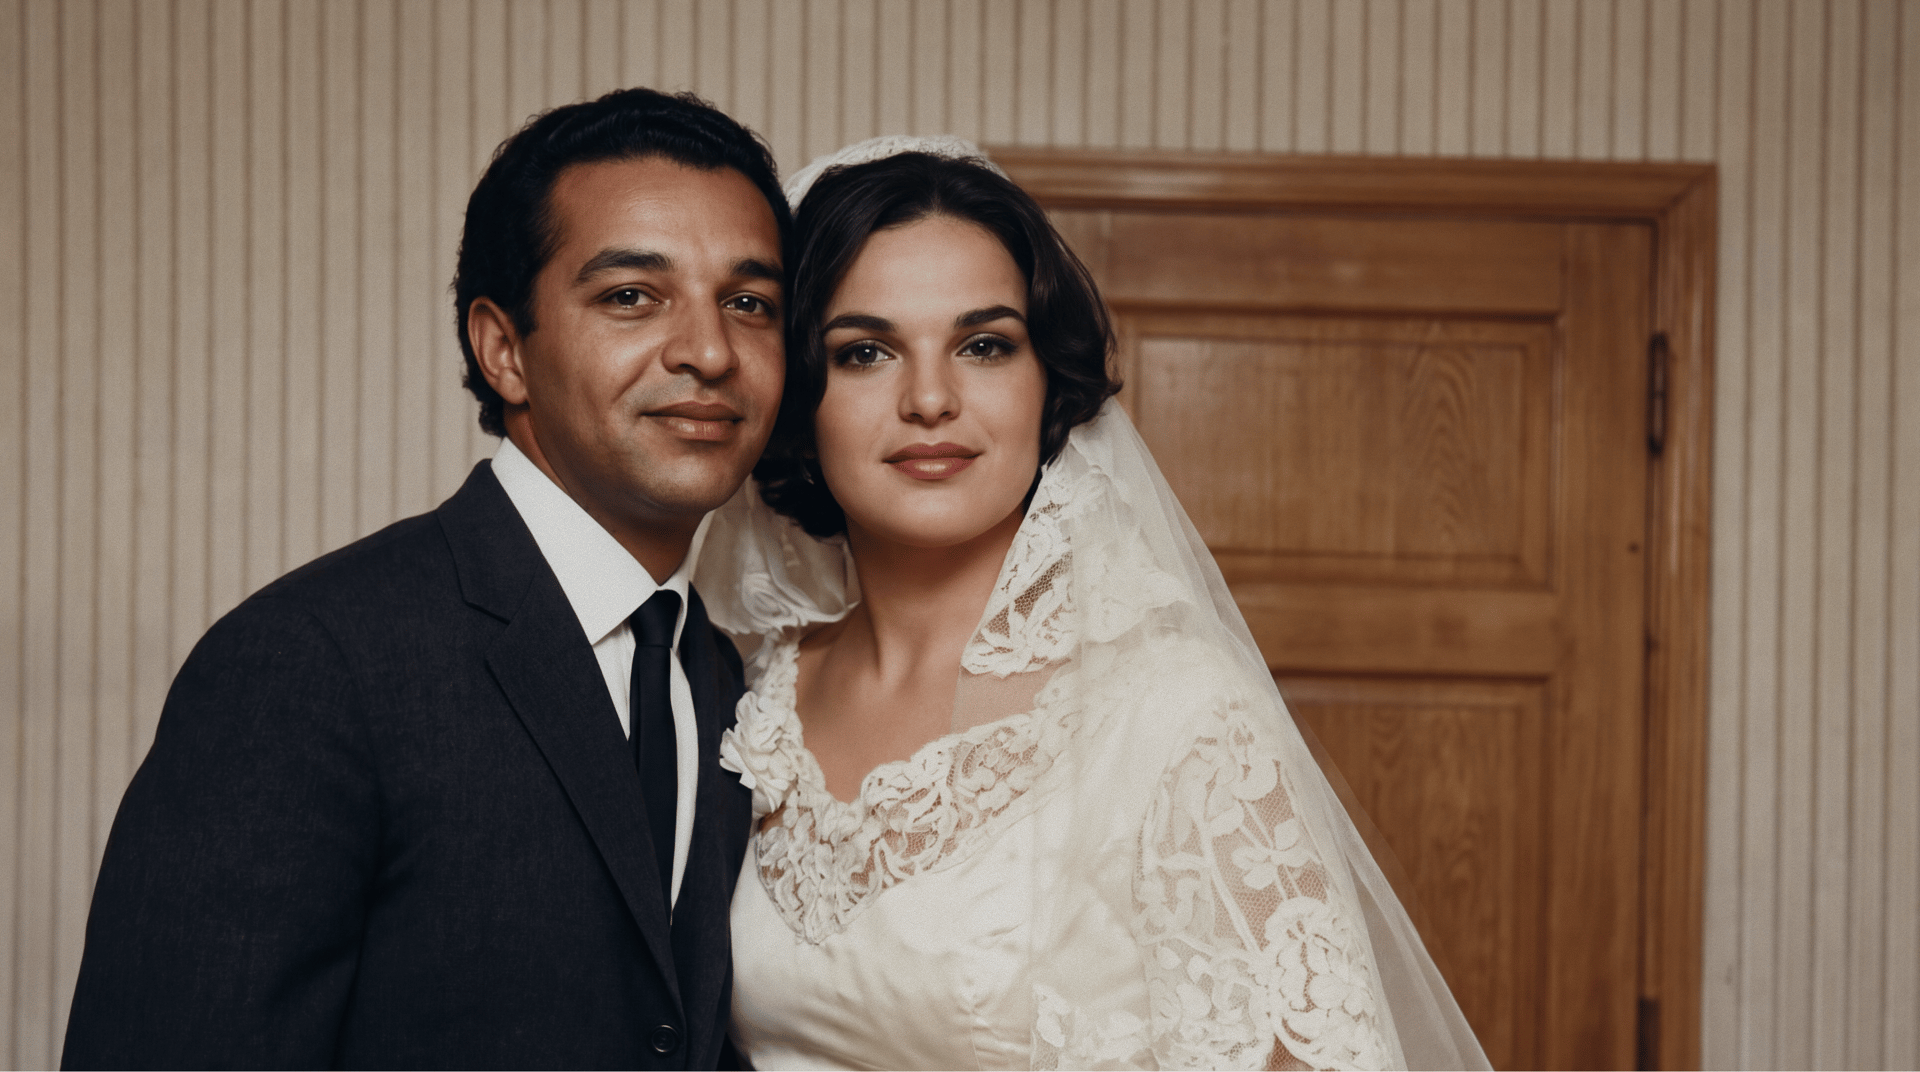
Fixing up an old, damaged photo used to mean spending hours in Photoshop yourself. Now AI does the heavy lifting: it removes scratches, sharpens up faces, and corrects the color, all in one pass. Feed it a cracked print or a blurry old scan, and a cleaned-up version comes back out. This guide walks through what that restoration actually fixes, and how to do it on Higgsfield.
What AI Photo Restoration Can Fix
From cracked prints to blurry scans, the tool targets the damage that ages a photo and restores clarity without changing who's in the frame. The goal isn't to reinvent the photo or guess at details that were never captured. It's to remove the specific things time and poor storage did to it: the crease that runs through someone's face, the yellow cast a decade of sun exposure left behind, the soft blur from a scan that was never sharp to begin with, the grain and dust that comes from scanning a decades-old print on a flatbed scanner never designed for archival work.
This distinction matters more than it might seem at first. A restoration tool is fundamentally different from a generative tool that invents new content. Restoration works from what's actually present in the photo and removes the noise sitting on top of it, rather than filling in gaps with plausible-looking guesses. That's part of why the result still looks like the same photo, the same person, the same moment, just without the accumulated damage of however many years it spent folded in a drawer or exposed to sunlight on a shelf.
Damage type | What restoration does |
|---|---|
Scratches, creases, tears | Removes physical damage marks from the print |
Faded or yellowed color | Restores color balance and saturation |
Blur or soft focus | Sharpens detail without introducing artifacts |
Low resolution | Upscales the image up to 2x or 4x |
Poor lighting or exposure | Adjusts brightness, contrast, and light direction |
Dust and grain from scanning | Cleans up scan artifacts |
Each of these problems tends to compound rather than exist in isolation. A photo pulled out of an attic box after thirty years usually isn't just faded, it's faded and creased and slightly out of focus from whatever camera originally took it, which is why a single restoration pass handling several of these at once is more useful than a tool that only solves one problem at a time.
How This Works on Higgsfield
Higgsfield's Topaz High-Resolution Upscaler handles resolution and detail, working off a scale factor, up to x16, rather than a fixed 2K or 4K output. It's built to sharpen up damaged or low-quality images generally, blur, compression, low resolution, all the usual problems that make a photo look rough. For restoration that needs more than a resolution boost, specifically fixing color, physical damage, or overall clarity across the whole image, Nano Banana Pro and GPT Image 2 both handle that work through a prompt-based workflow rather than a single upload-and-click button, giving you more control over exactly what gets corrected.
The difference between these two approaches comes down to how much you actually need to specify. A photo that's simply low-resolution or blurry and otherwise intact is a straightforward upscale job. A photo with scratches, fading, and damage all present at once benefits from the more descriptive, prompt-driven models, since you can be specific about what needs fixing rather than relying on a generic scale-based pass.
The Actual Workflow: Step-by-Step Guide
Topaz High-Resolution Upscaler: upload, pick a scale factor, one click. Upload the damaged photo directly, no prompt required, and choose a scale factor from x1 to x16. The tool handles scratch removal, sharpening, and upscaling automatically in a single pass, which makes it the fastest option when the photo's problems are mostly about resolution and general wear rather than anything requiring a specific creative decision.