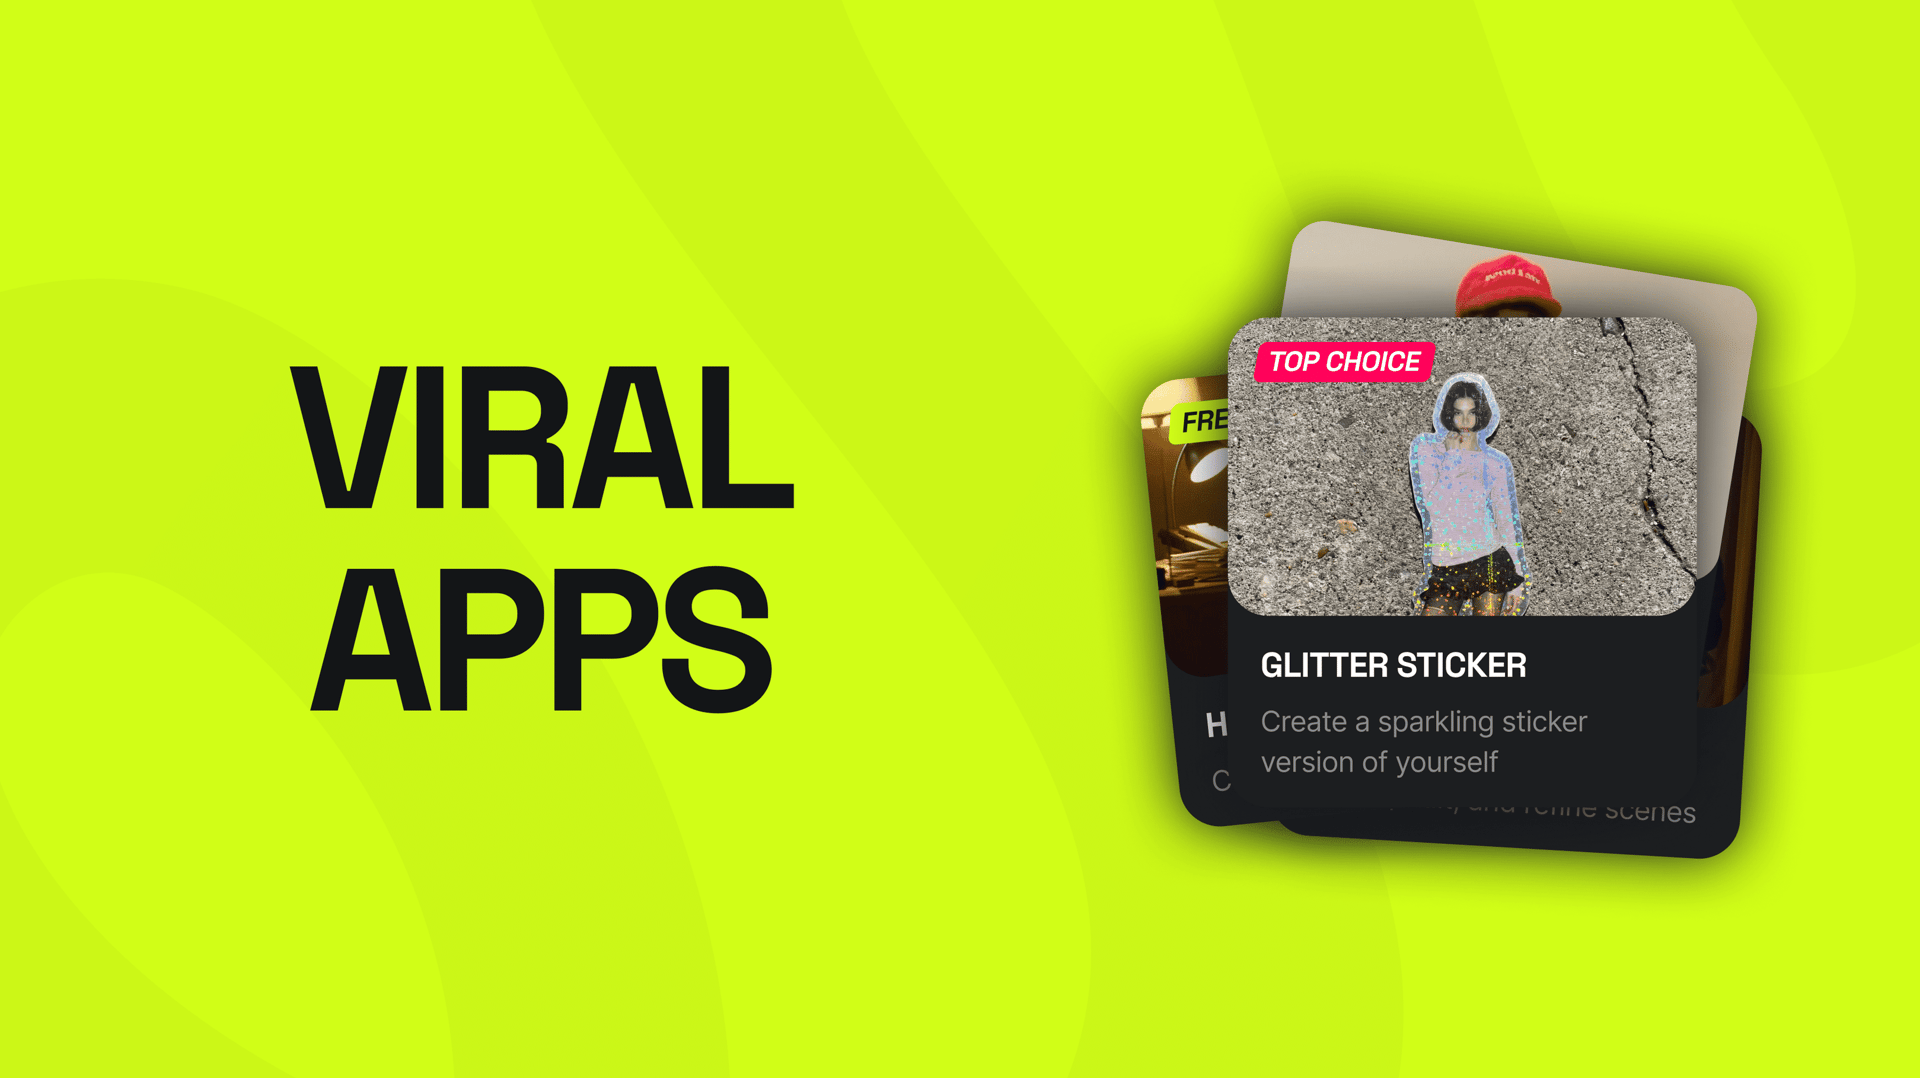
Making a viral video in Higgsfield takes three steps. Choose a preset, upload a photo, and click generate. Viral Presets is a library of more than 60 ready-made effects. Each one comes with built-in animation, location, and style. New presets are added regularly to match current trends.
What Are Viral Presets in Higgsfield?
Viral Presets are ready-made video effects that turn a single photo into a short video designed to hold attention from the first second. Viral Presets is how Higgsfield handles trend-driven short-form video: the animation, location, and style are already built into each preset, so there is no prompt writing and no manual scene setup.
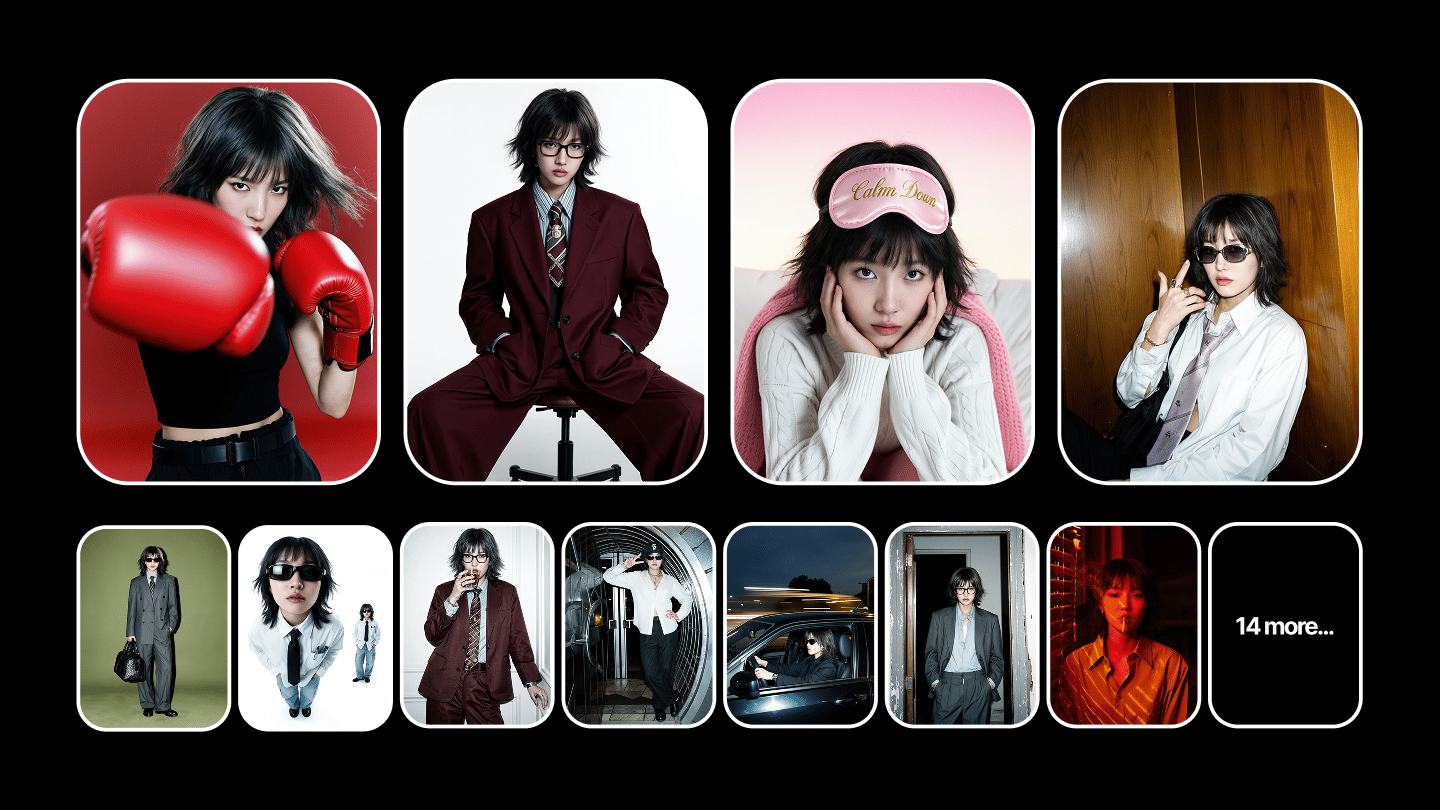
The library holds more than 60 presets, each with its own visual identity. Some are cinematic, some are bright and surreal, some place you inside classic paintings or early-2000s photography. Depending on the preset, you can set the output resolution, and many also offer a choice of aspect ratio. The exact input requirements and settings are shown on each preset page before you generate.
Viral Presets remove most of the setup behind trend-based effects. The animation, scene, and visual style come pre-built, so you start from a ready-made format and continue editing or testing the result inside Higgsfield. Presets are one part of an AI-native creative suite, which means the clip you generate stays in the same pipeline for upscaling, performance checks, and publishing prep.
How Do You Make a Viral Video in 3 Steps?
The full workflow from preset to finished clip takes a few minutes.
Step 1. Pick a preset. Open the Viral Presets library and browse the collection. Presets marked as new are the latest additions; start there if you want a format viewers already recognize.
Step 2. Upload your photo. Add a source image and pick the output settings: resolution from 480p up to 4K on most presets, and vertical aspect ratio for TikTok, Reels, and Shorts where the preset offers the choice. Photos where the face or main subject is clearly visible generally give the preset a cleaner source to work from.
Step 3. Generate. Click generate and wait for the render. Download the result and post it, or continue working with it inside the suite. Before publishing, you can run the clip through Virality Predictor, which estimates how the video is likely to perform, so you test before you spend budget or feed space on a weak variant.