Where the tools are, what each interface element means and what the nodes do.
First Canvas screen
Where the tools are, what each interface element means and what the nodes do. Start with how the workspace is laid out, or jump to the feature you need from the contents.
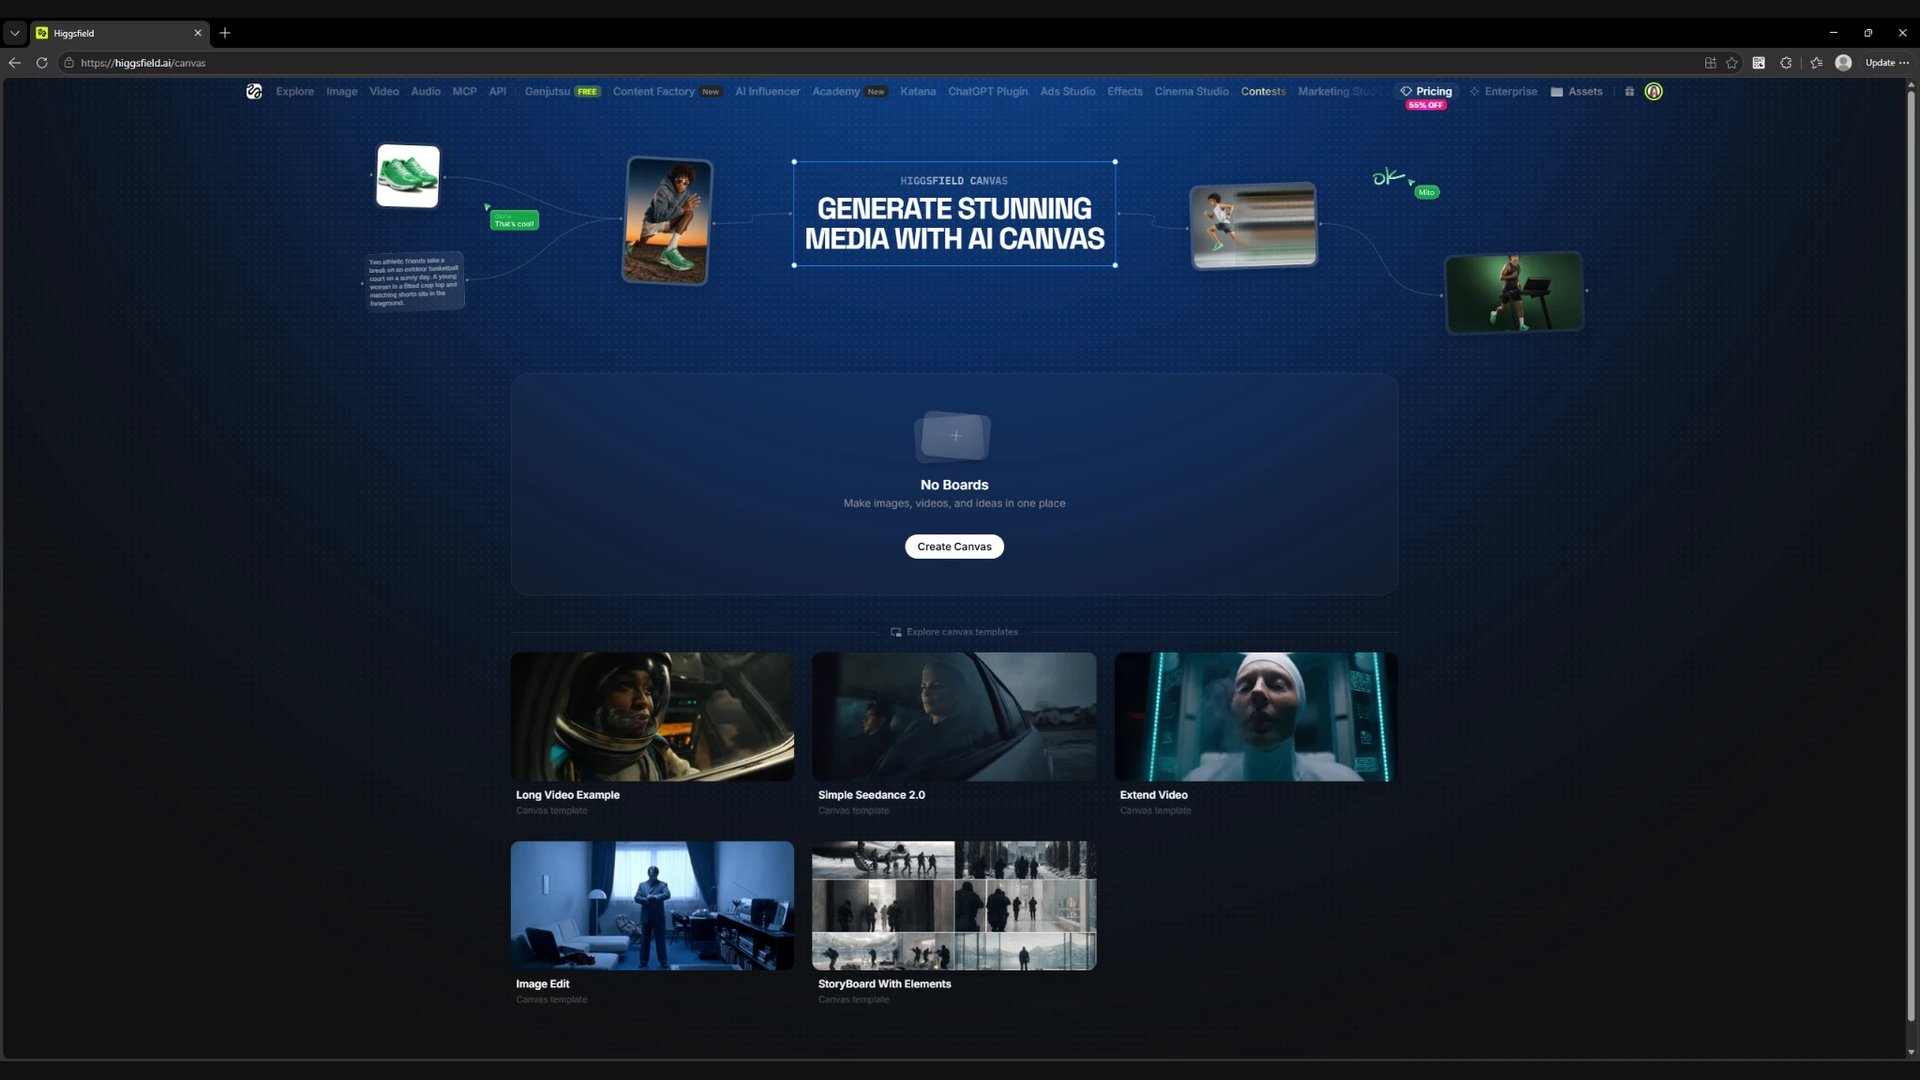
Open Canvas. Until you create your first board, the centre of the screen shows No Boards with a Create Canvas button. Below it, Explore canvas templates collects ready-made boards for generating and extending video, editing images and building storyboards with Elements.
The first Canvas screen with the Create Canvas button and the template gallery.
Screen
The first Canvas screen with the Create Canvas button and the template gallery.
Creating and naming a project
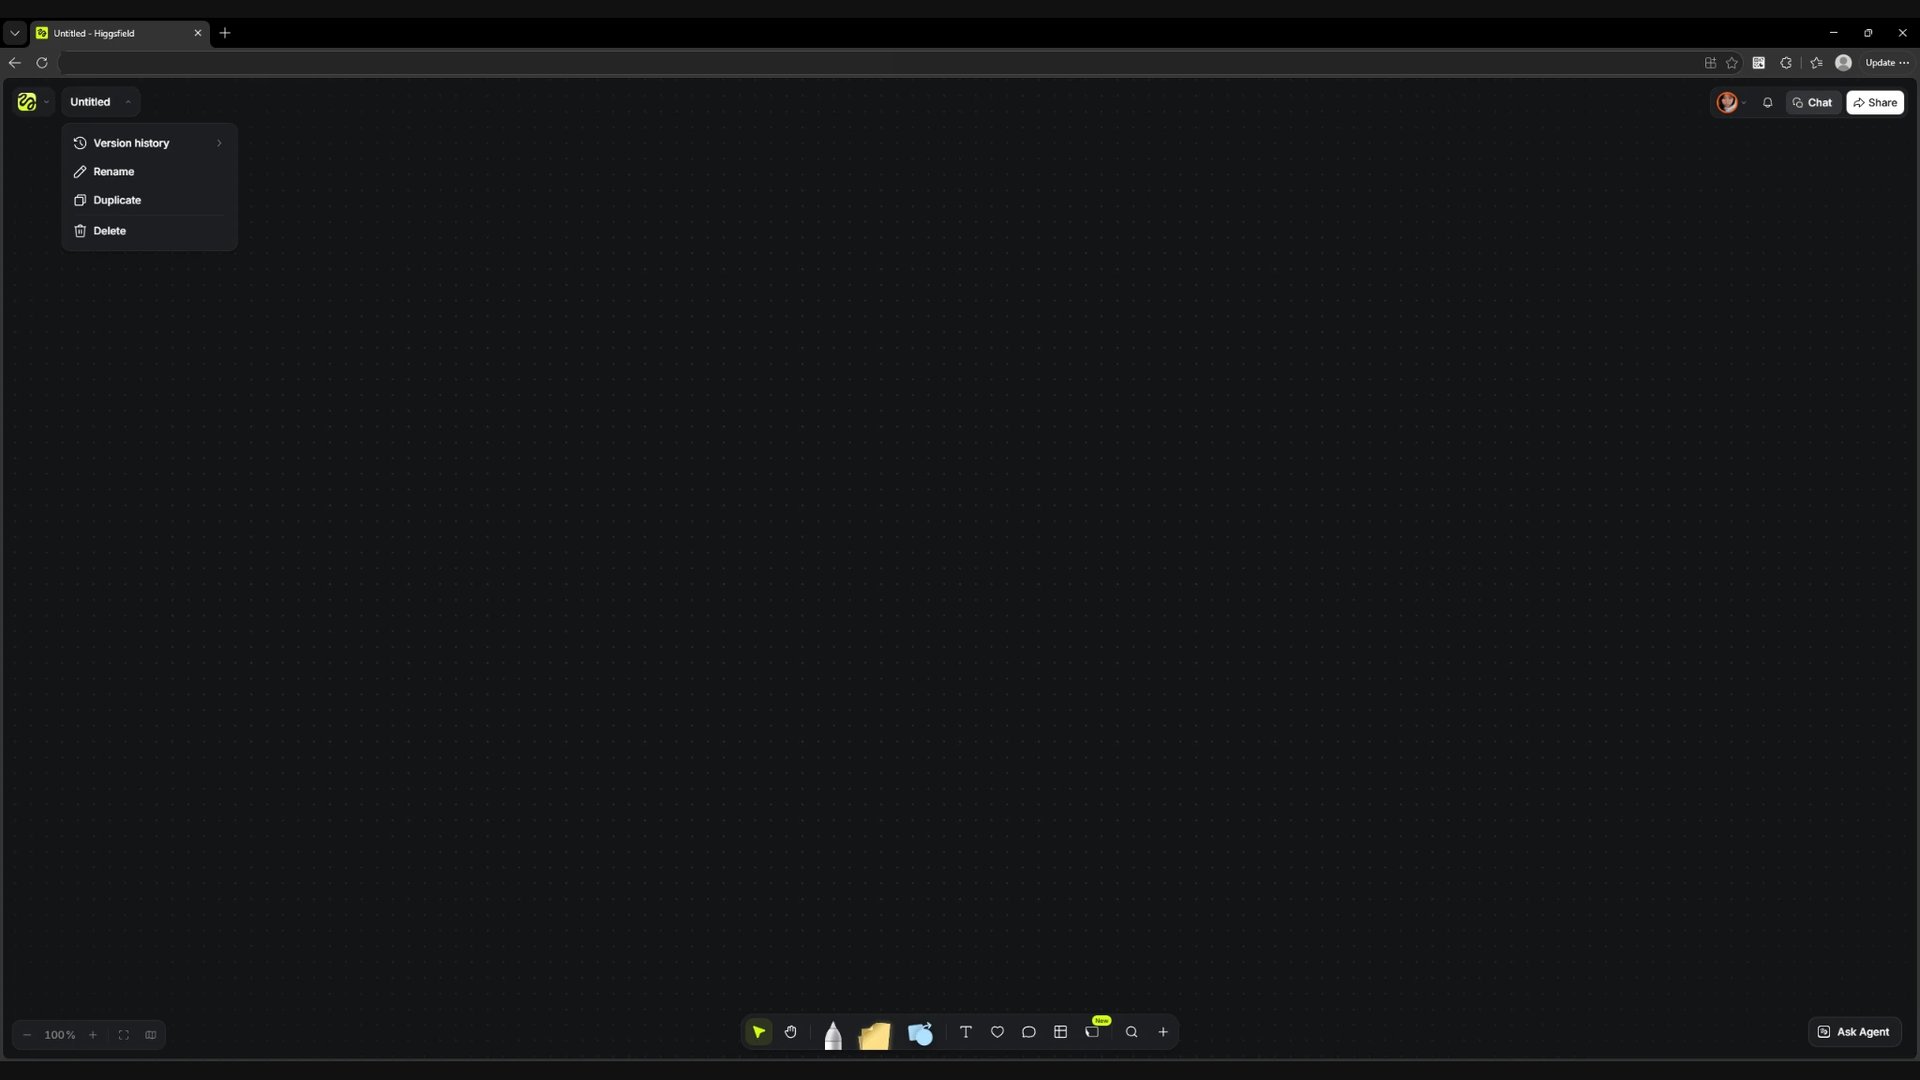
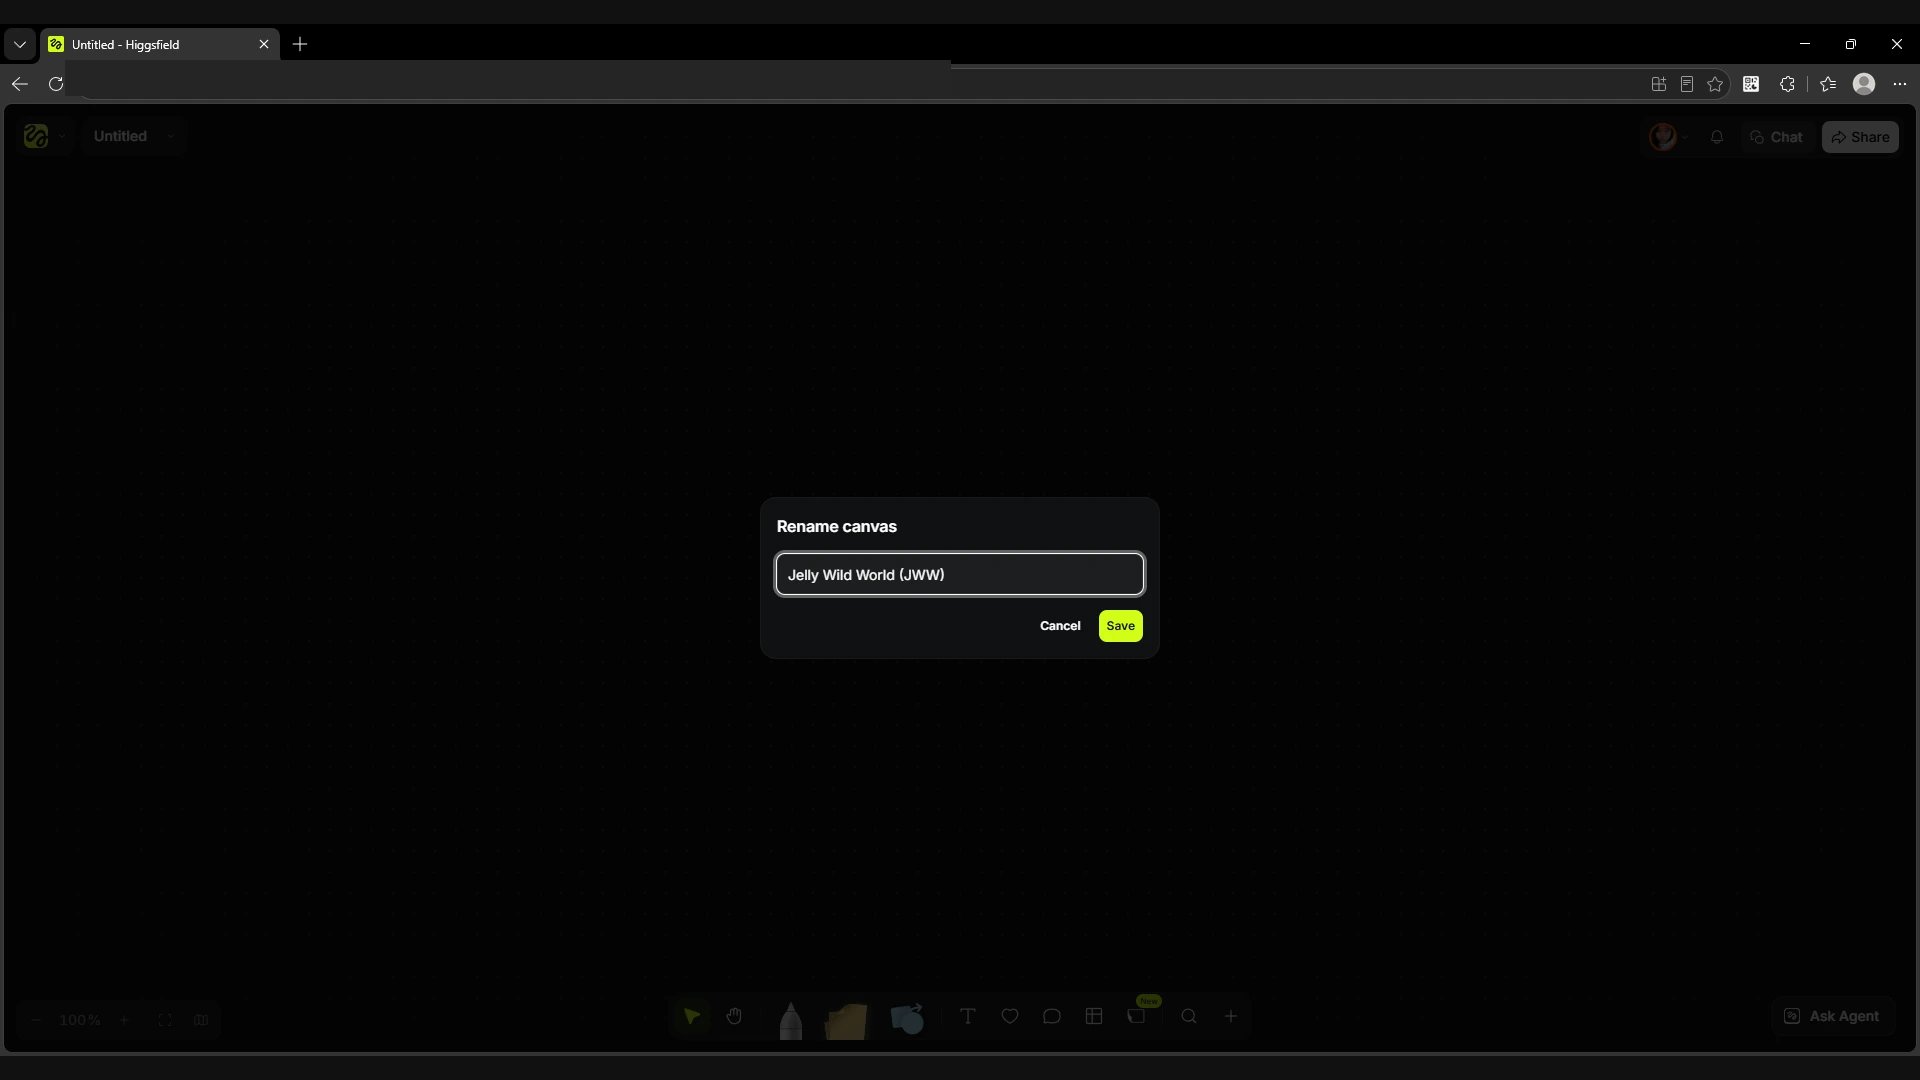
Click Create Canvas. The project is created automatically and opens on an empty canvas. In the top left corner you will see the name Untitled. Open the menu next to it, choose Rename, type a name in the Rename canvas window and click Save.
Screen
The Untitled menu with the Rename command.
Screen
The window for entering a new name.
The menu under the Canvas logo
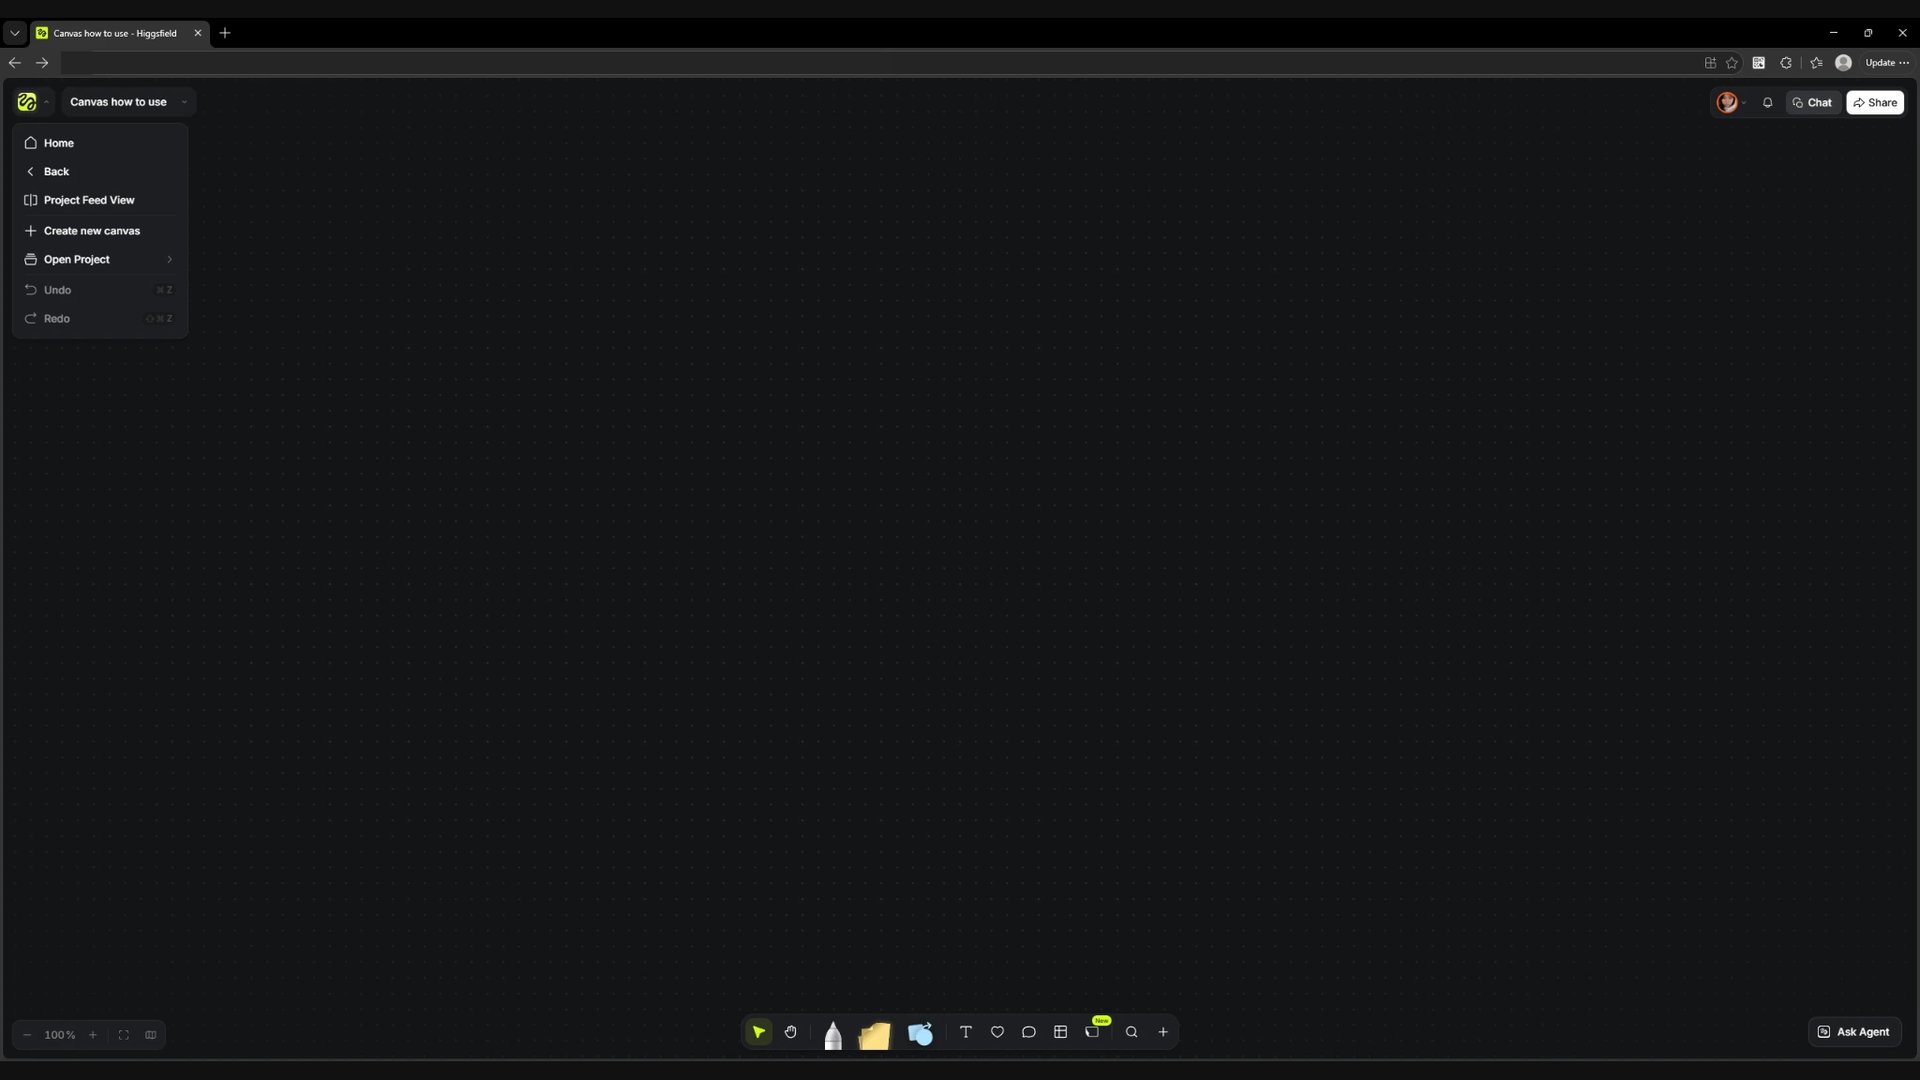
Click the logo to the left of the project name. Home opens the main page, Back returns to the previous screen, Project Feed View opens the feed, Create new canvas creates a board and Open Project opens an existing project. Undo reverses the last action and Redo brings back what you undid.
Screen
The navigation and quick command menu under the logo.
Project Feed View
When you create a project in Canvas, a linked project is created in Cinema Studio automatically. If you start with a project in Cinema Studio, then open Canvas from it and fill it, the board links to that project automatically. You can move between them in both directions.
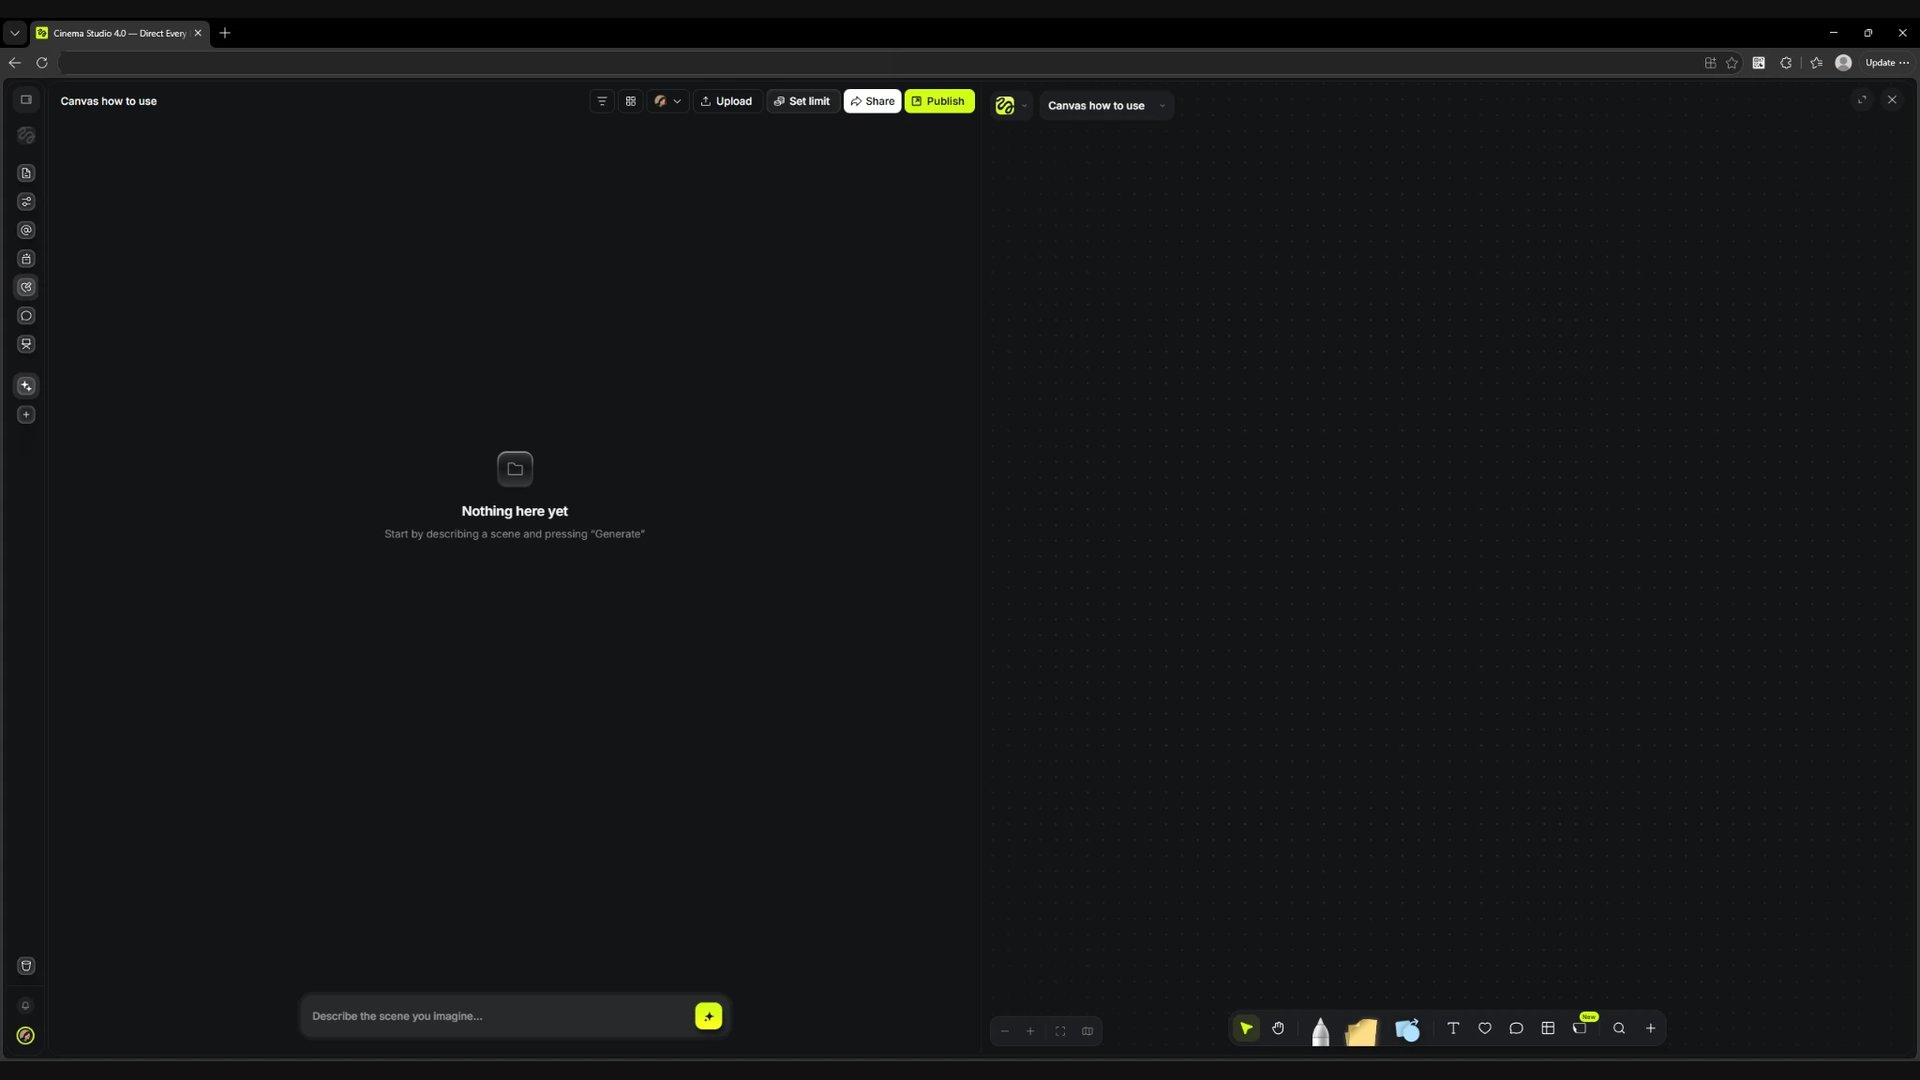
To go from Canvas to Cinema Studio, open the menu under the logo and choose Project Feed View. The feed of the linked Cinema Studio project opens on the left, and the Canvas board stays on the right. If the feed has no materials yet, the left side shows Nothing here yet. From the Cinema Studio project you can open the linked Canvas again.
Screen
The linked Cinema Studio project feed on the left, the Canvas board on the right.
Minimap and zoom
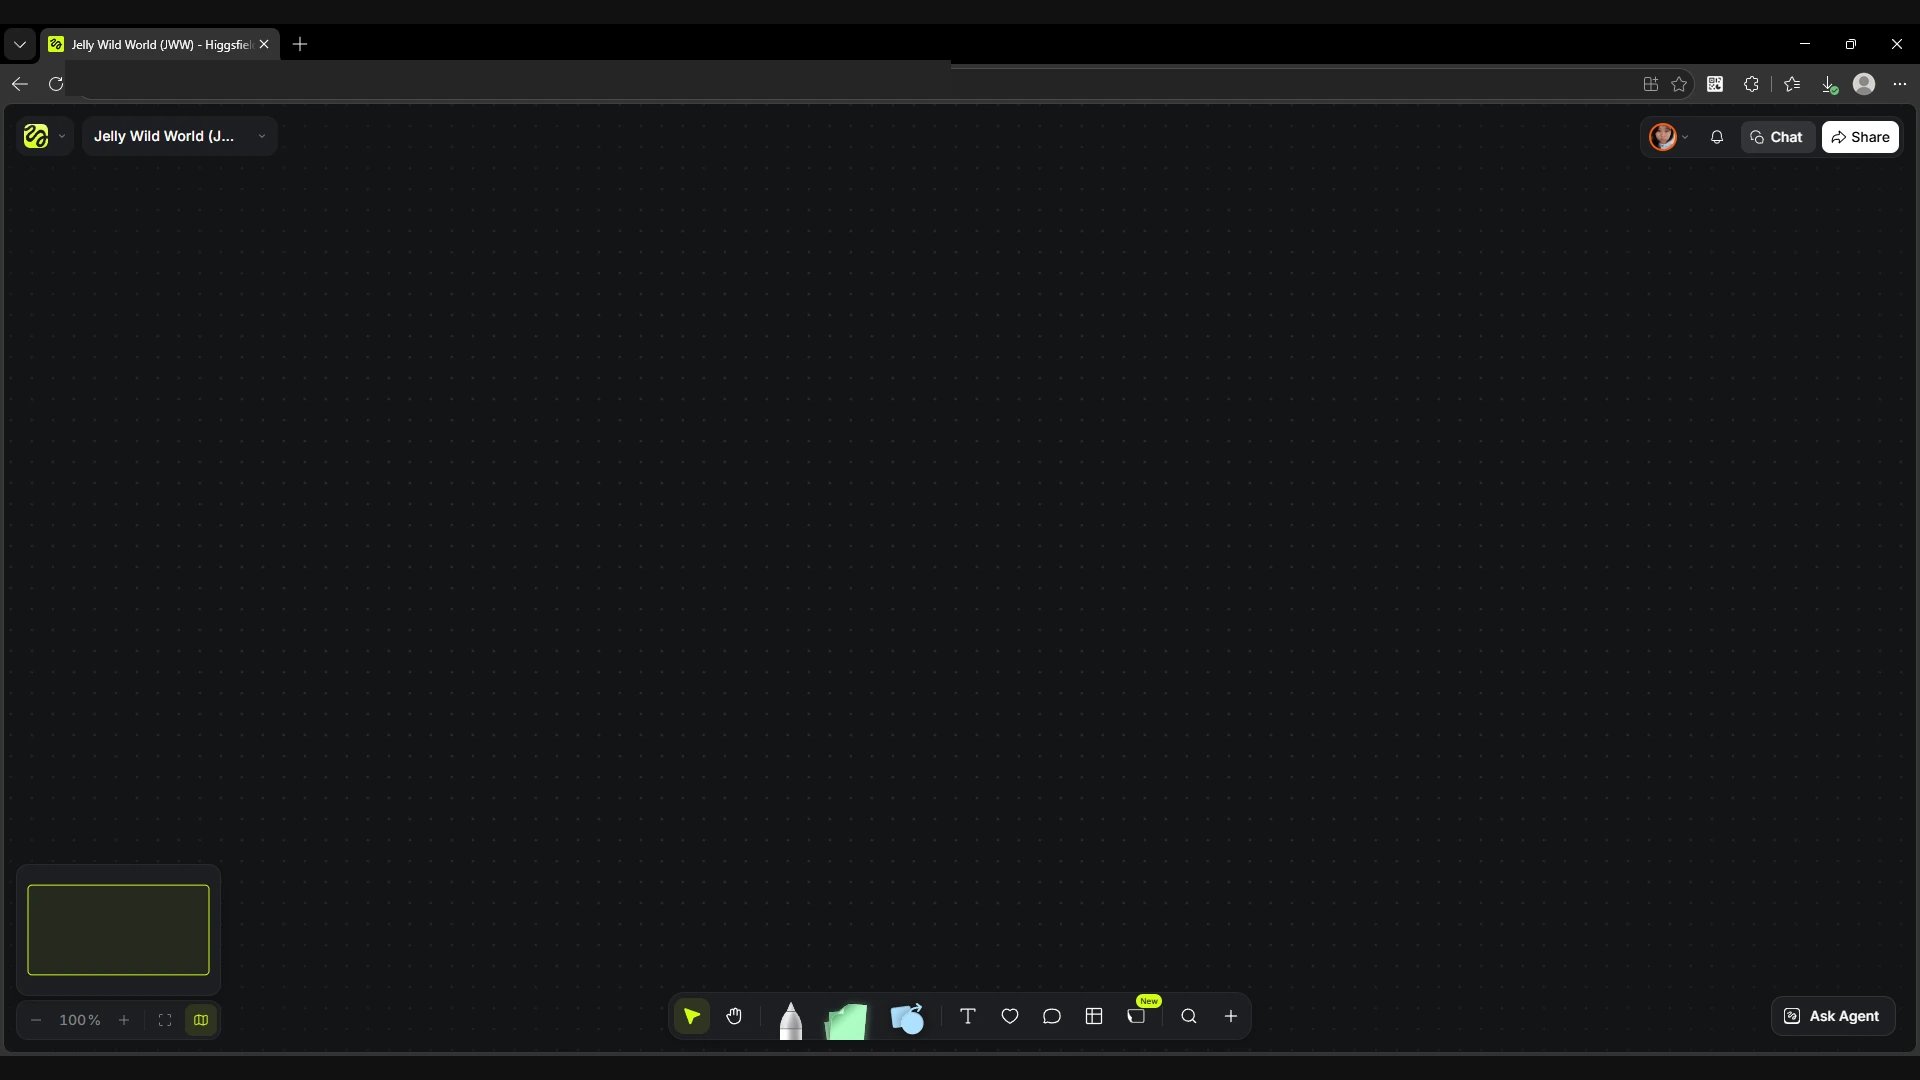
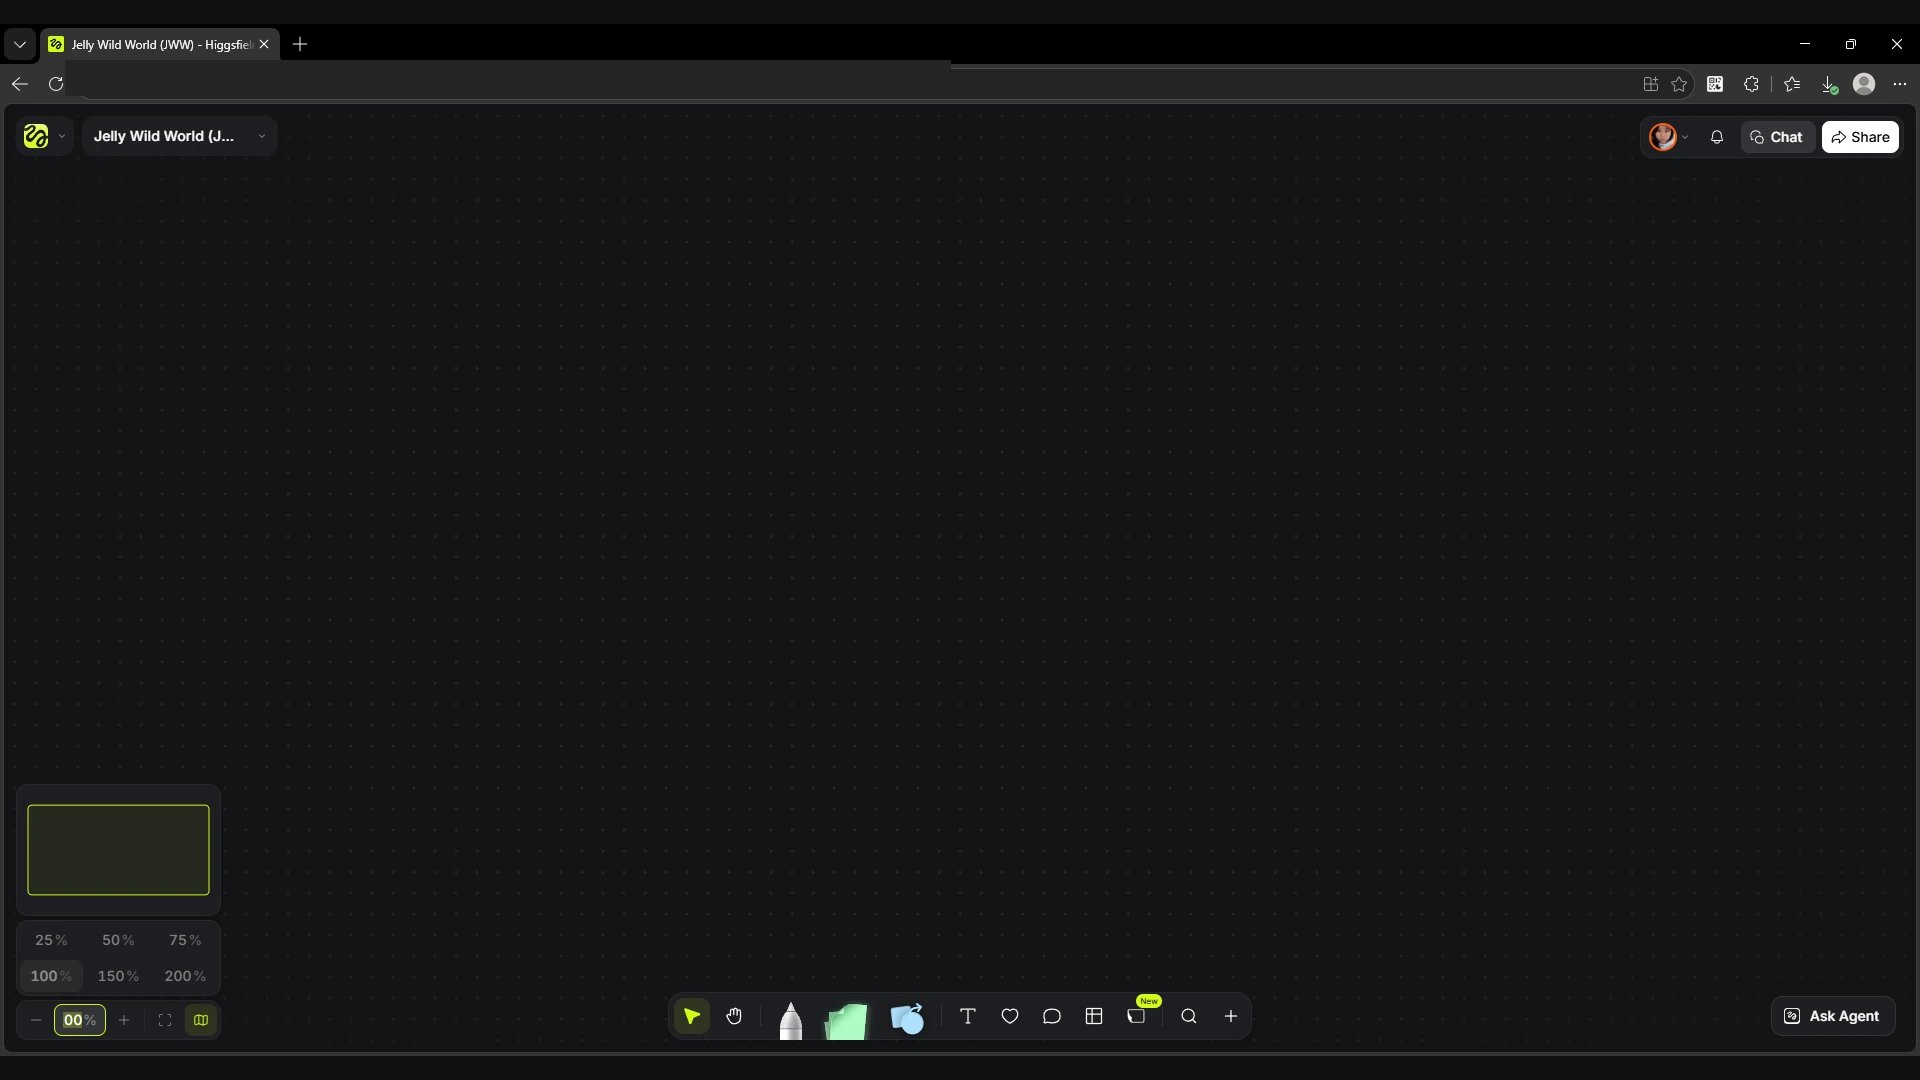
Click the map icon in the bottom left corner. The green frame on the minimap shows the area you are currently viewing. The − and + buttons change the canvas zoom. Click the percentage to pick a preset value from 25% to 200%.
Screen
The open minimap above the zoom panel.
Screen
Preset zoom values next to the minimap.
Select and Pan
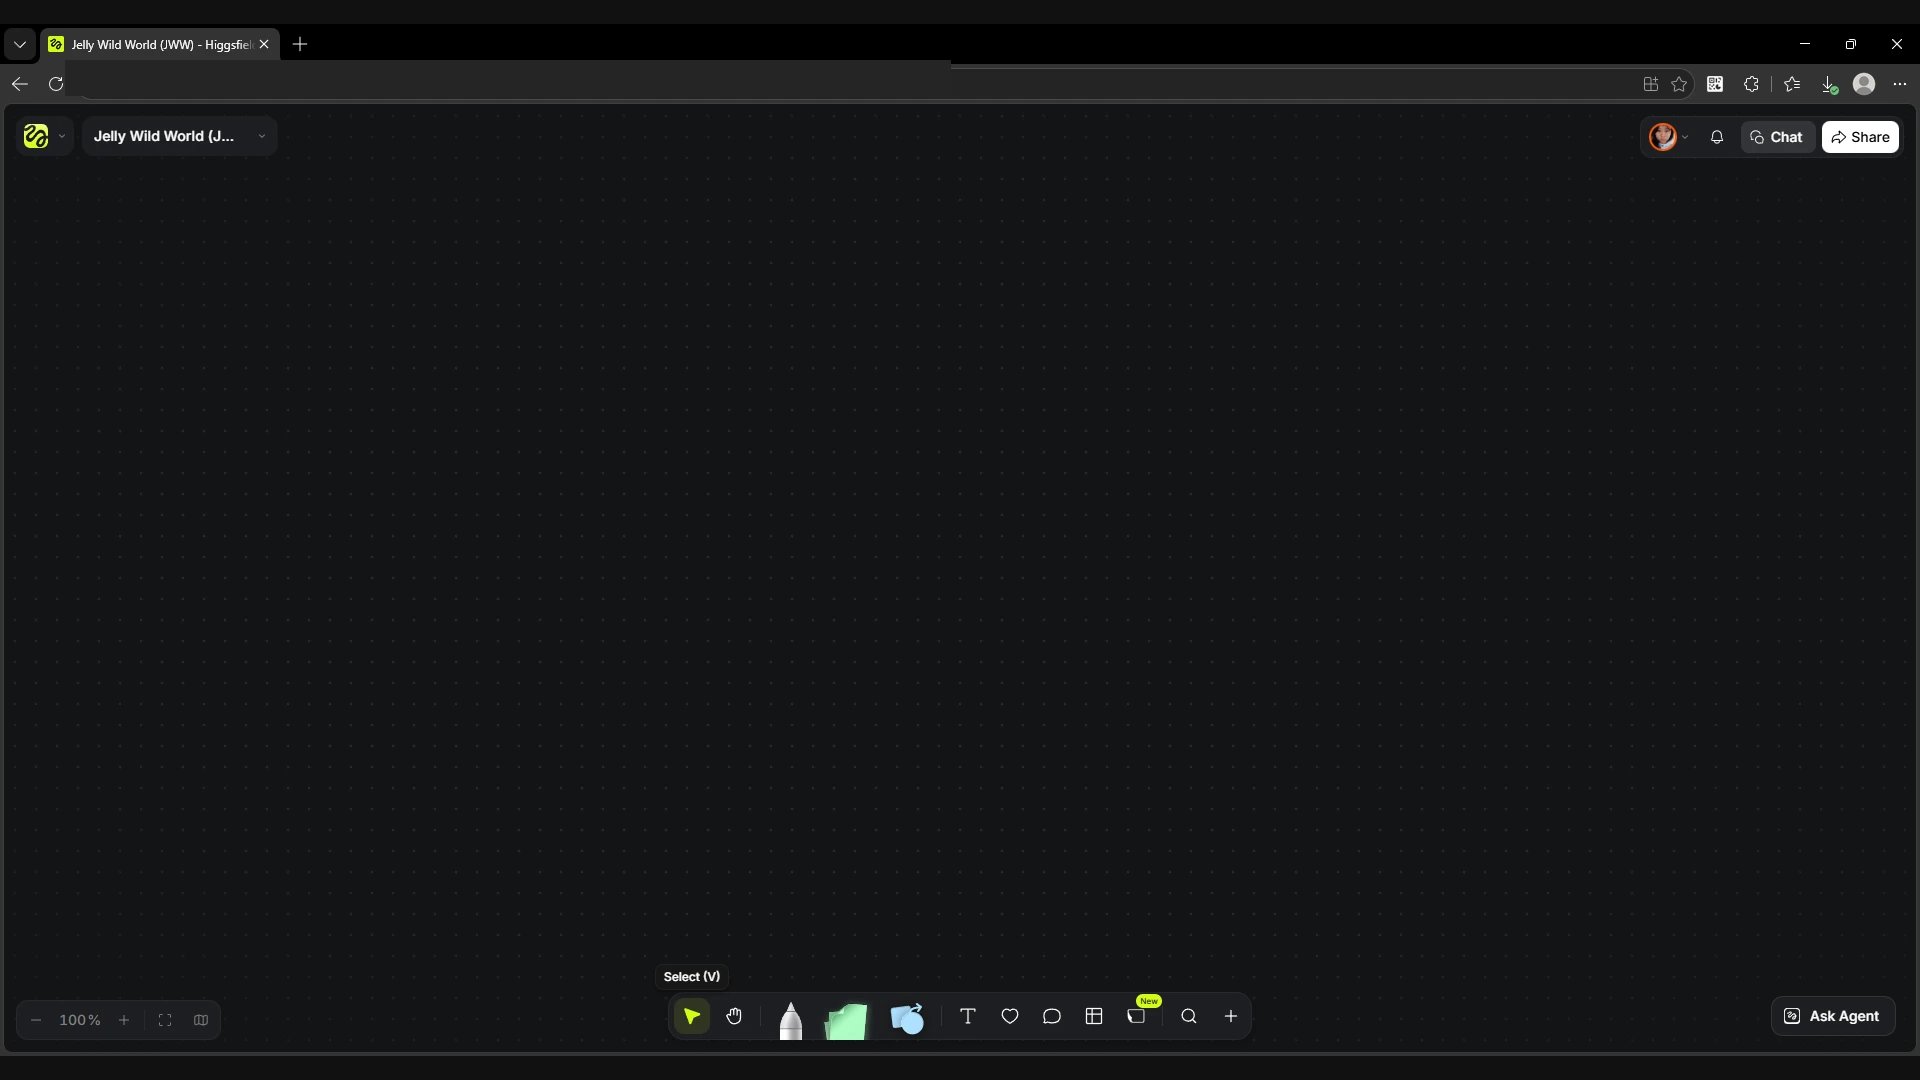
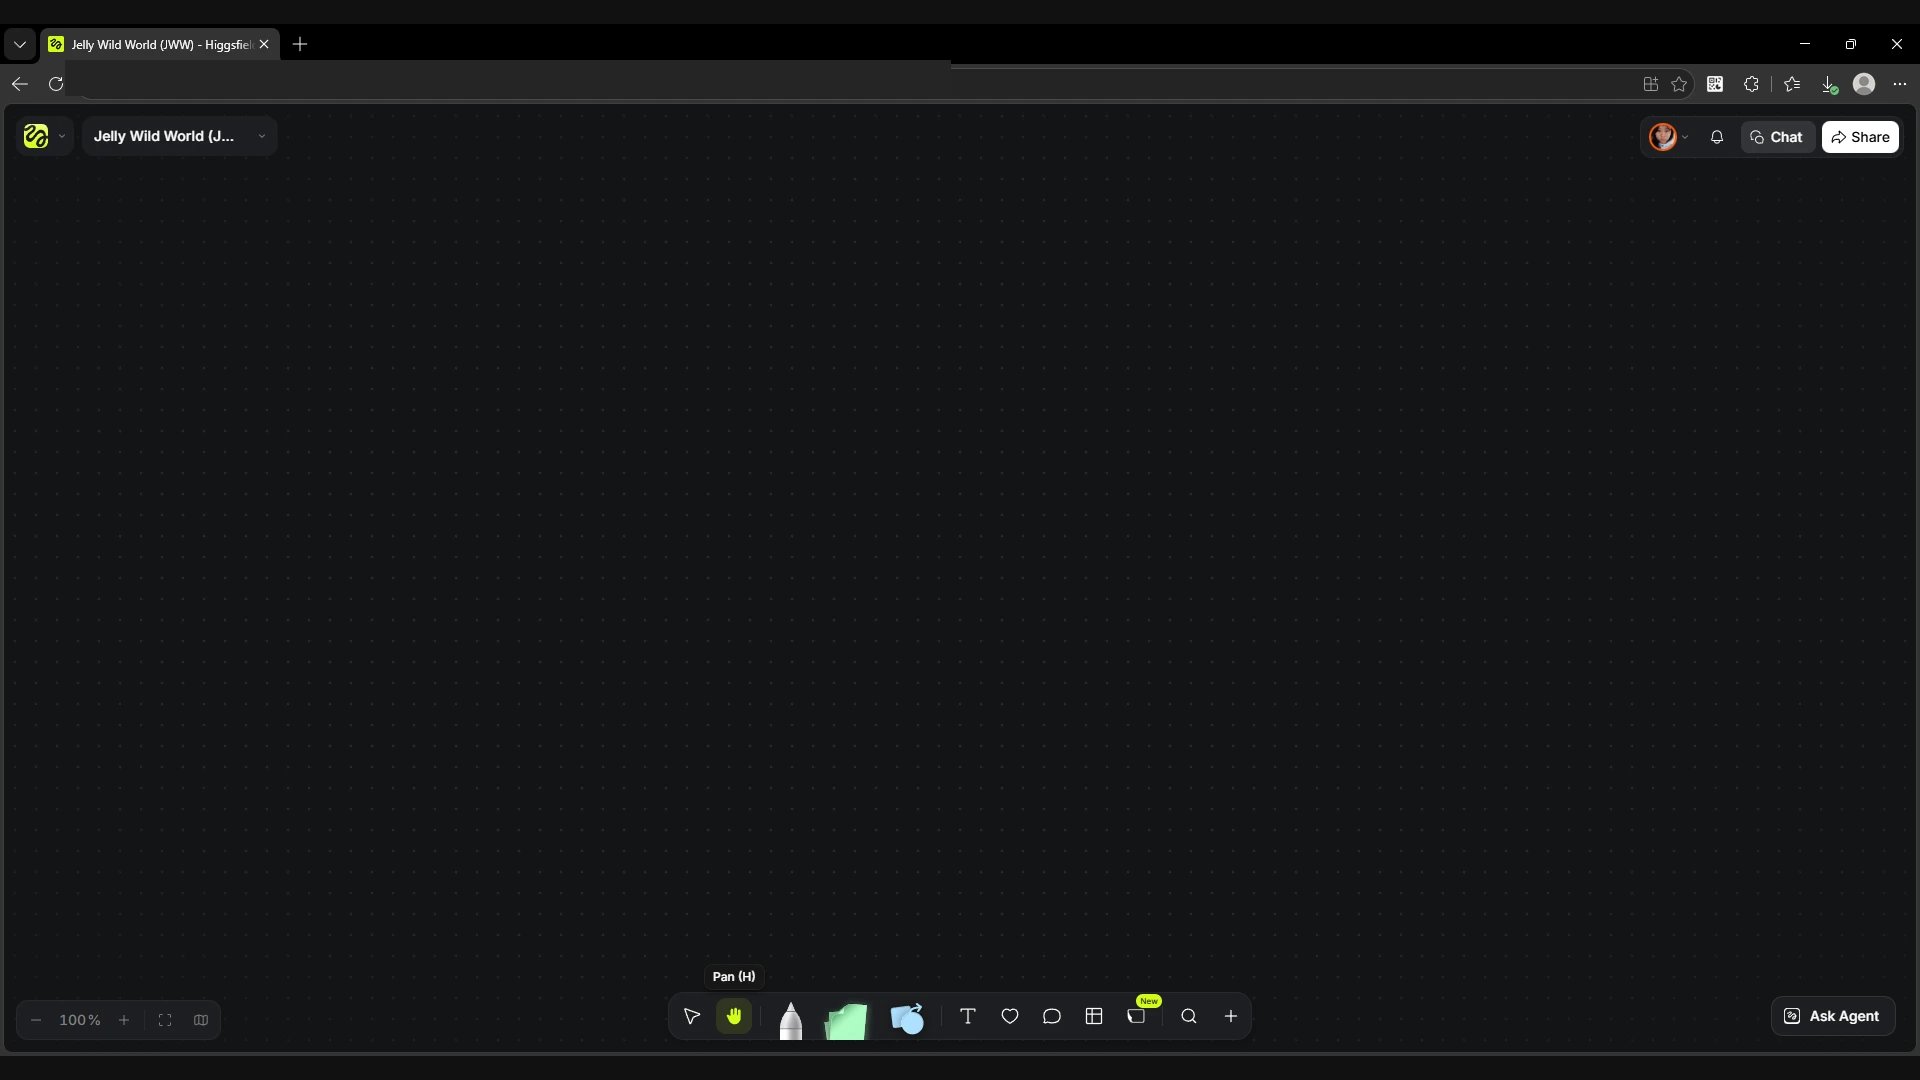
These are the first two buttons on the bottom toolbar. Select (V), the arrow icon, selects objects on the canvas so you can move or edit them. Pan (H), the hand icon, lets you drag the canvas itself. The objects keep their positions.
Screen
Select on the bottom toolbar.
Screen
Pan on the bottom toolbar.
Pen
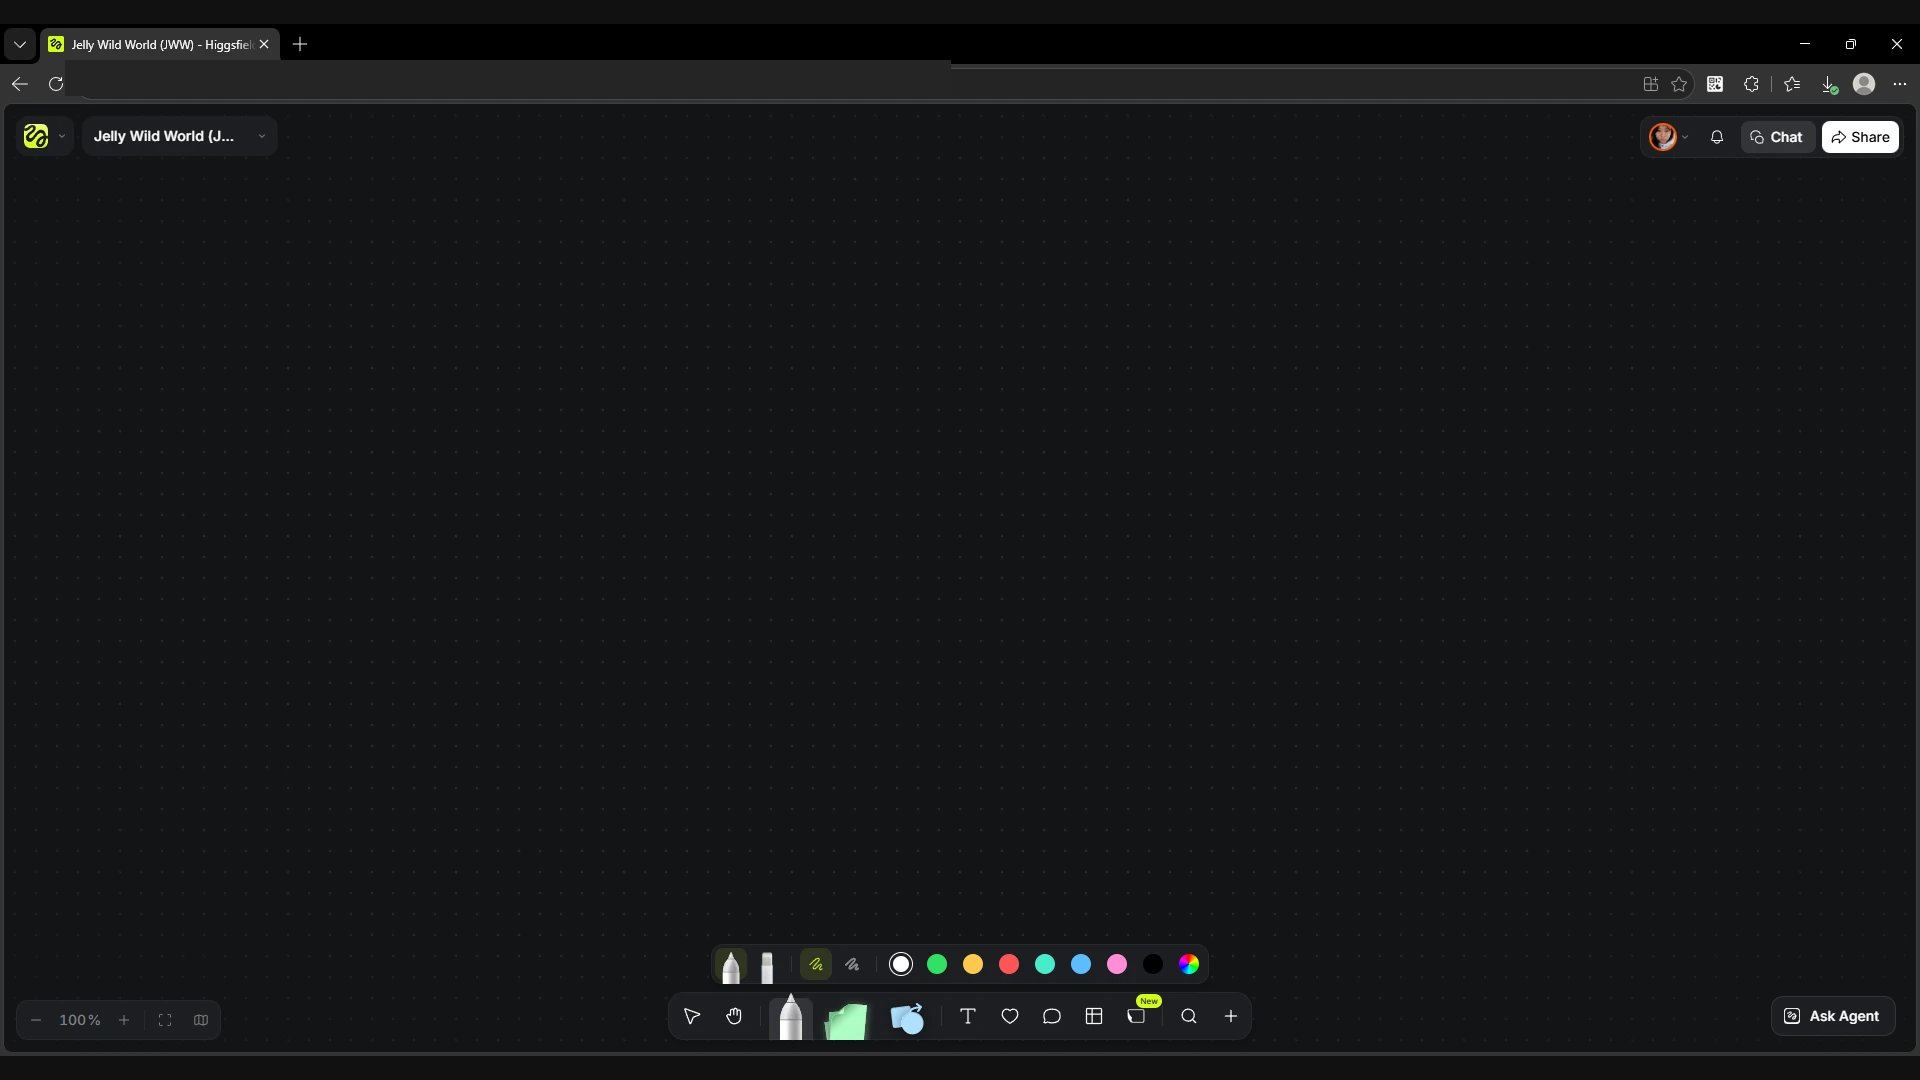
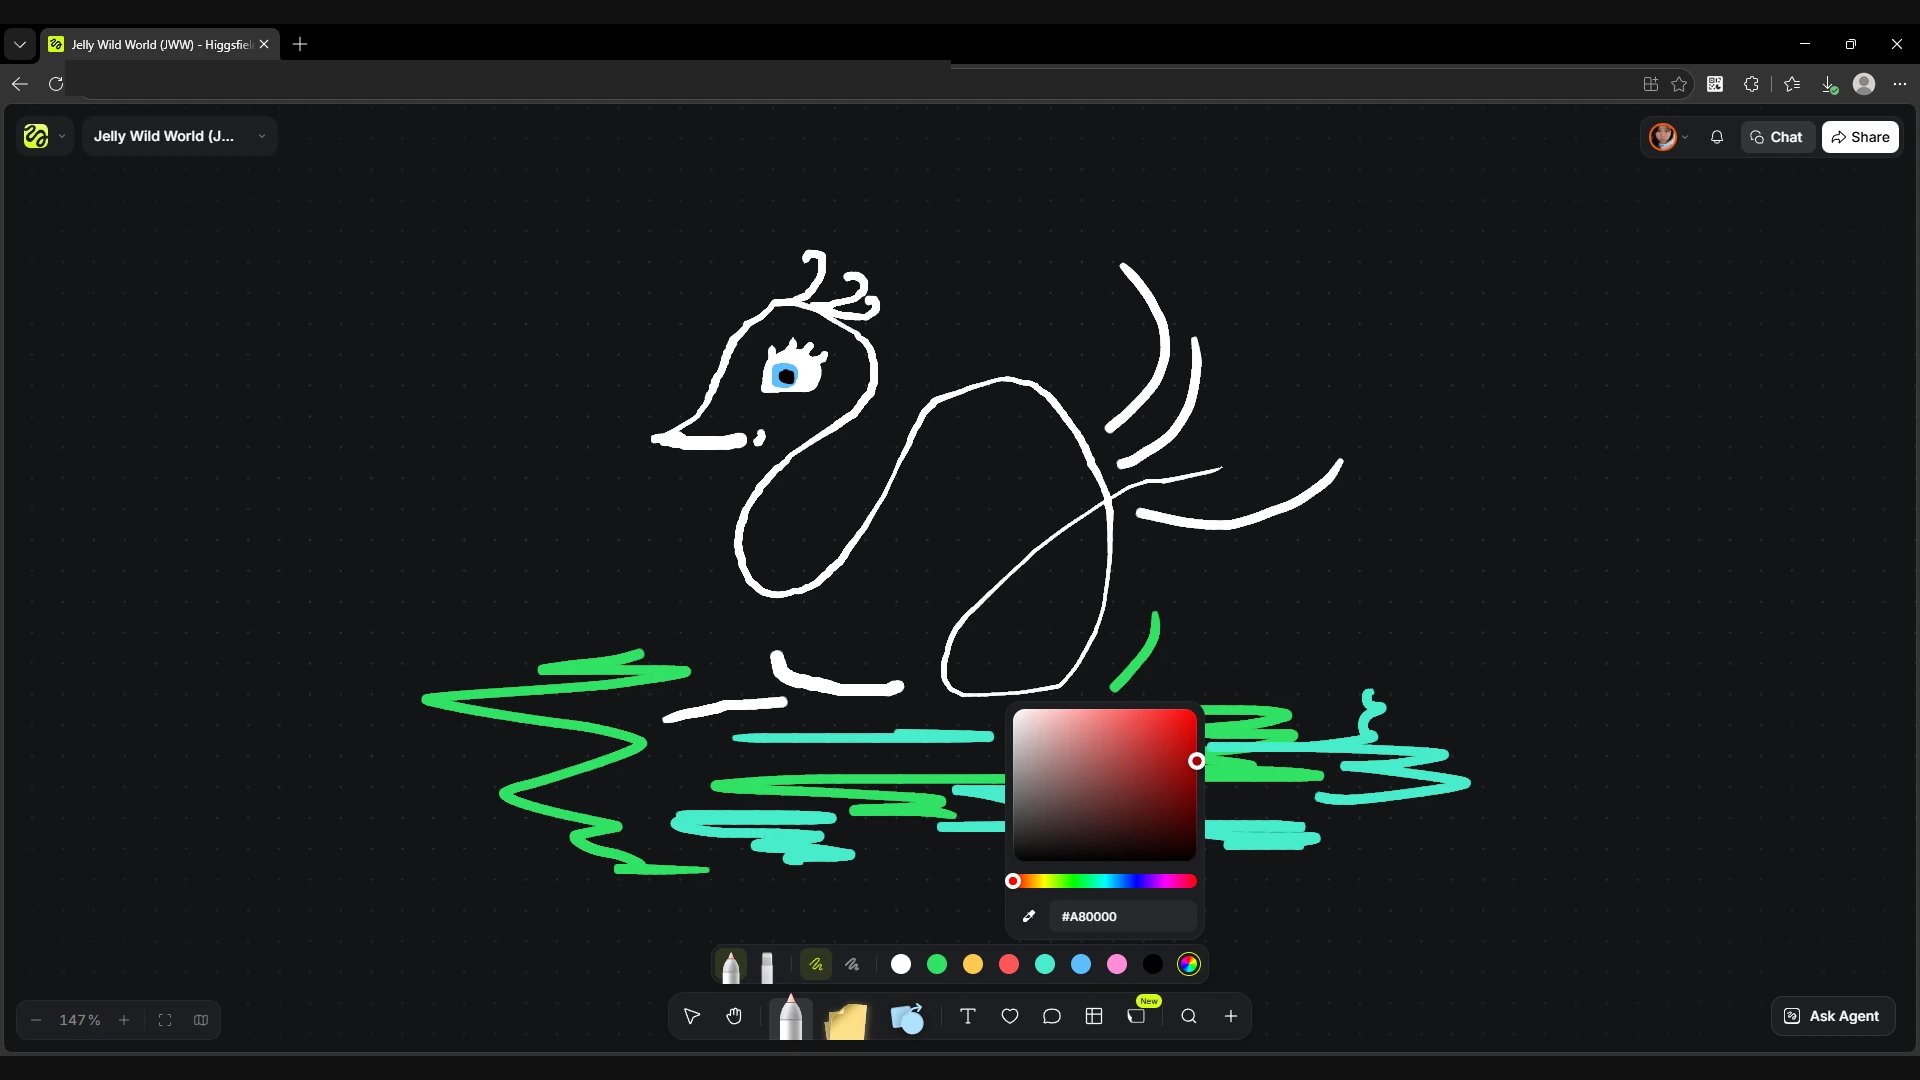
Click Pen next to Pan. Choose a preset colour, or open the rainbow circle on the right to pick a shade or enter a HEX code. The two stroke icons switch between a thin and a thick line. To remove a stroke, choose the eraser and click the line. The whole line is deleted.
Screen
The Pen panel above the bottom toolbar.
Screen
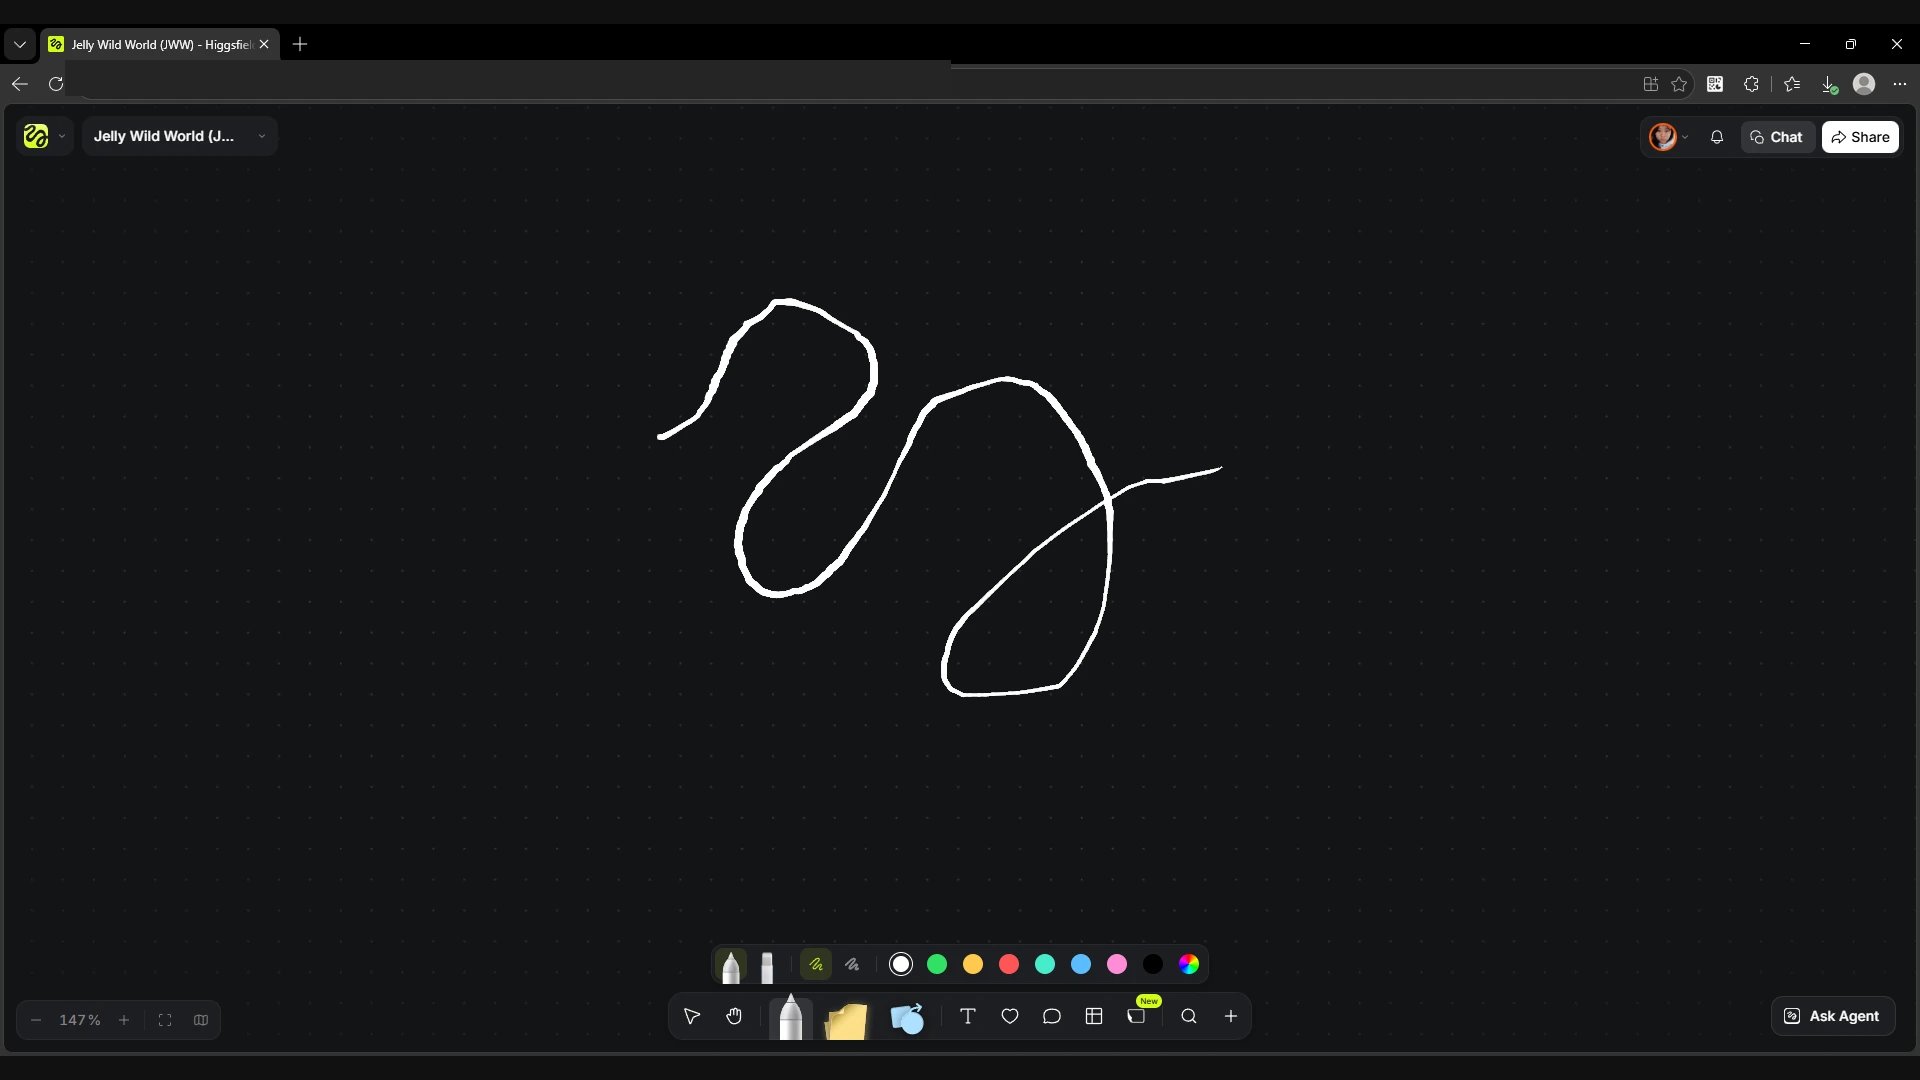
An example line on the canvas.
Screen
The extended palette with the HEX field.
Sticky Note
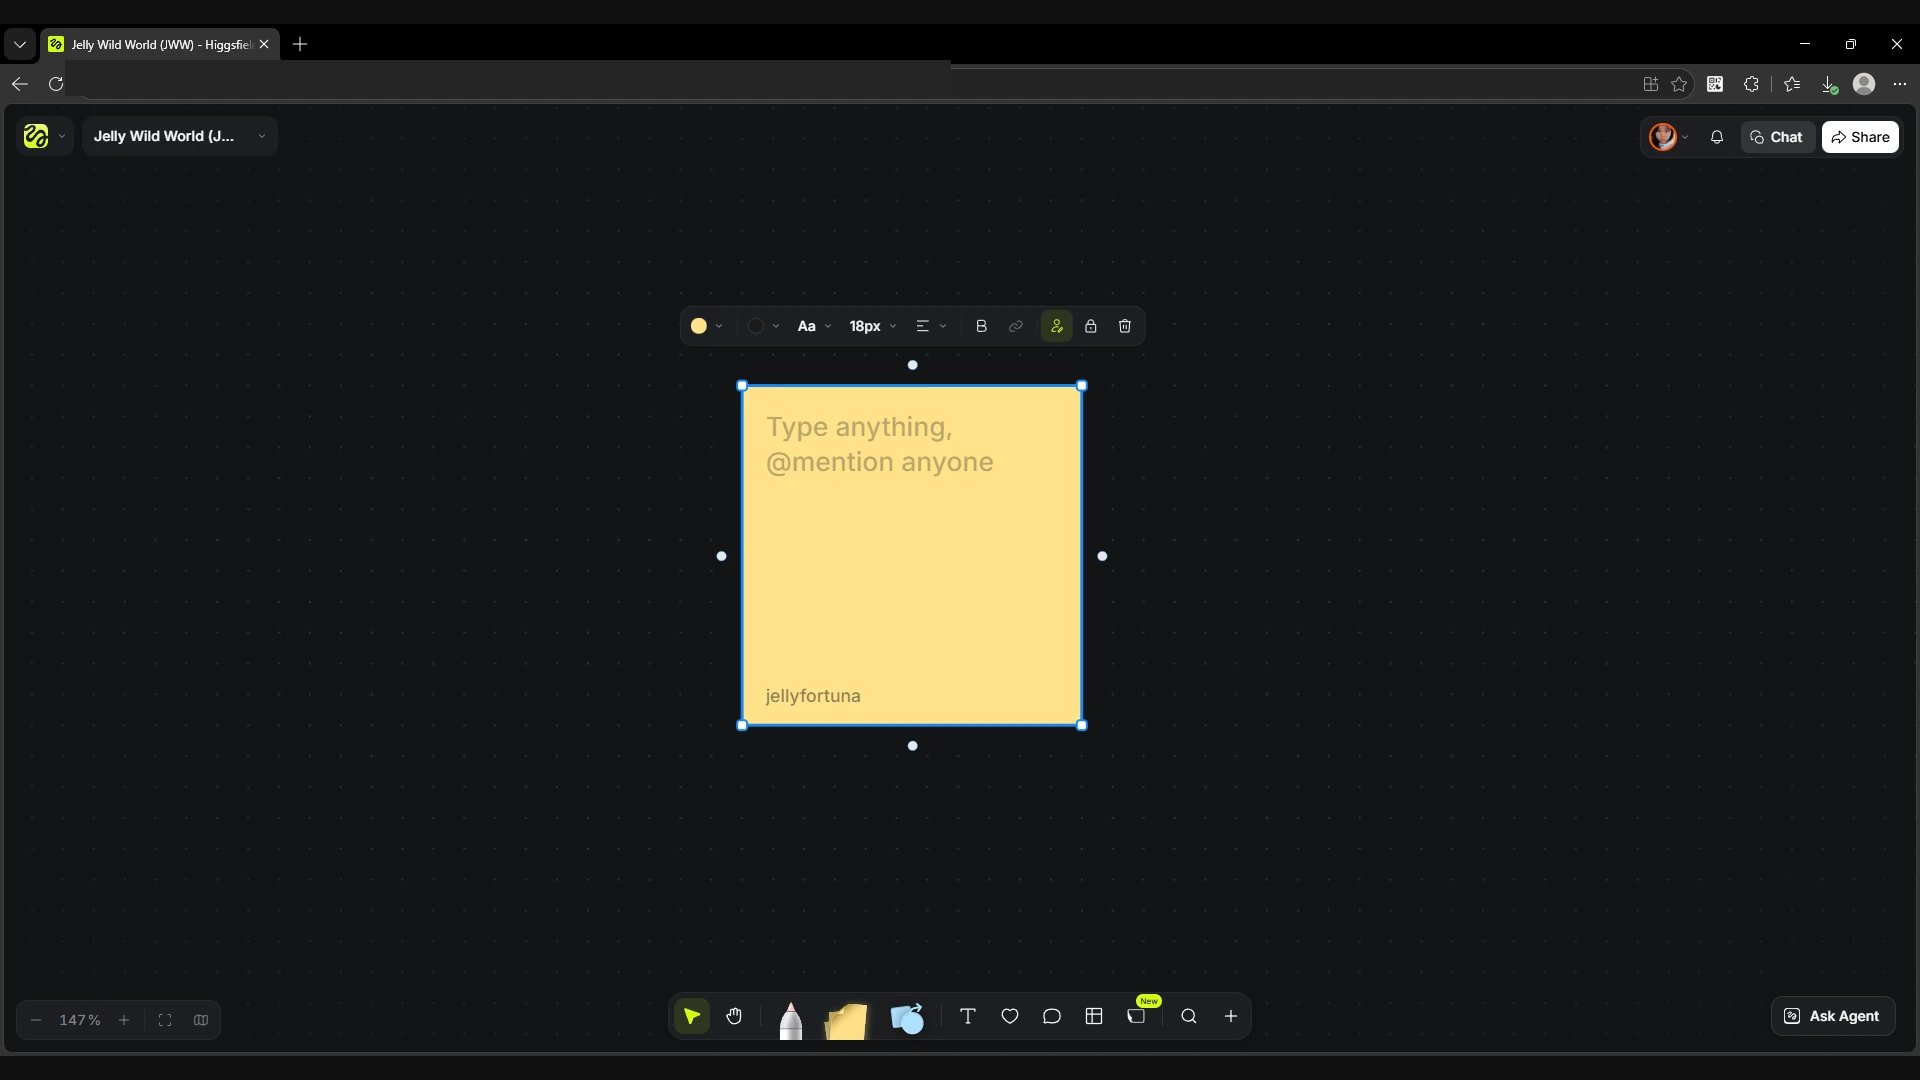
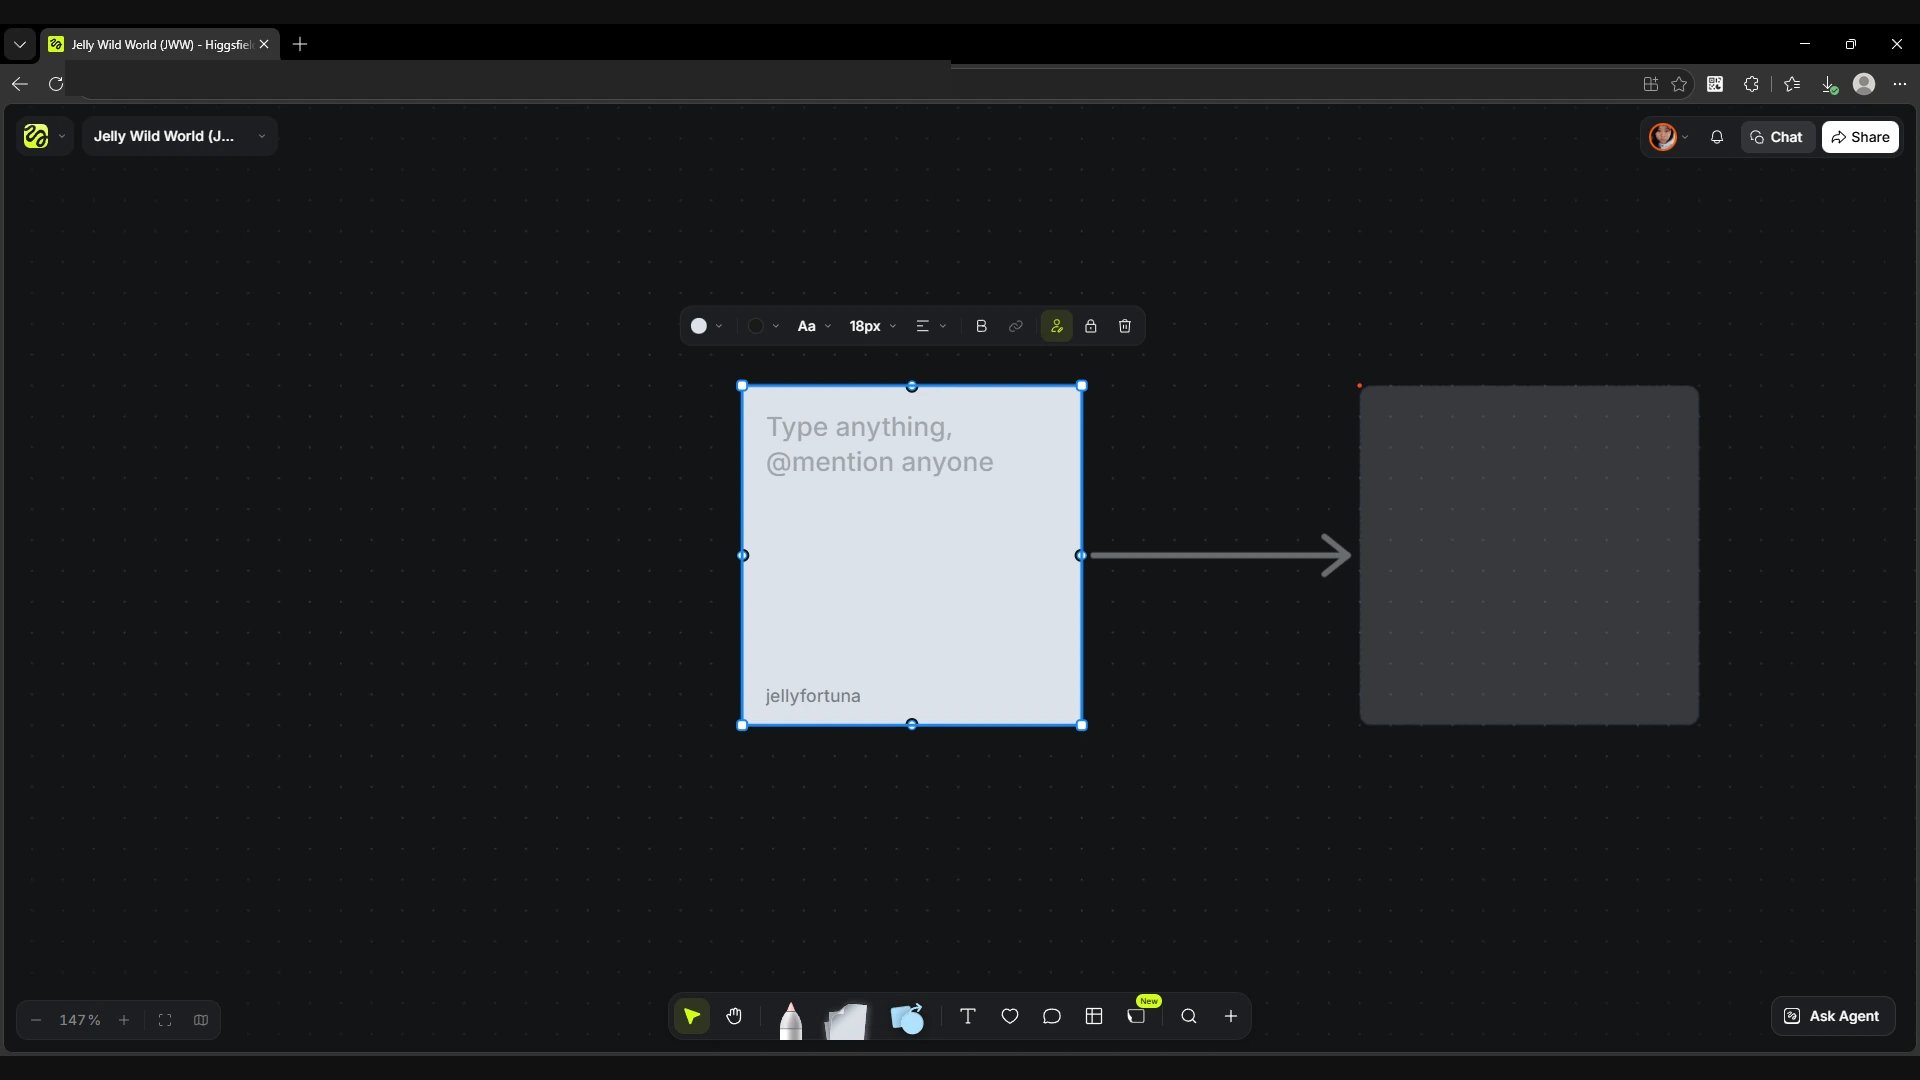
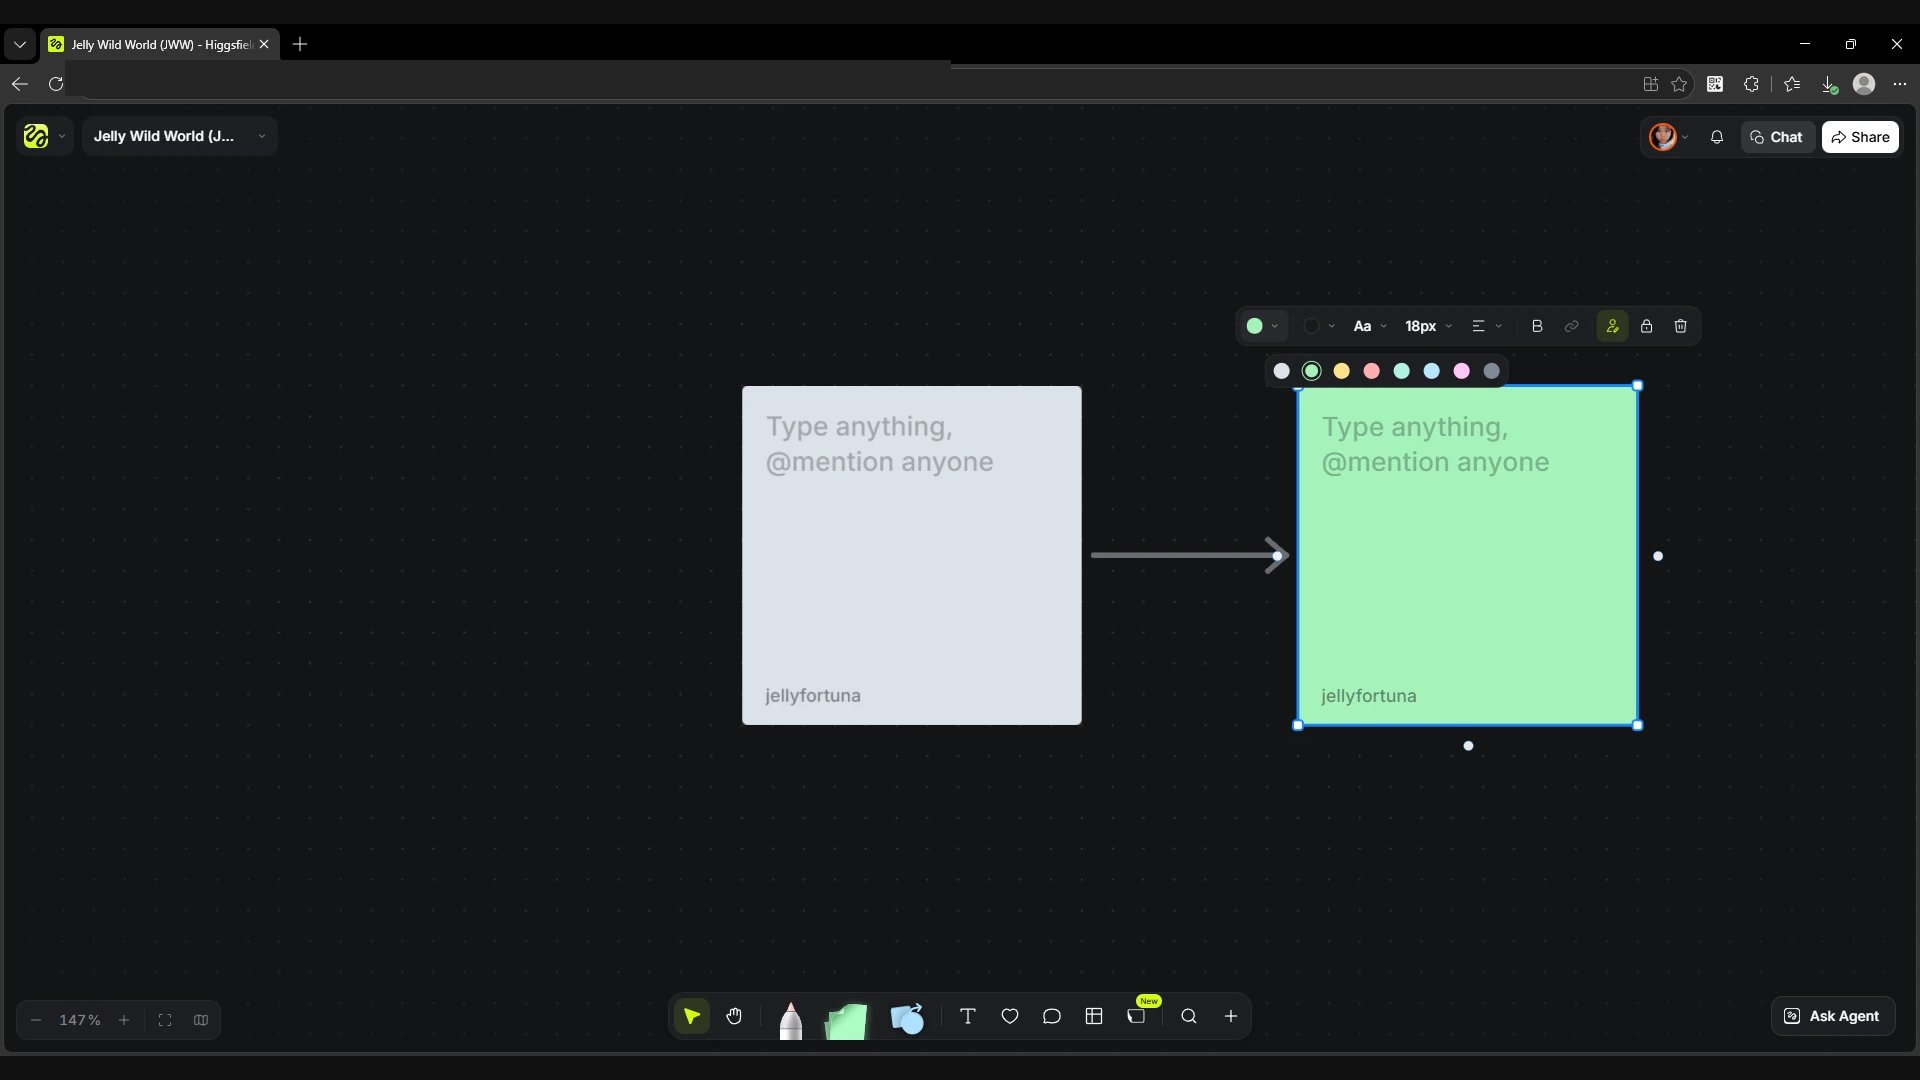
Click the sticky note icon next to Pen, choose a colour and place the note. Write an idea or a comment on a reference, or mention a colleague with @. When you select a sticky note, settings for background, size and text alignment appear above it. A team can agree on a colour for each member. To show a dependency between notes, drag an arrow from the round dot on the edge of a sticky note to another note.
Screen
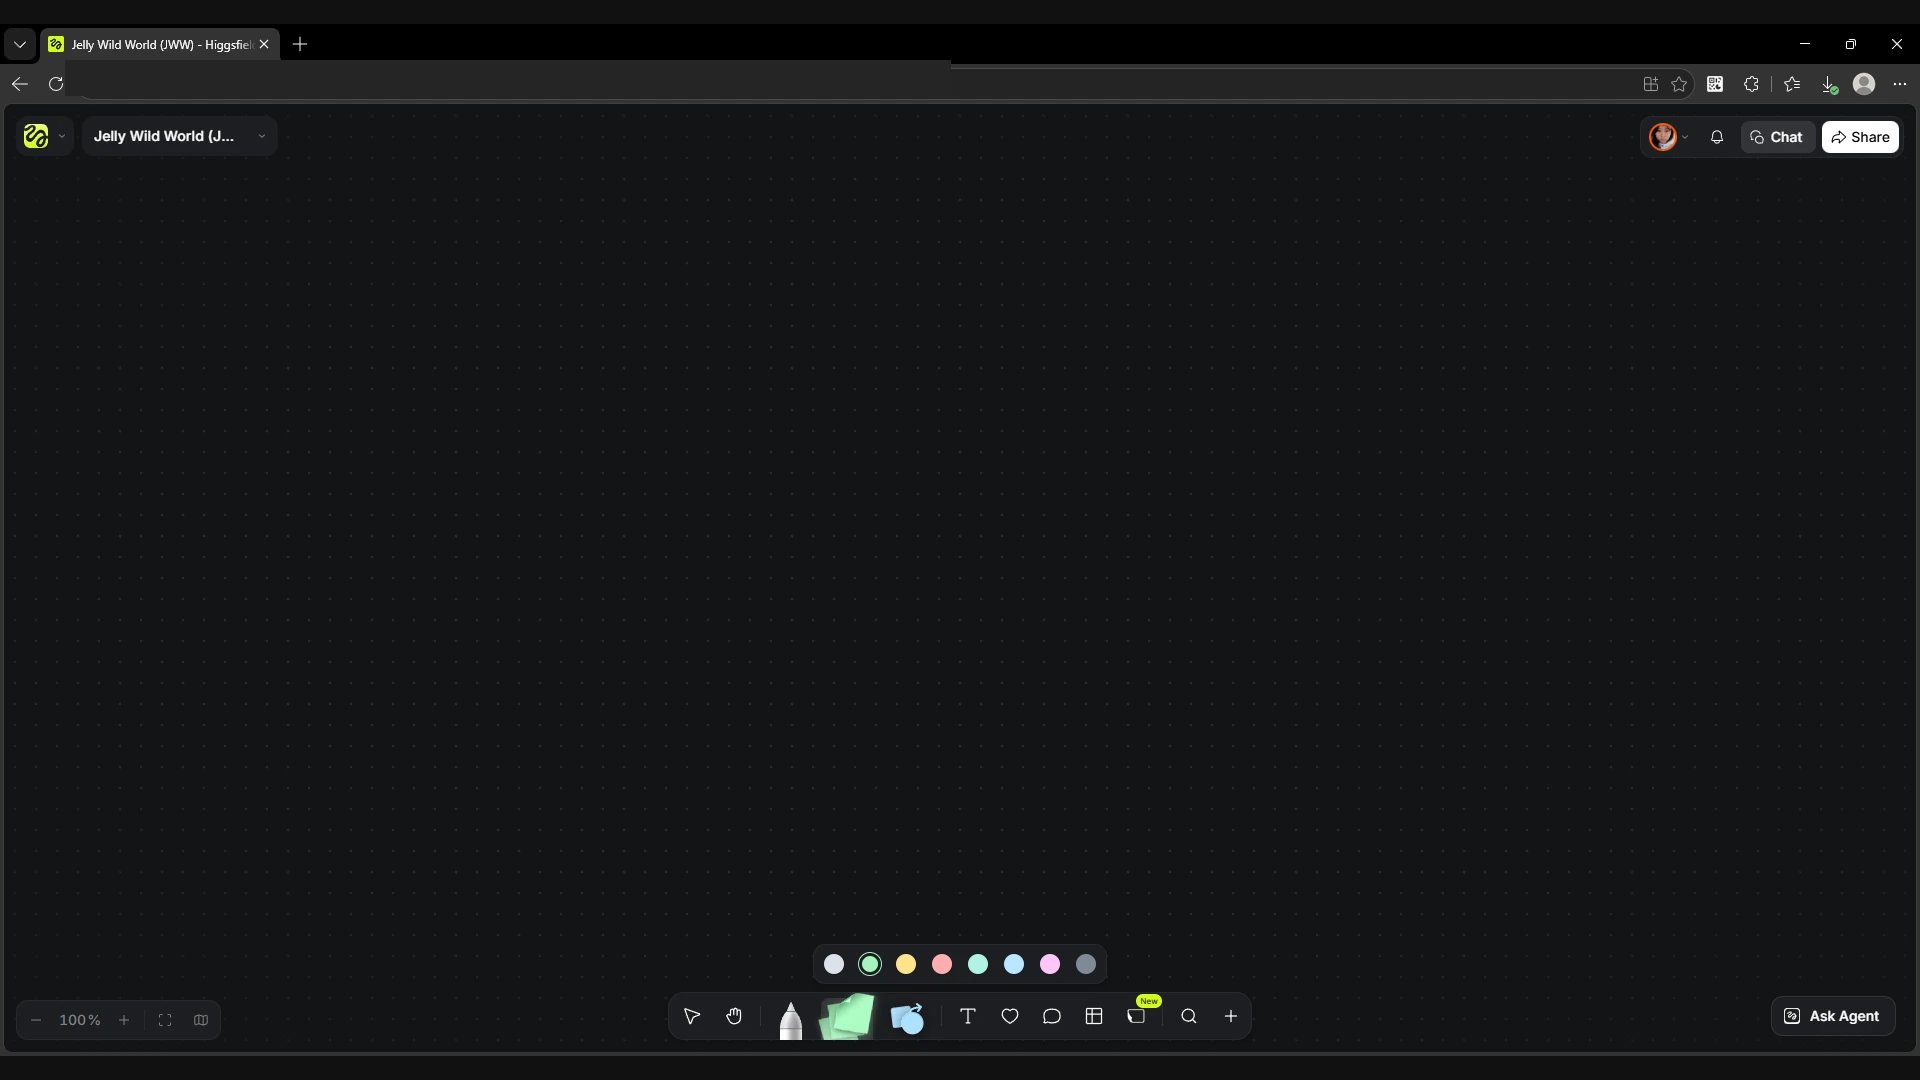
Choosing a colour before placing a sticky note.
Screen
A sticky note with the editing panel.
Screen
An arrow from the edge of a note.
Screen
Two linked notes and a background colour change.
Shapes
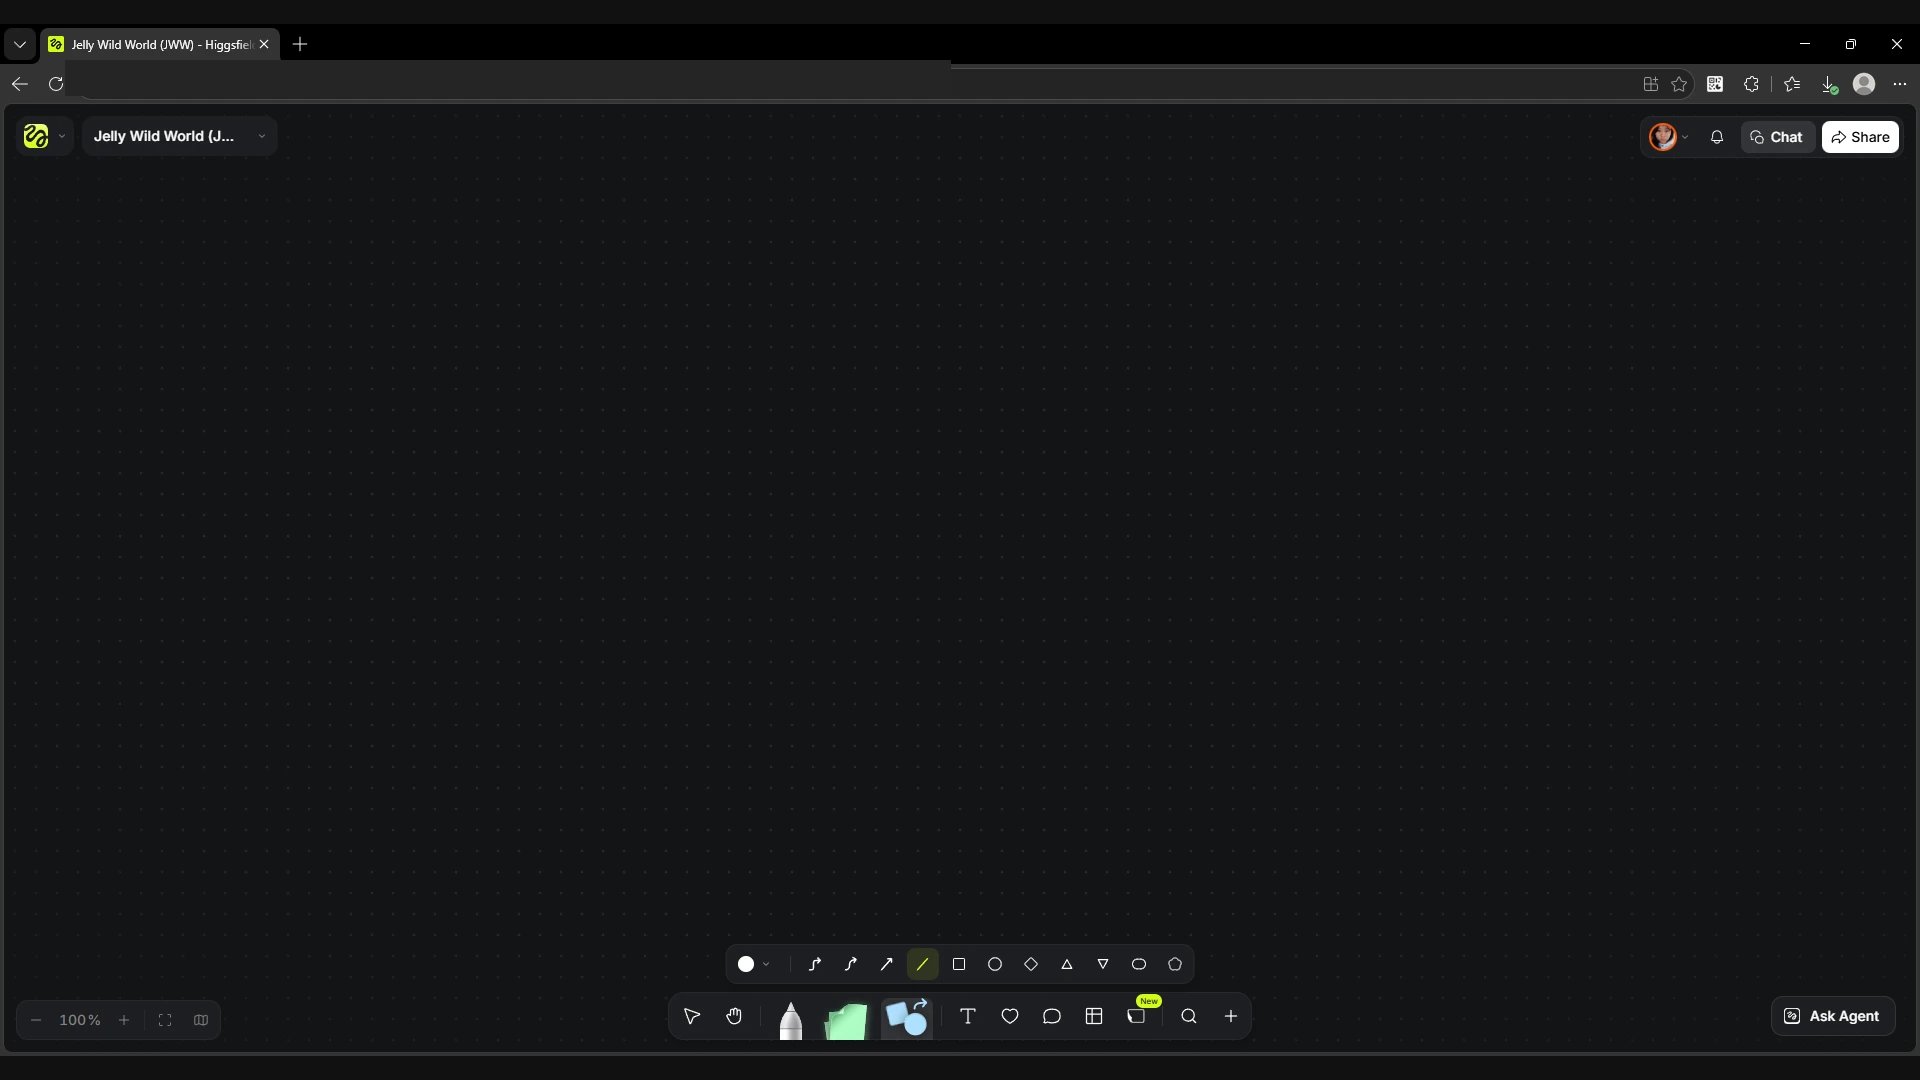
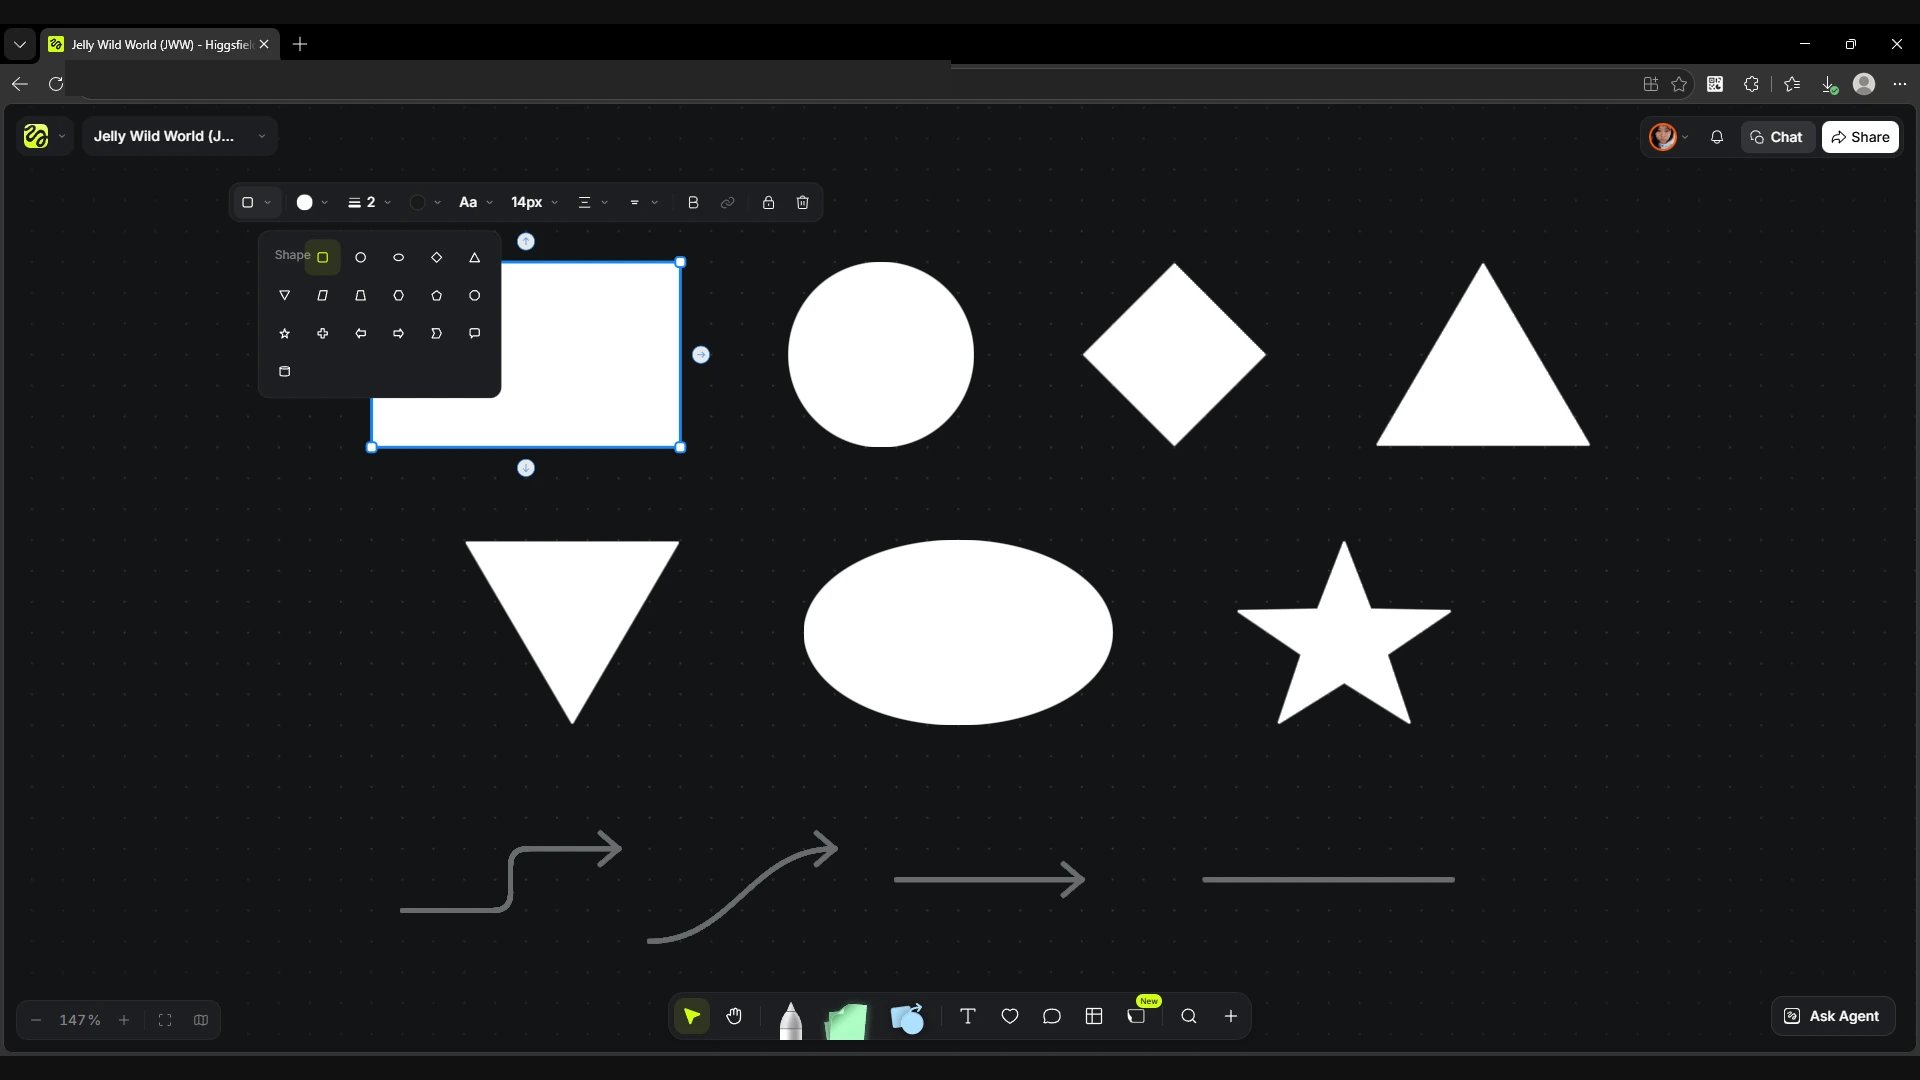
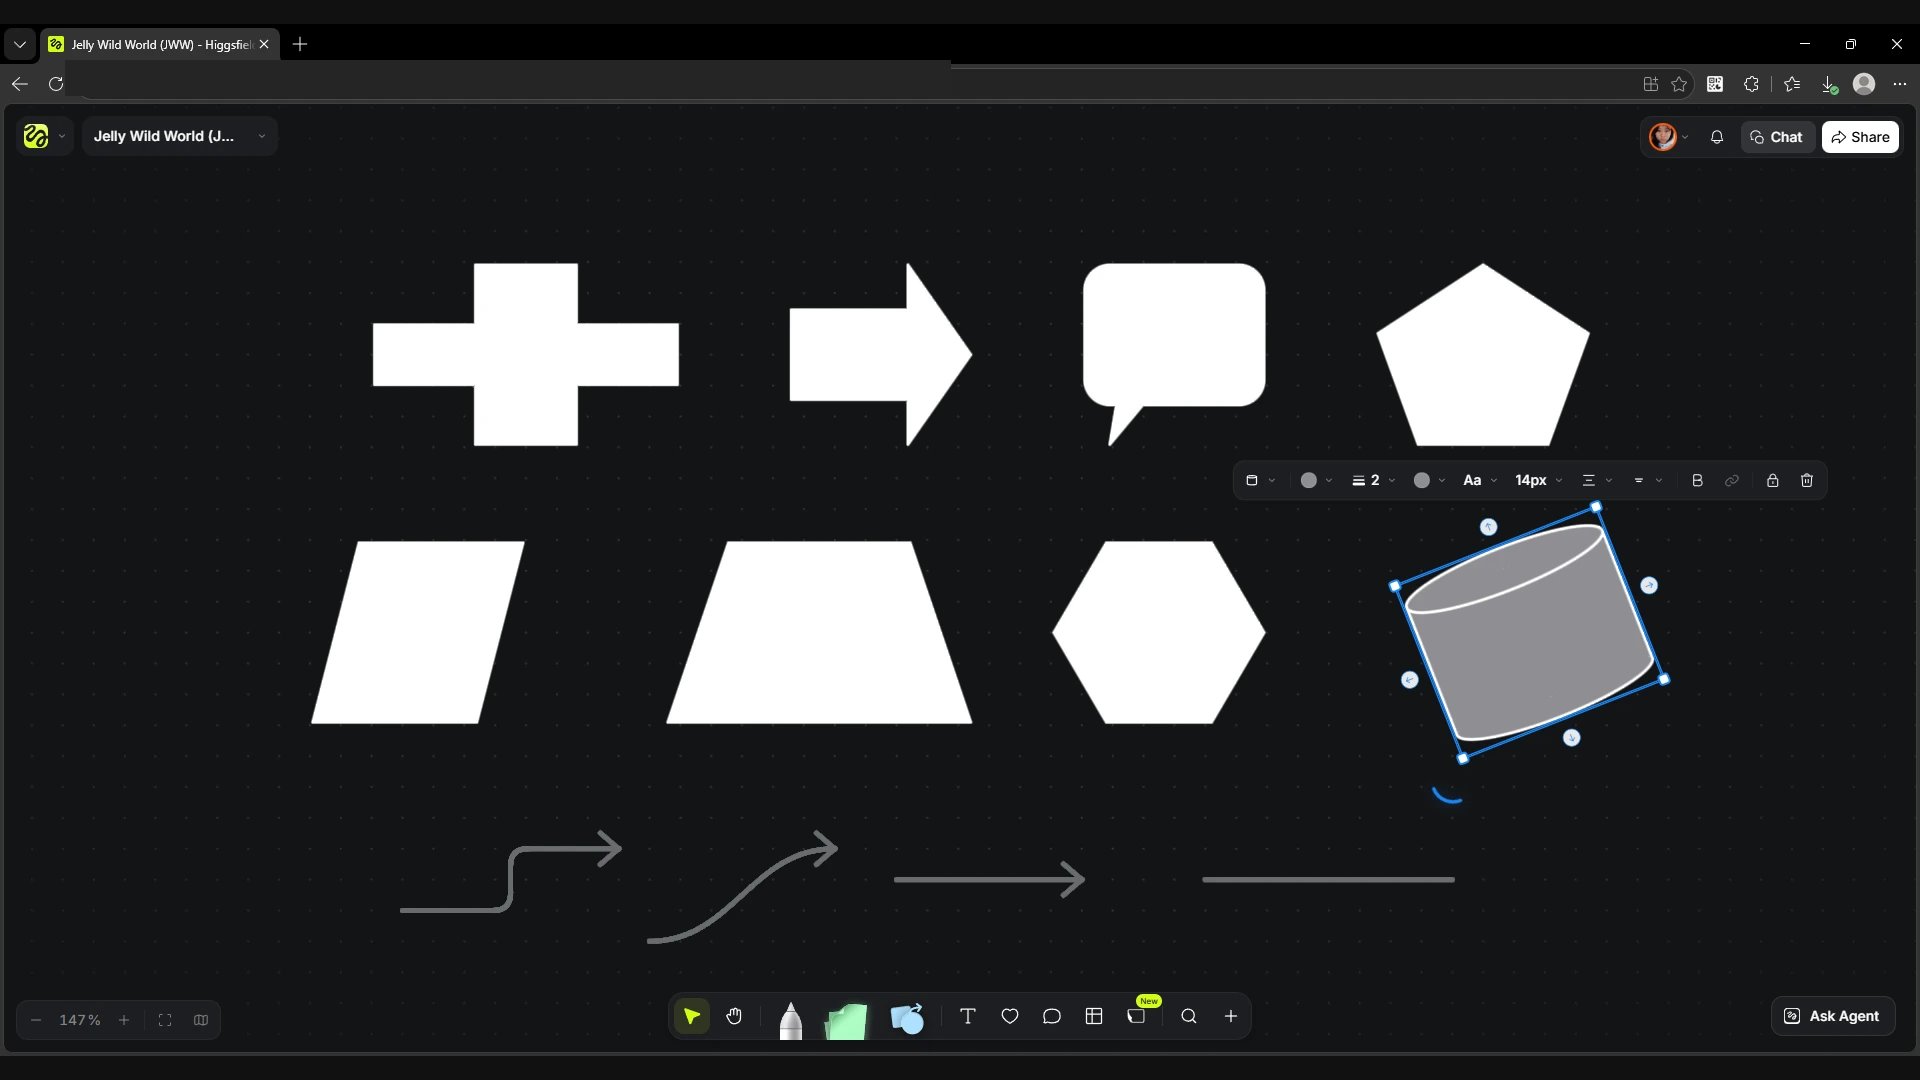
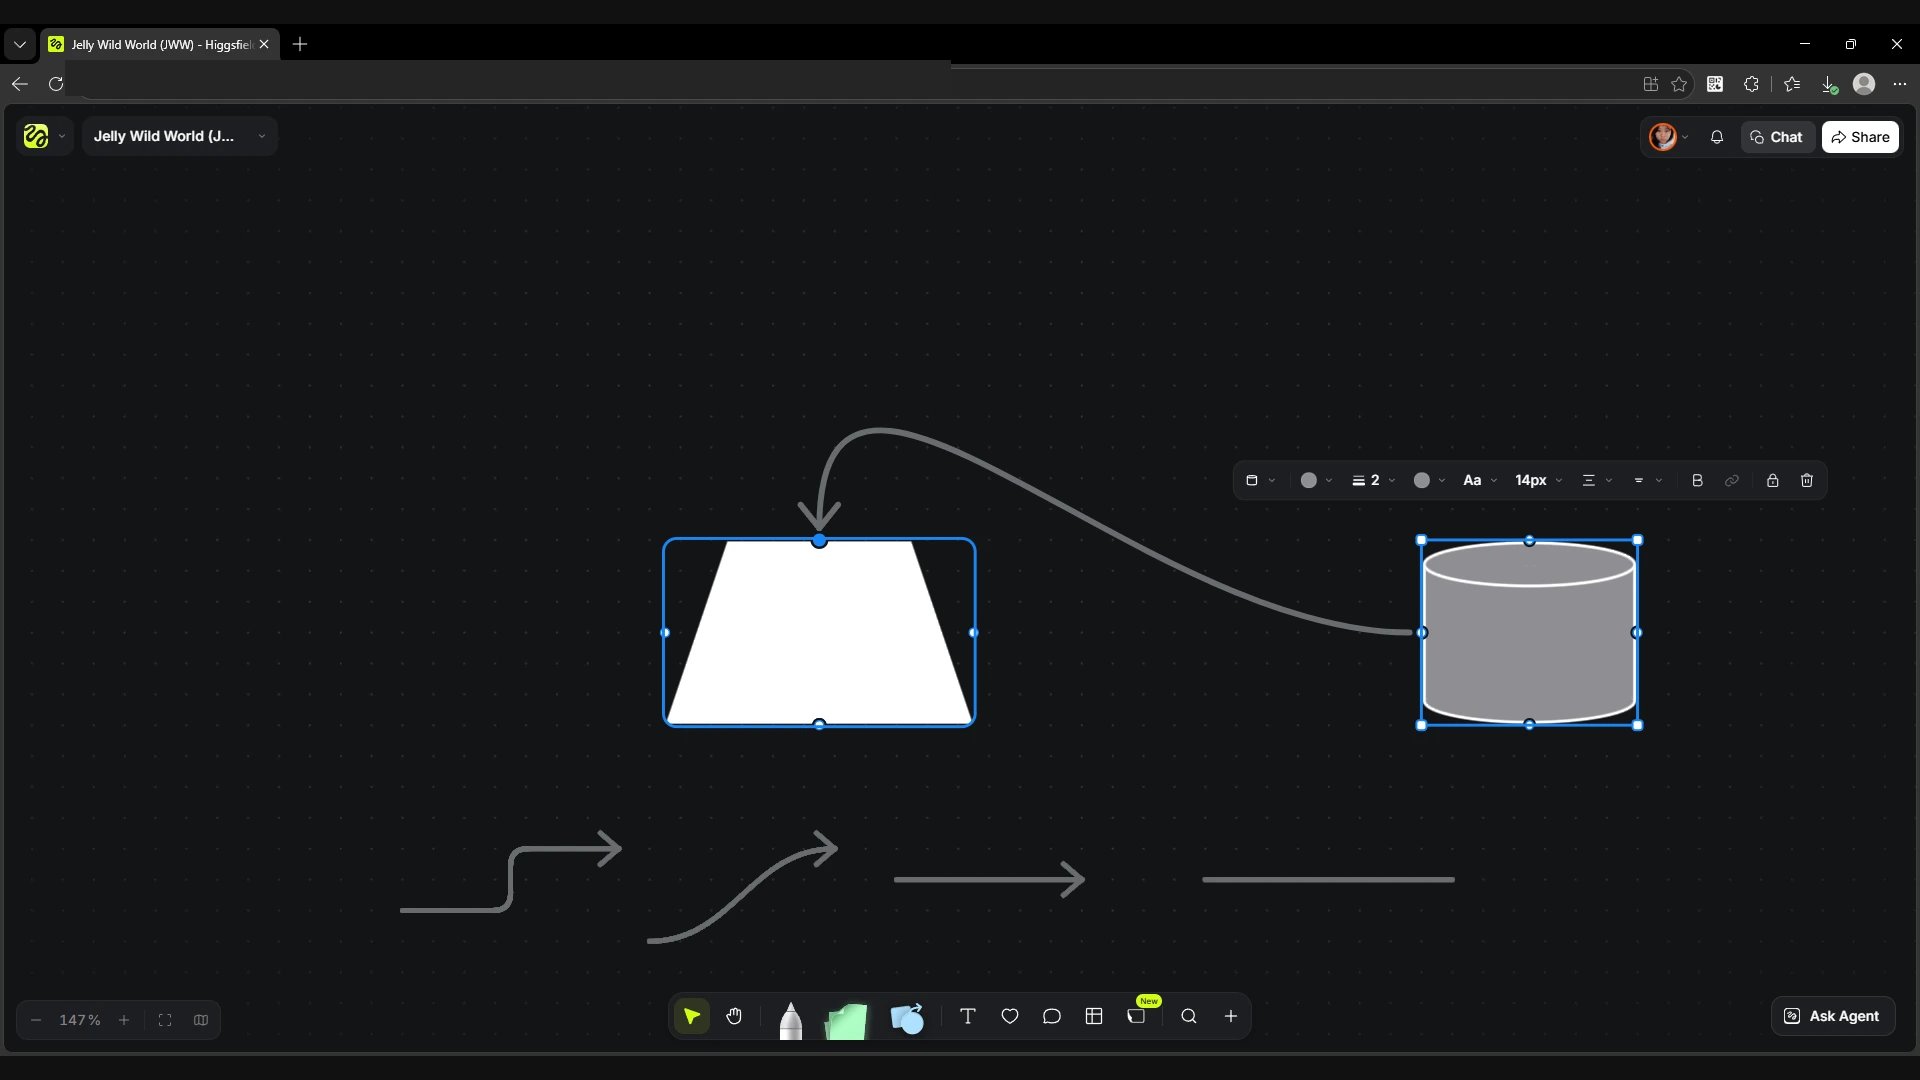
Open Shapes next to the sticky notes. The quick menu has basic shapes, straight, curved and elbow arrows, and a line. To change the form of an object you have already created, select it and click the current shape icon on the left of the panel above it. There are more options there, including a trapezoid and a cylinder. The corner handles resize the shape, and a separate handle rotates it. Arrows between the dots on the edges of shapes show order or dependencies in a diagram.
Screen
Quick choice of shapes, arrows and lines.
Screen
The extended shape menu for the selected object.
Screen
A selected shape with the rotation handle.
Screen
An example of two connected shapes.
Text
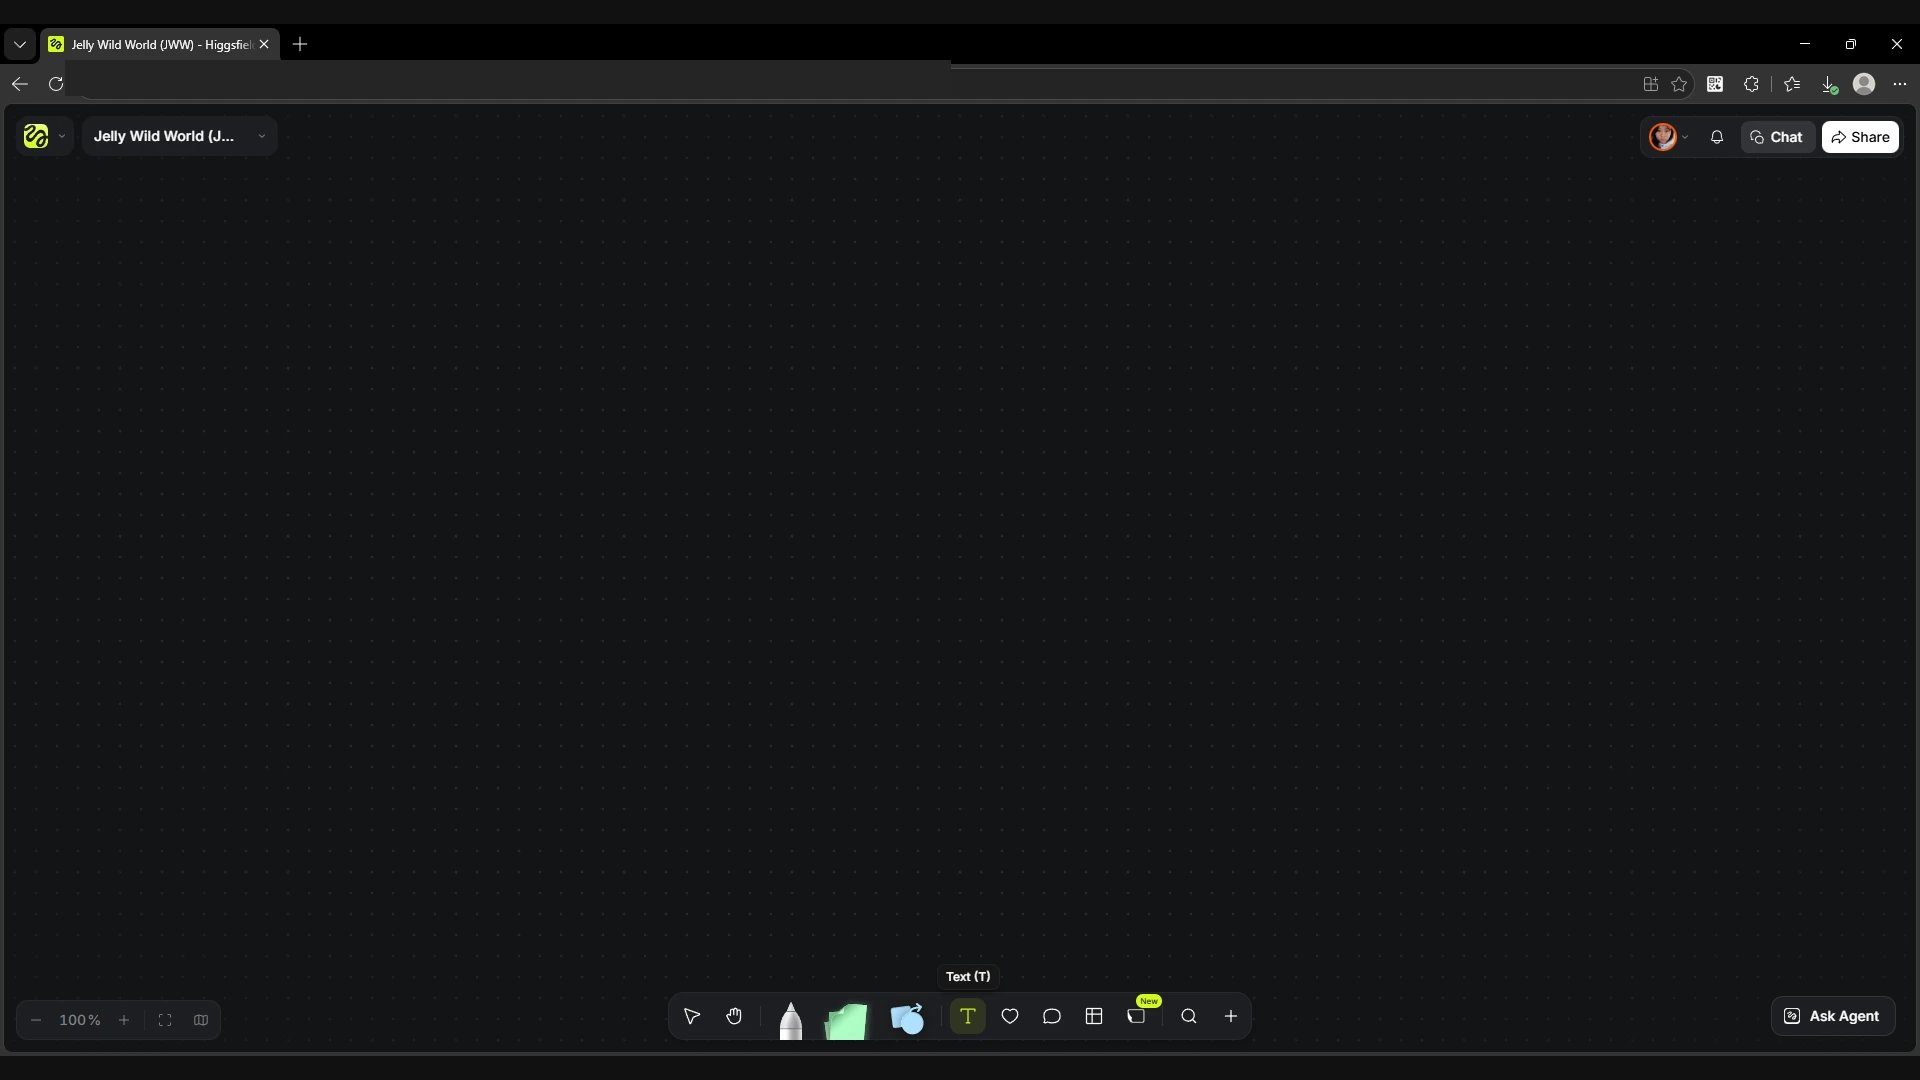
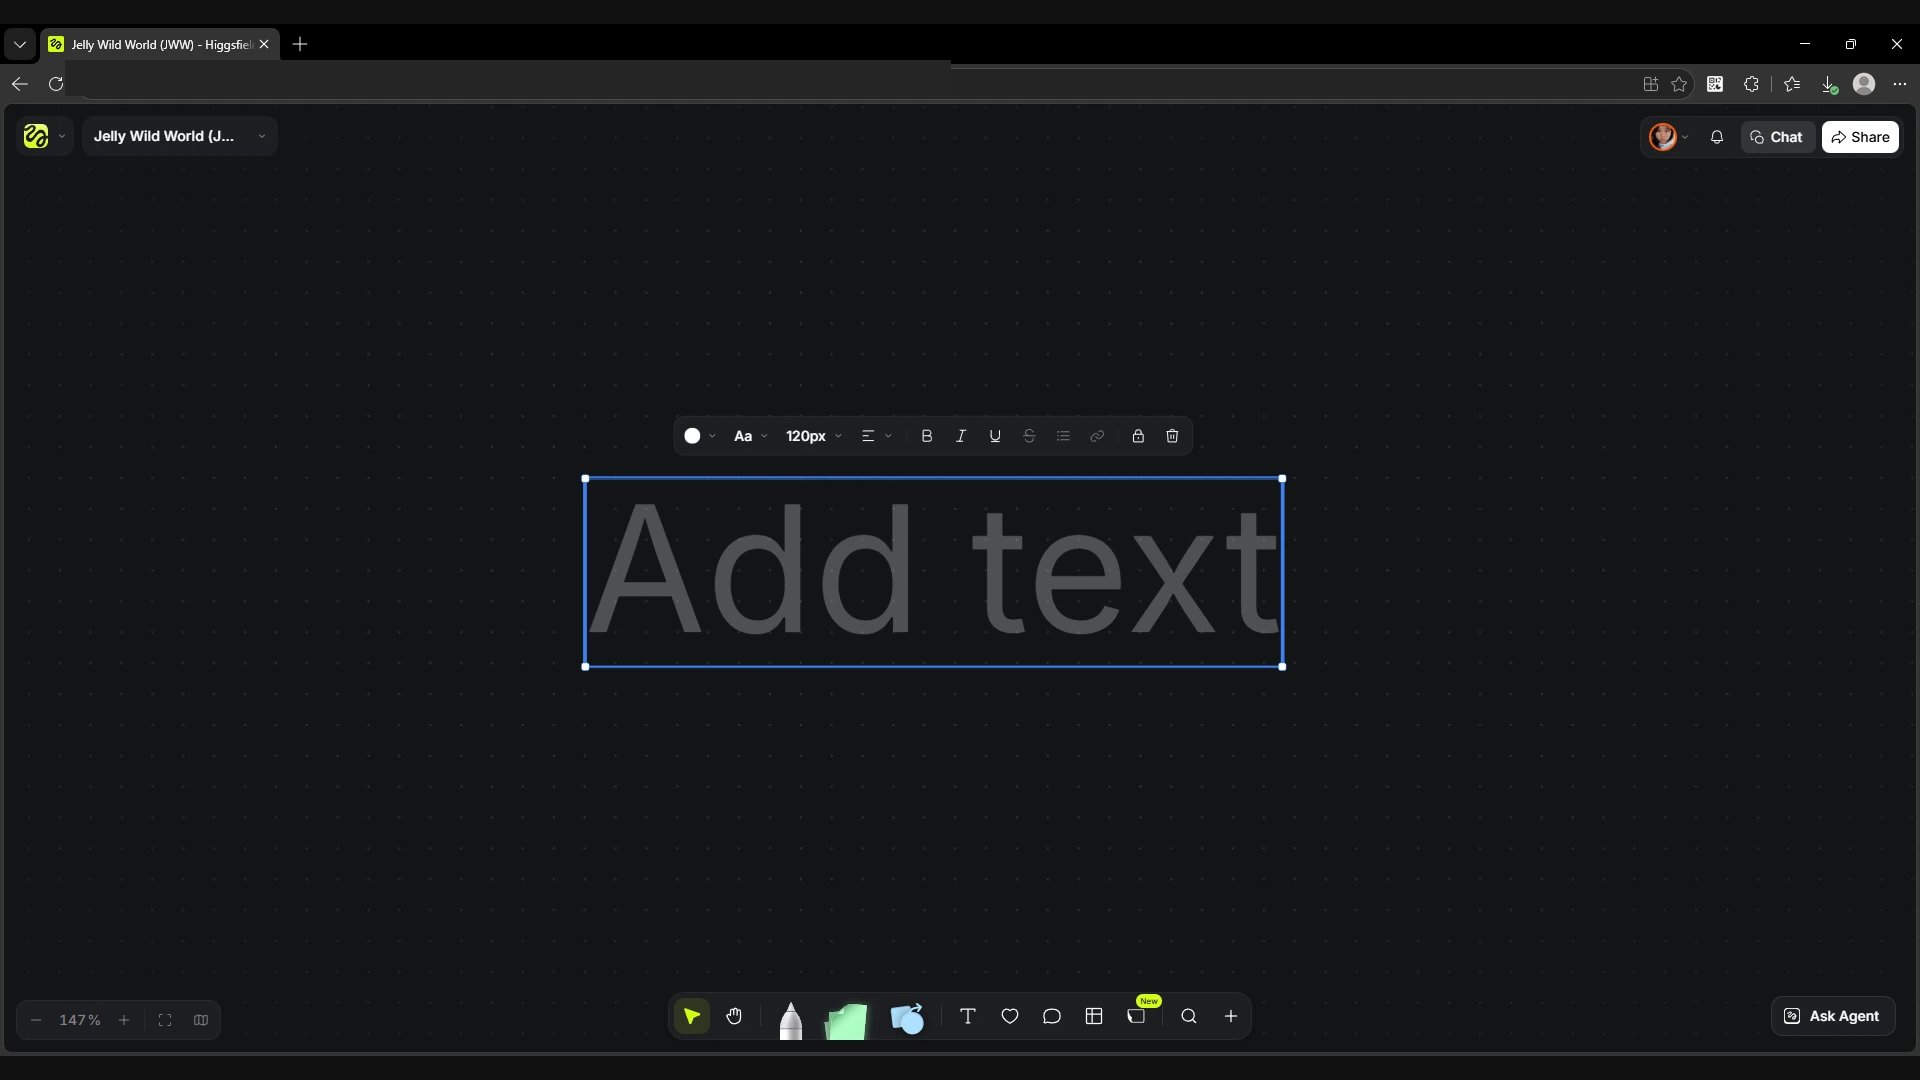
Click Text (T) to the right of Shapes and place a text block on the canvas. It works for headings, captions for references and explanations. A panel appears above the selected block where you can change the colour, font, size and alignment, choose a text style, make a list, add a link, or lock or delete the block.
Screen
The Text button on the bottom toolbar.
Screen
The editing panel above a text block.
Emoji
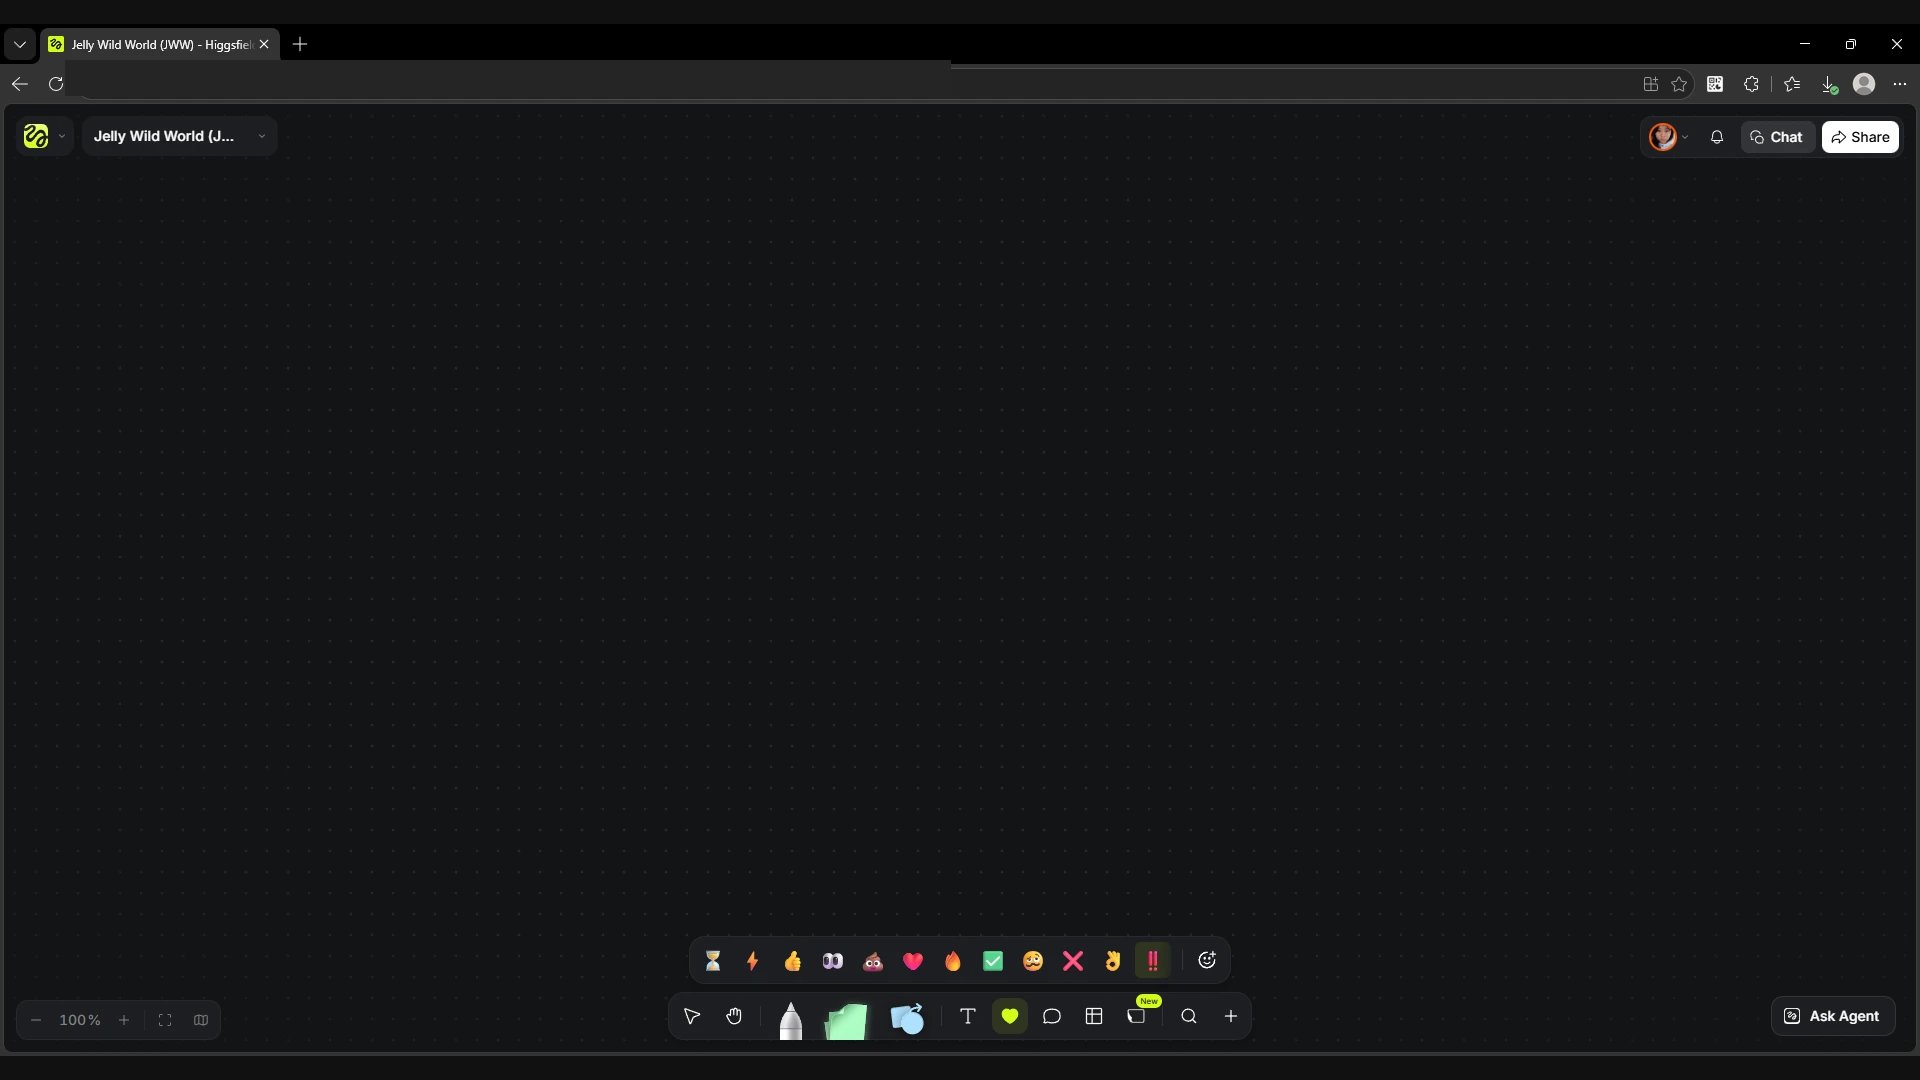
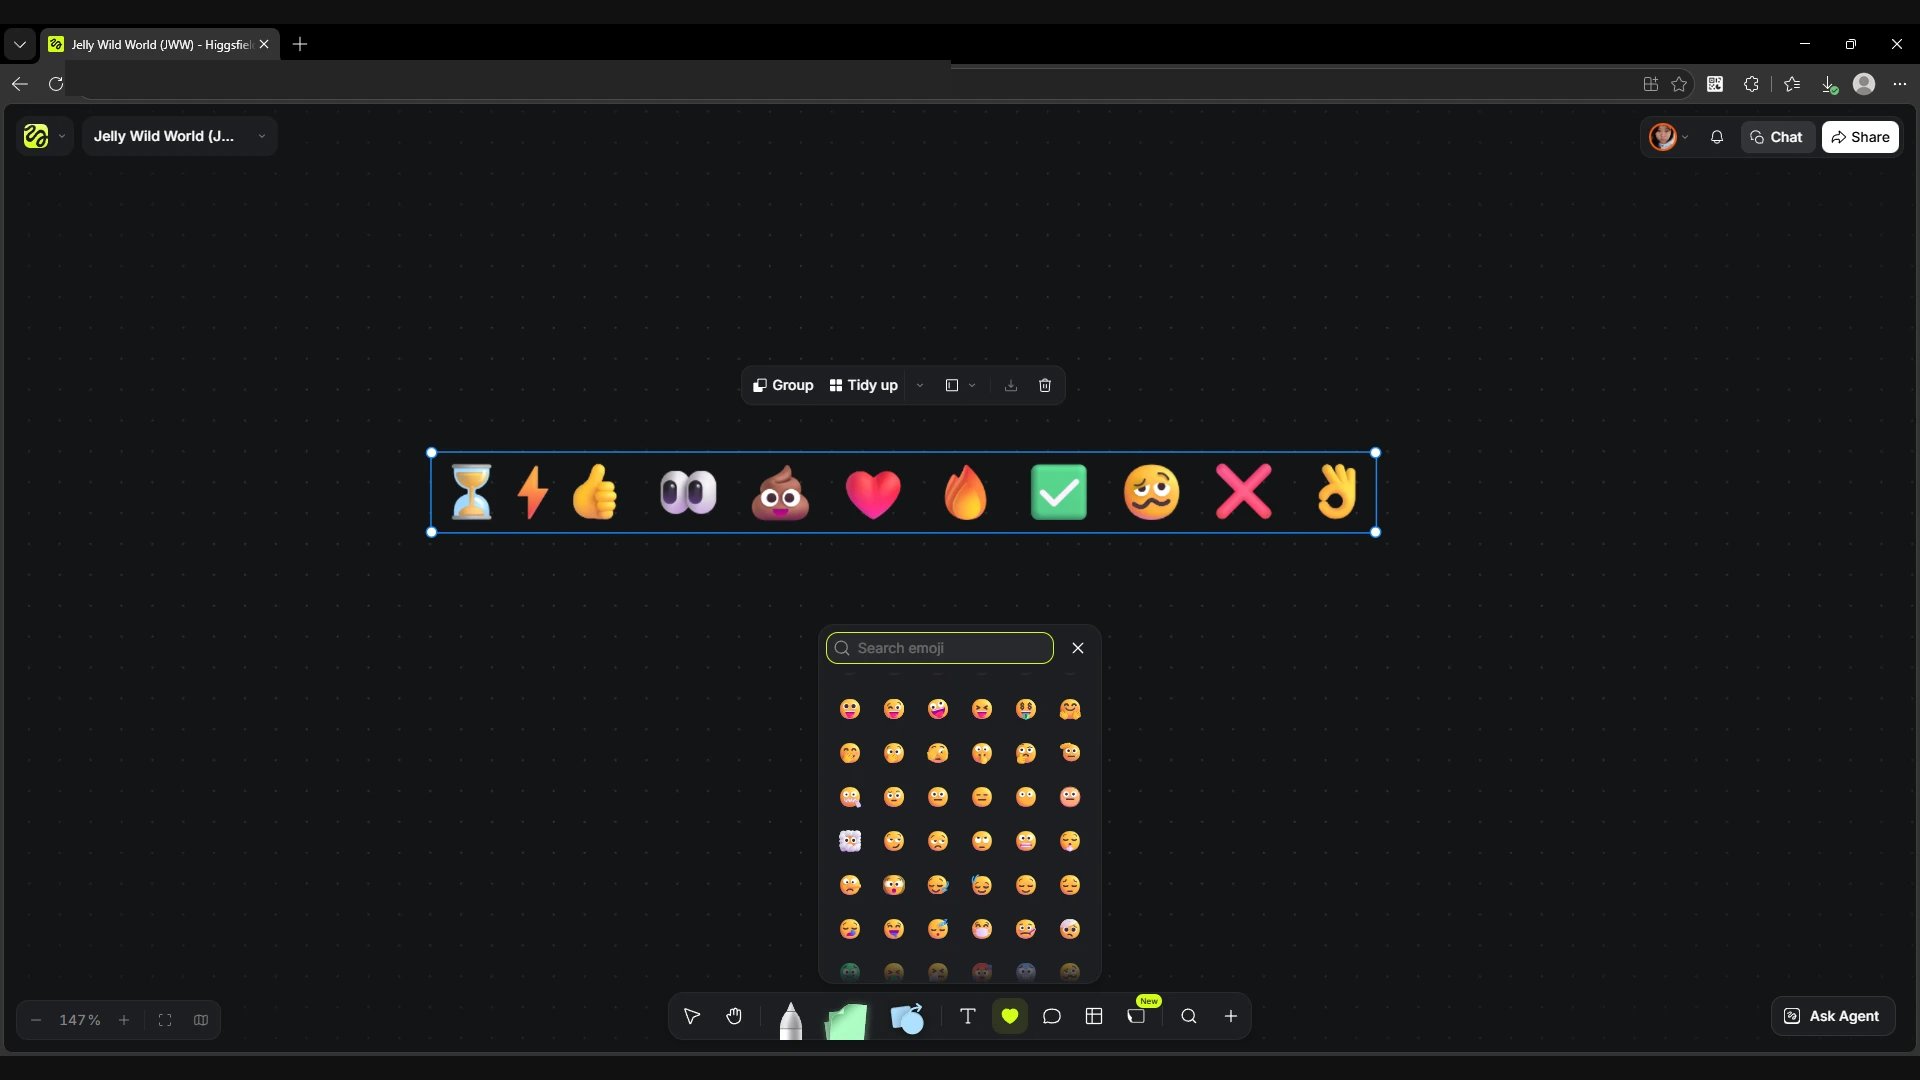
Click the heart between Text and Comments. Choose a symbol from the quick set and click the canvas. For example, ✅ can mark an approved frame and 👀 an option to review. The smiley with a plus on the right opens the extended palette with a Search emoji field.
Screen
The quick emoji set.
Screen
The extended palette with search.
Comments
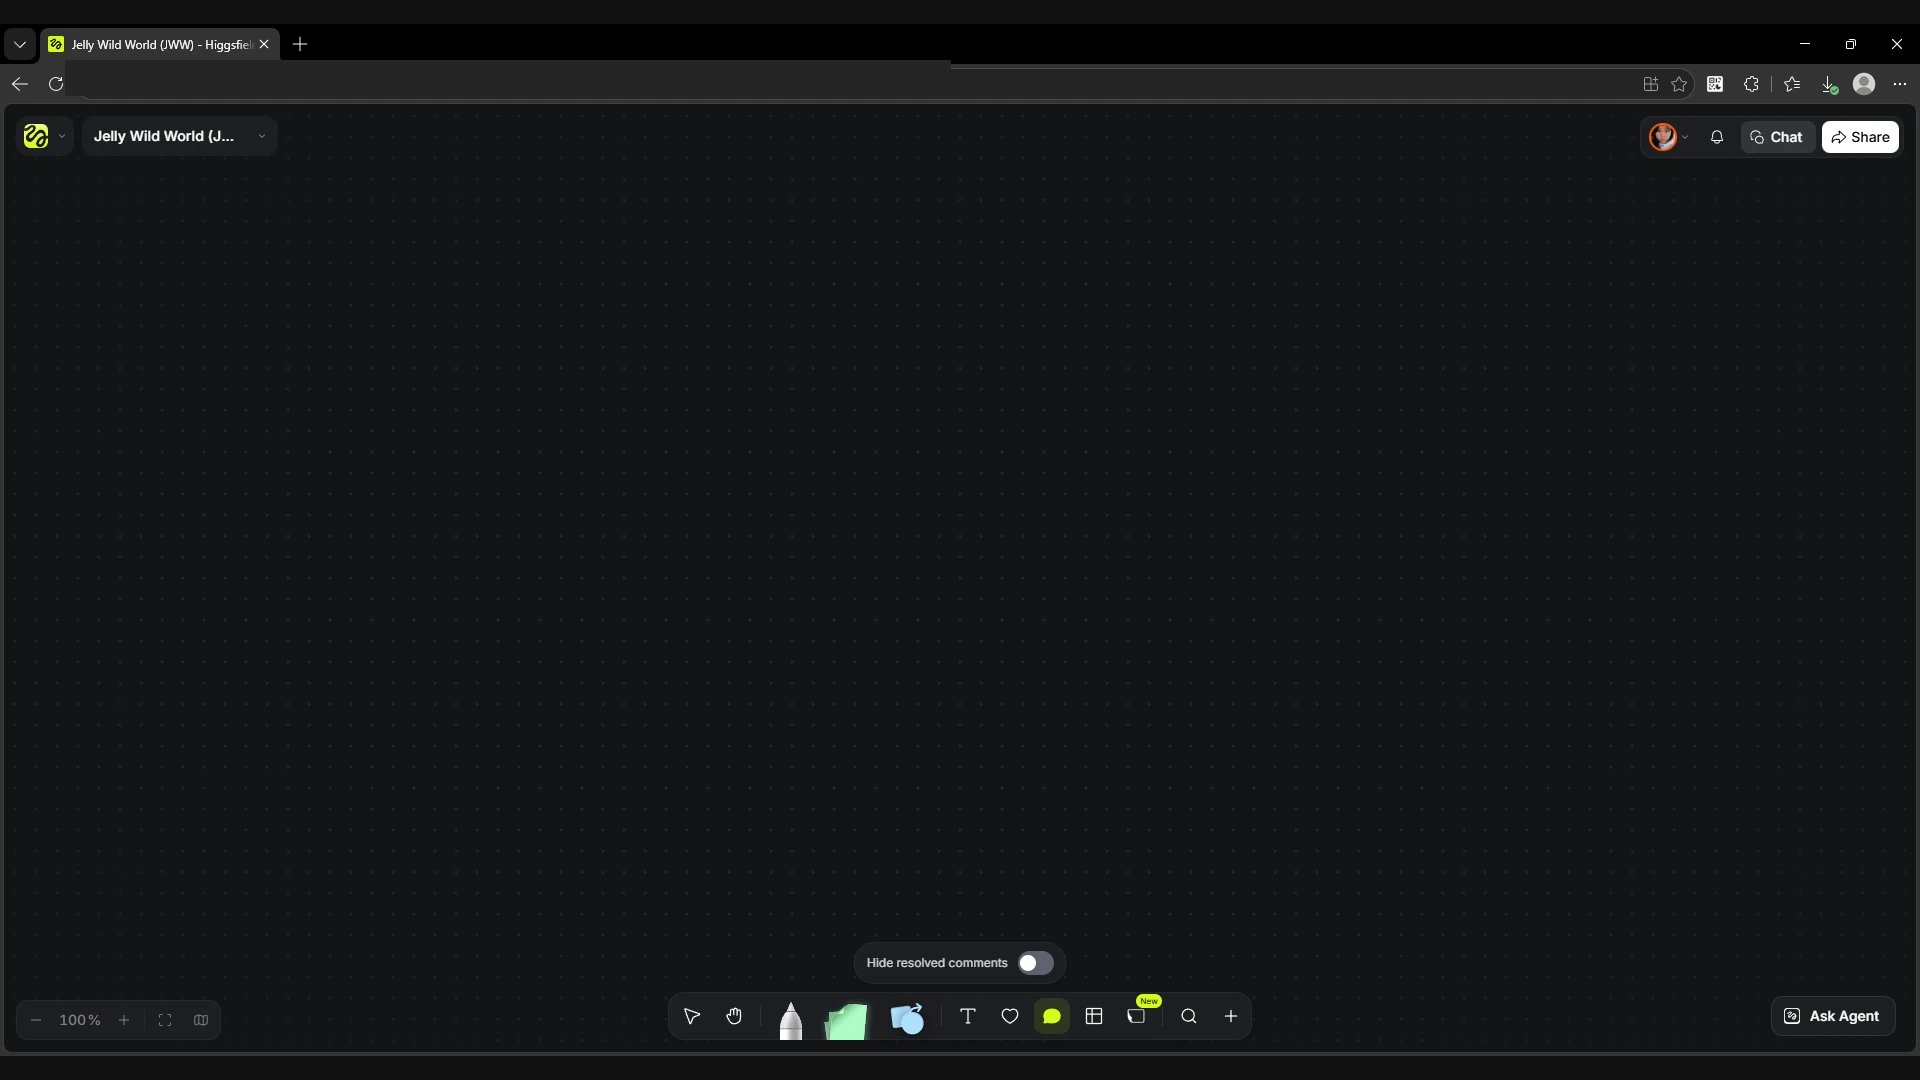
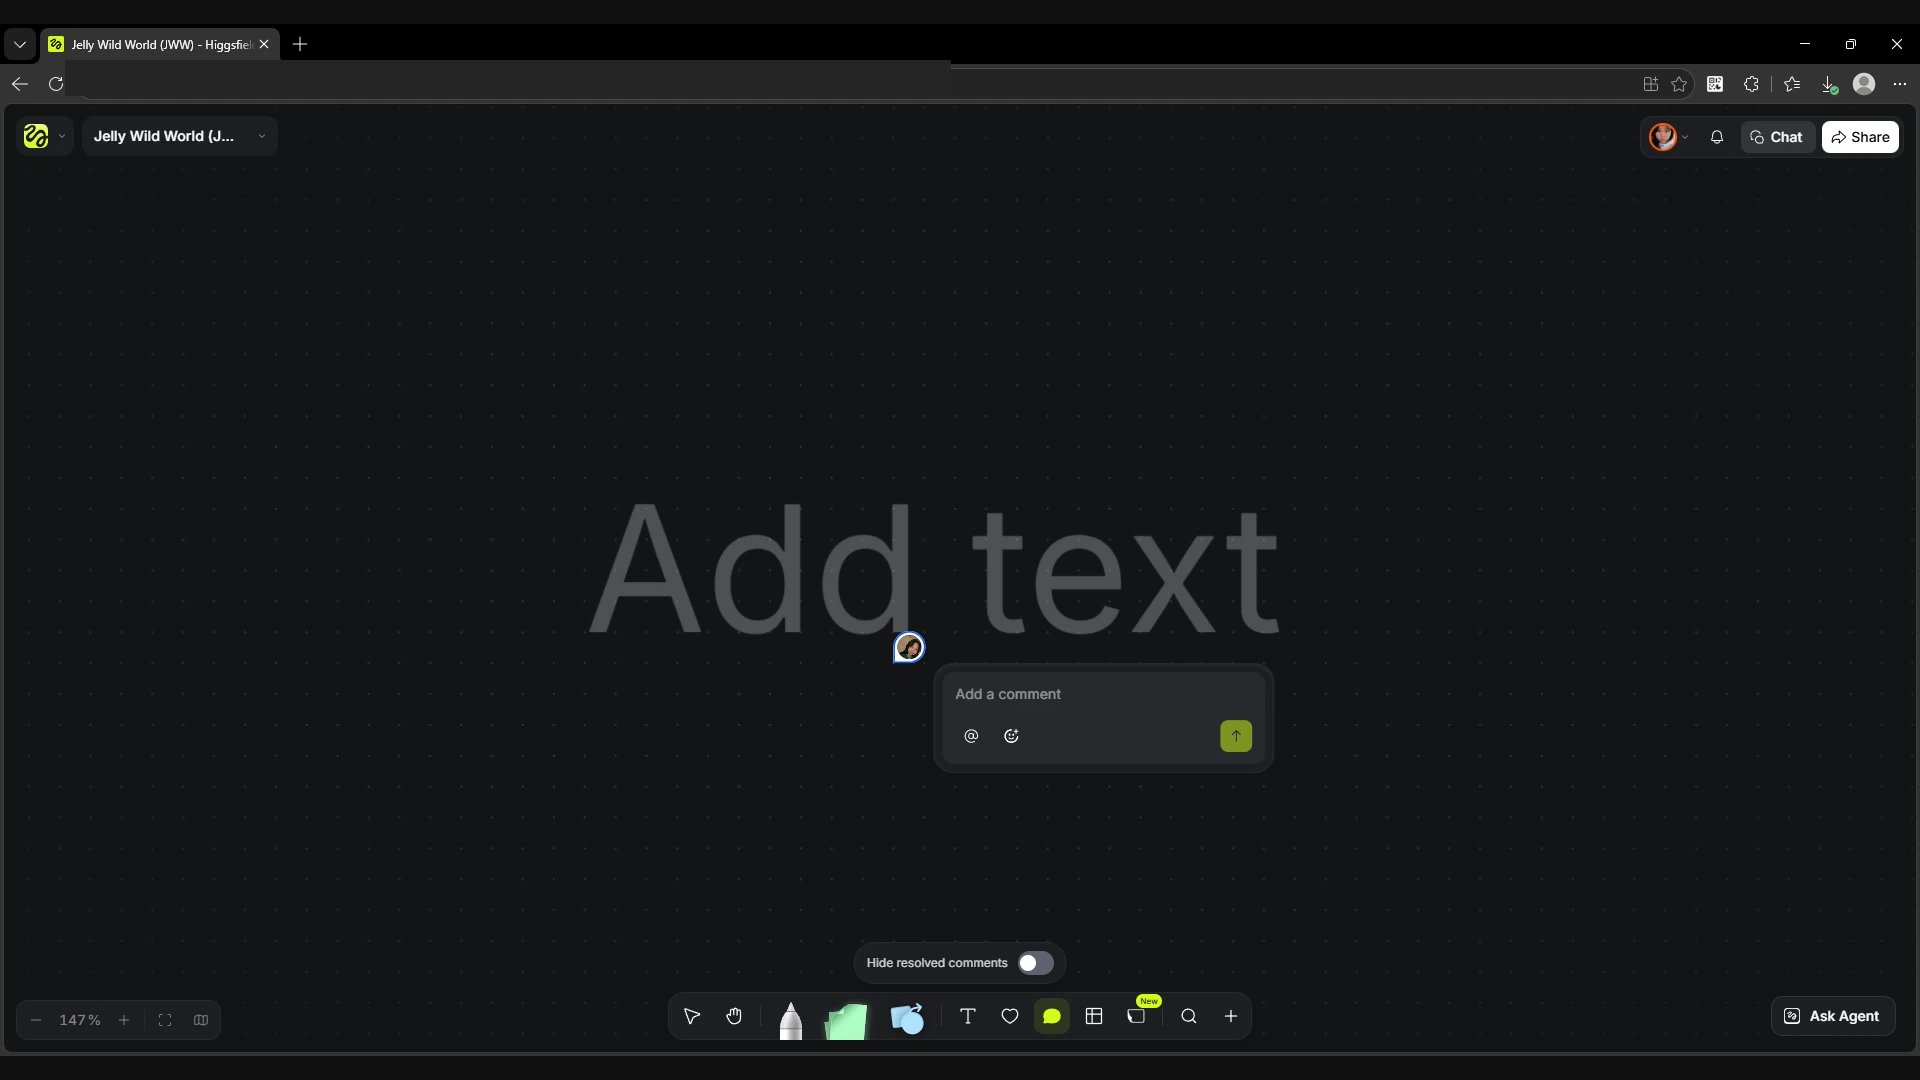
Choose the comment icon and click next to the material your note is about. Write your message in the Add a comment field, mention a member with @ and click the arrow to send. Hide resolved comments above the bottom toolbar hides closed discussions.
Screen
The Comments button and the Hide resolved comments toggle.
Screen
The comment field with the mention button.
Table
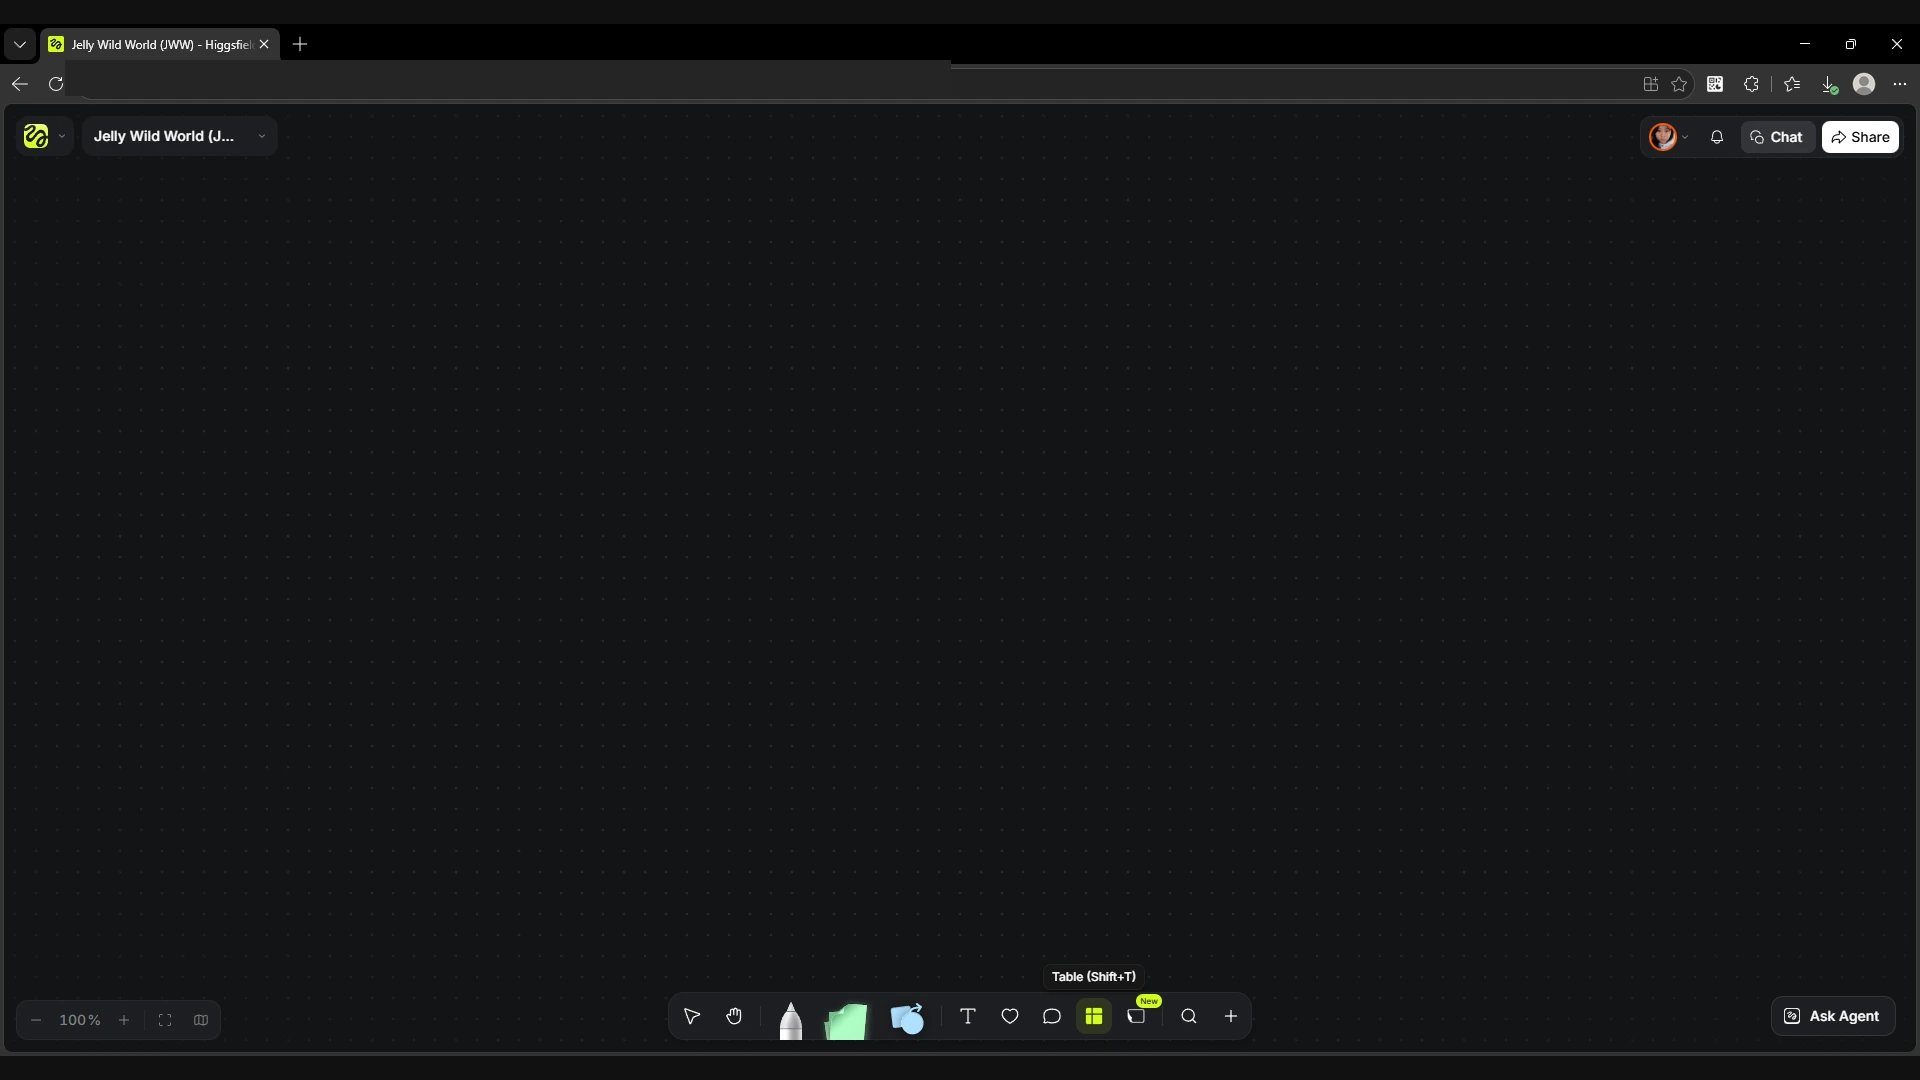
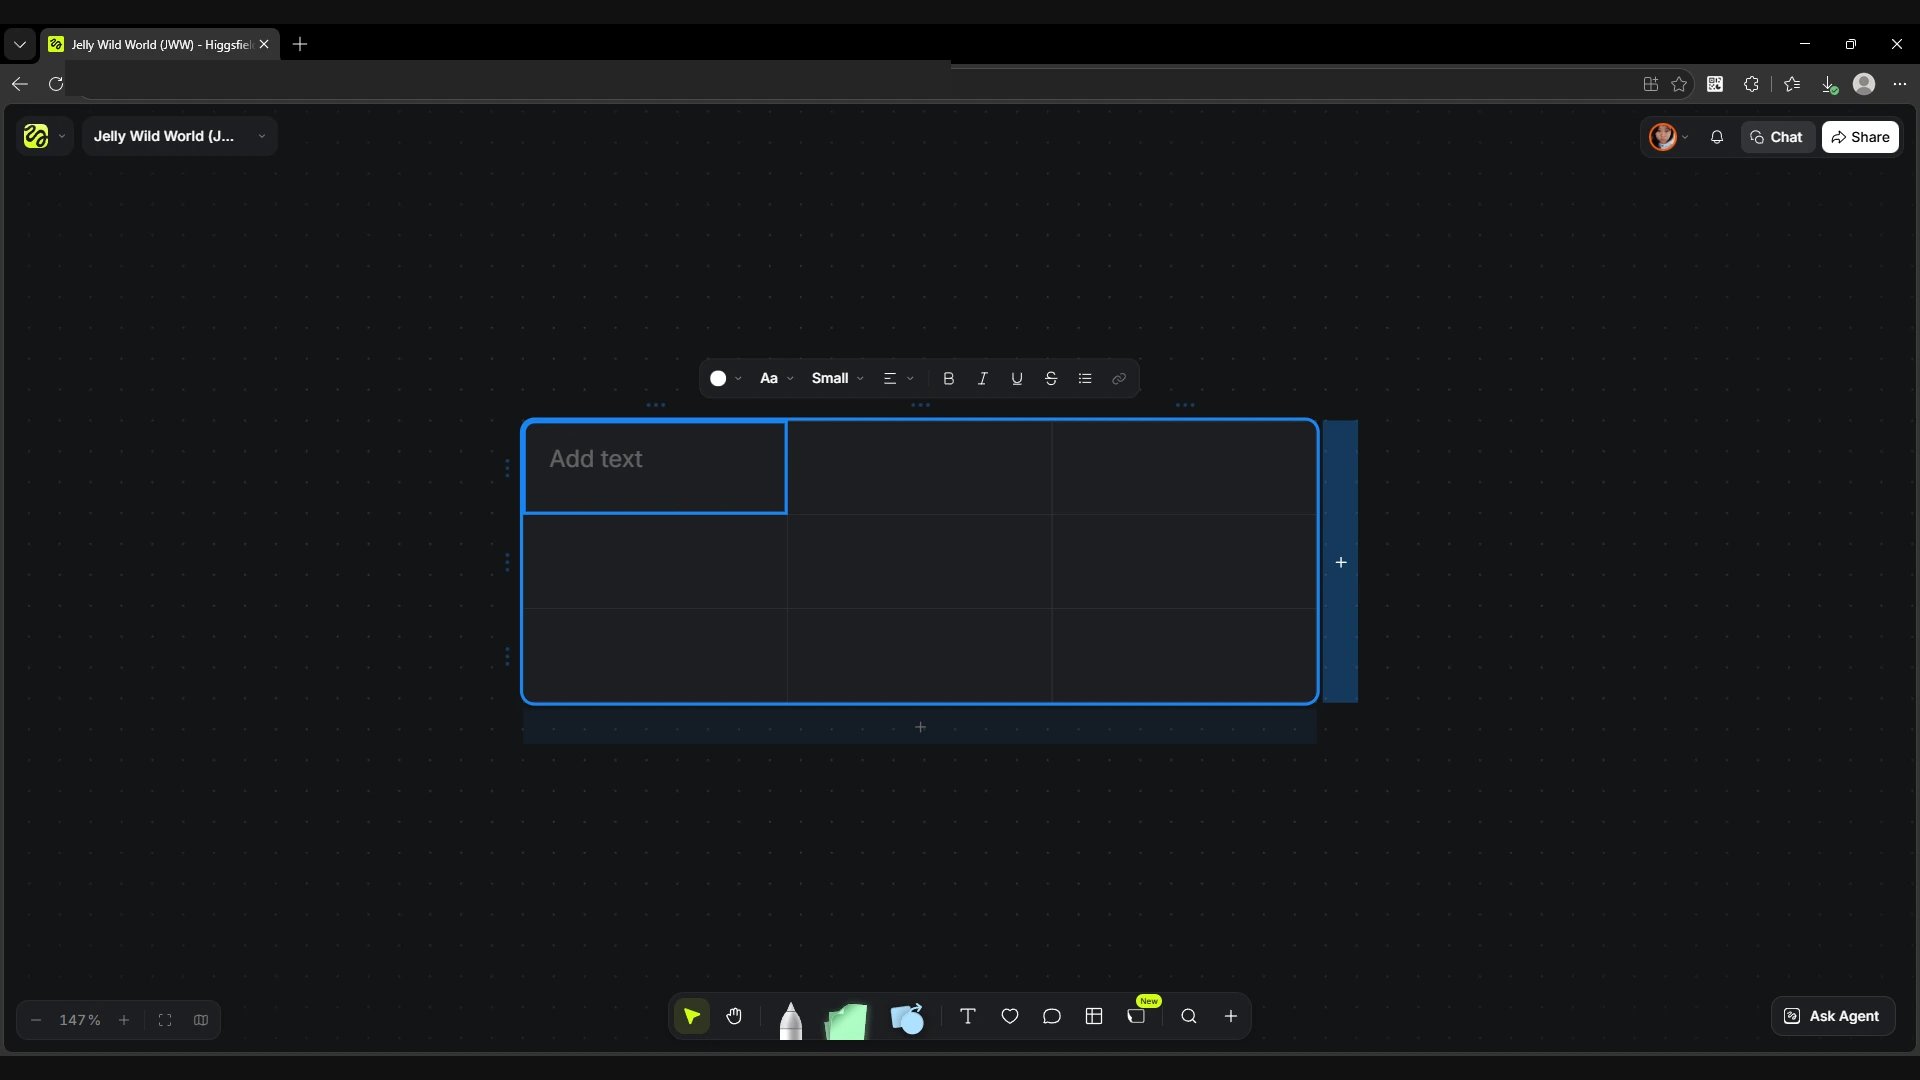
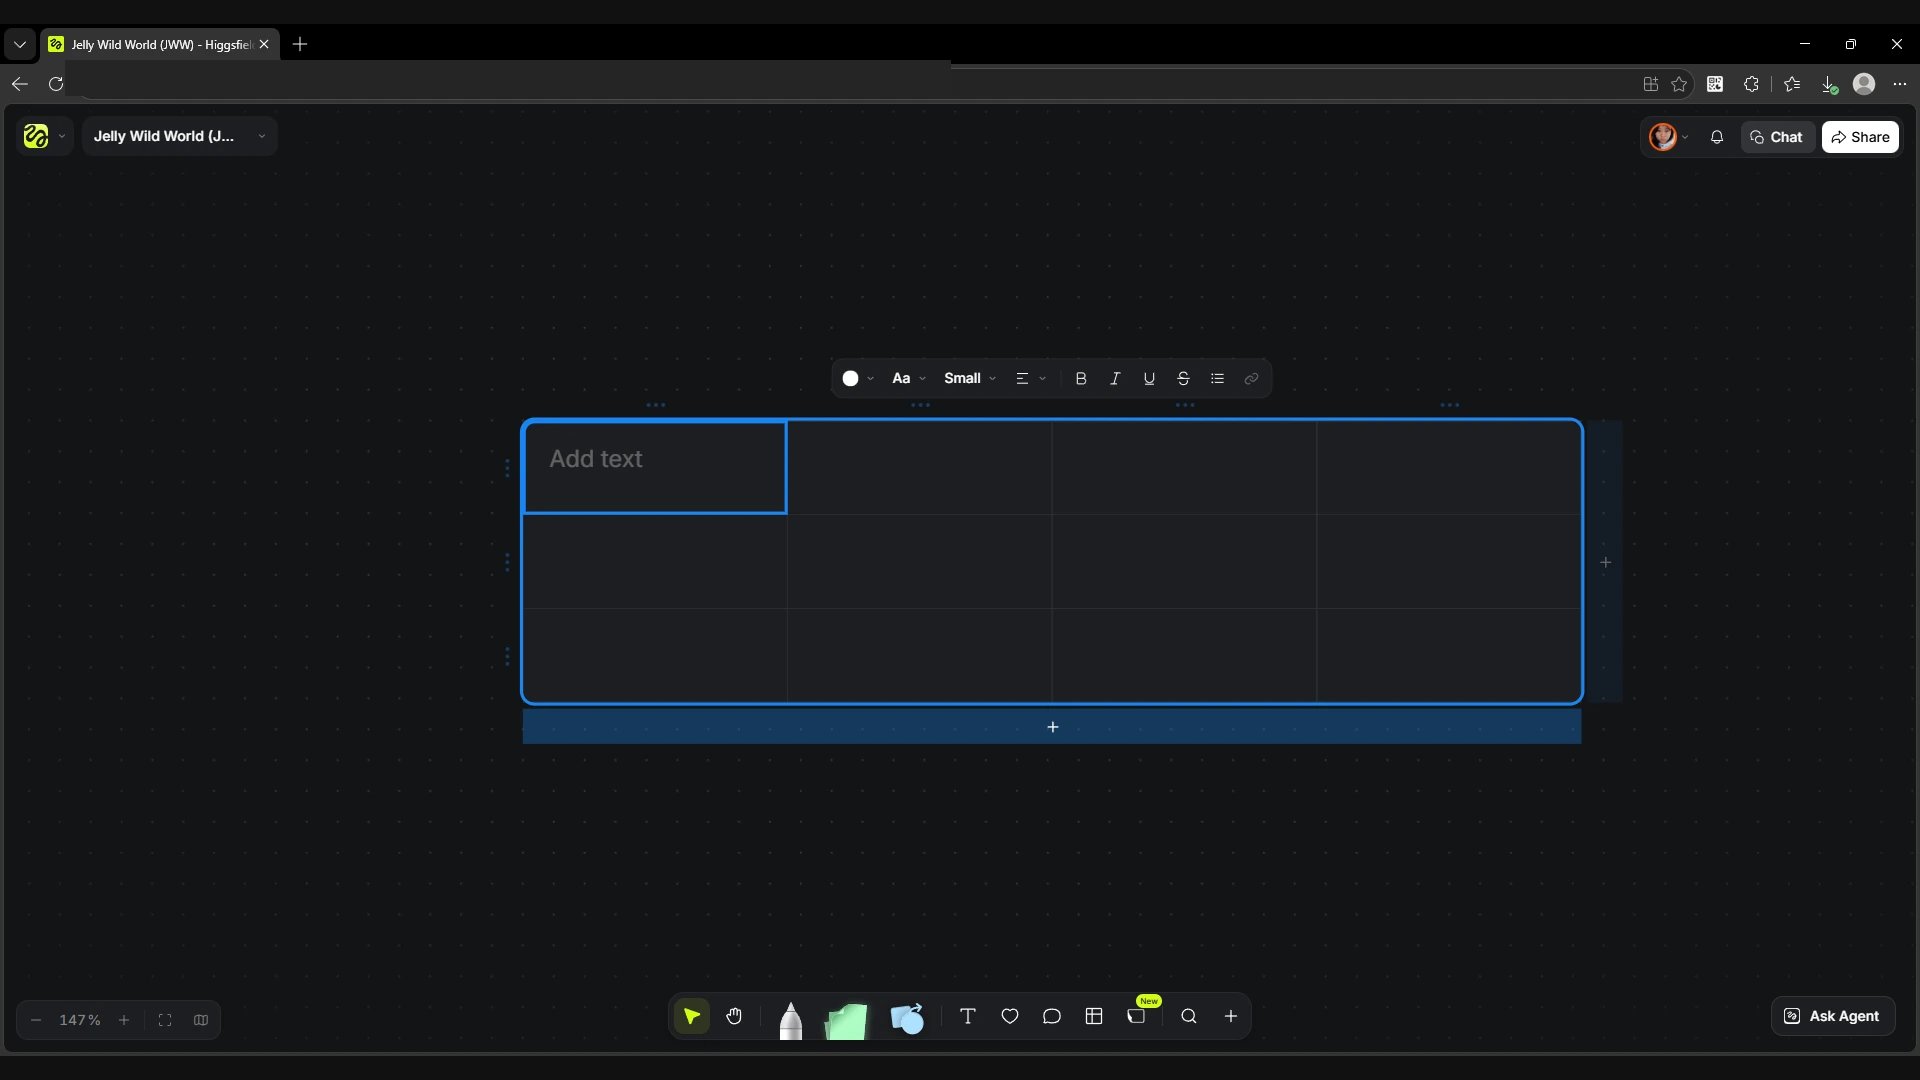
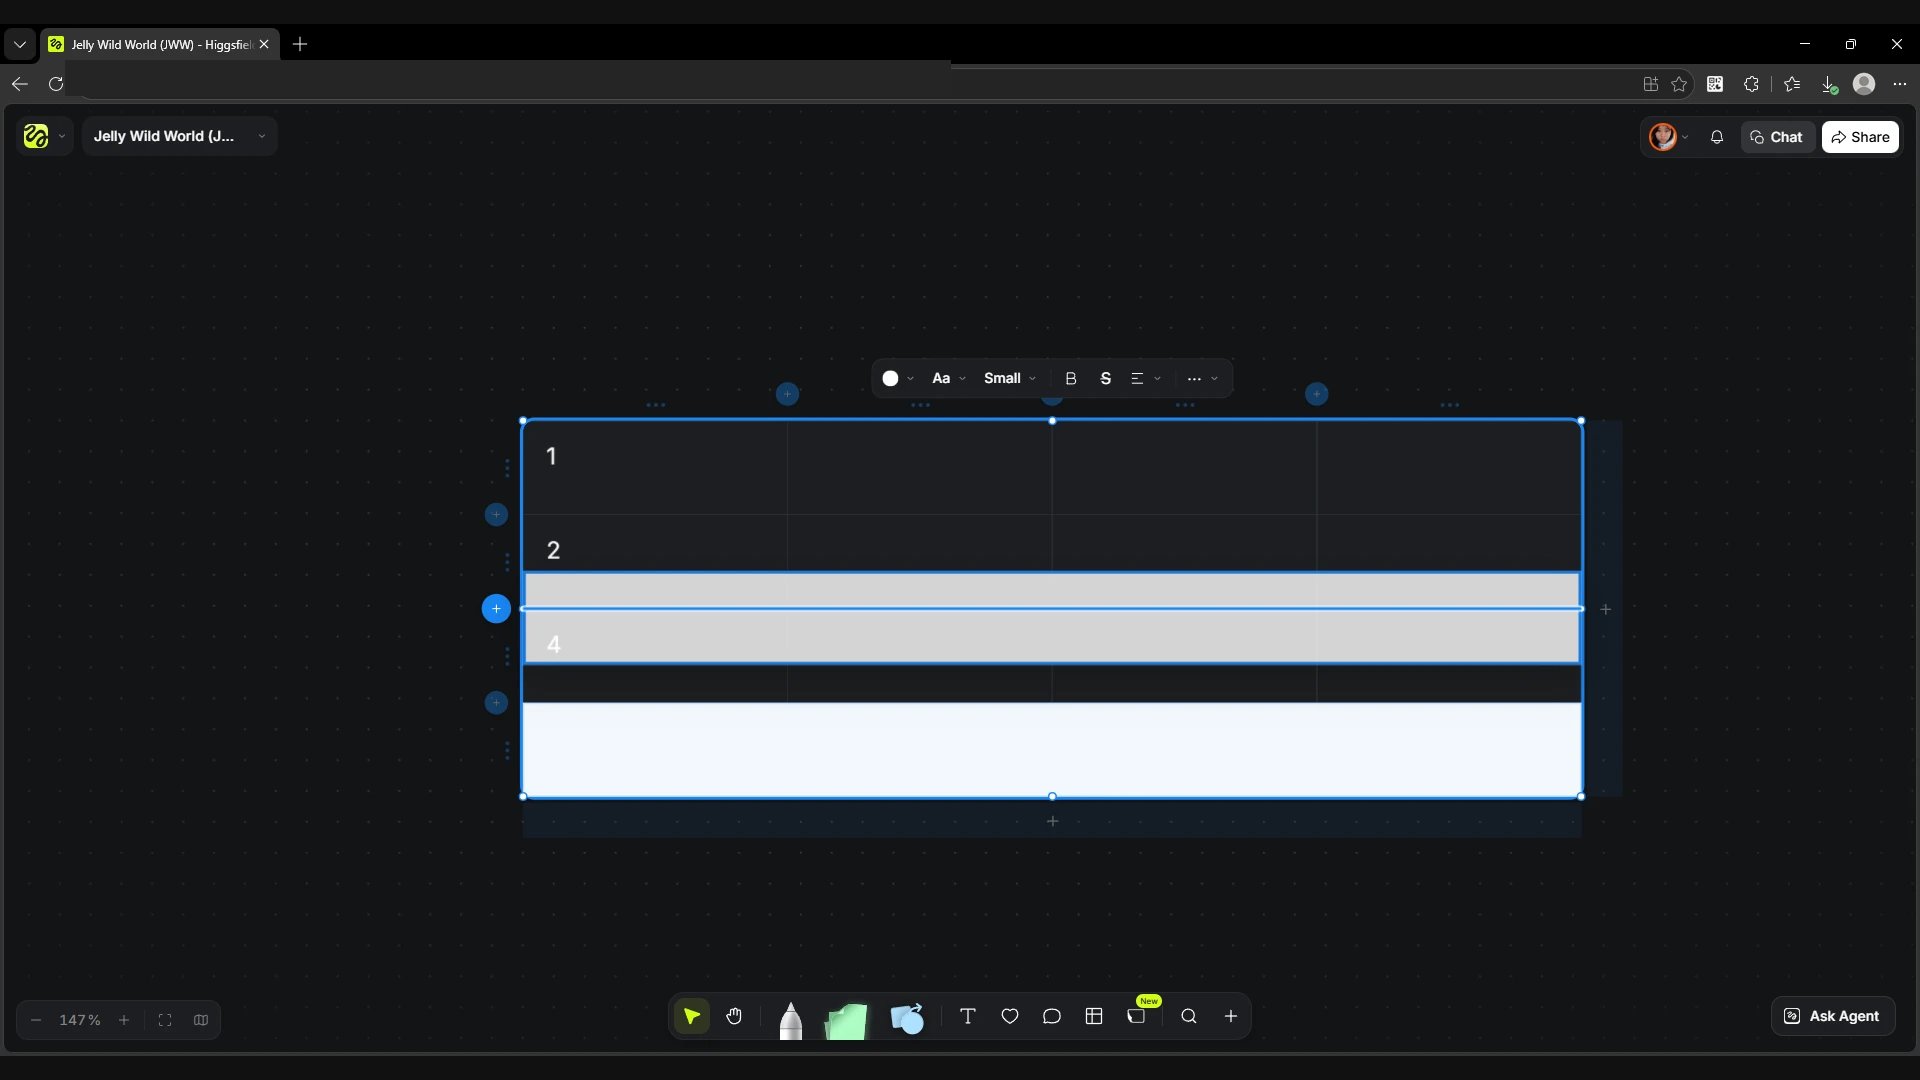
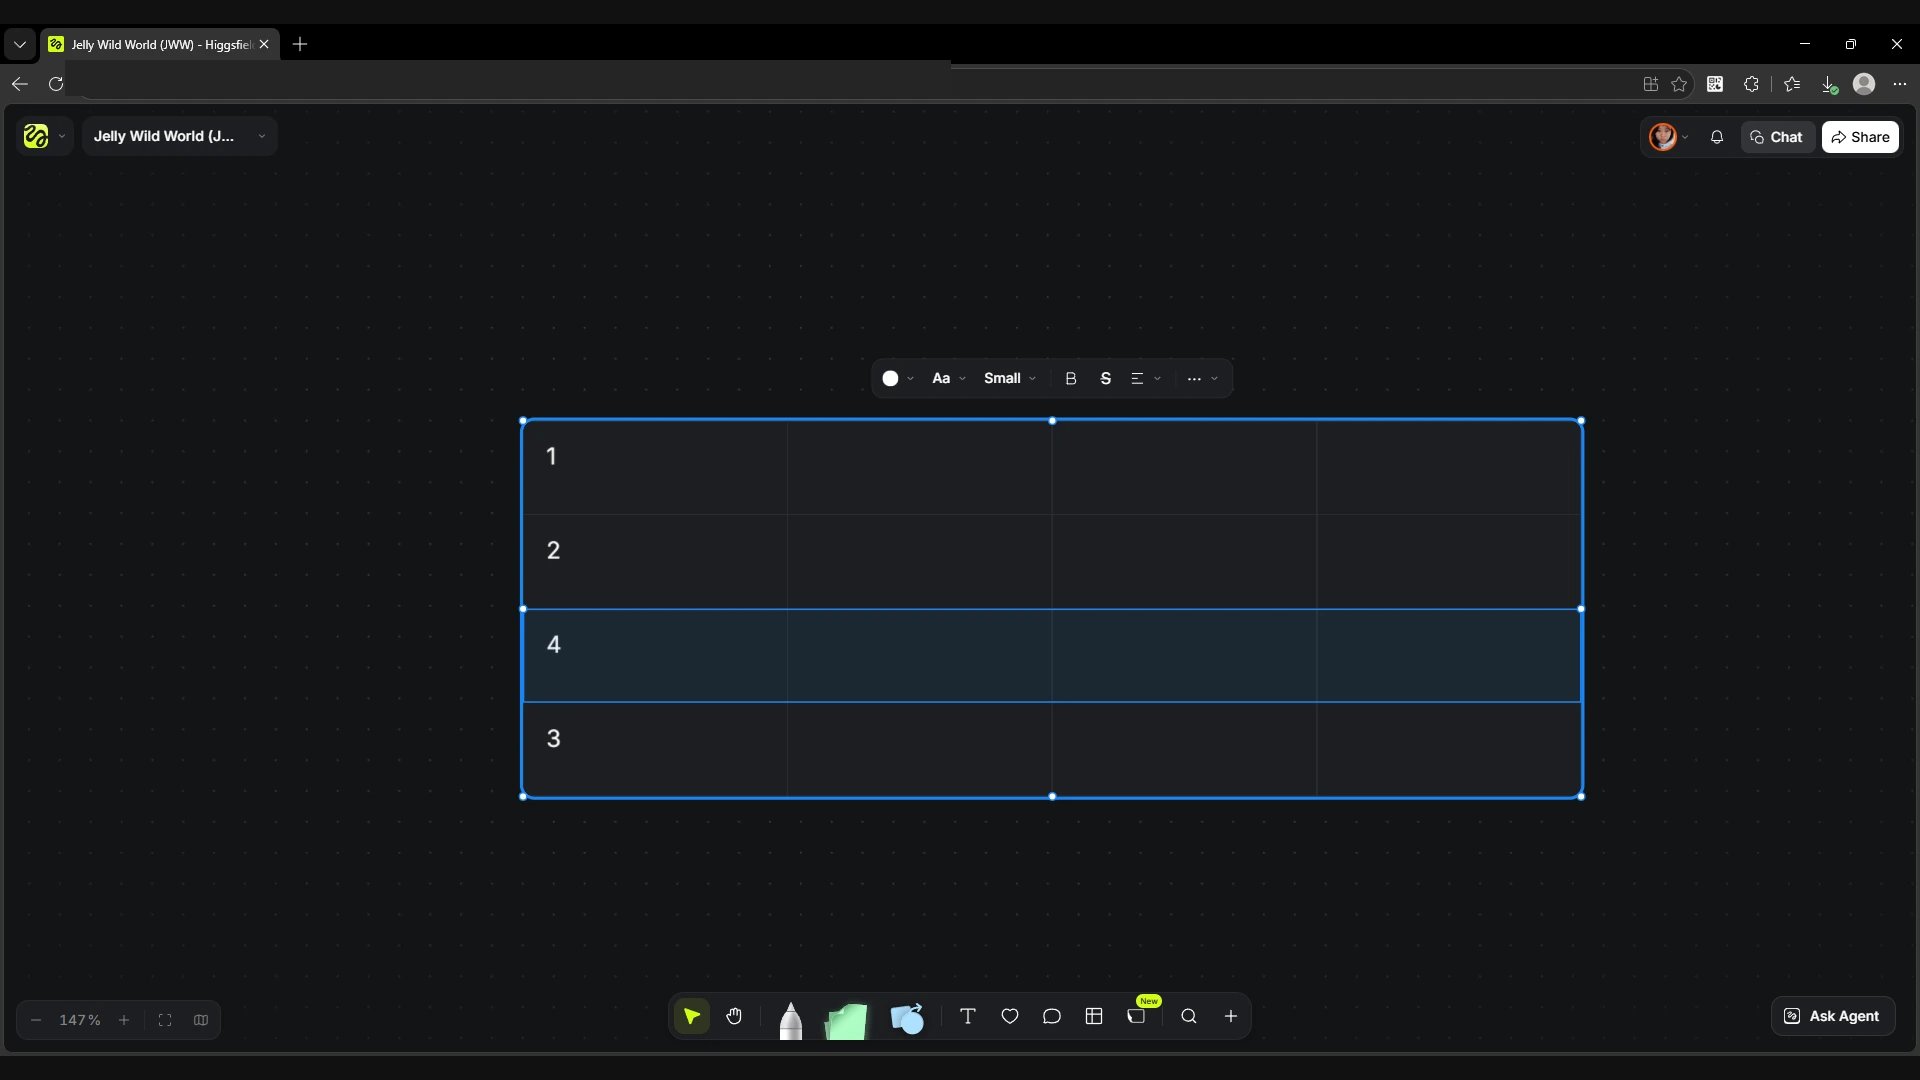
Choose Table (Shift + T) to the right of Comments, place a table and click a cell to type. To add a column at the end, use the + on the right; to add a row, use the + at the bottom. The buttons between columns at the top and between rows on the left insert them where you need. To reorder rows, drag the dotted handle to the left of a row. A blue line shows the new position.
Screen
The Table tool on the bottom toolbar.
Screen
Adding a column on the right.
Screen
Adding a row at the bottom.
Screen
The row position while dragging.
Screen
Row 4 after moving it above row 3.
Page
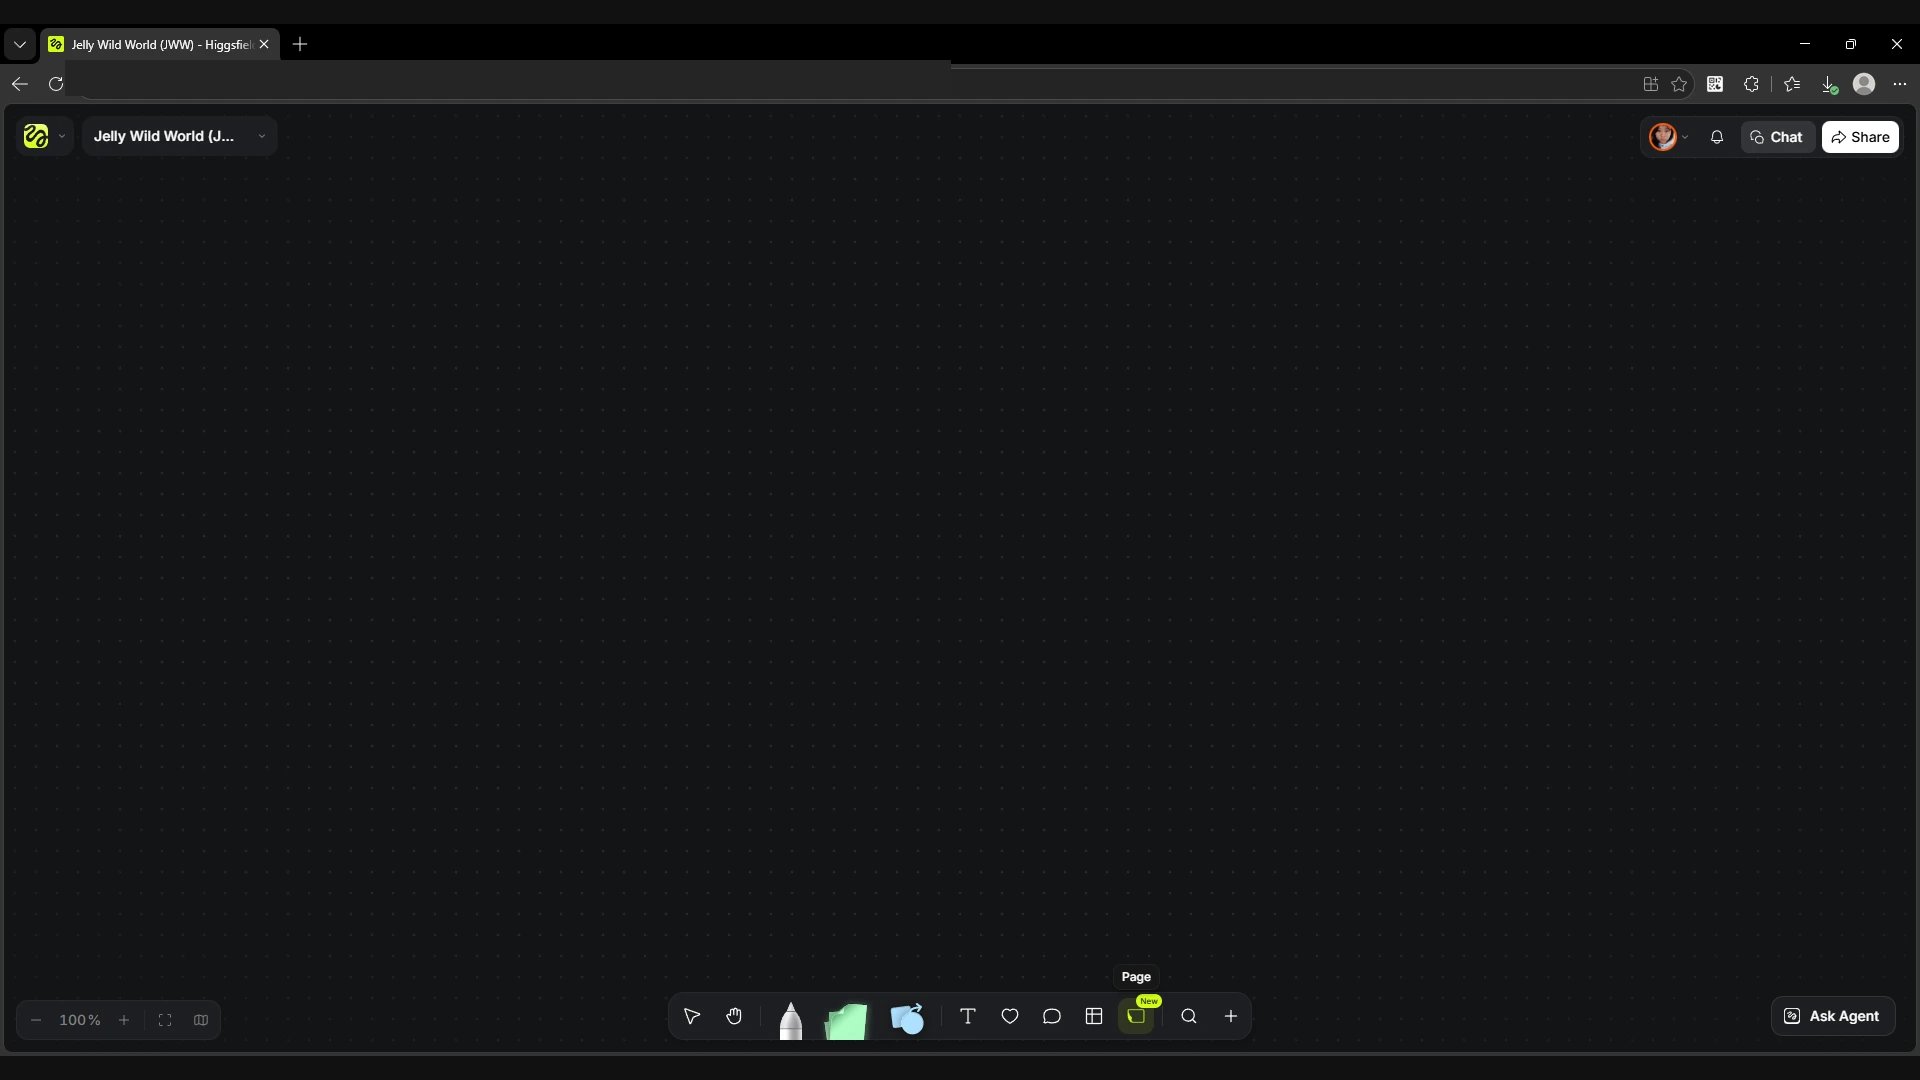
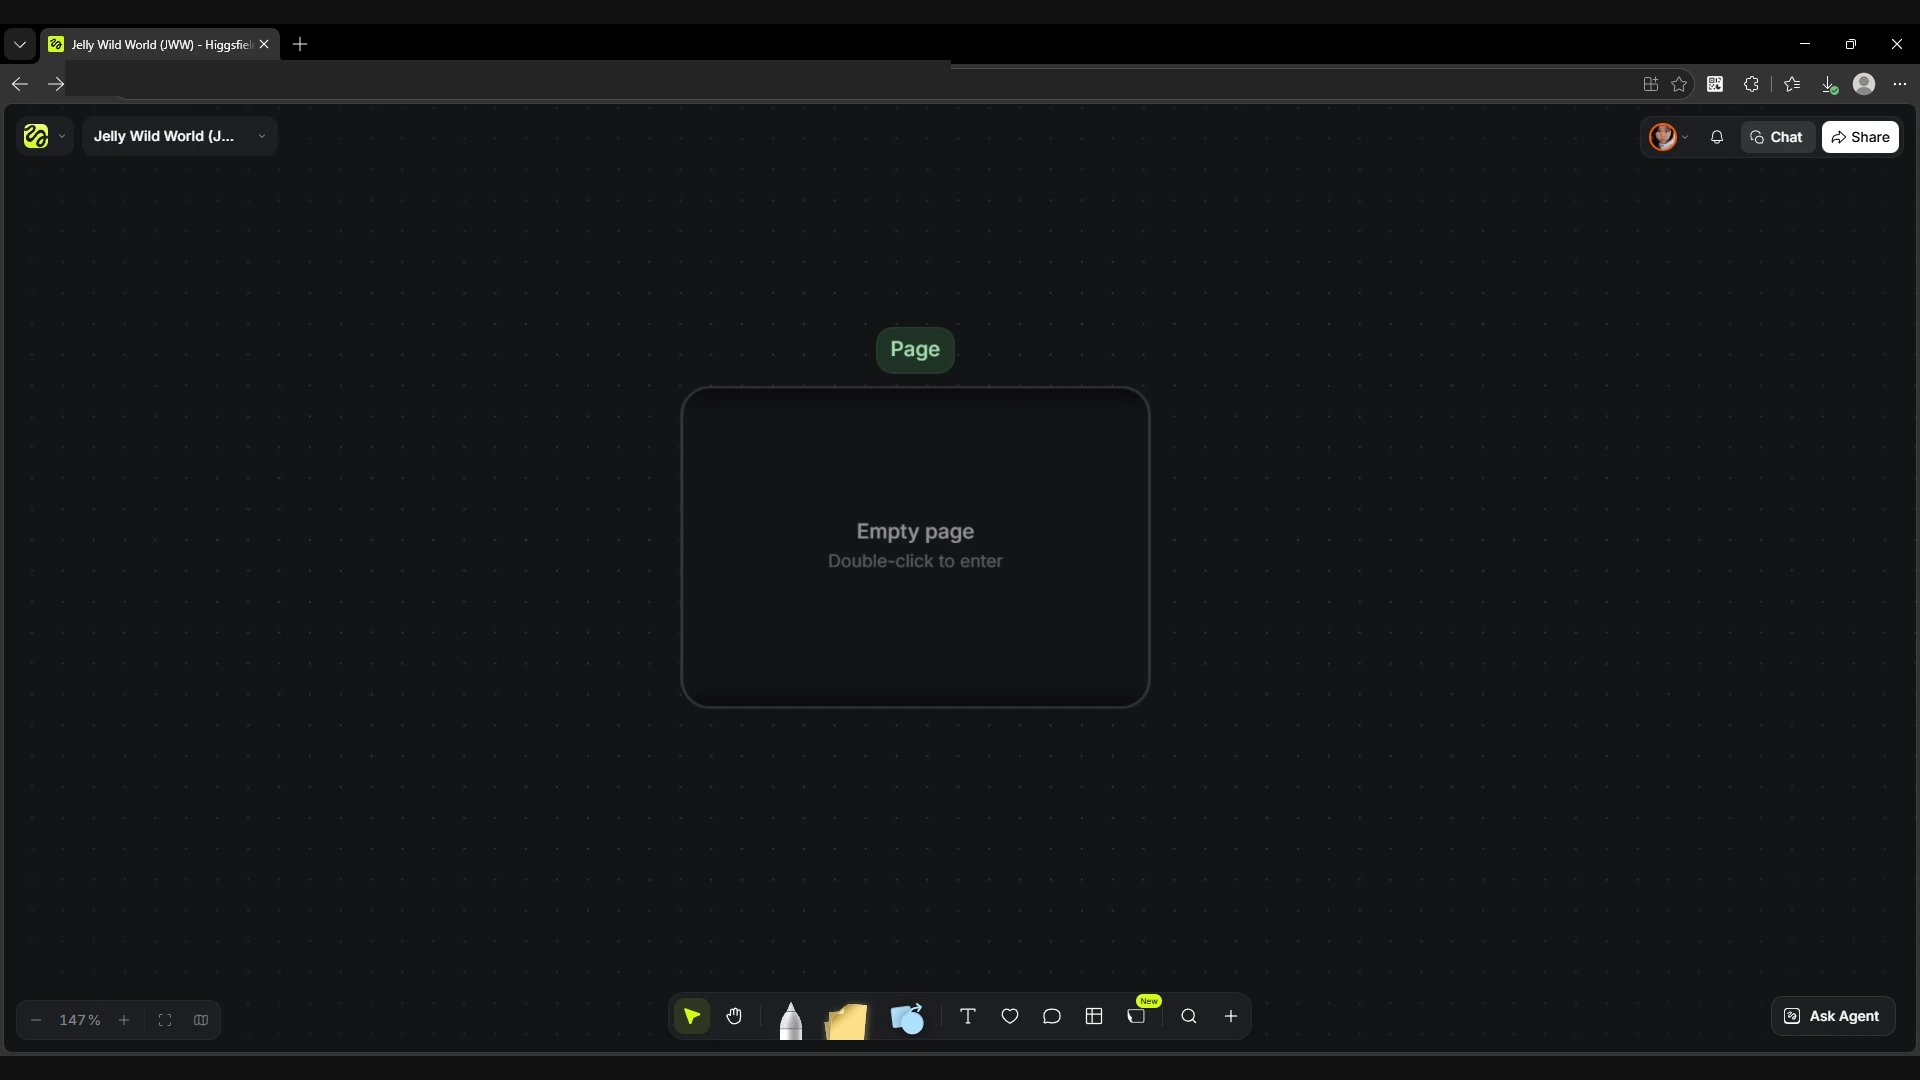
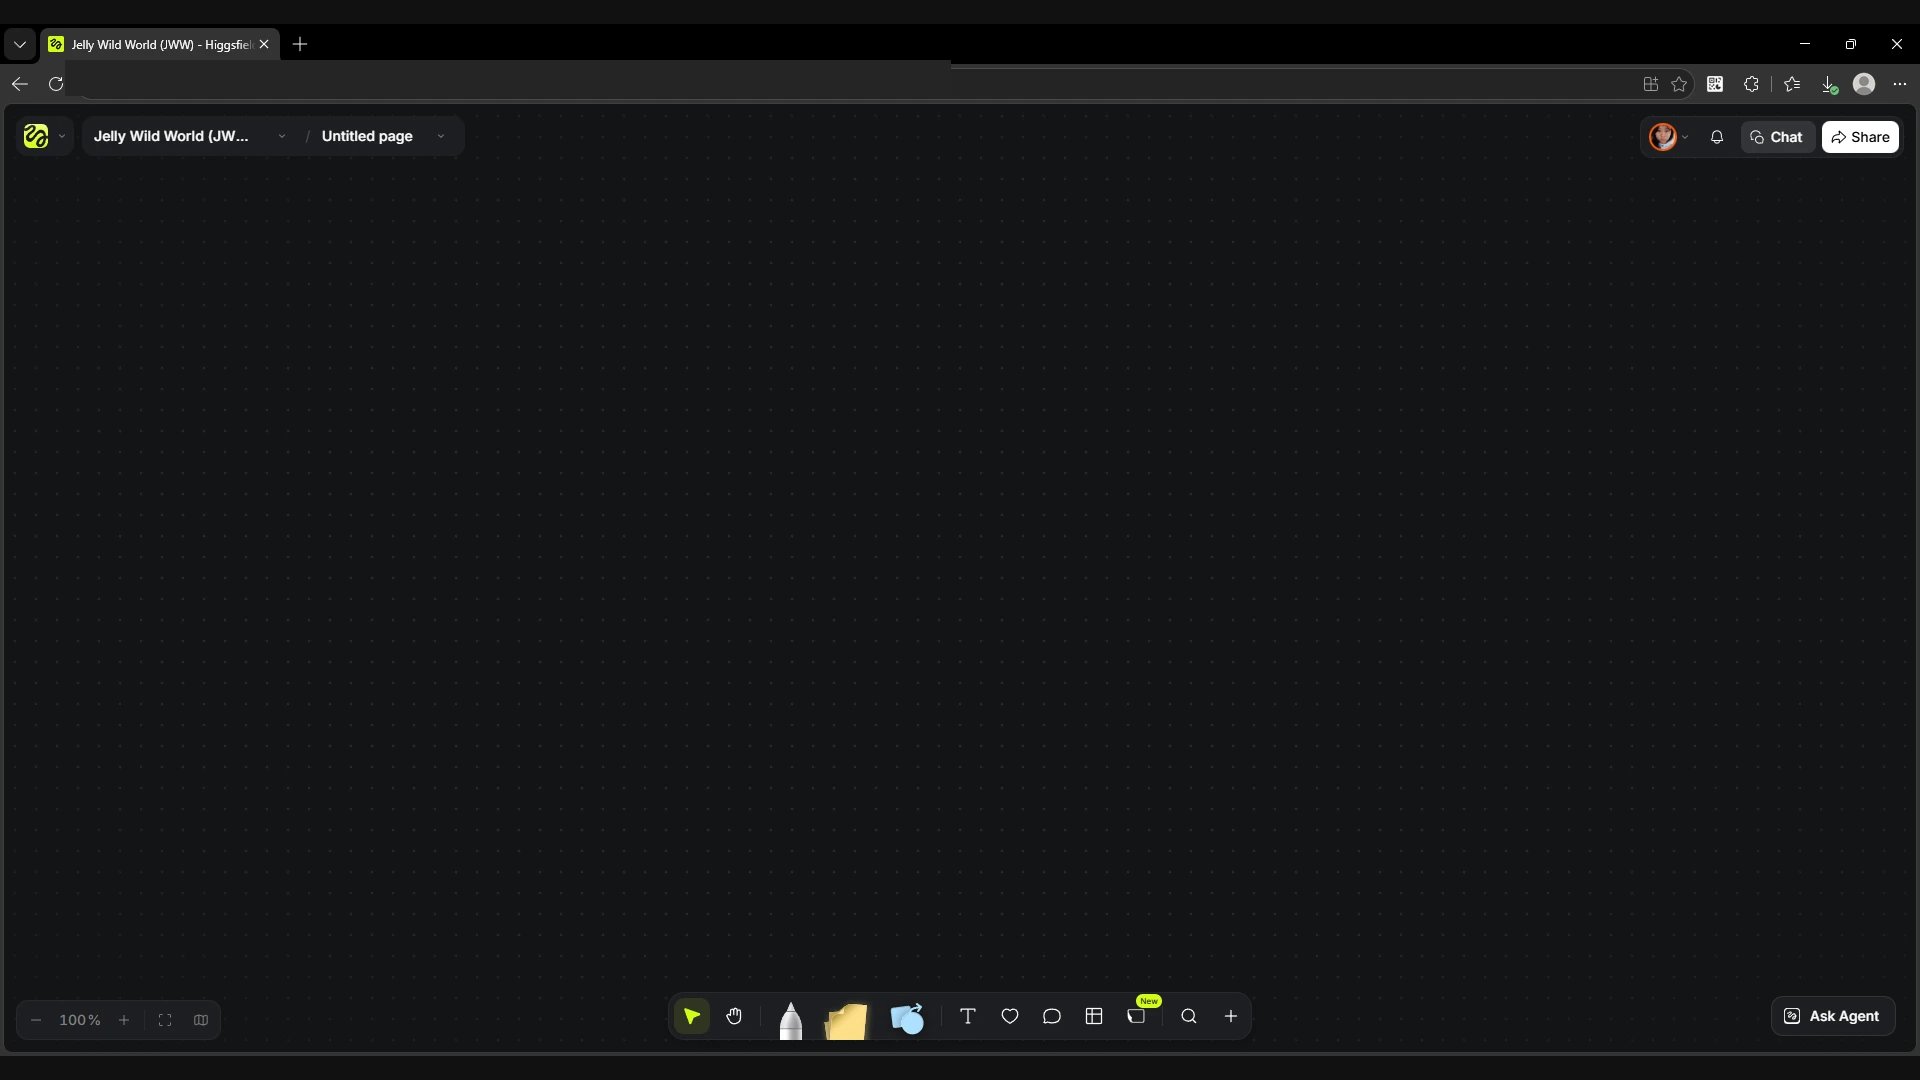
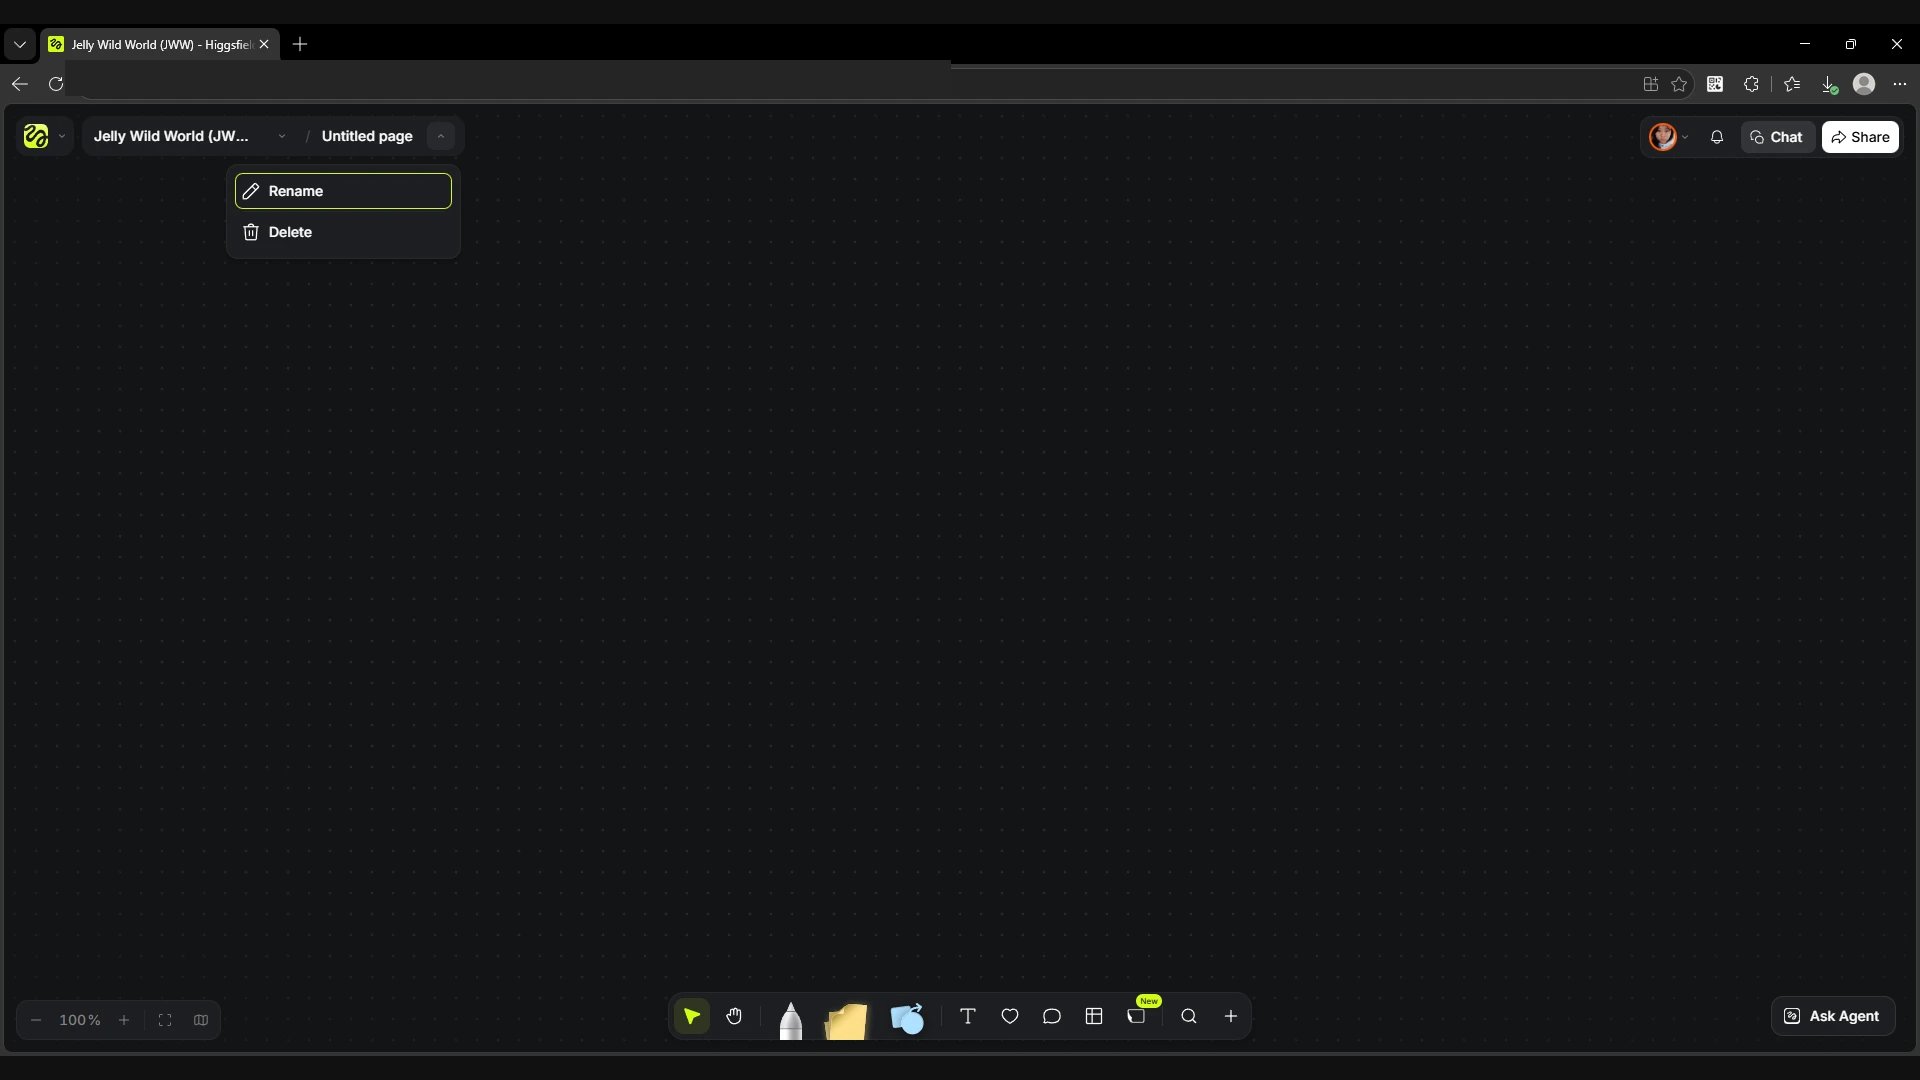
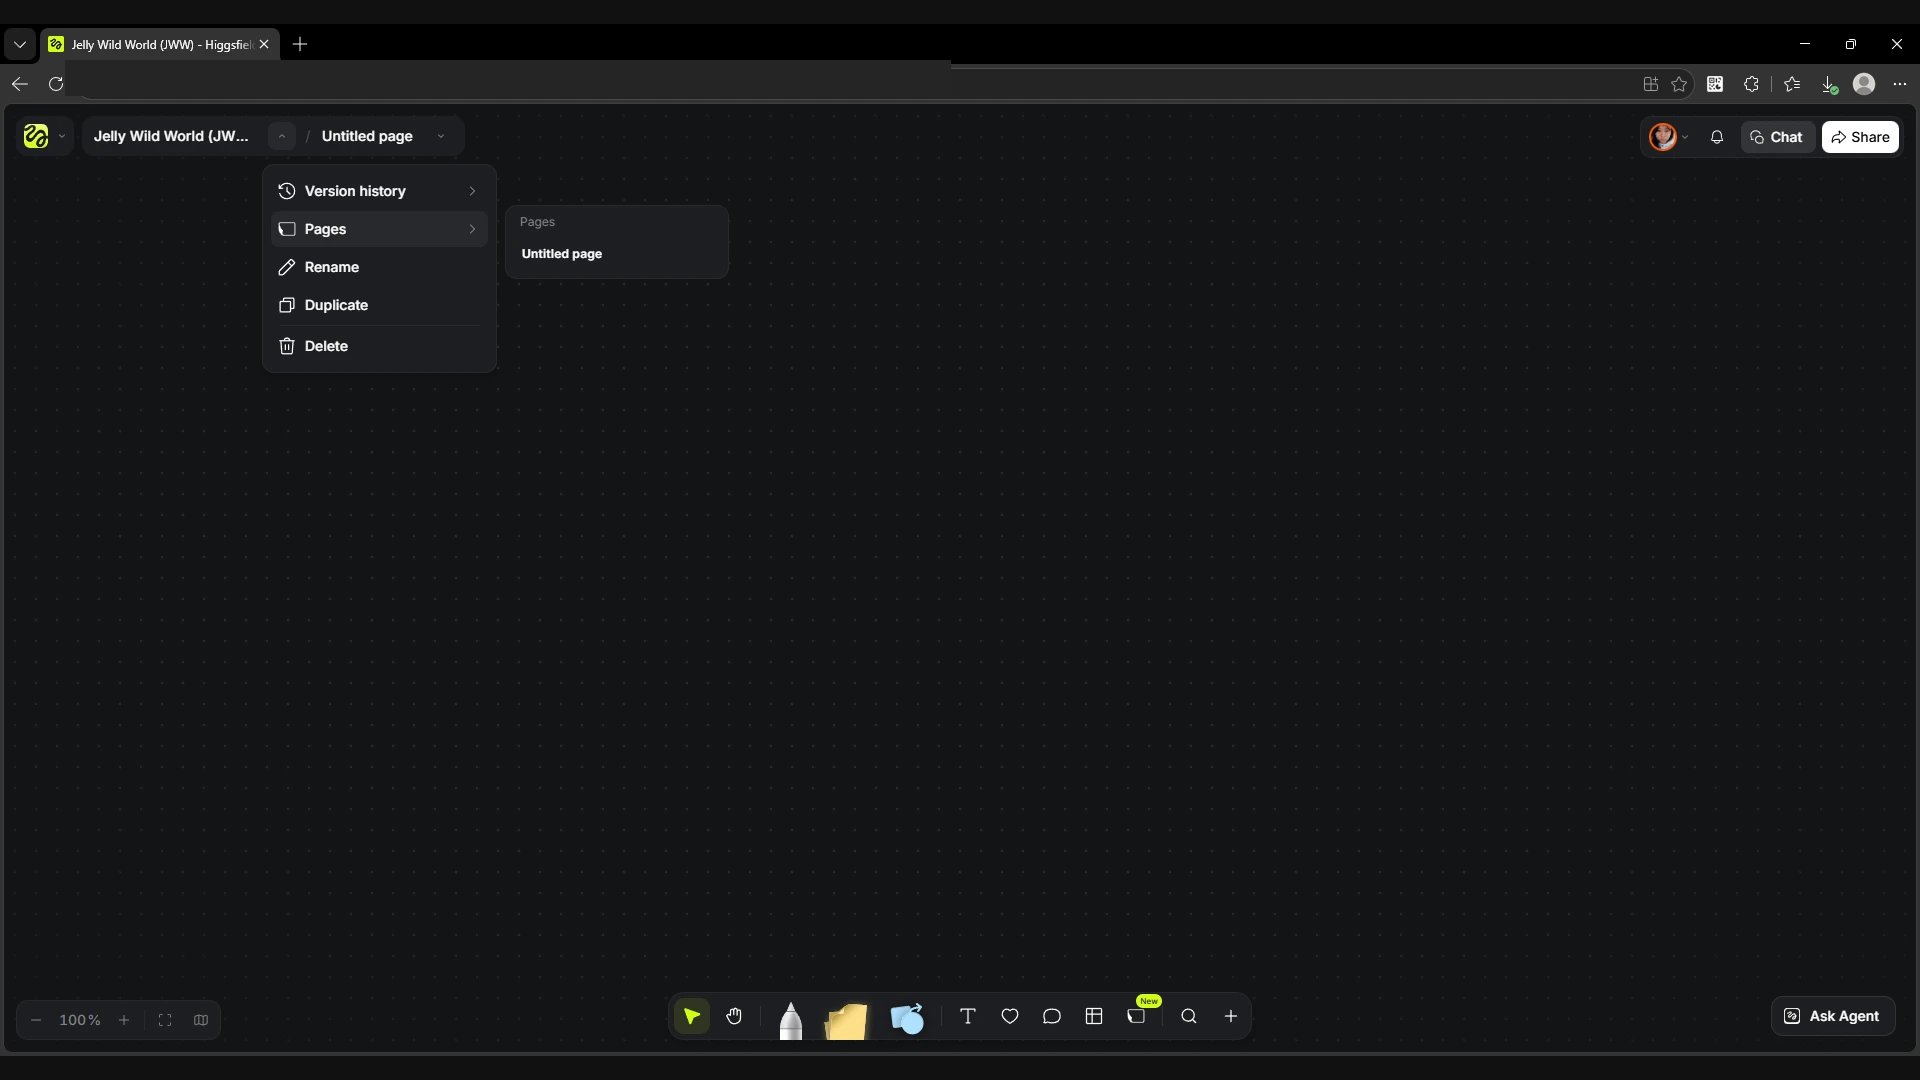
Click Page to the right of Table and place the card on the canvas. Double-clicking Empty page opens a separate canvas inside the same project. Untitled page appears next to the project name. The menu next to the page name has Rename and Delete, and the Pages item in the project menu opens the list of pages. Once the page has materials on it, its card shows a thumbnail of the contents.
Screen
The Page button on the bottom toolbar.
Screen
An empty page card.
Screen
An open page inside the project.
Screen
The current page menu.
Screen
The Pages list in the project menu.
Screen
The thumbnail of a filled page.
Search
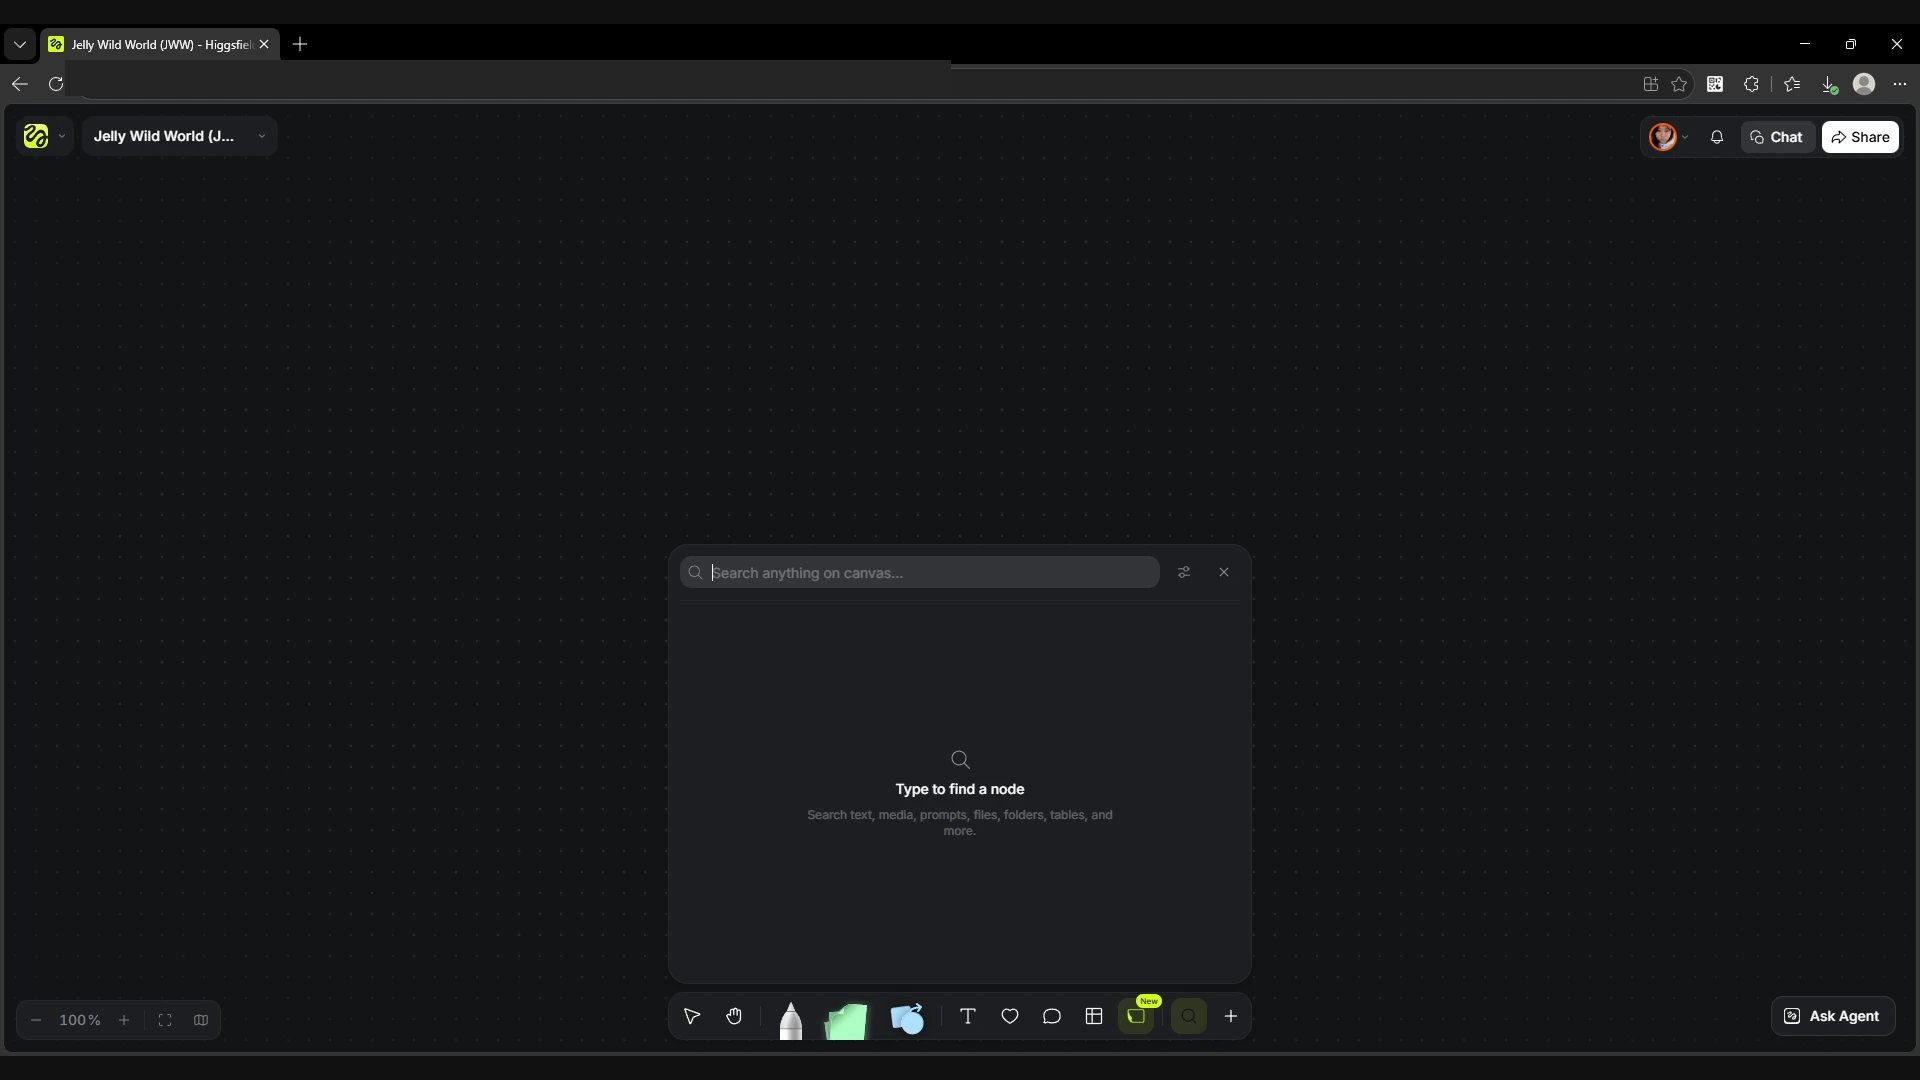
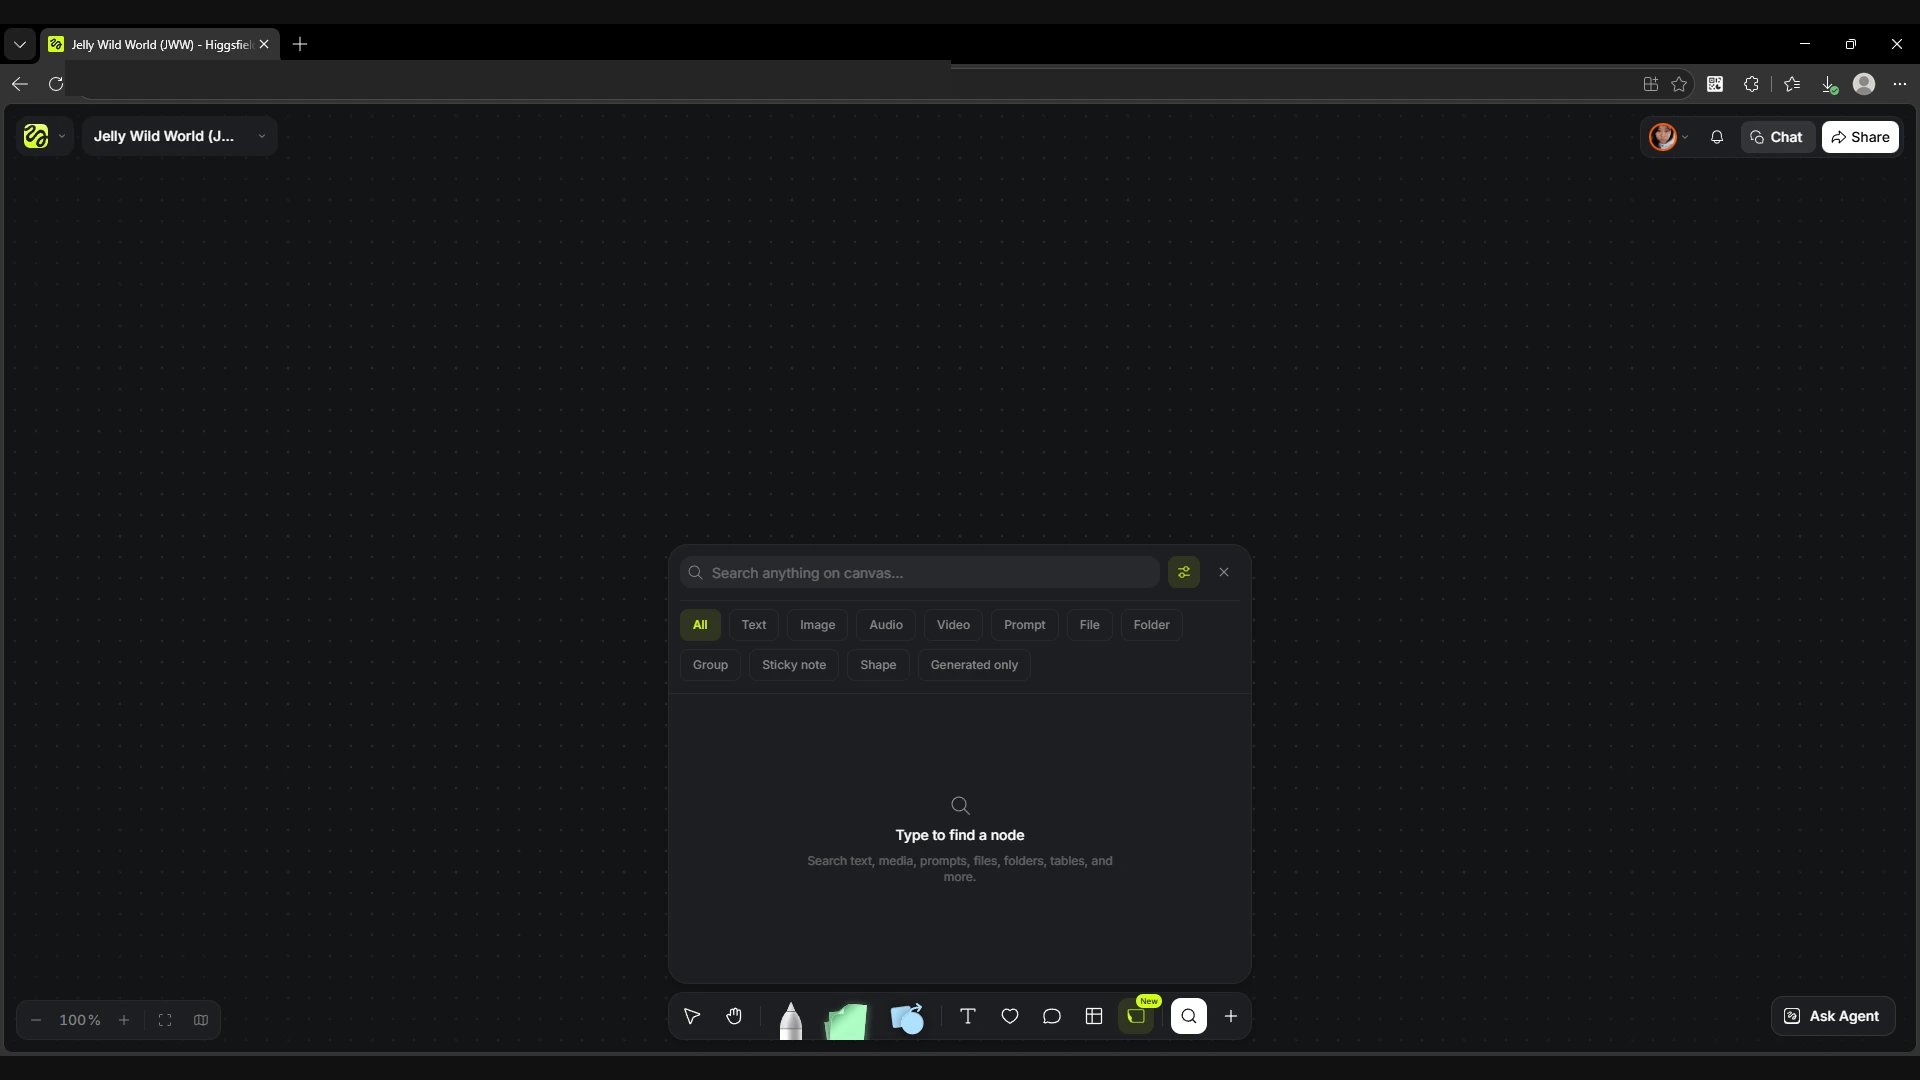
Click the magnifier between Page and the + button. Type a word from a prompt or note, or the name of an object. Search finds text, images, audio, video, files, folders, tables and other objects on the canvas. The icon to the right of the search field opens filters by type. For example, Sticky note limits the search to notes, and Generated only keeps only generated materials.
Screen
The canvas search window.
Screen
Search with the filters open.
The + button
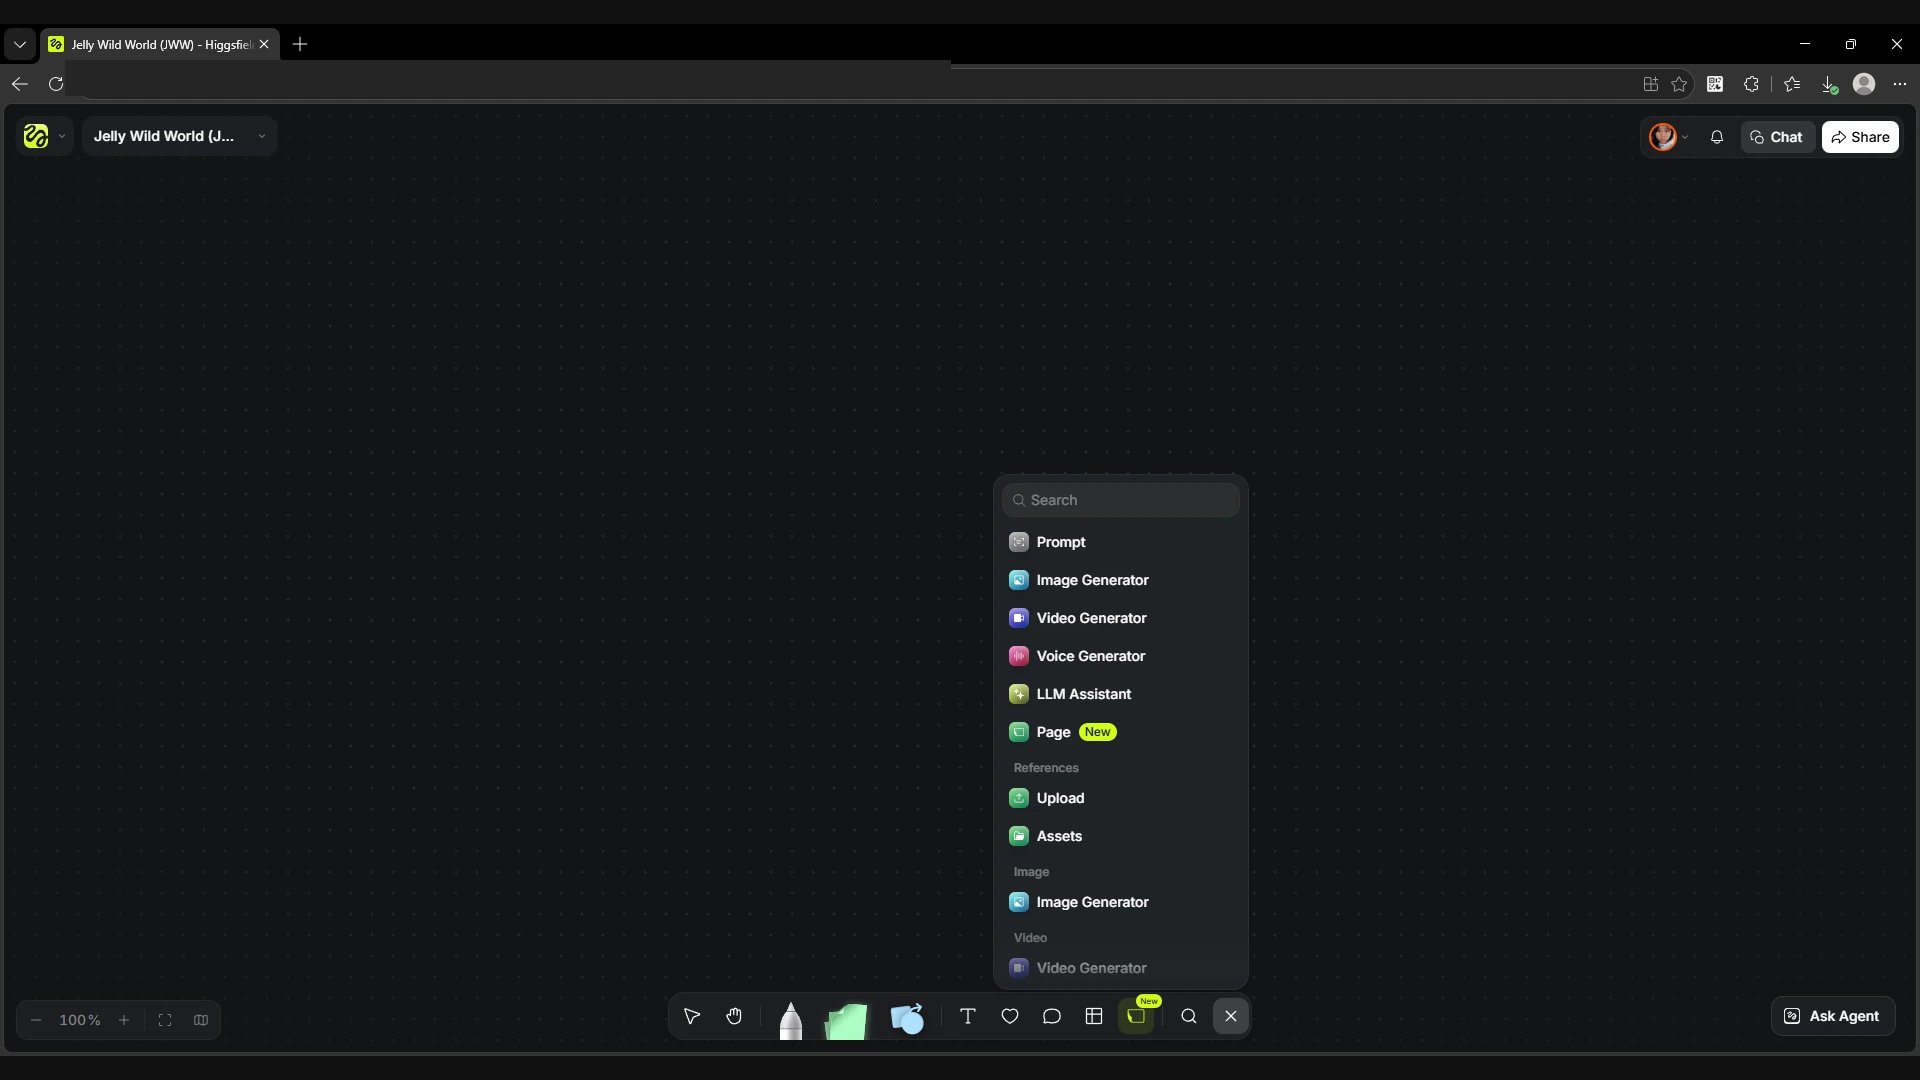
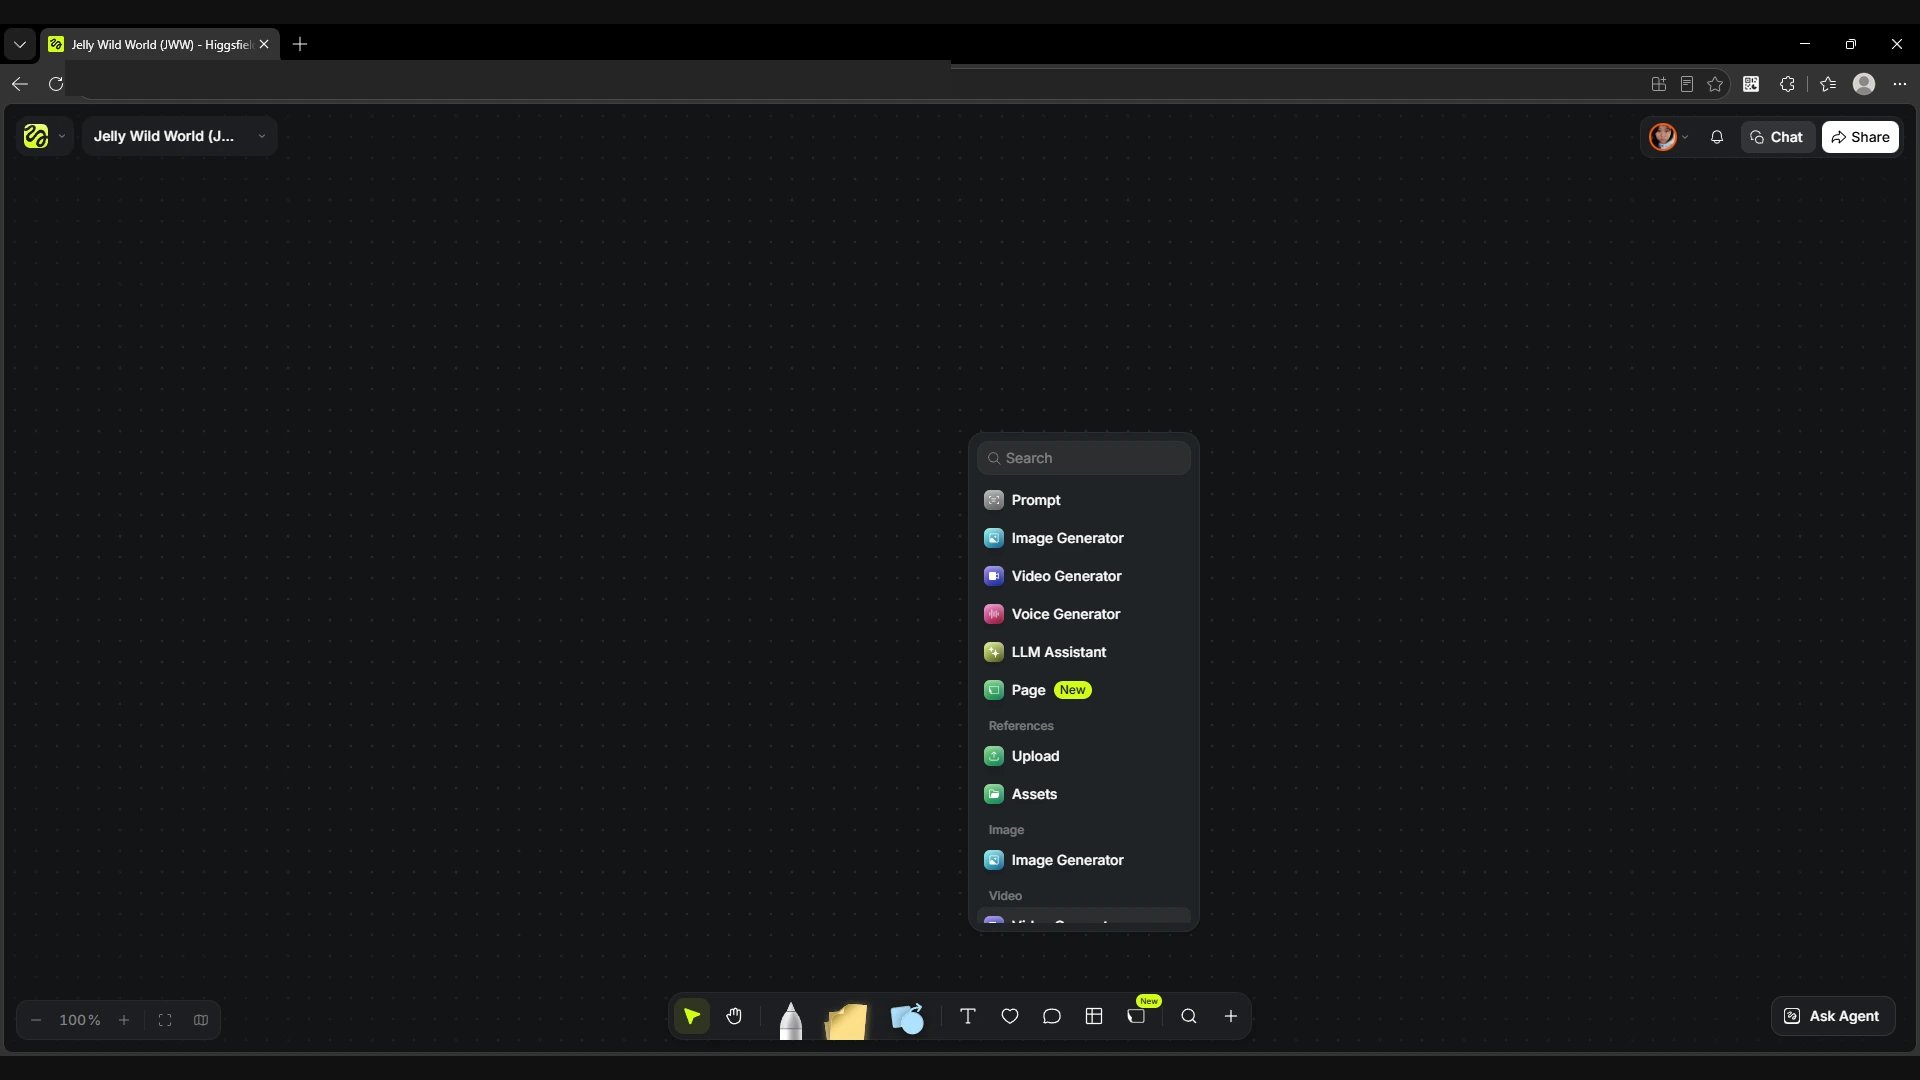
Click + at the right end of the bottom toolbar. The menu lets you add Prompt, Image Generator, Video Generator, Voice Generator, LLM Assistant and other elements to the canvas. References has Upload for uploading a file and Assets for choosing a material. The Search field inside the menu looks for tools to add. The magnifier next to it searches for objects that are already on the canvas.
Screen
The node list opened from the bottom toolbar.
Ask Agent
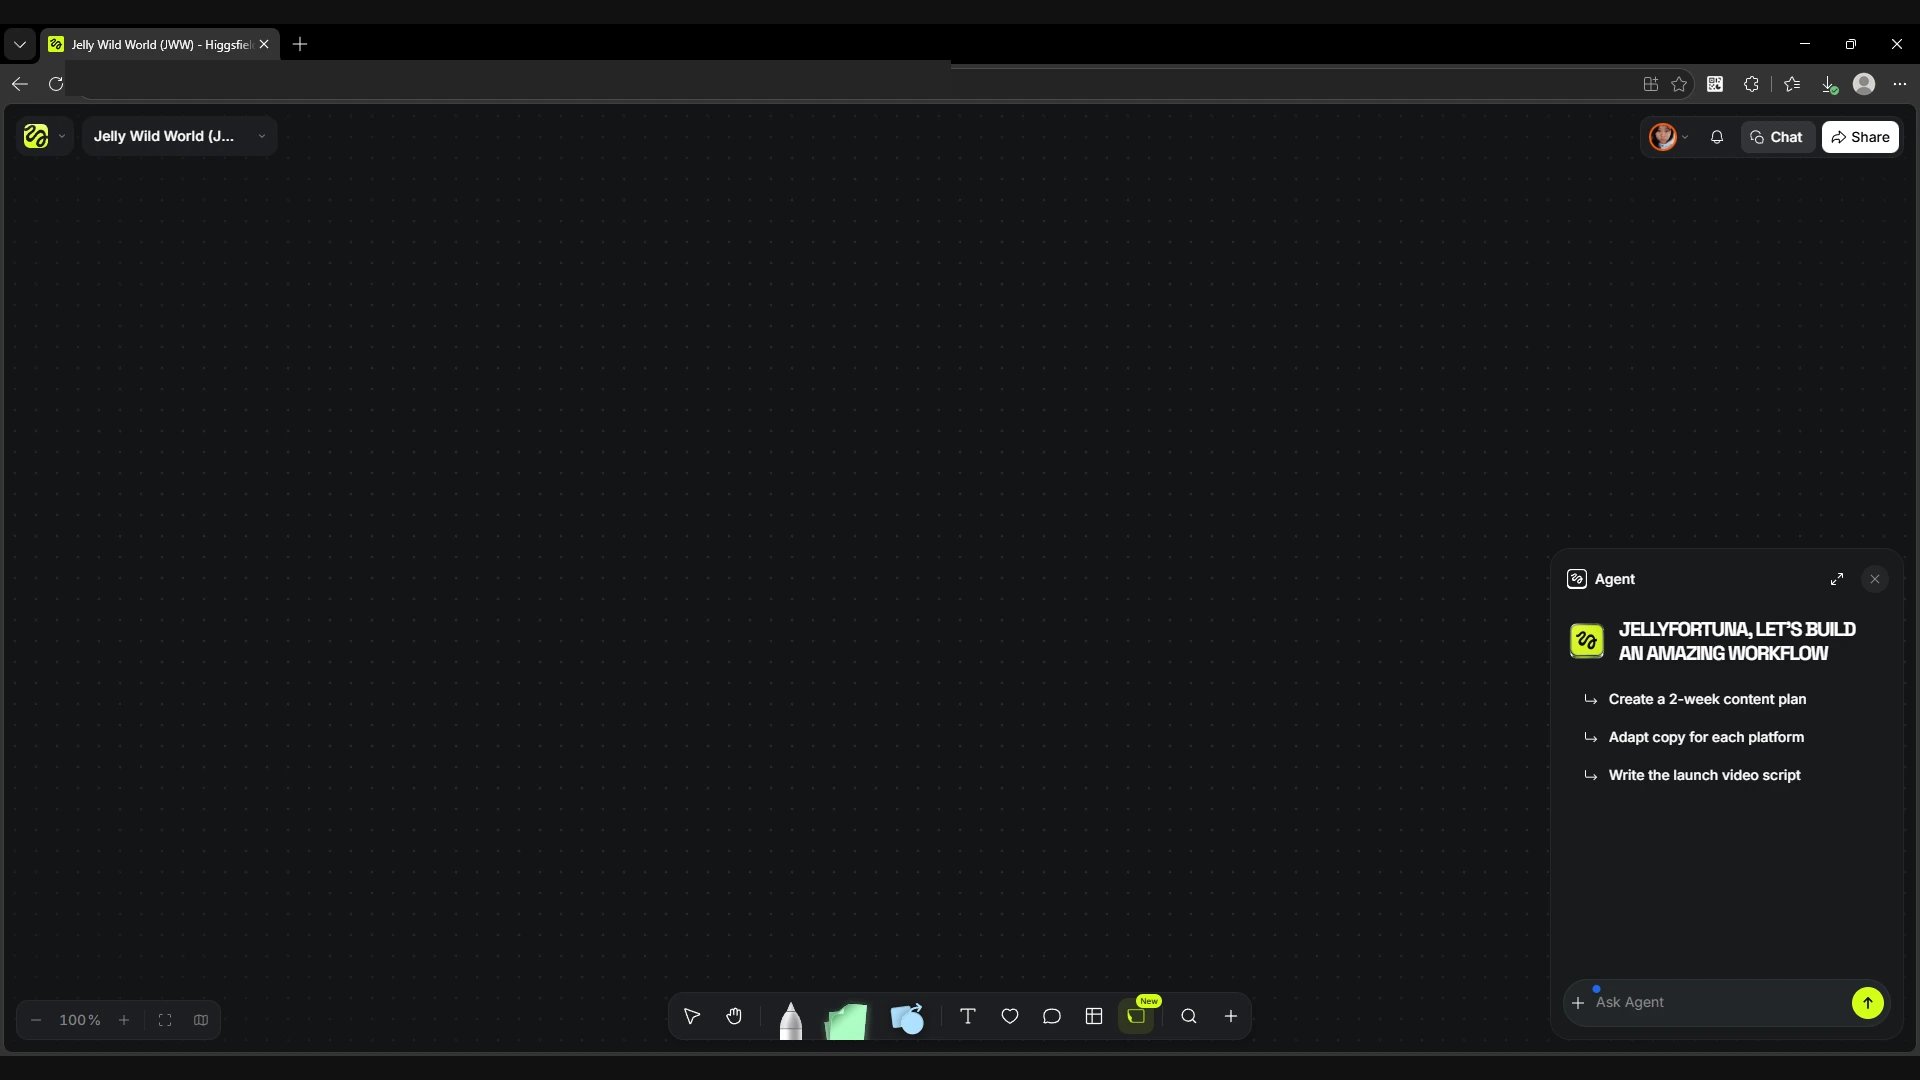
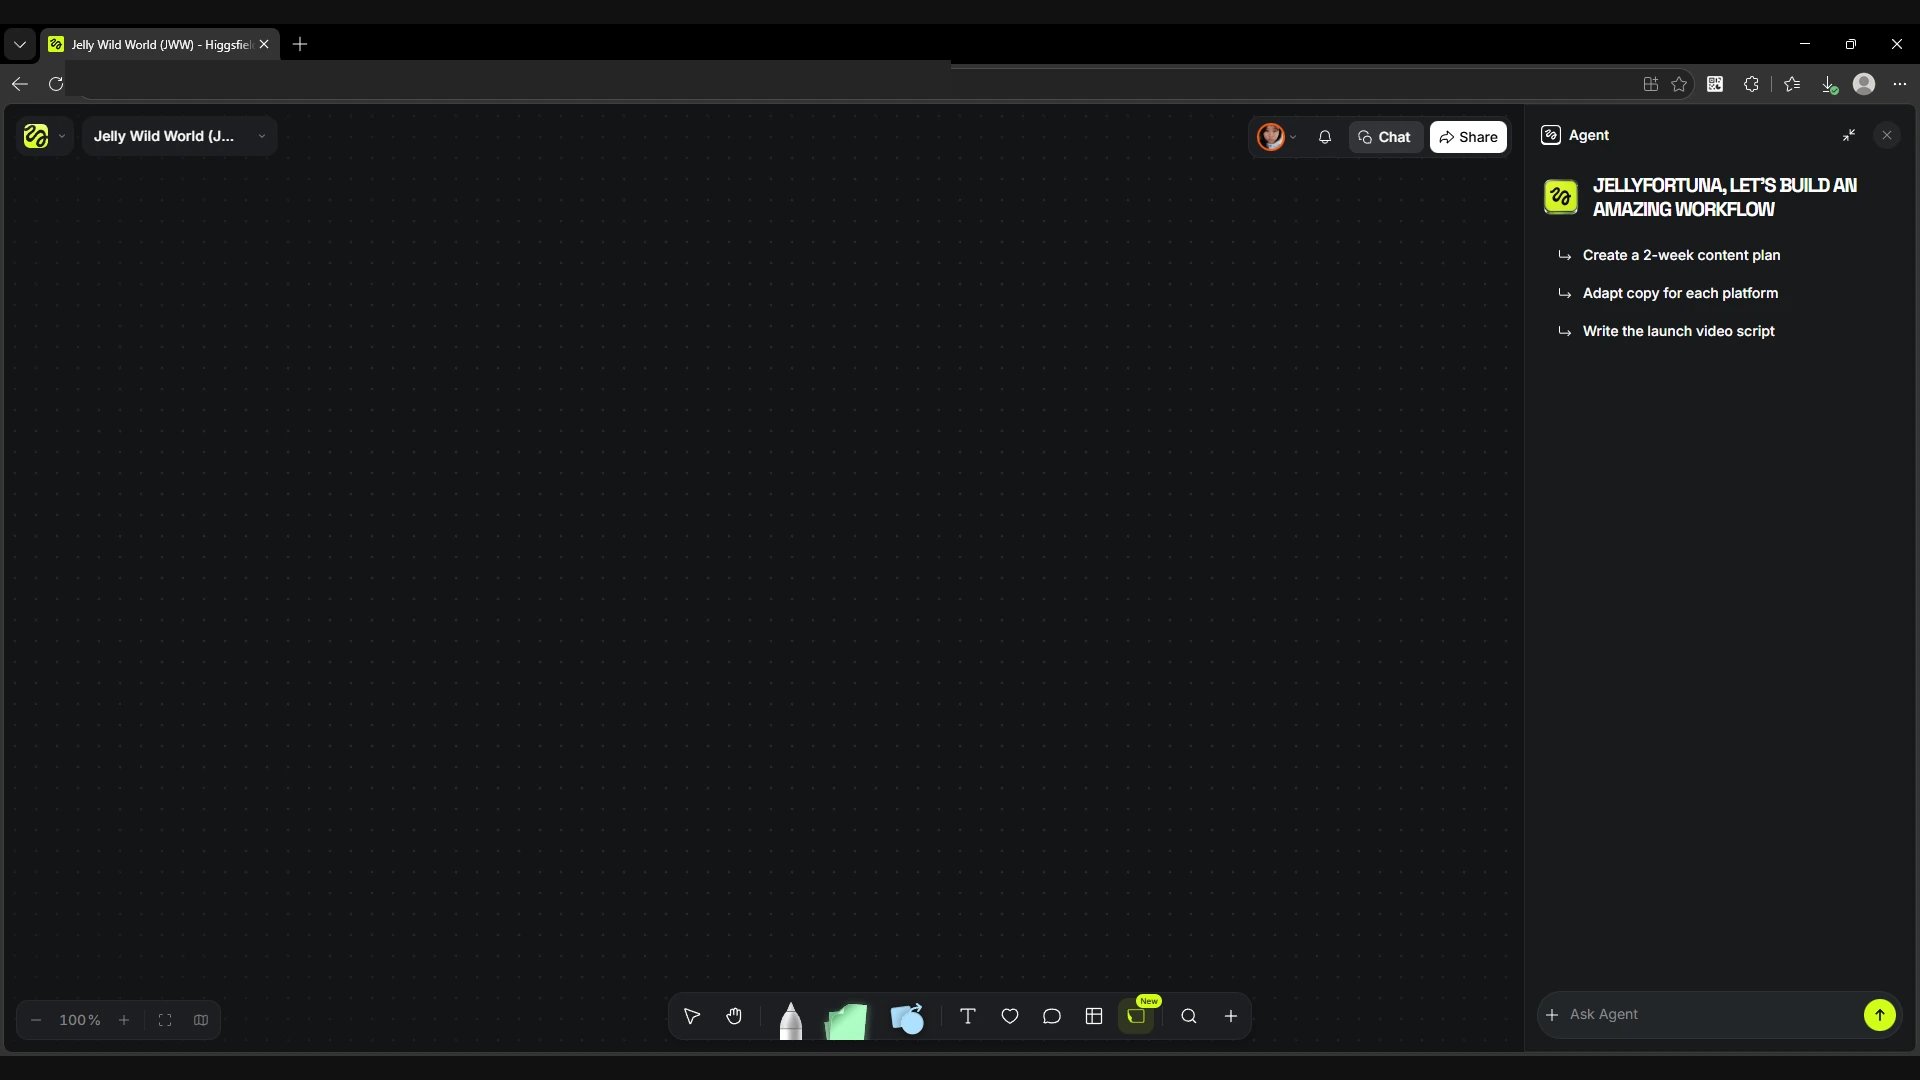
Click Ask Agent in the bottom right corner to open a chat with Higgsfield Supercomputer. The icon with diagonal arrows switches between a compact window and the right side panel. The agent can build a workflow on the current canvas if you describe the source materials, the stages you need and the result you expect. Later you can find the conversation in Supercomputer → Chats in the left sidebar.
Screen
The compact agent window.
Screen
The expanded chat next to the canvas.
Share
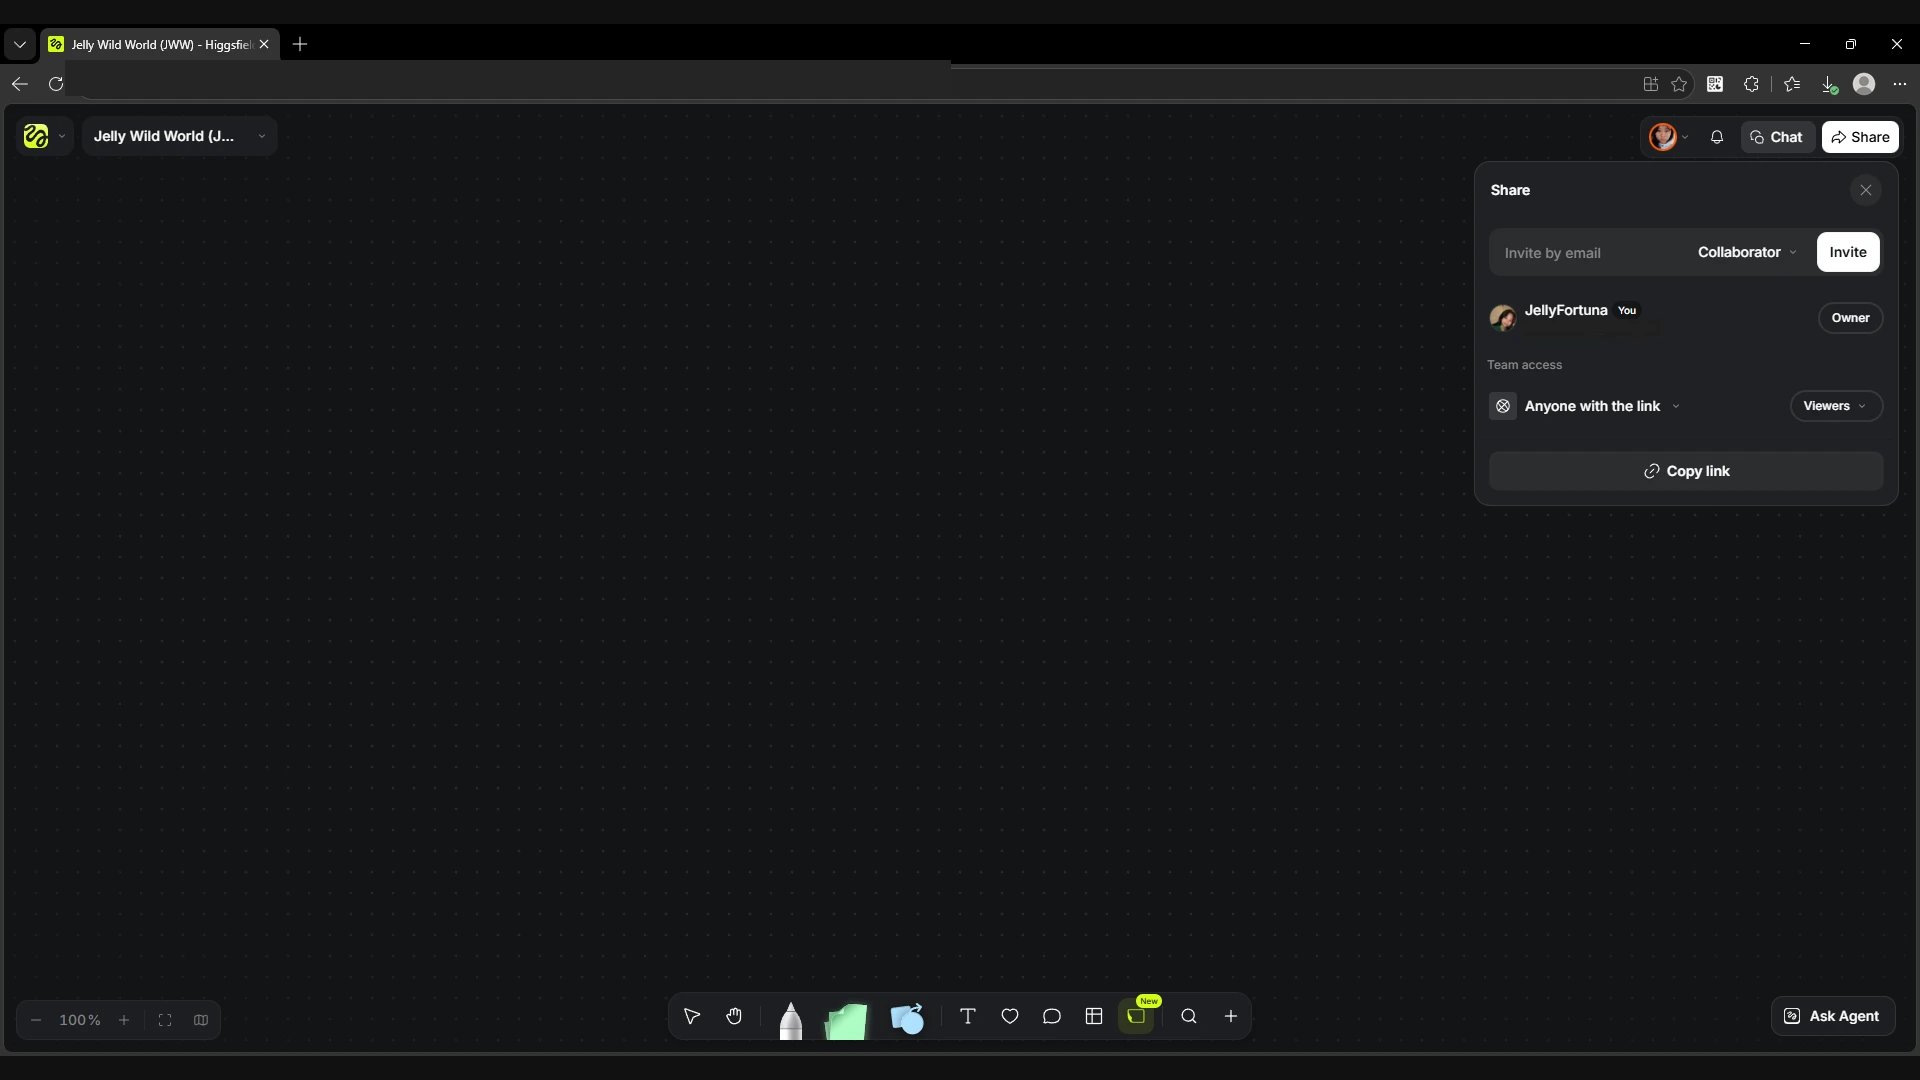
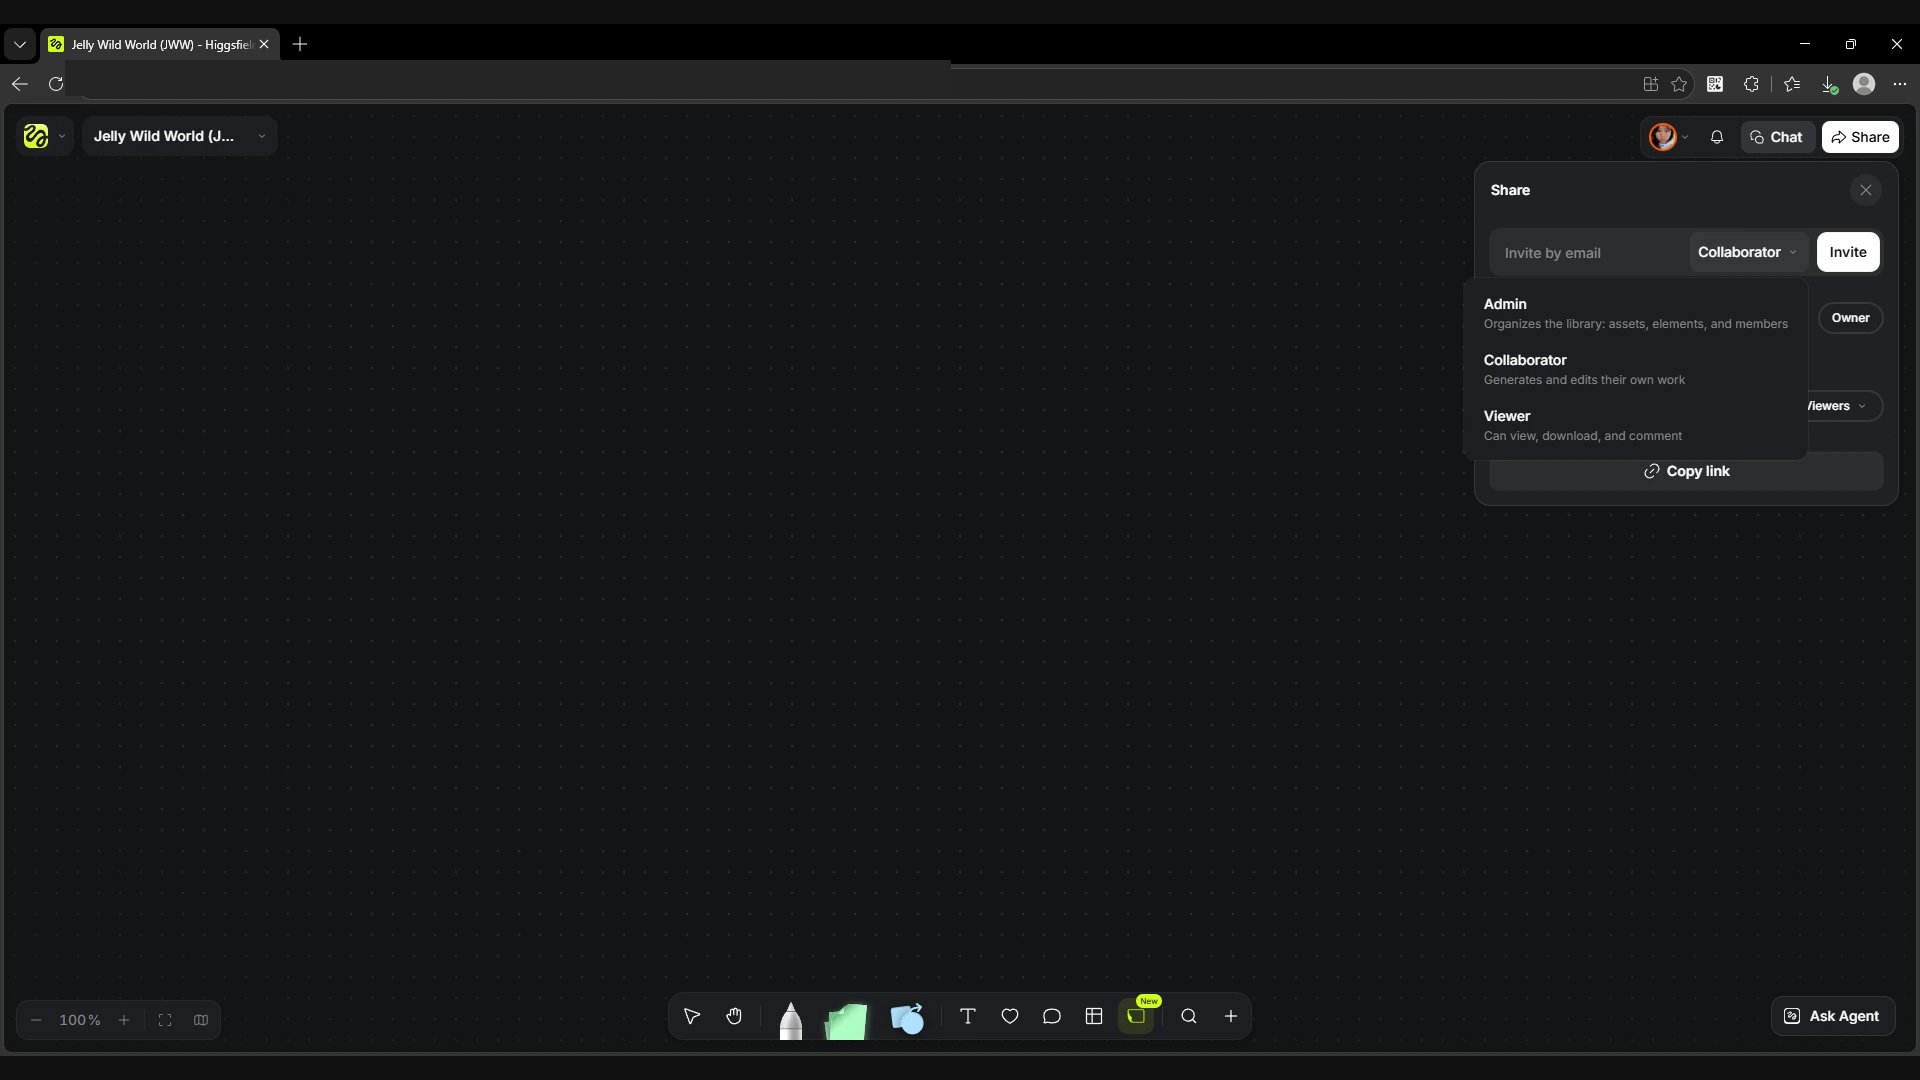
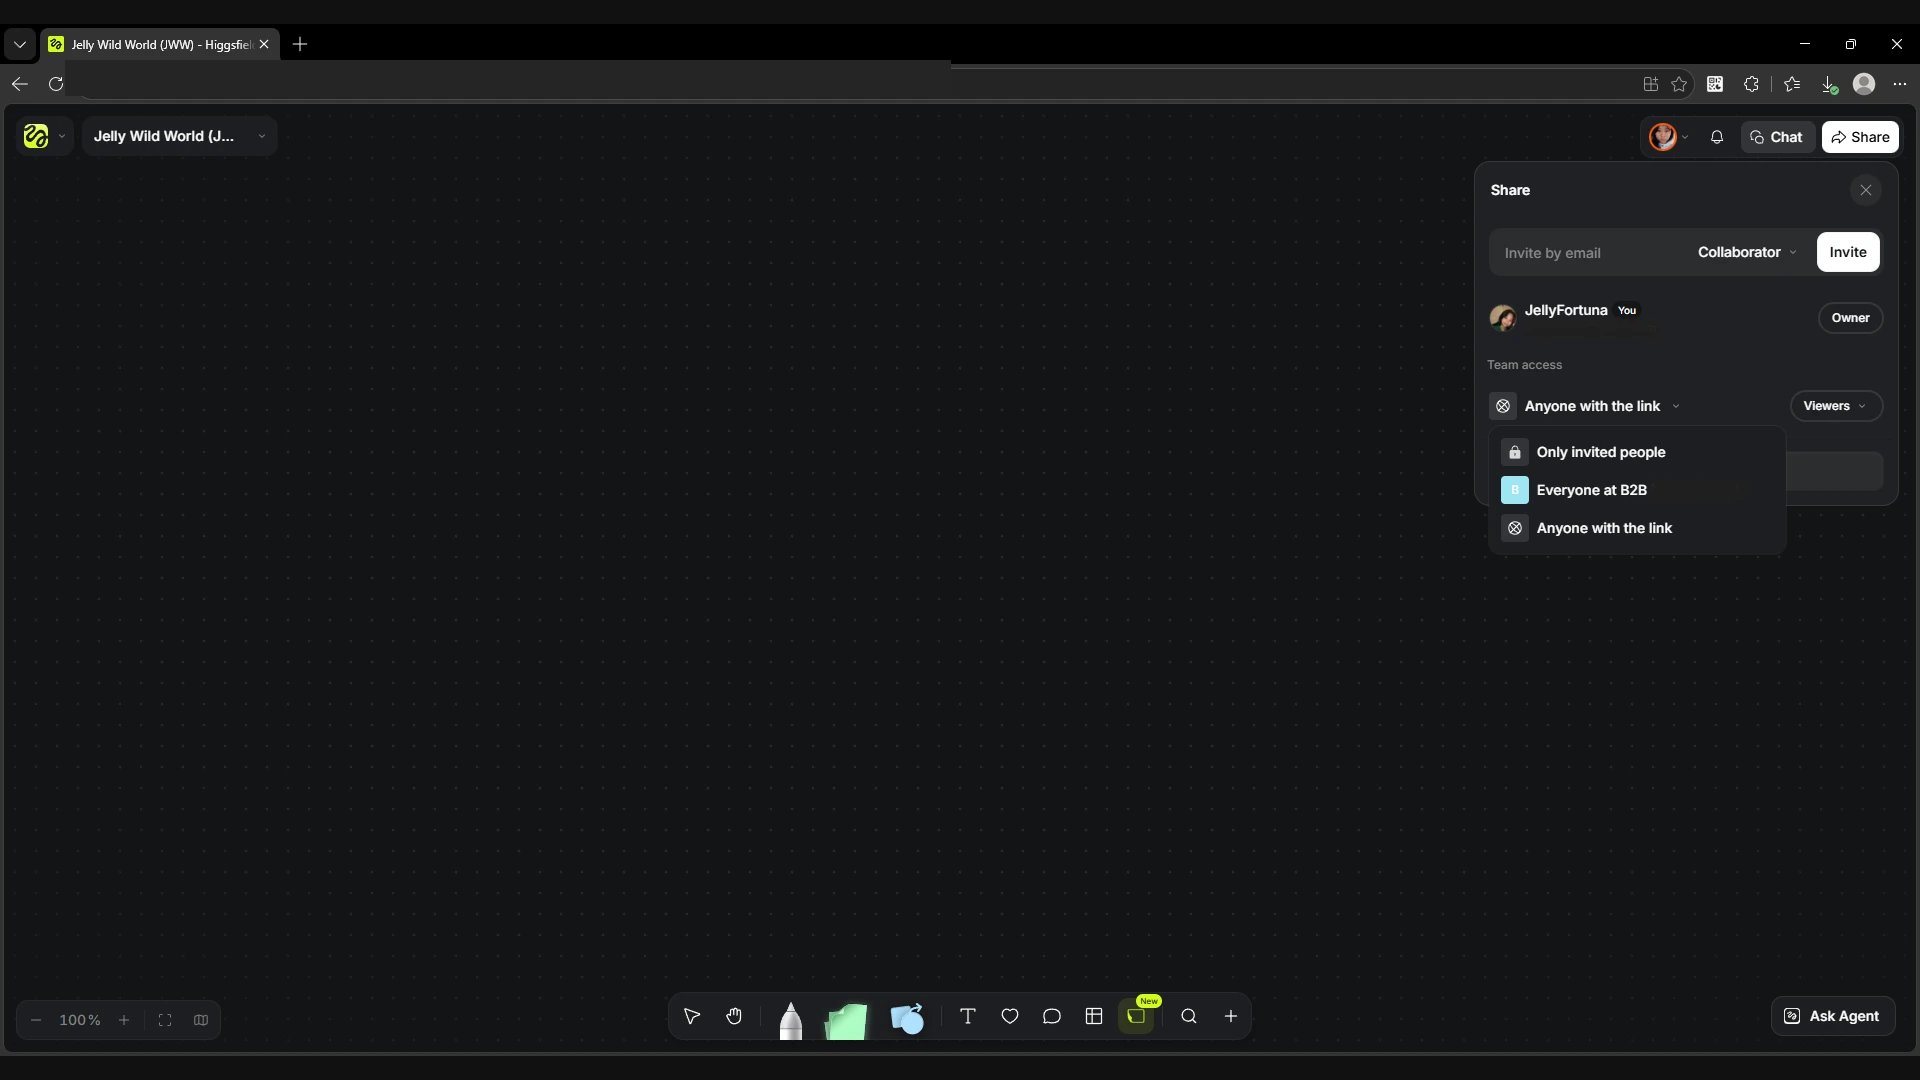
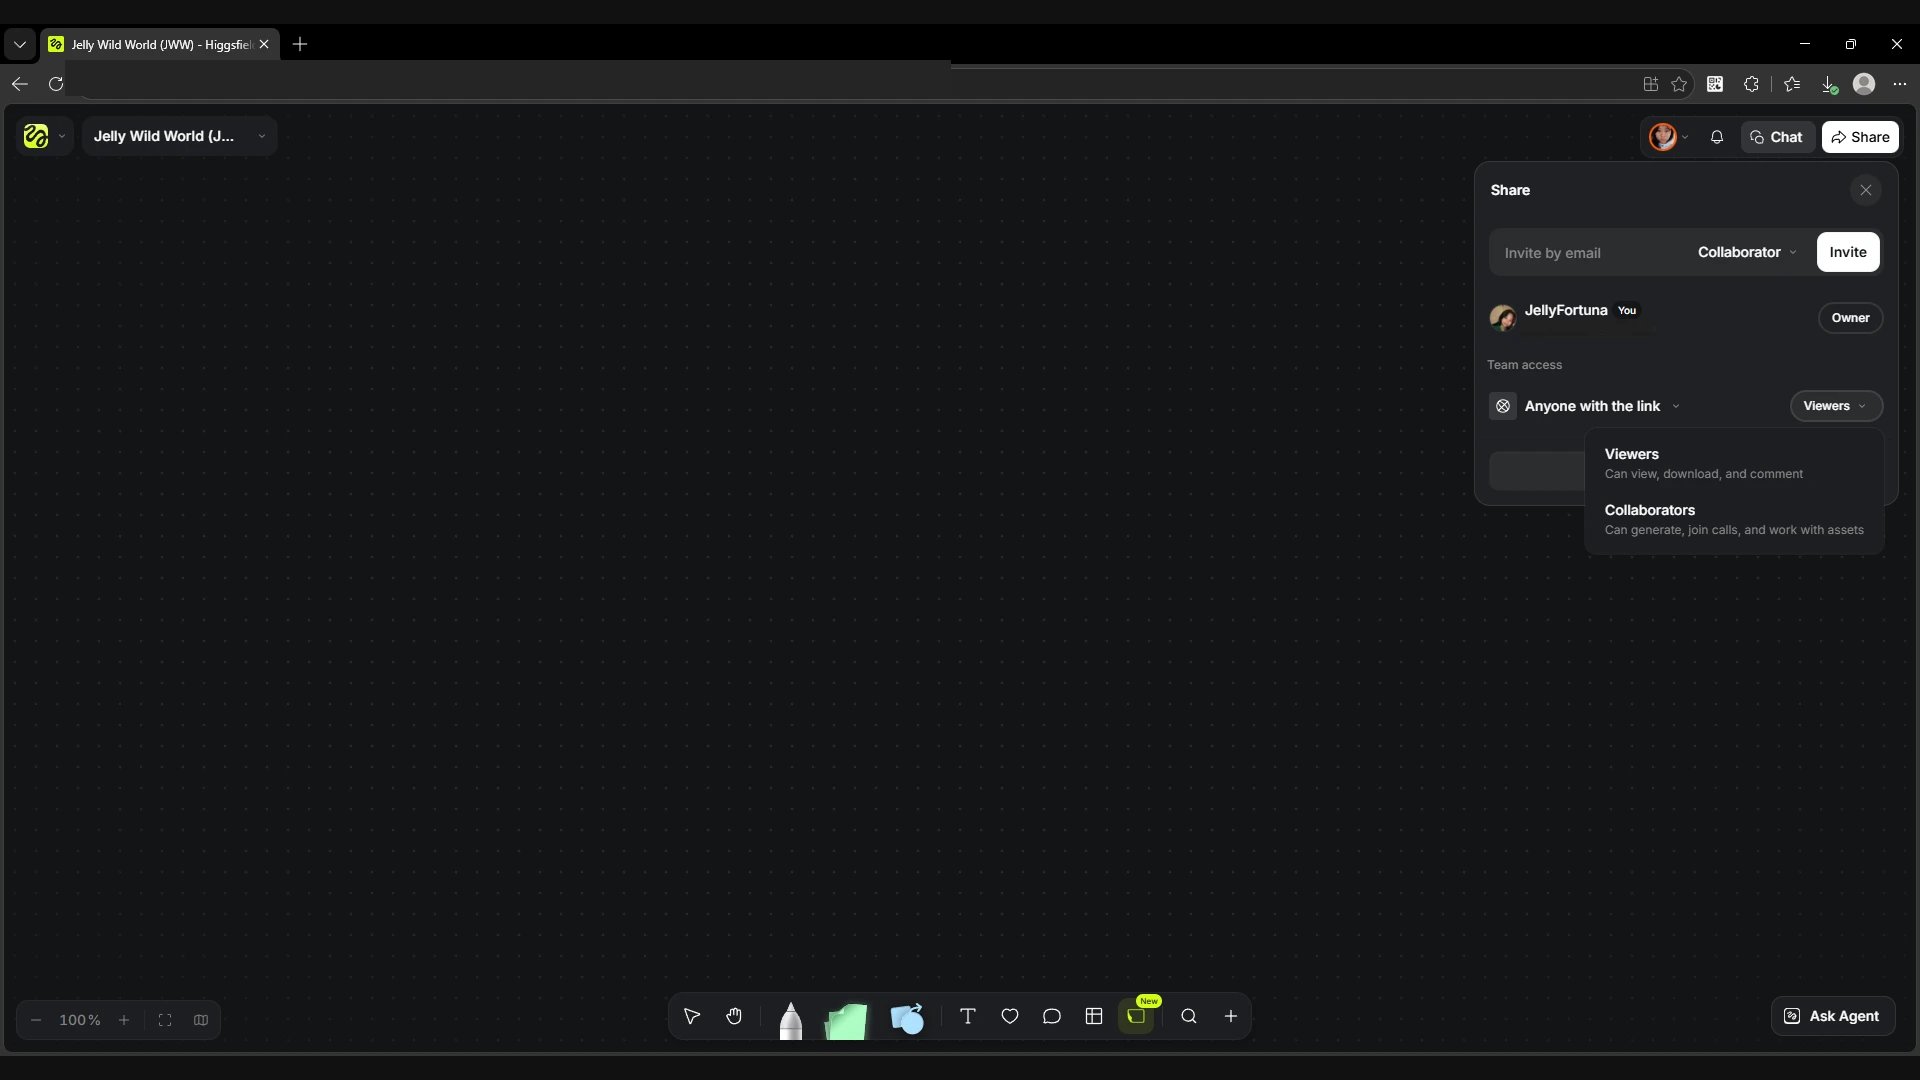
Click Share in the top right corner. To invite a specific person, enter their email, choose a role and click Invite. Admin manages materials, Elements and members. Collaborator runs generations and edits their own work. Viewer can view, download and comment. In Team access, the left menu sets the audience: only invited people, workspace members or anyone with the link. The right menu sets what that audience can do: Viewers or Collaborators. Then click Copy link.
Screen
The Share panel overview.
Screen
Roles for an email invitation.
Screen
Choosing the board audience.
Screen
Permissions for the selected audience.
Chat and Call
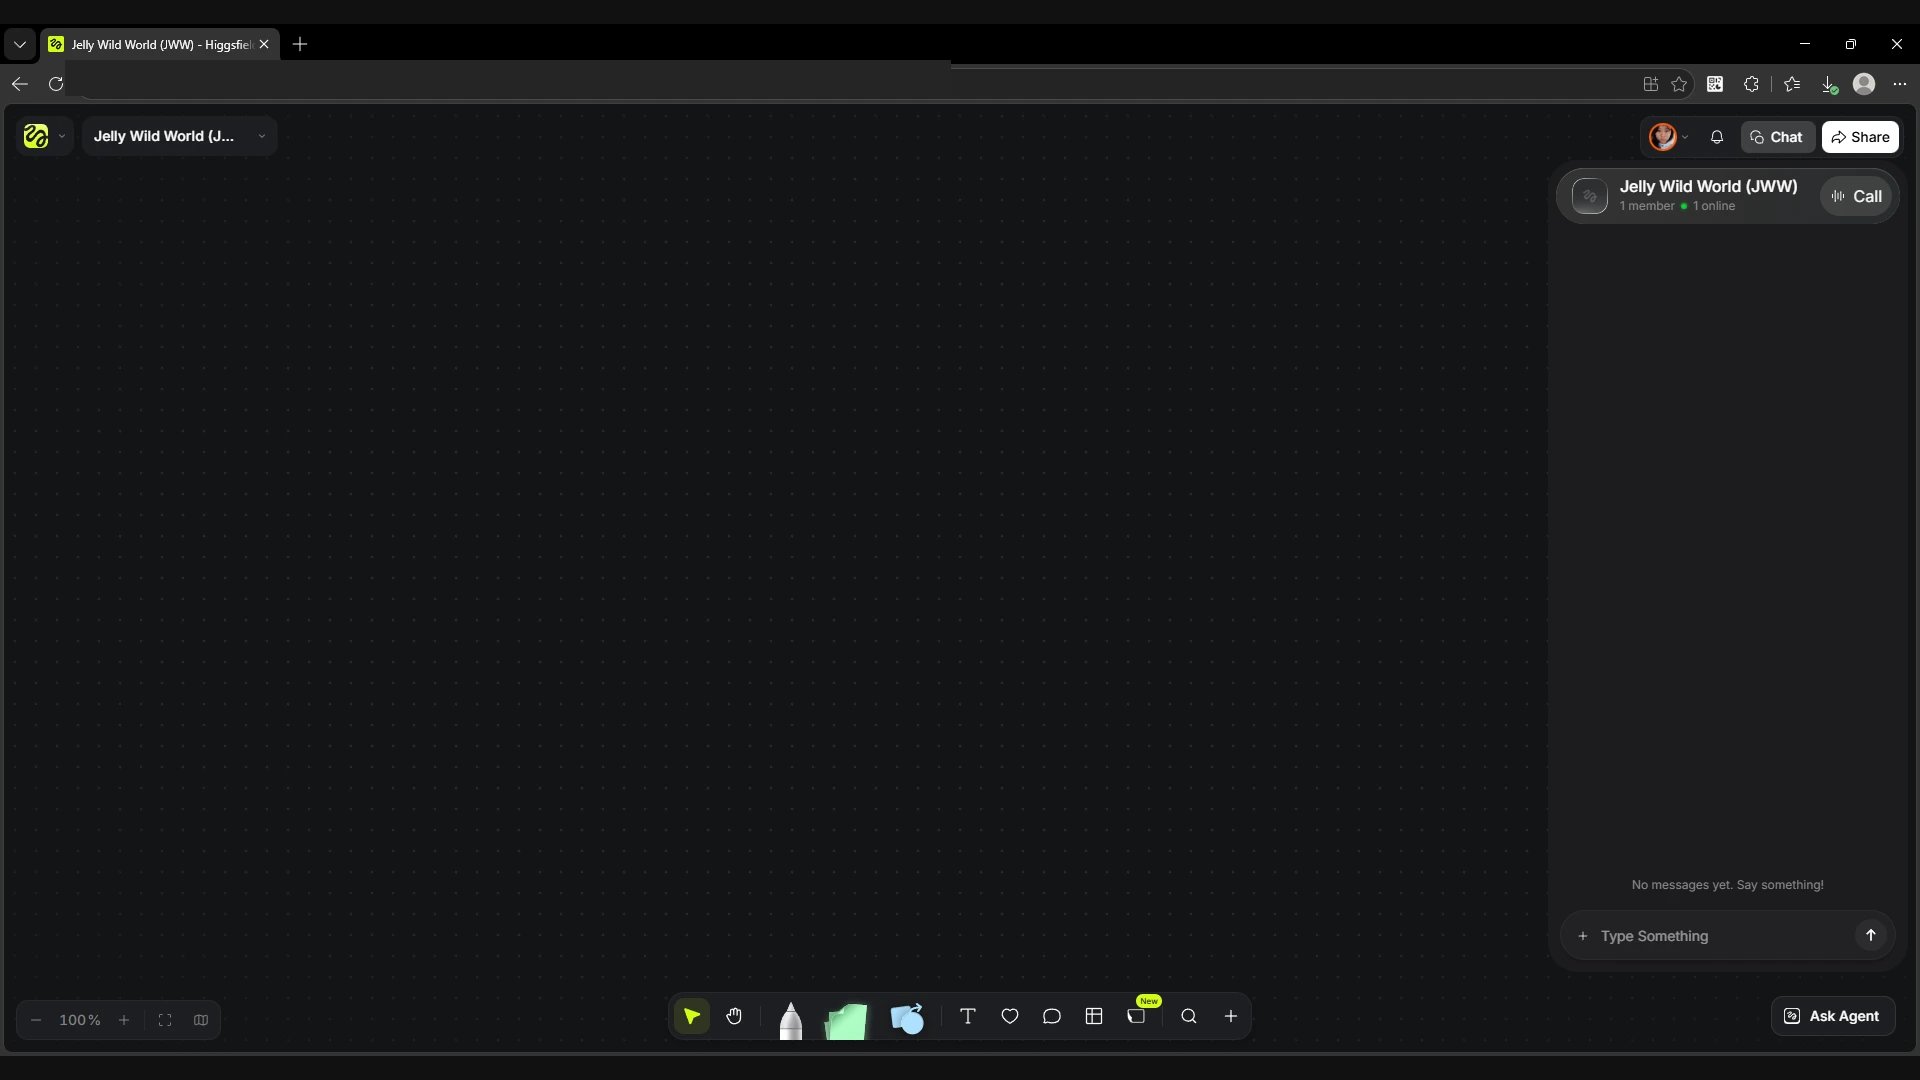
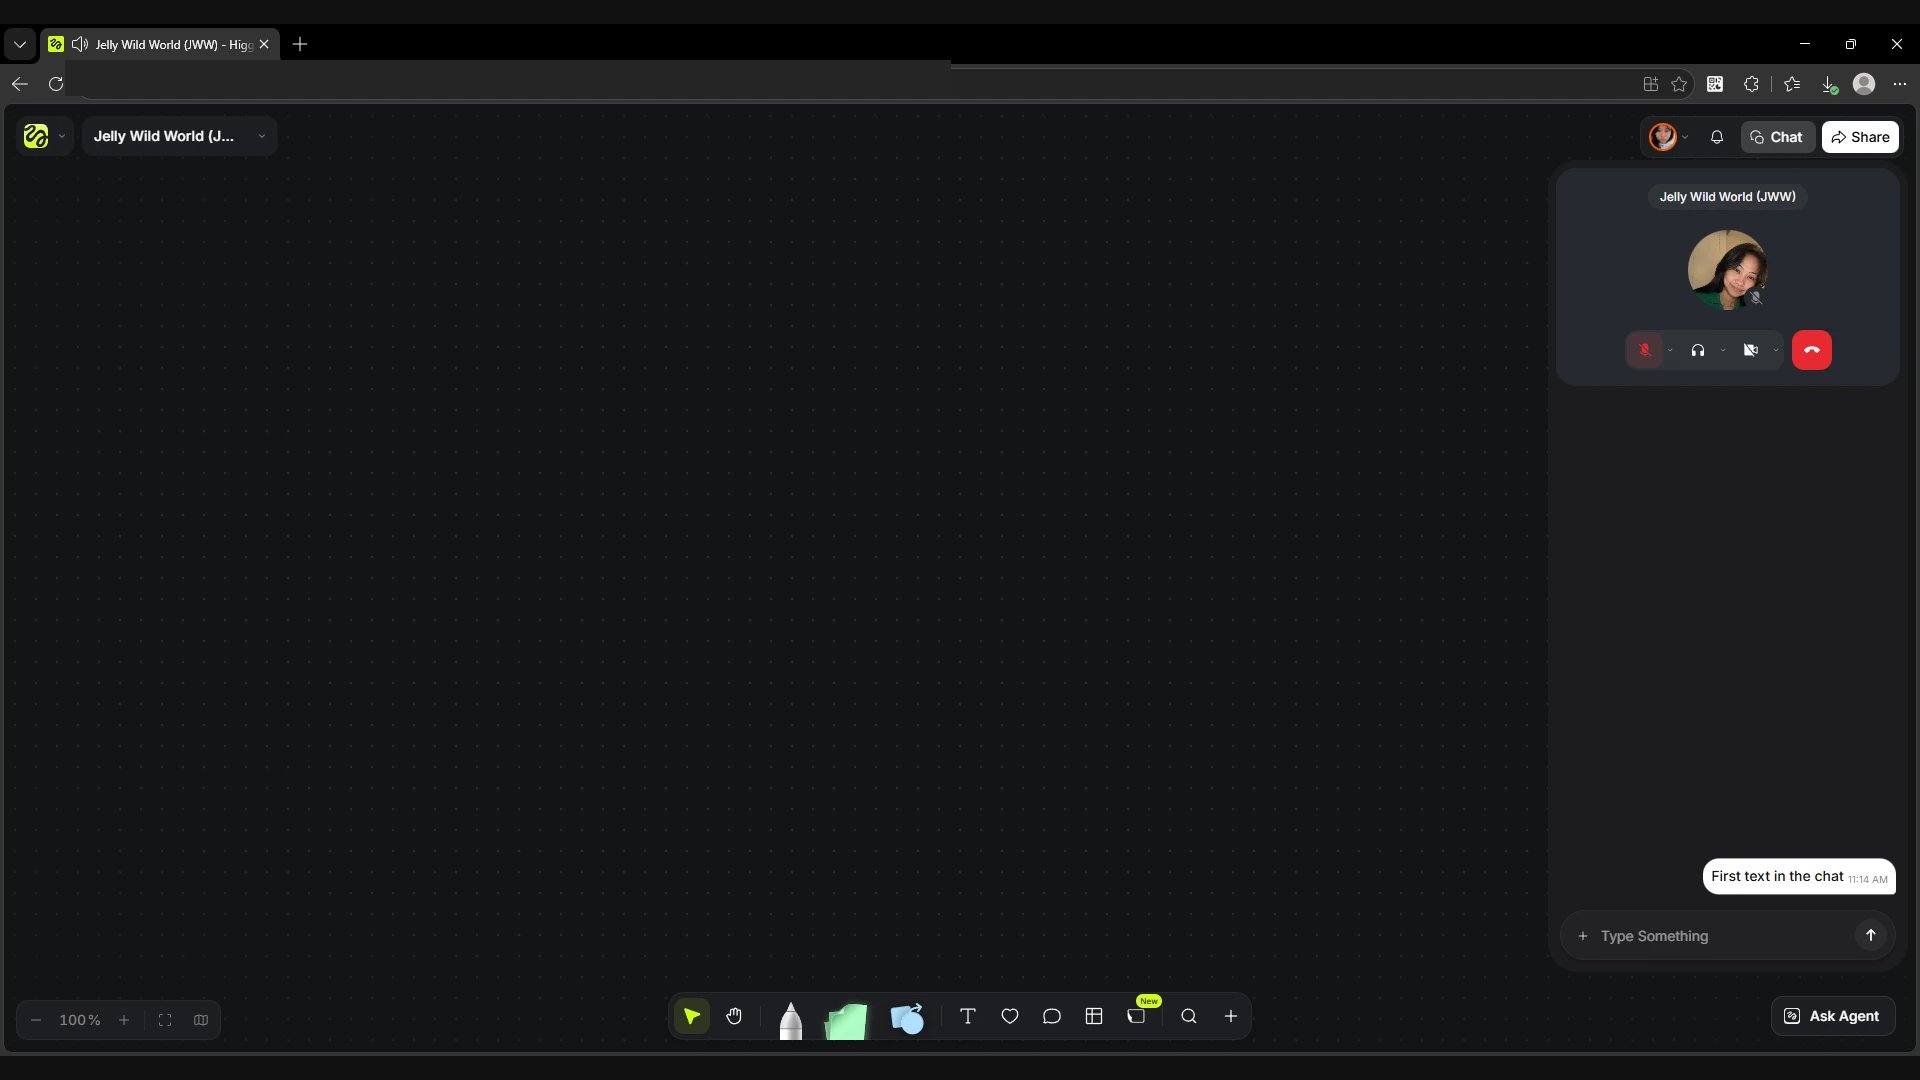
Open Chat next to Share. The chat shows how many members are online. Type a message in Type Something and click the arrow to send. Call starts a call right on the board. The canvas and the conversation stay visible, and the call panel shows buttons for the microphone, sound, camera and leaving. For a note about a specific material, you can leave Comments next to it.
Screen
The project chat and the Call button.
Screen
A call and the conversation next to the canvas.
The node menu and the context menu
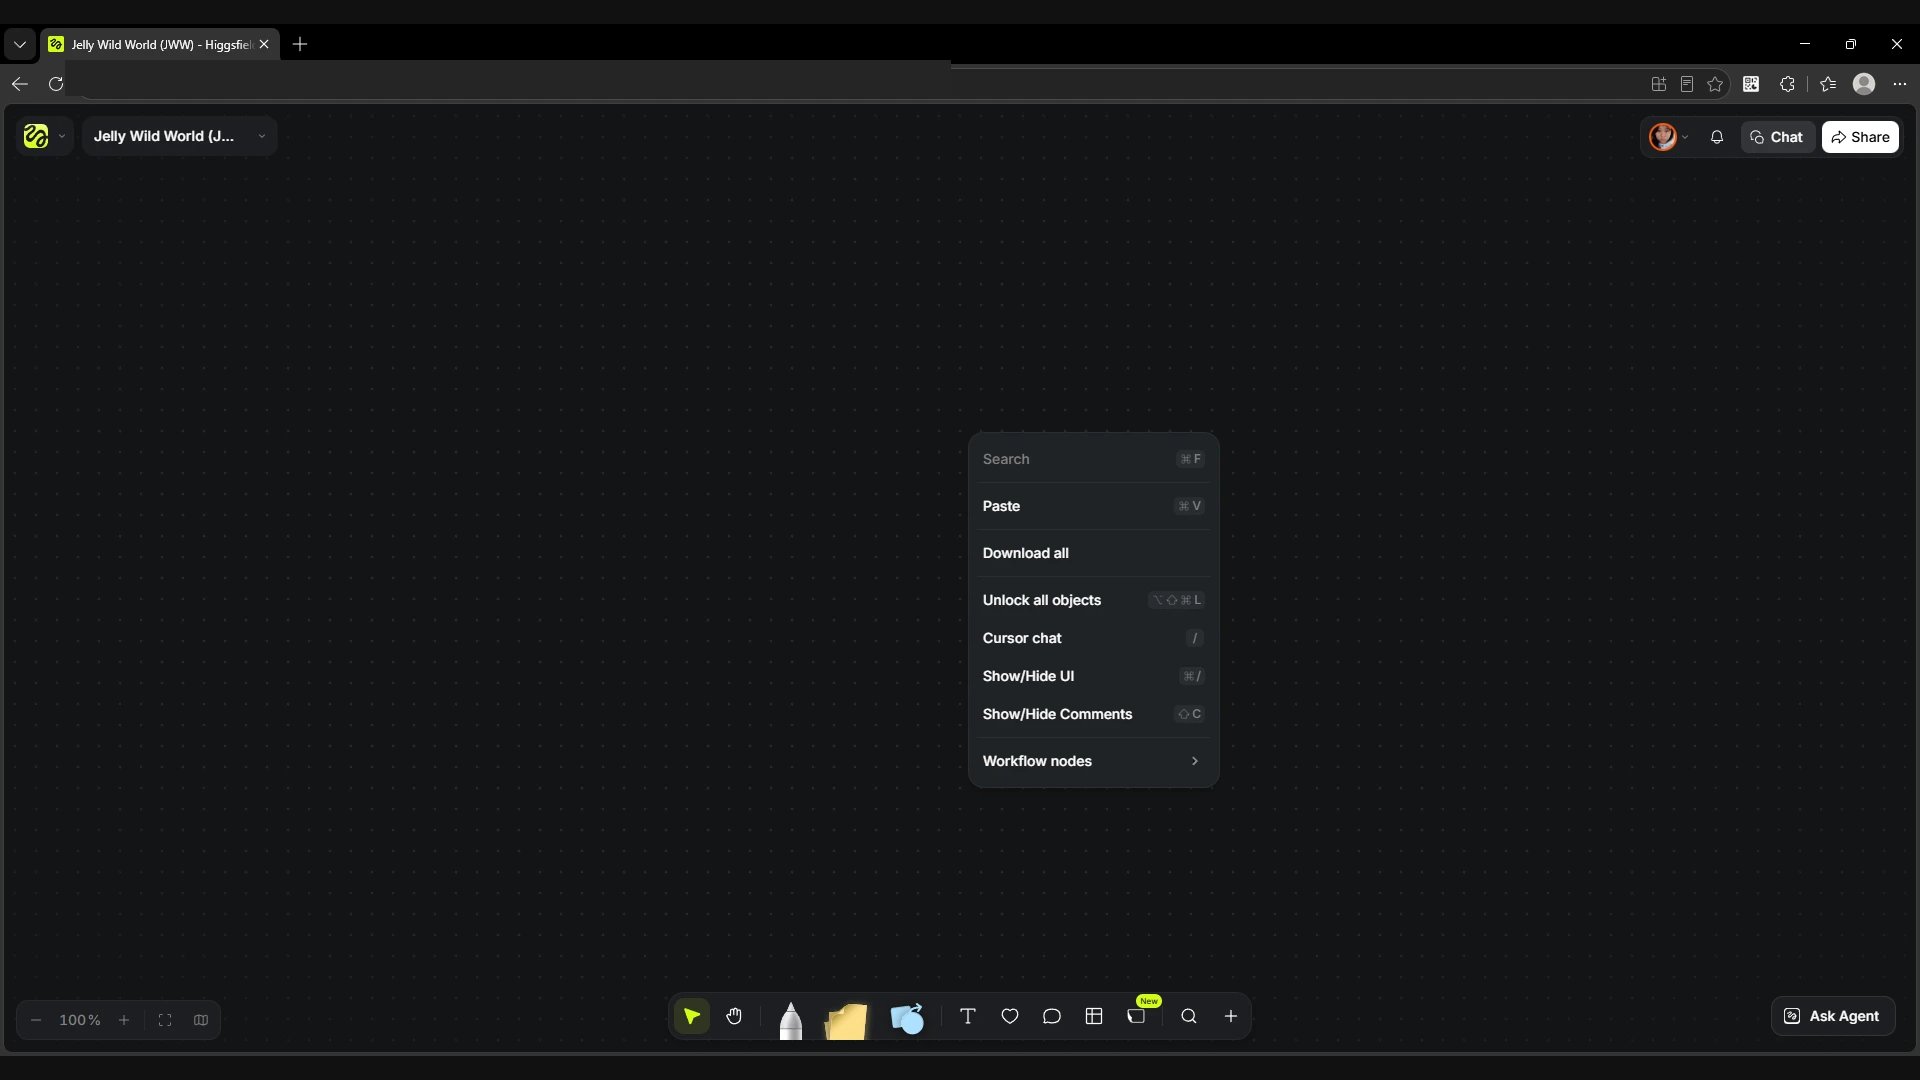
Double-click an empty spot on the canvas to open the node list next to the cursor. Right-clicking opens the context menu. At the bottom of this menu is the Workflow nodes submenu. Above it are Search, Paste, Download all, Unlock all objects, Cursor chat and toggles for showing the interface and comments.
Screen
The node list after a double-click.
Screen
The context menu after a right-click.
How to read ports
Inputs are usually on the left and show which materials the node accepts. The output on the right shows what the node passes on. The T icon stands for text, the image icon for an image, the camera for video and the sound wave for audio. The port menu shows compatible sources or receiving nodes.
Screen
Text and image inputs on the left, image output on the right.
Prompt
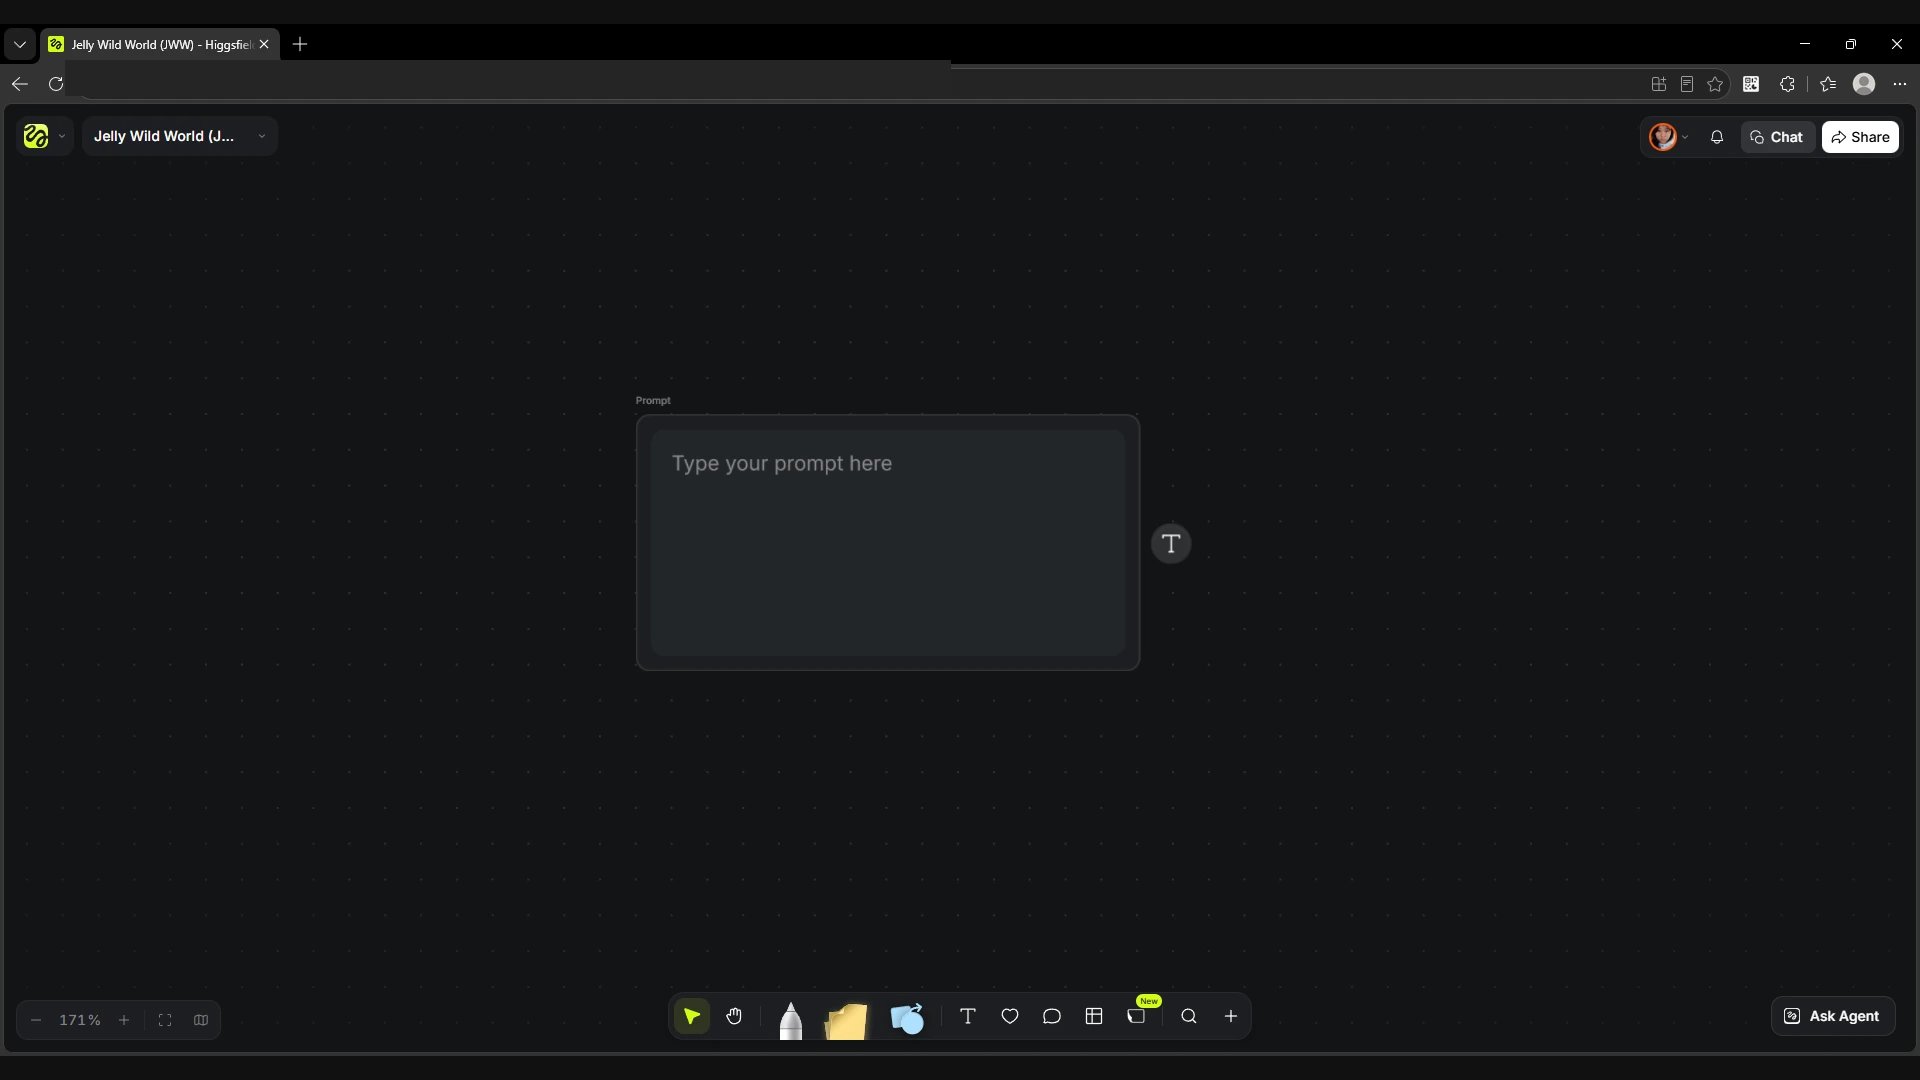
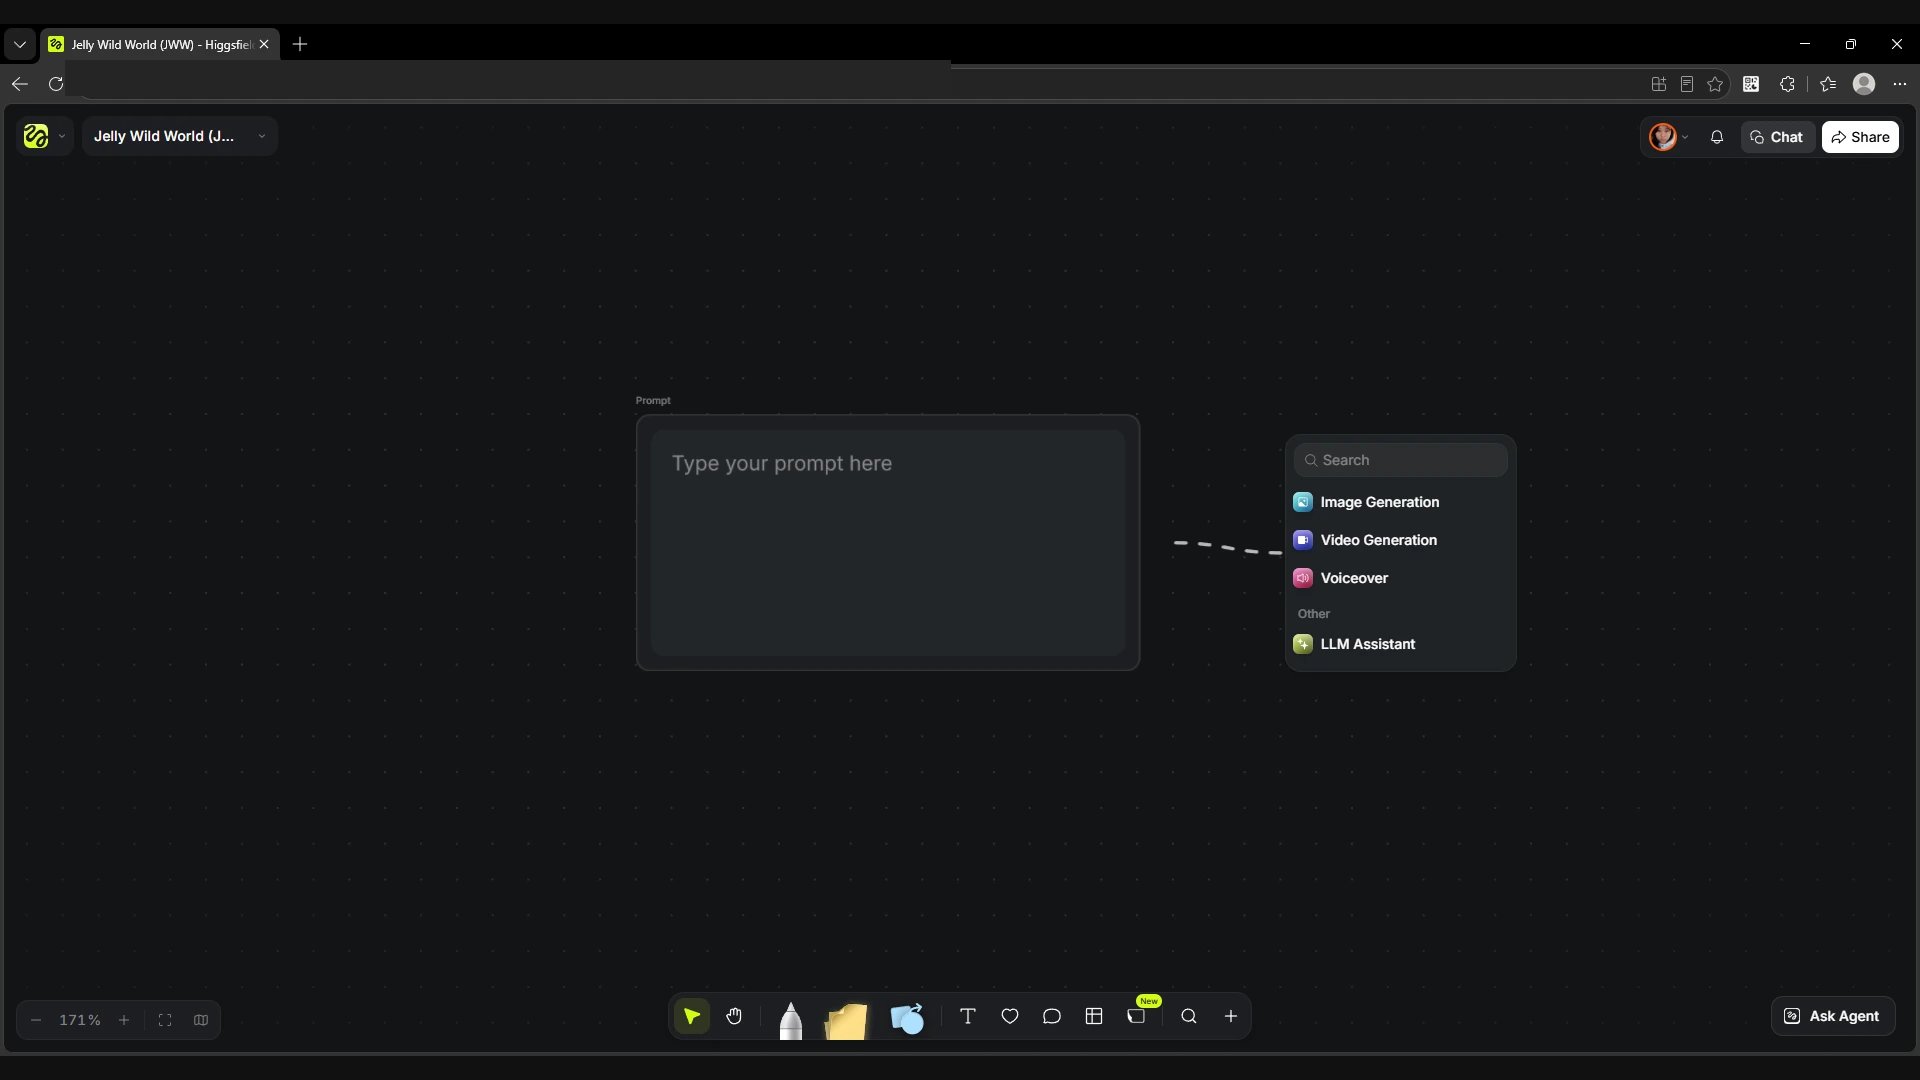
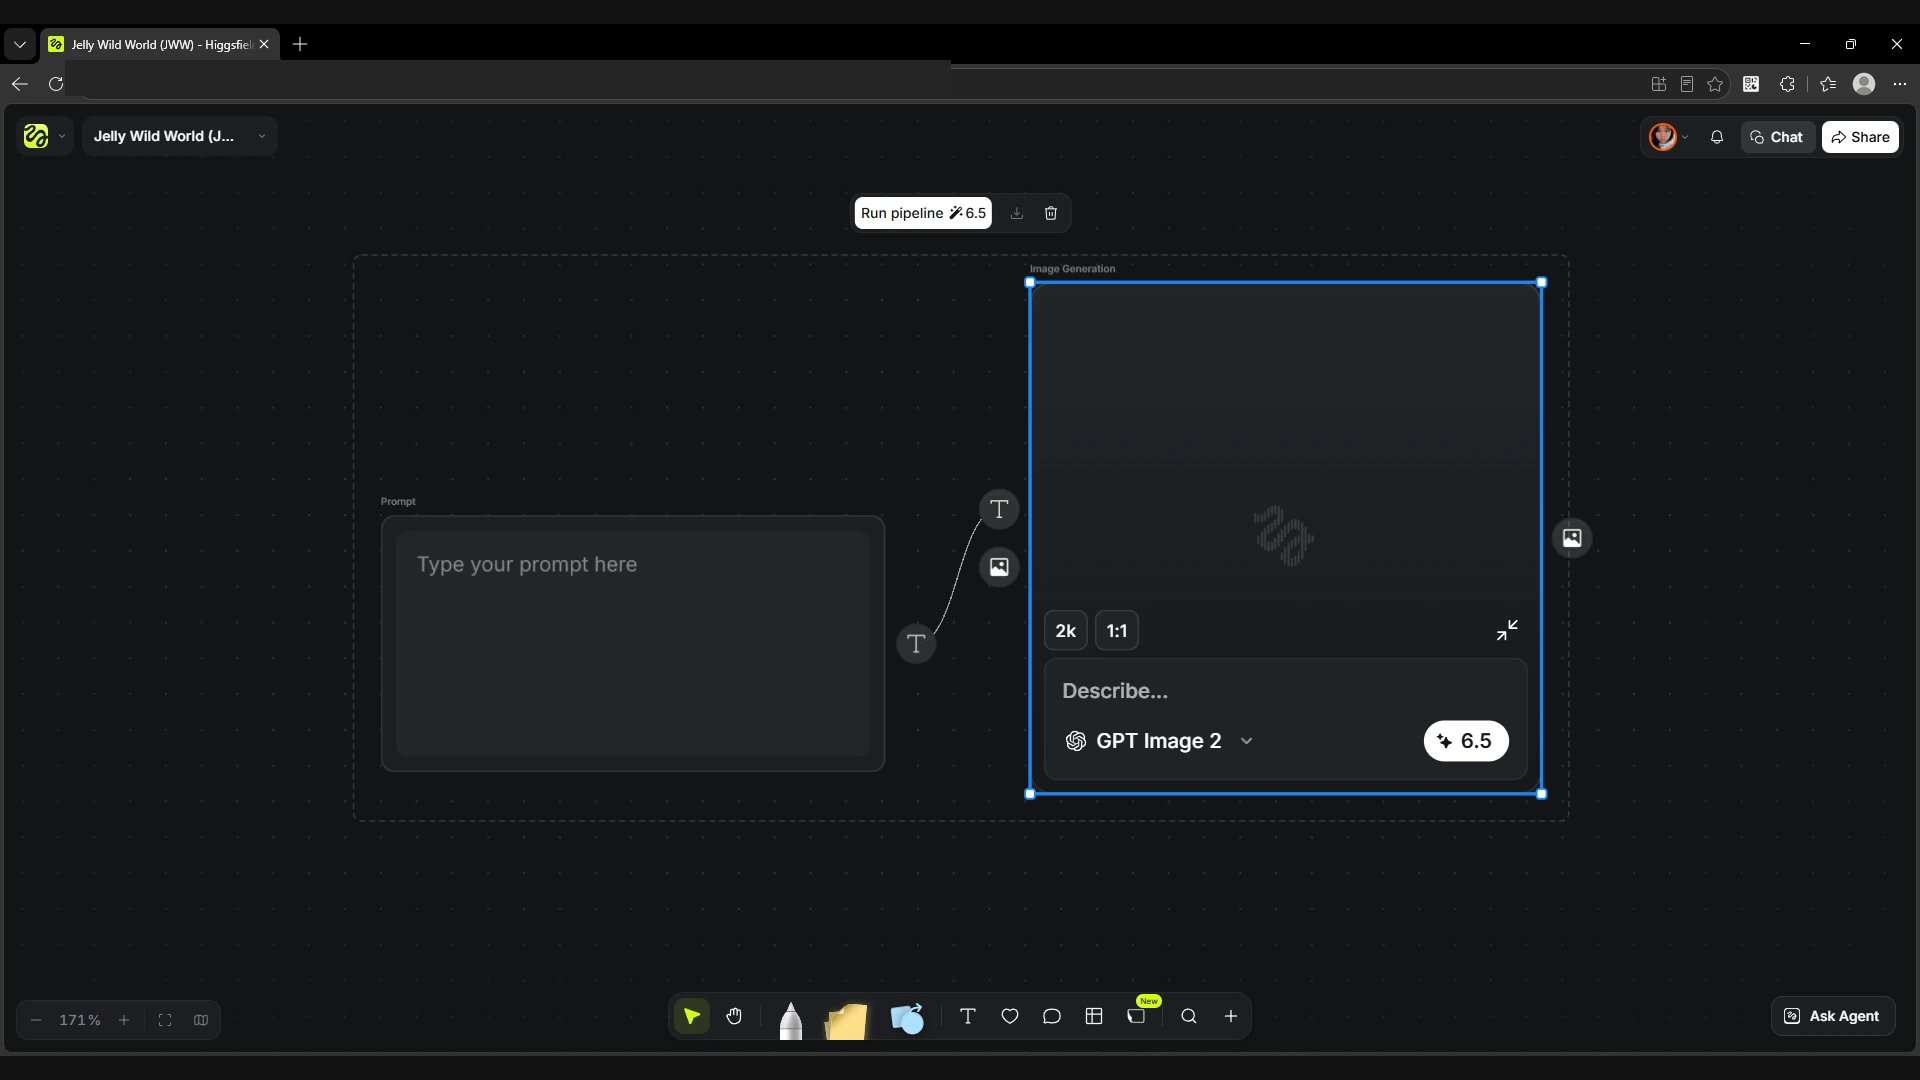
Prompt has no inputs. You type the text right in the card, and the T port on the right passes it to Image Generation, Video Generation, Voiceover or LLM Assistant. The node stores and passes text without spending credits. If you ask LLM Assistant to rewrite a prompt, a separate card keeps the original wording for comparison. In the third screenshot the text goes straight into Image Generation.
Screen
The input field and the T output.
Screen
Compatible nodes on the text output.
Screen
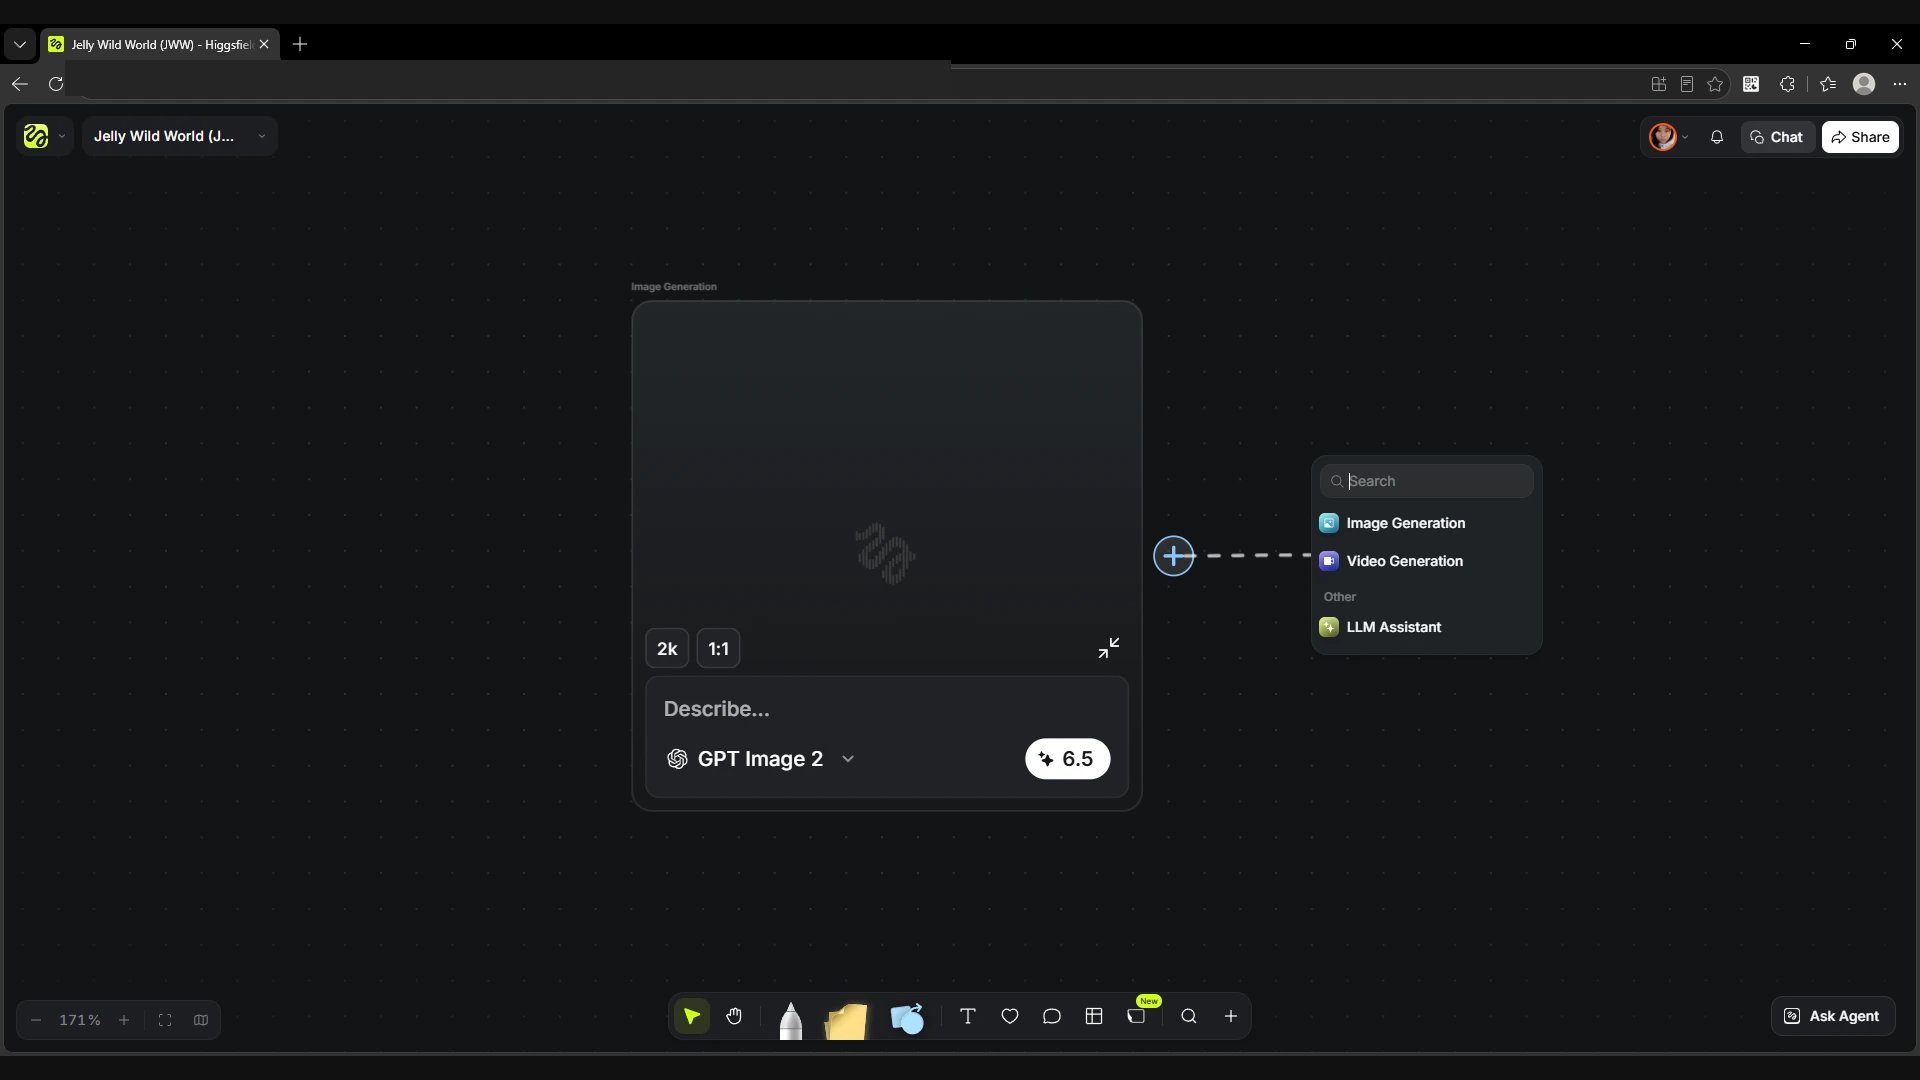
Prompt passes text to the Image Generation input.
Image Generation · inputs and output
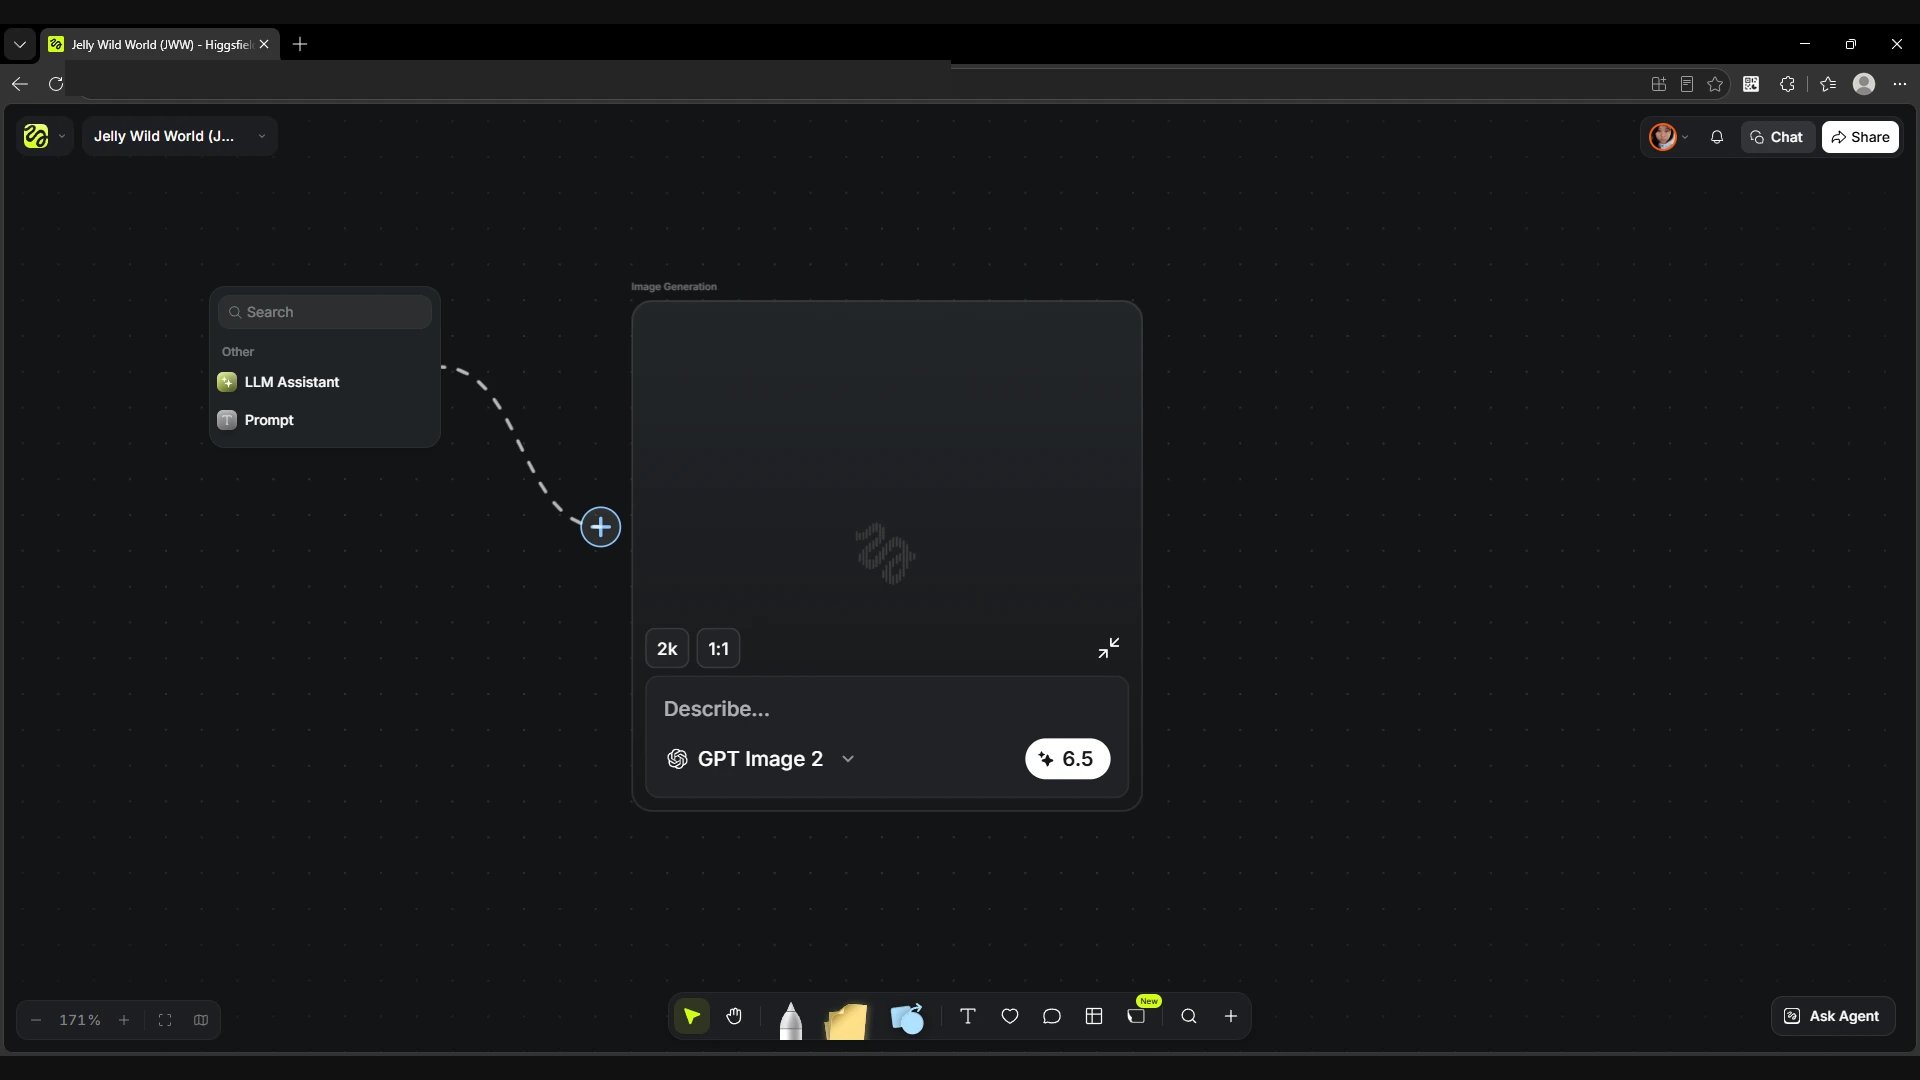
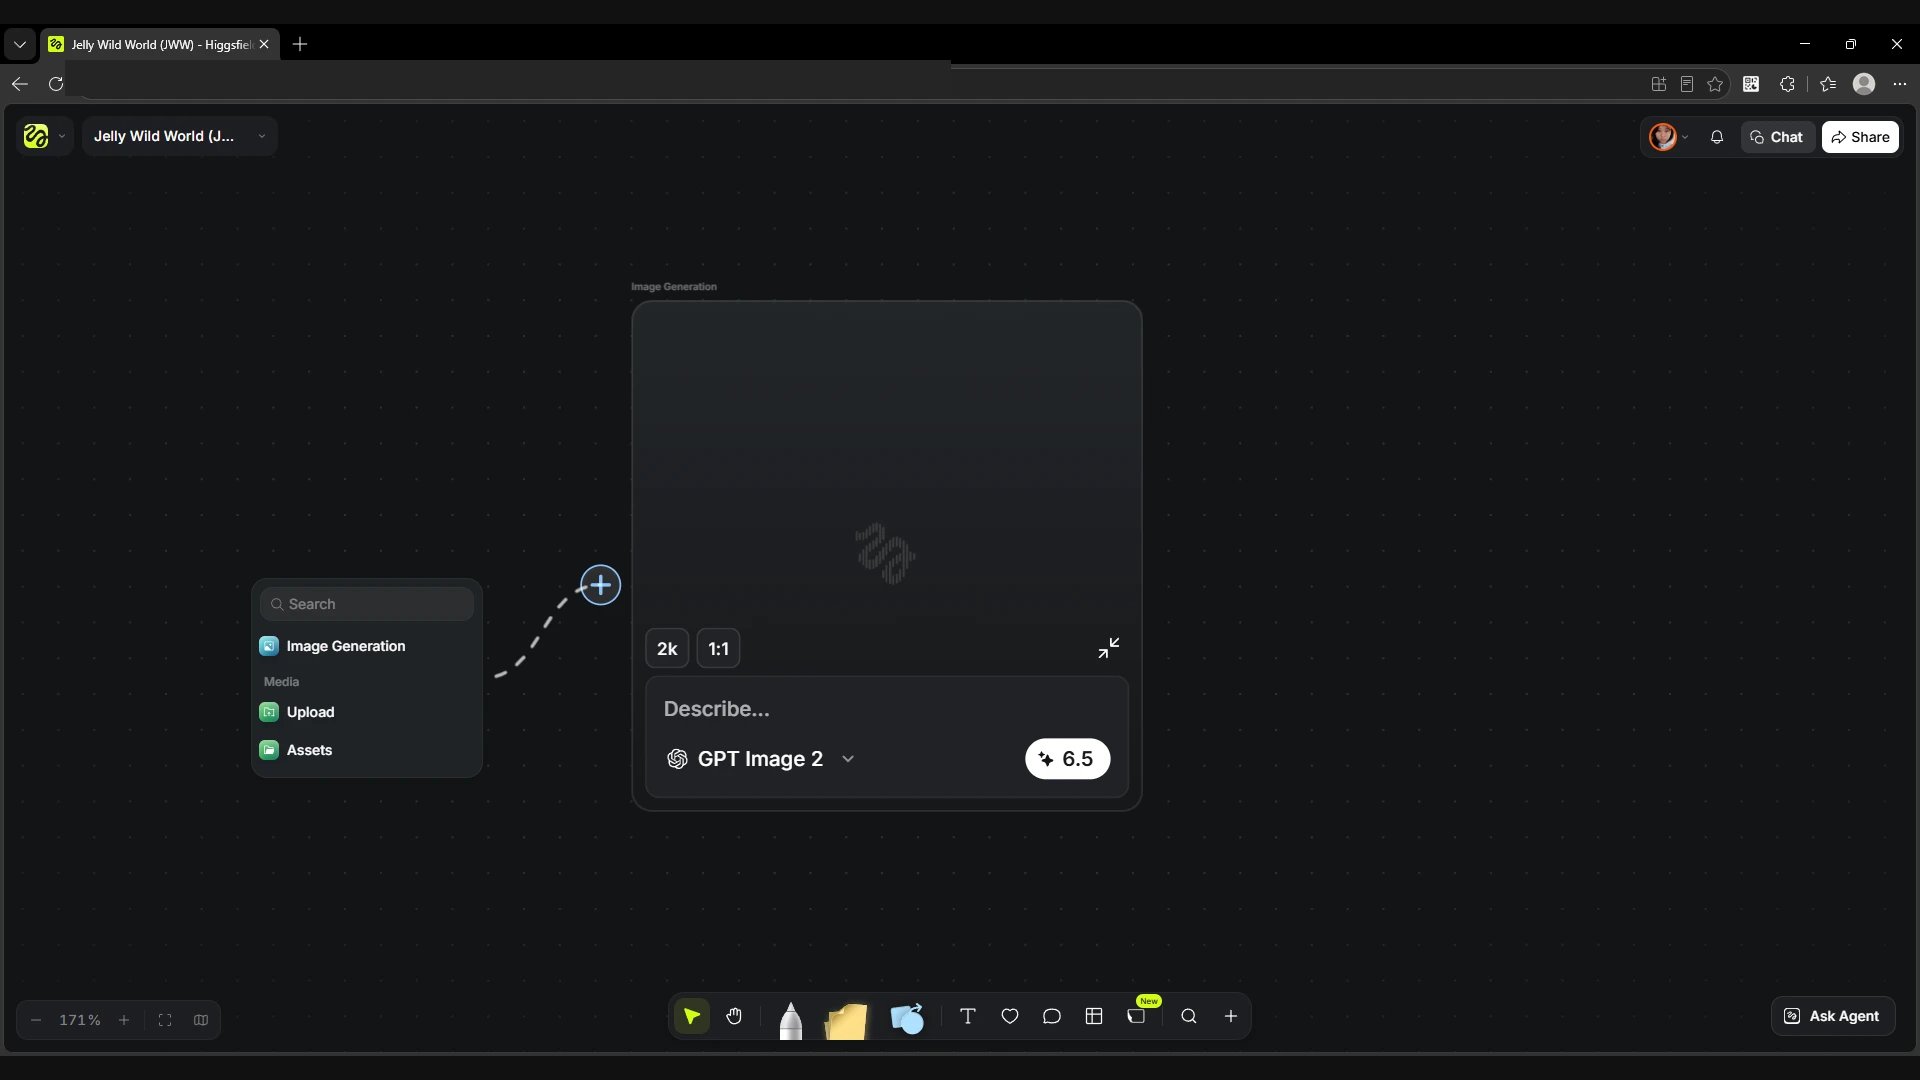
The T text input takes a description from Prompt or LLM Assistant. The second input on the left takes an image from another Image Generation node, through Upload or from Assets. Through the output on the right you can pass the finished image to Image Generation, Video Generation or LLM Assistant.
Screen
Text sources for the T input.
Screen
Image sources for the reference input.
Screen
Nodes that accept the image from the output.
Image Generation · compact view
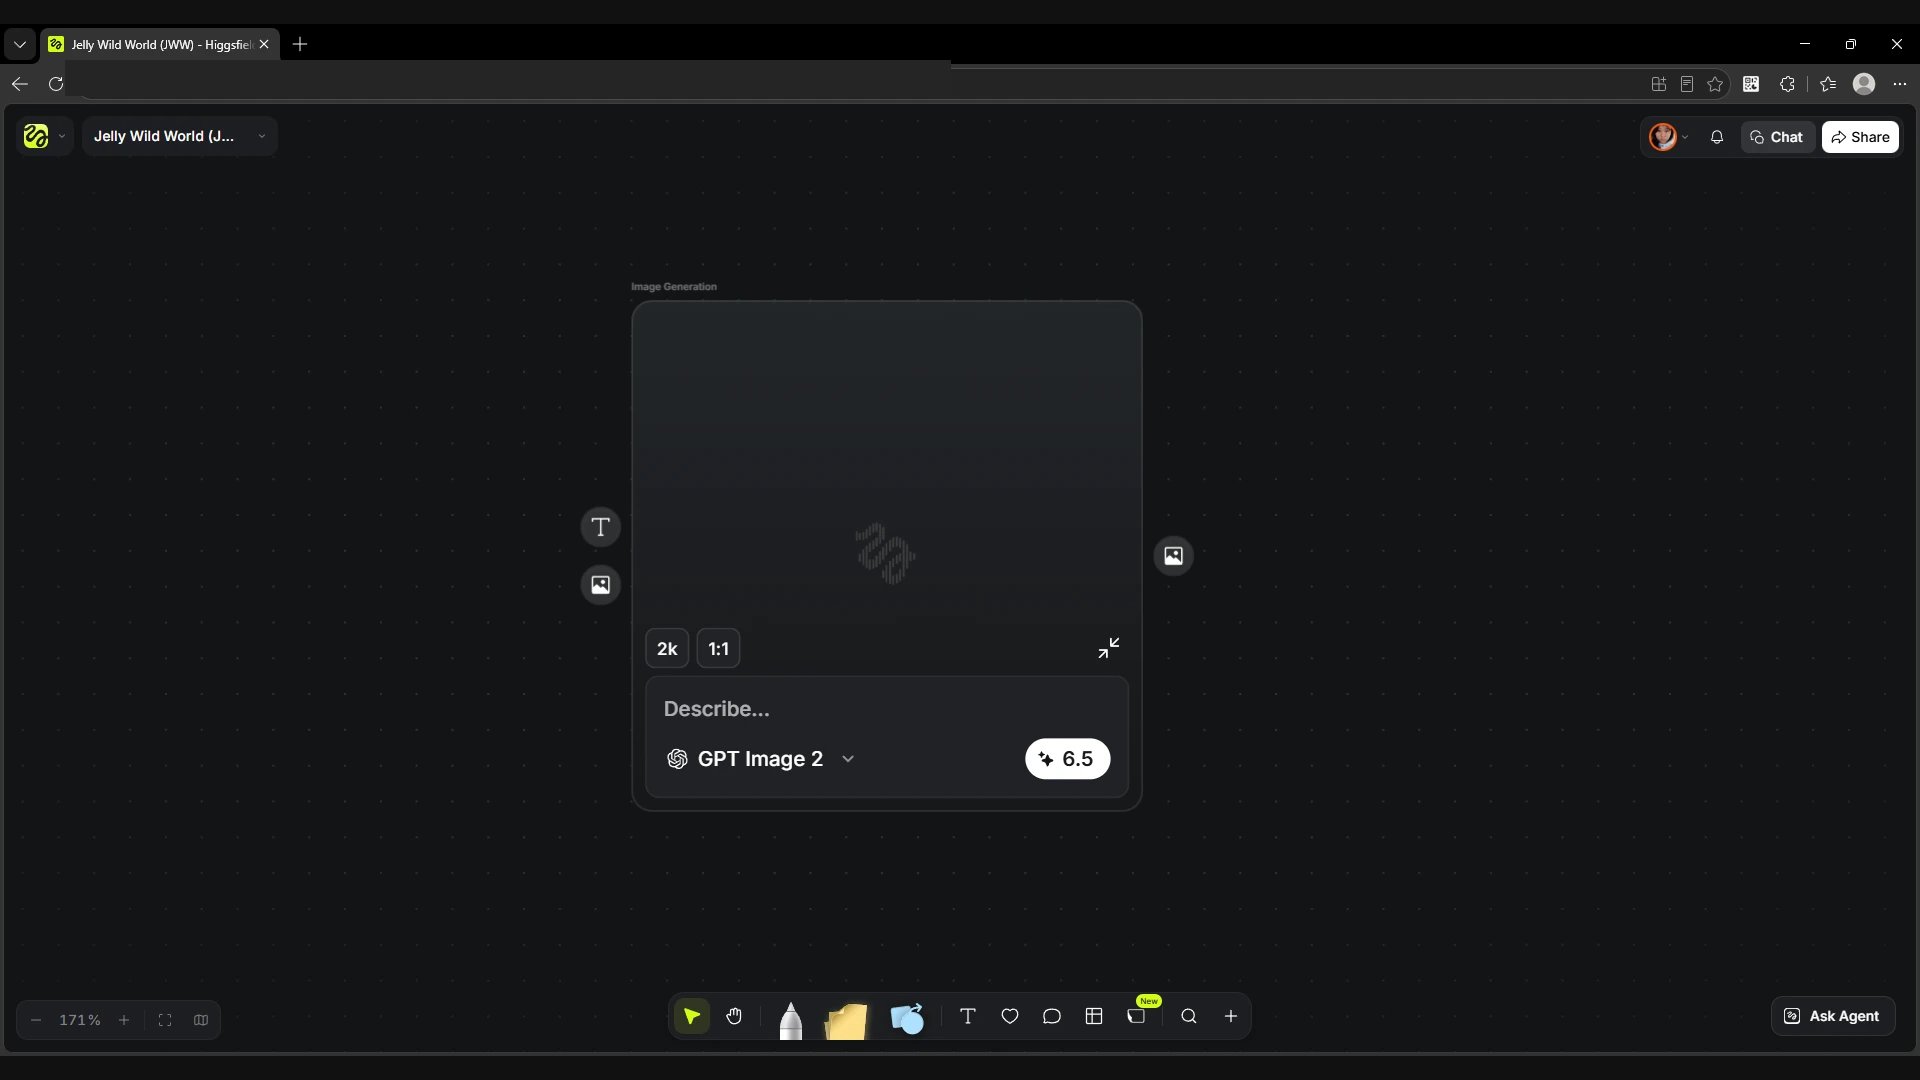
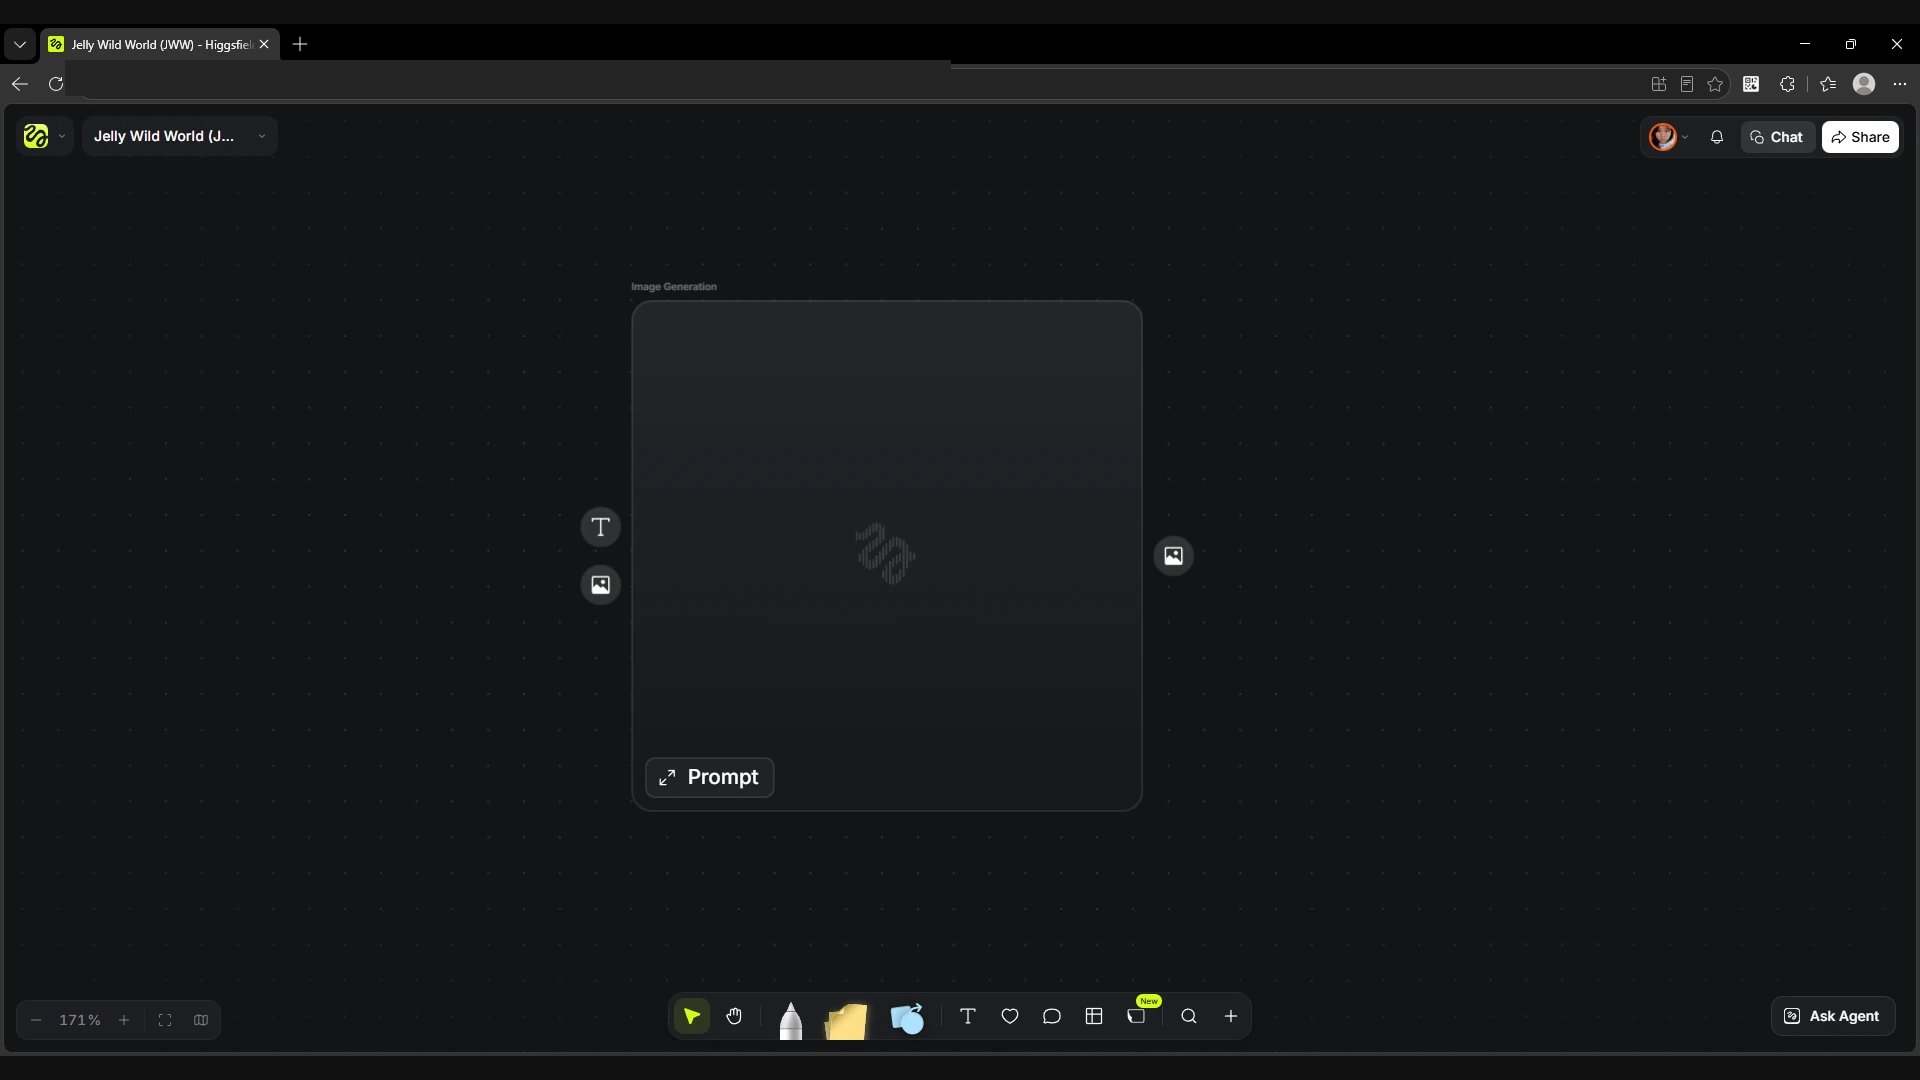
The icon with diagonal arrows above the Describe… field collapses the settings inside the card. The preview and the ports stay visible. The Prompt button at the bottom of the card brings back the expanded view.
Screen
The card with collapsed settings.
Image Generation · model and right panel
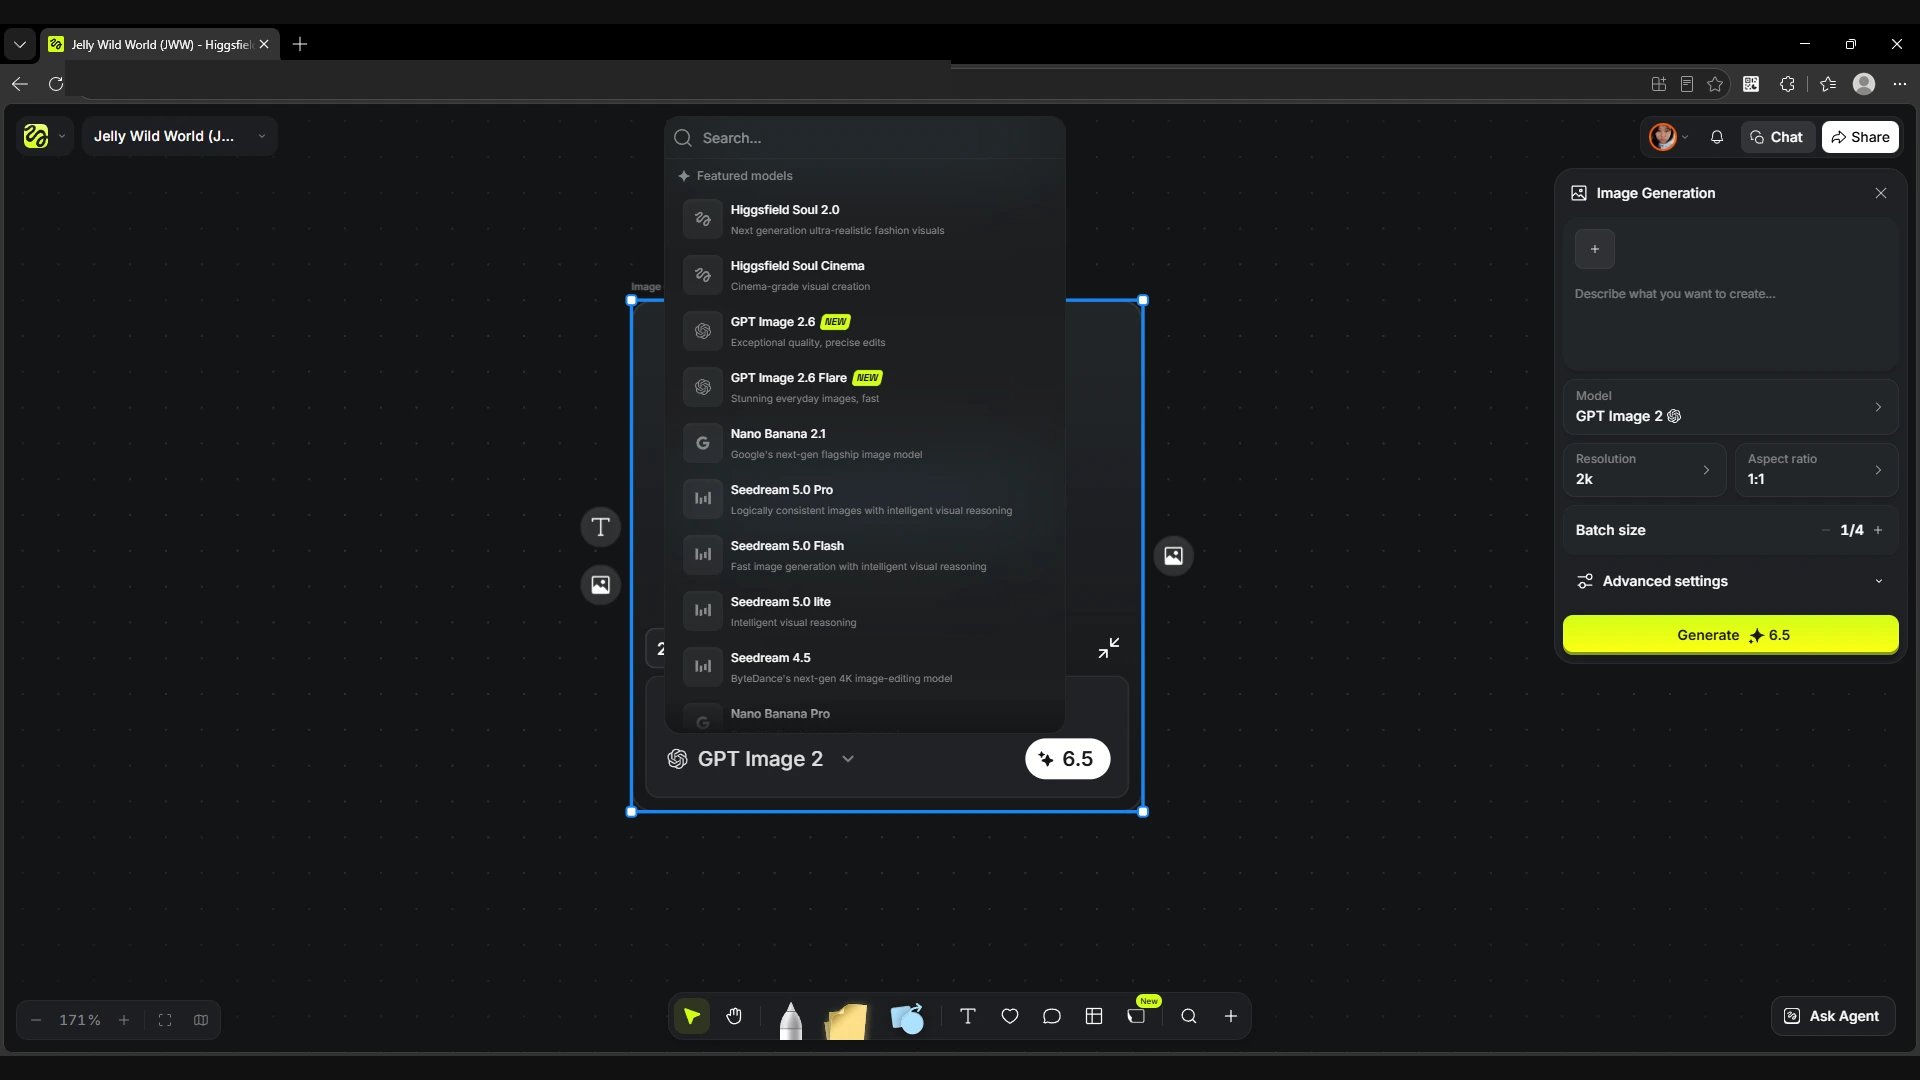
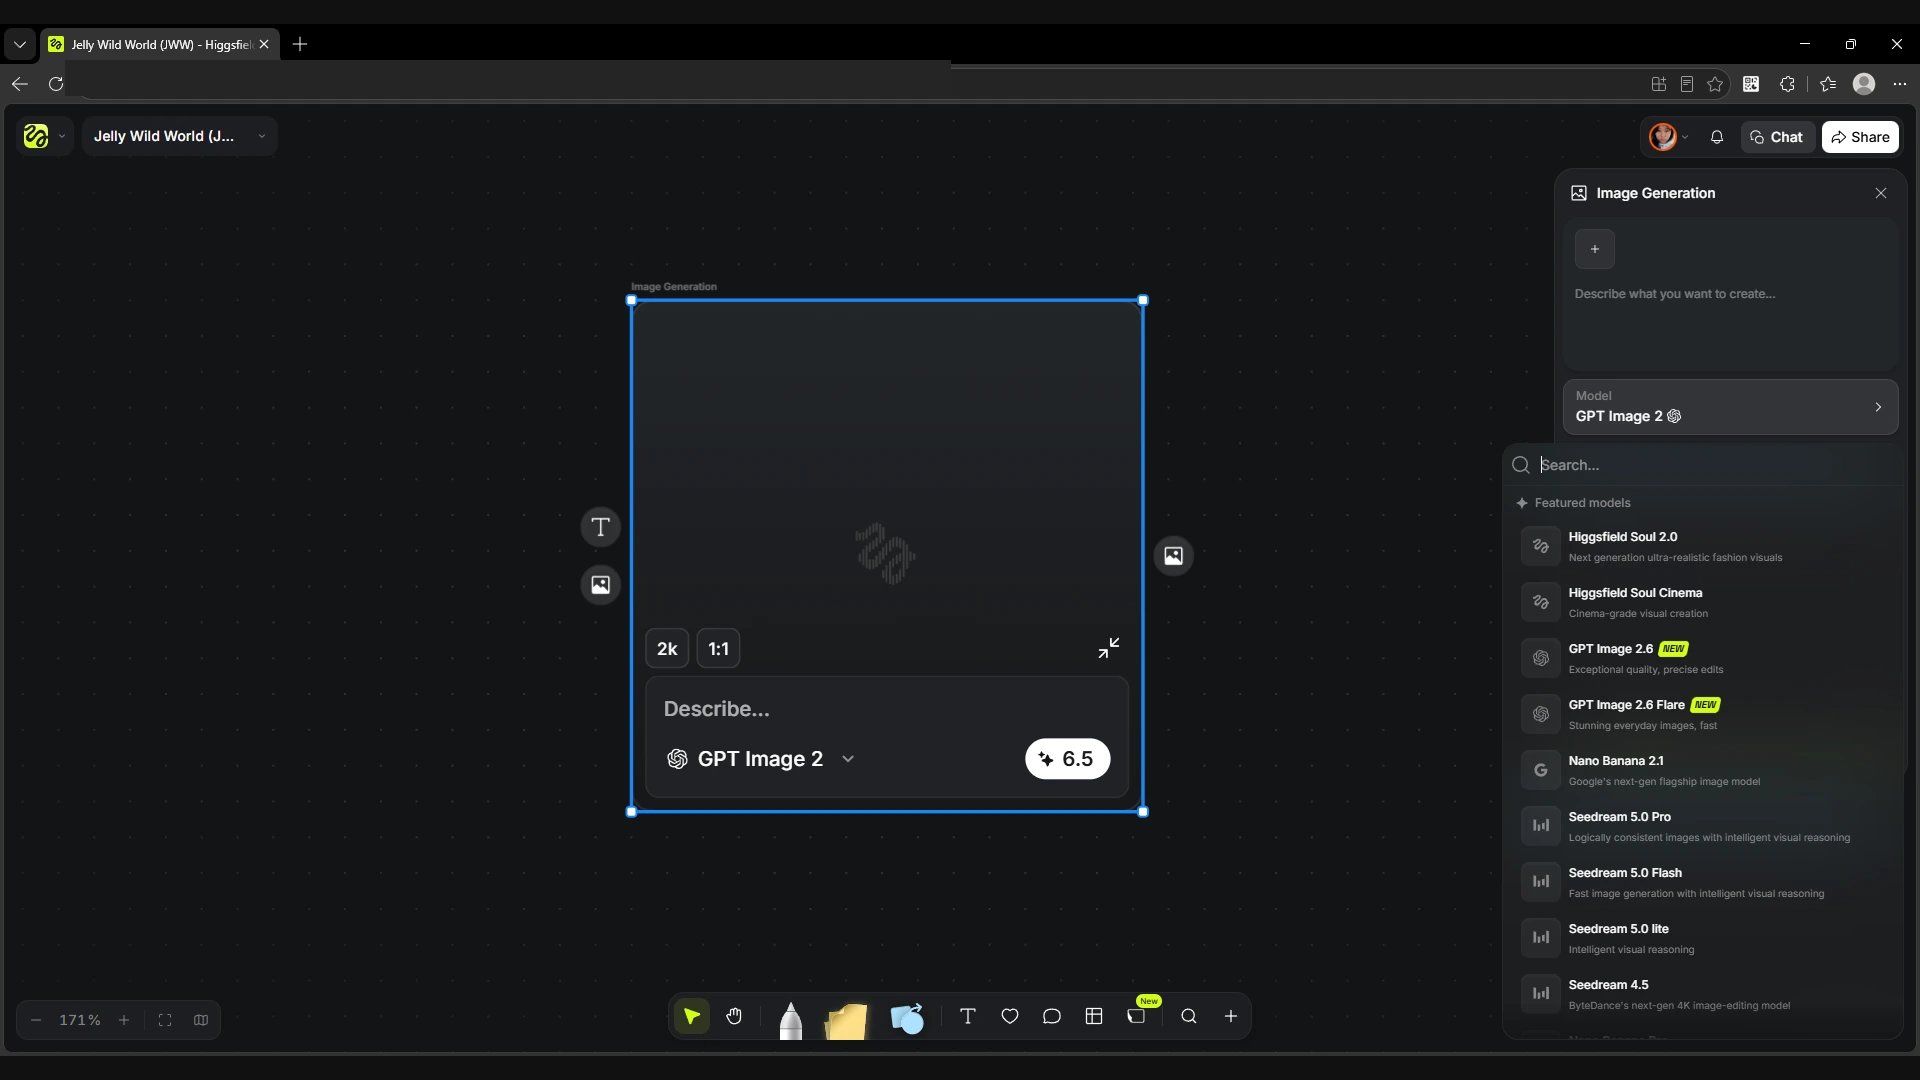
Click the model name at the bottom of the card. The model list opens together with this node's right panel. You can also open the list from the Model field on the right. The right panel has a prompt field, a + button for references, output settings and a Generate button showing the cost of the run.
Screen
The model list opened from the card.
Screen
The model list opened from the Model field on the right.
Image Generation · resolution, aspect ratio and batch
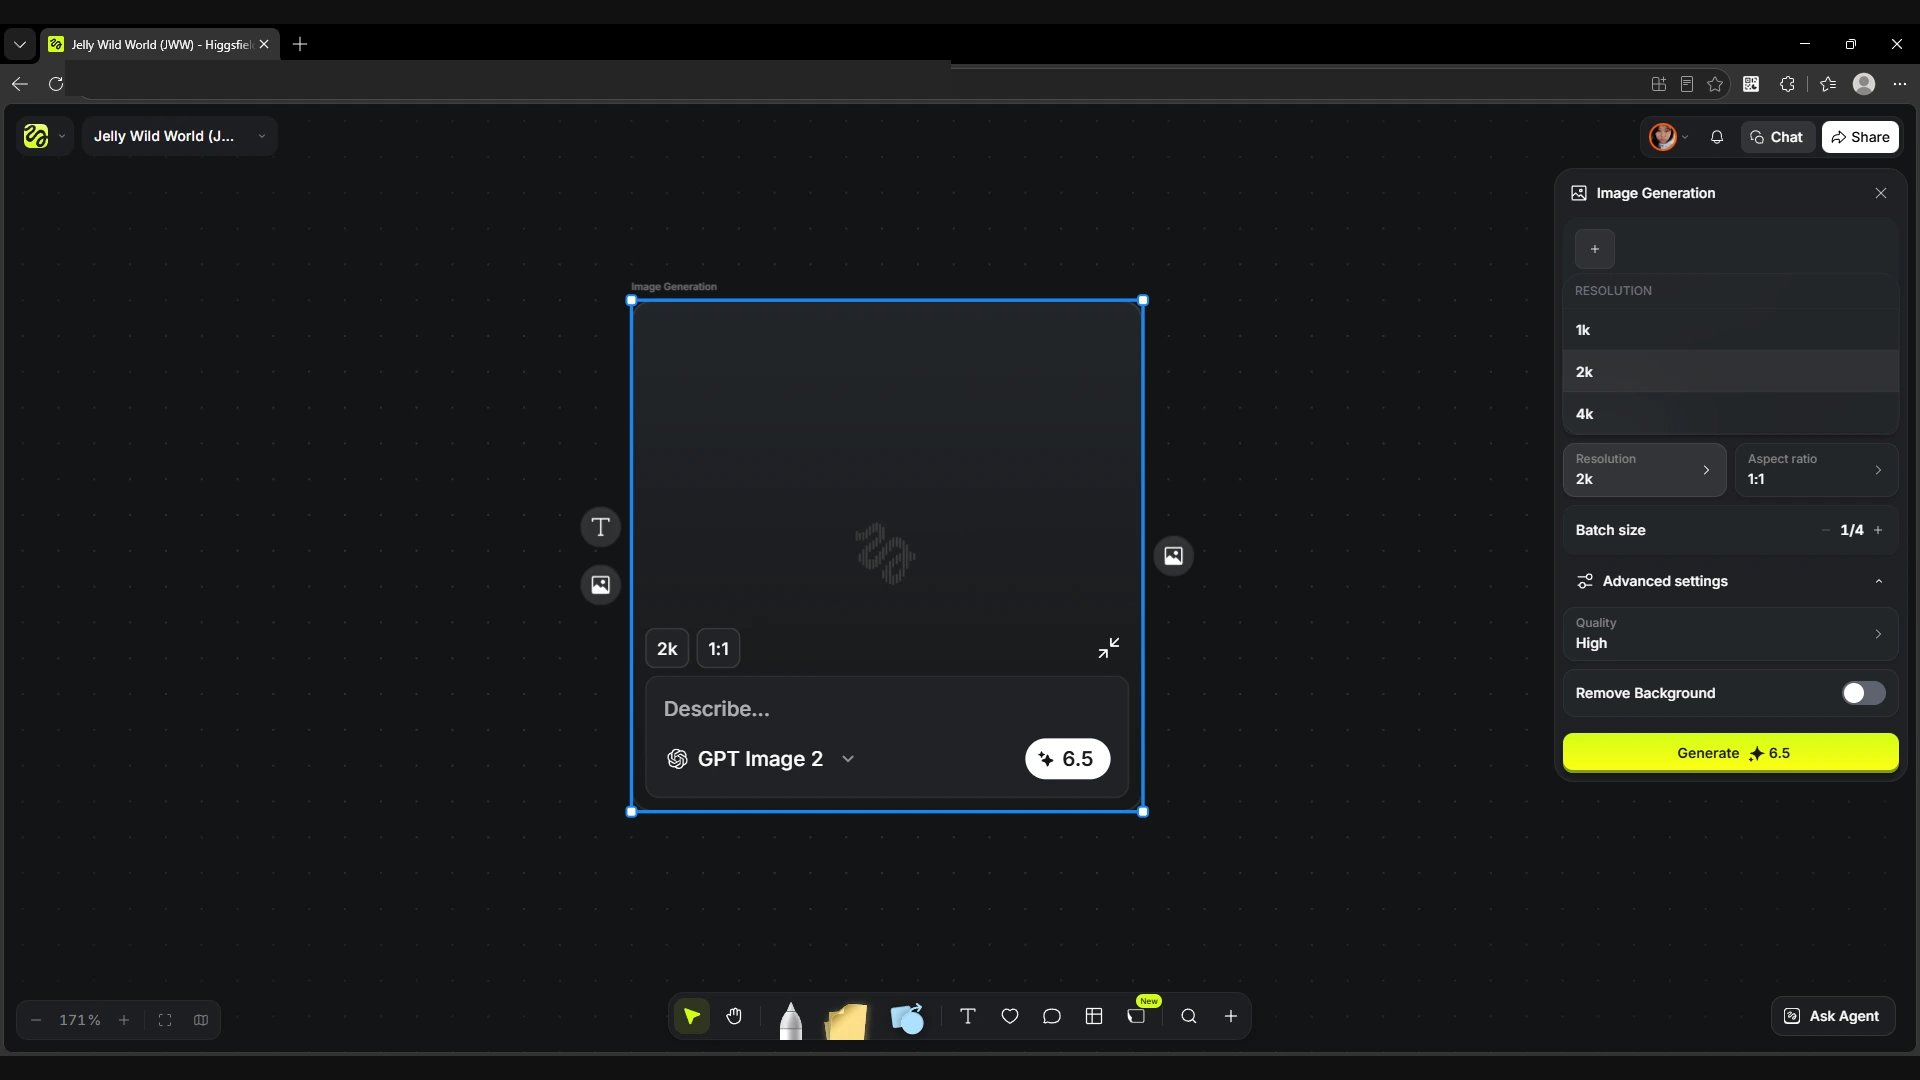
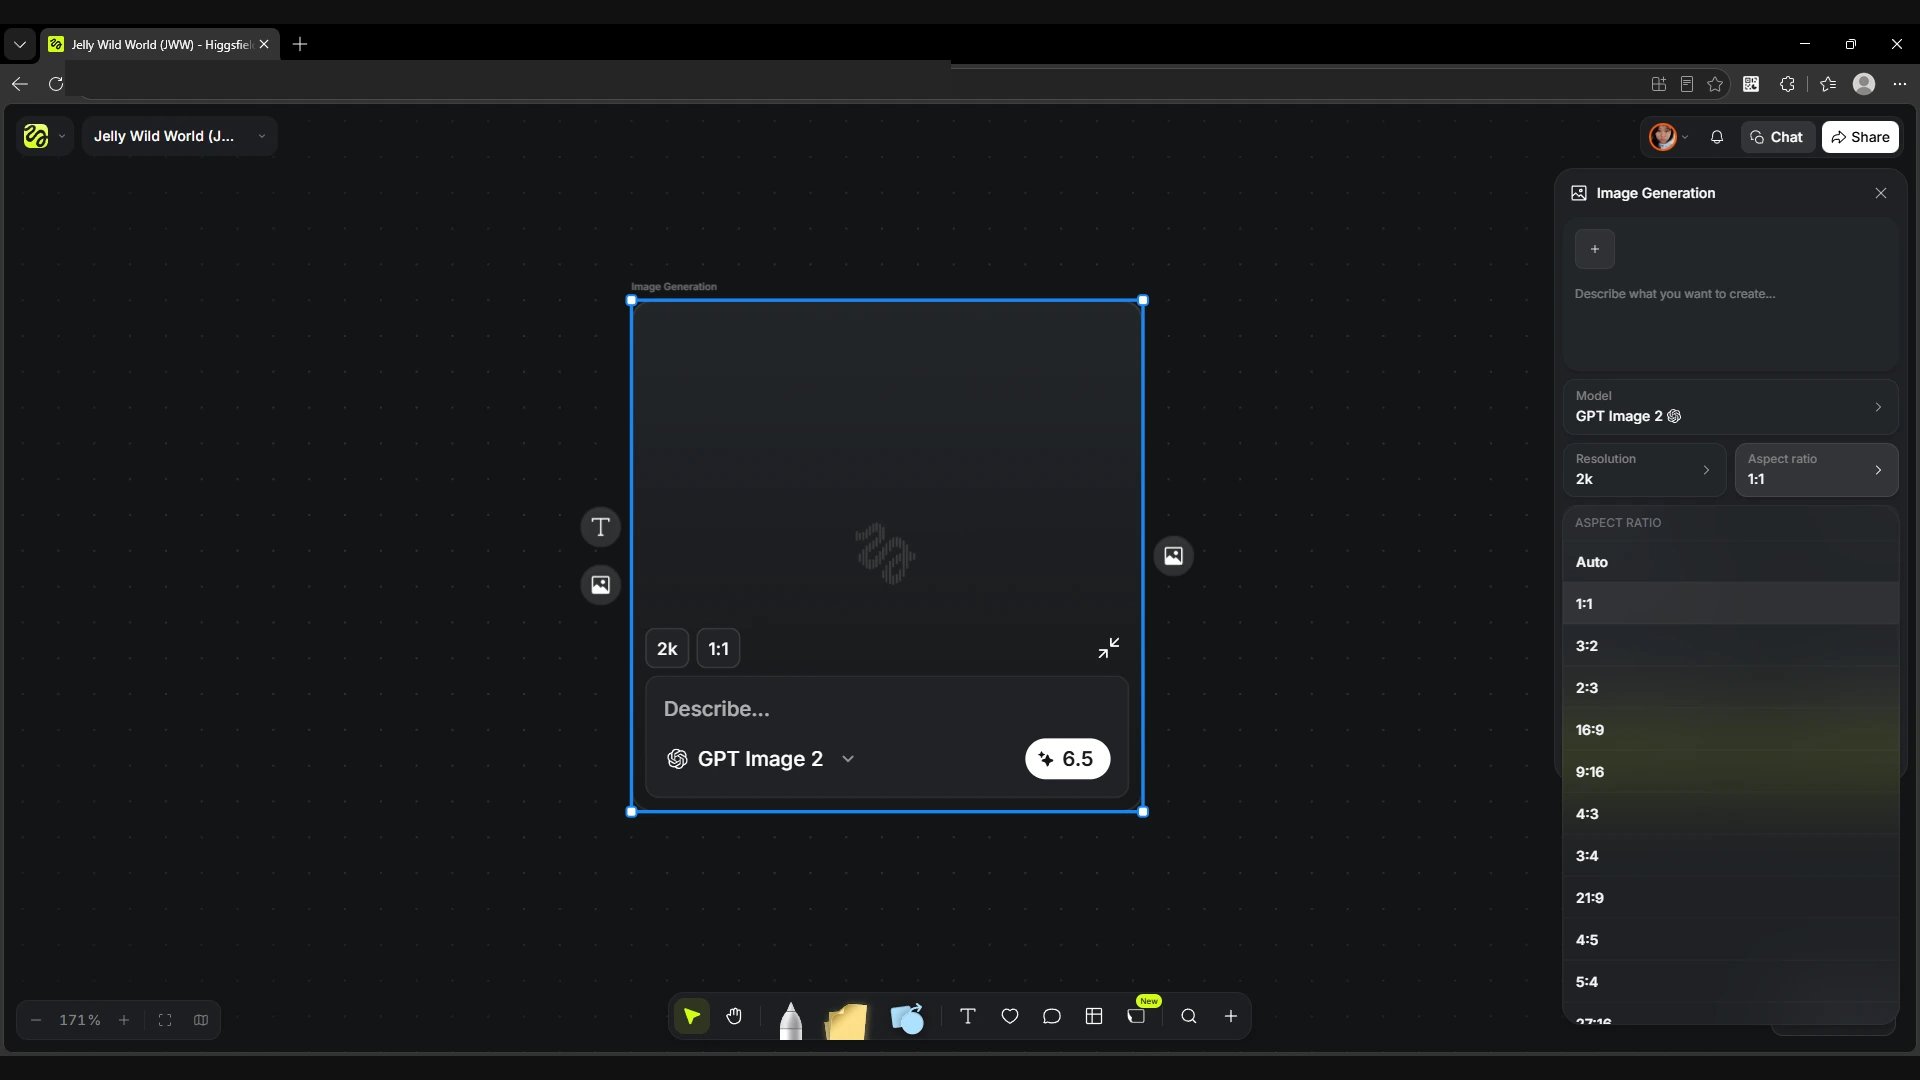
Resolution sets the image size. In the GPT Image 2 example, 1K, 2K and 4K are available. Aspect ratio sets the proportions, for example 1:1 for a square, 16:9 for a wide frame and 9:16 for a vertical one. Batch size sets the number of variants per run. After changing the settings, you can check the cost on the Generate button.
Screen
The list of available resolutions.
Screen
The list of aspect ratios.
Image Generation · settings for different models
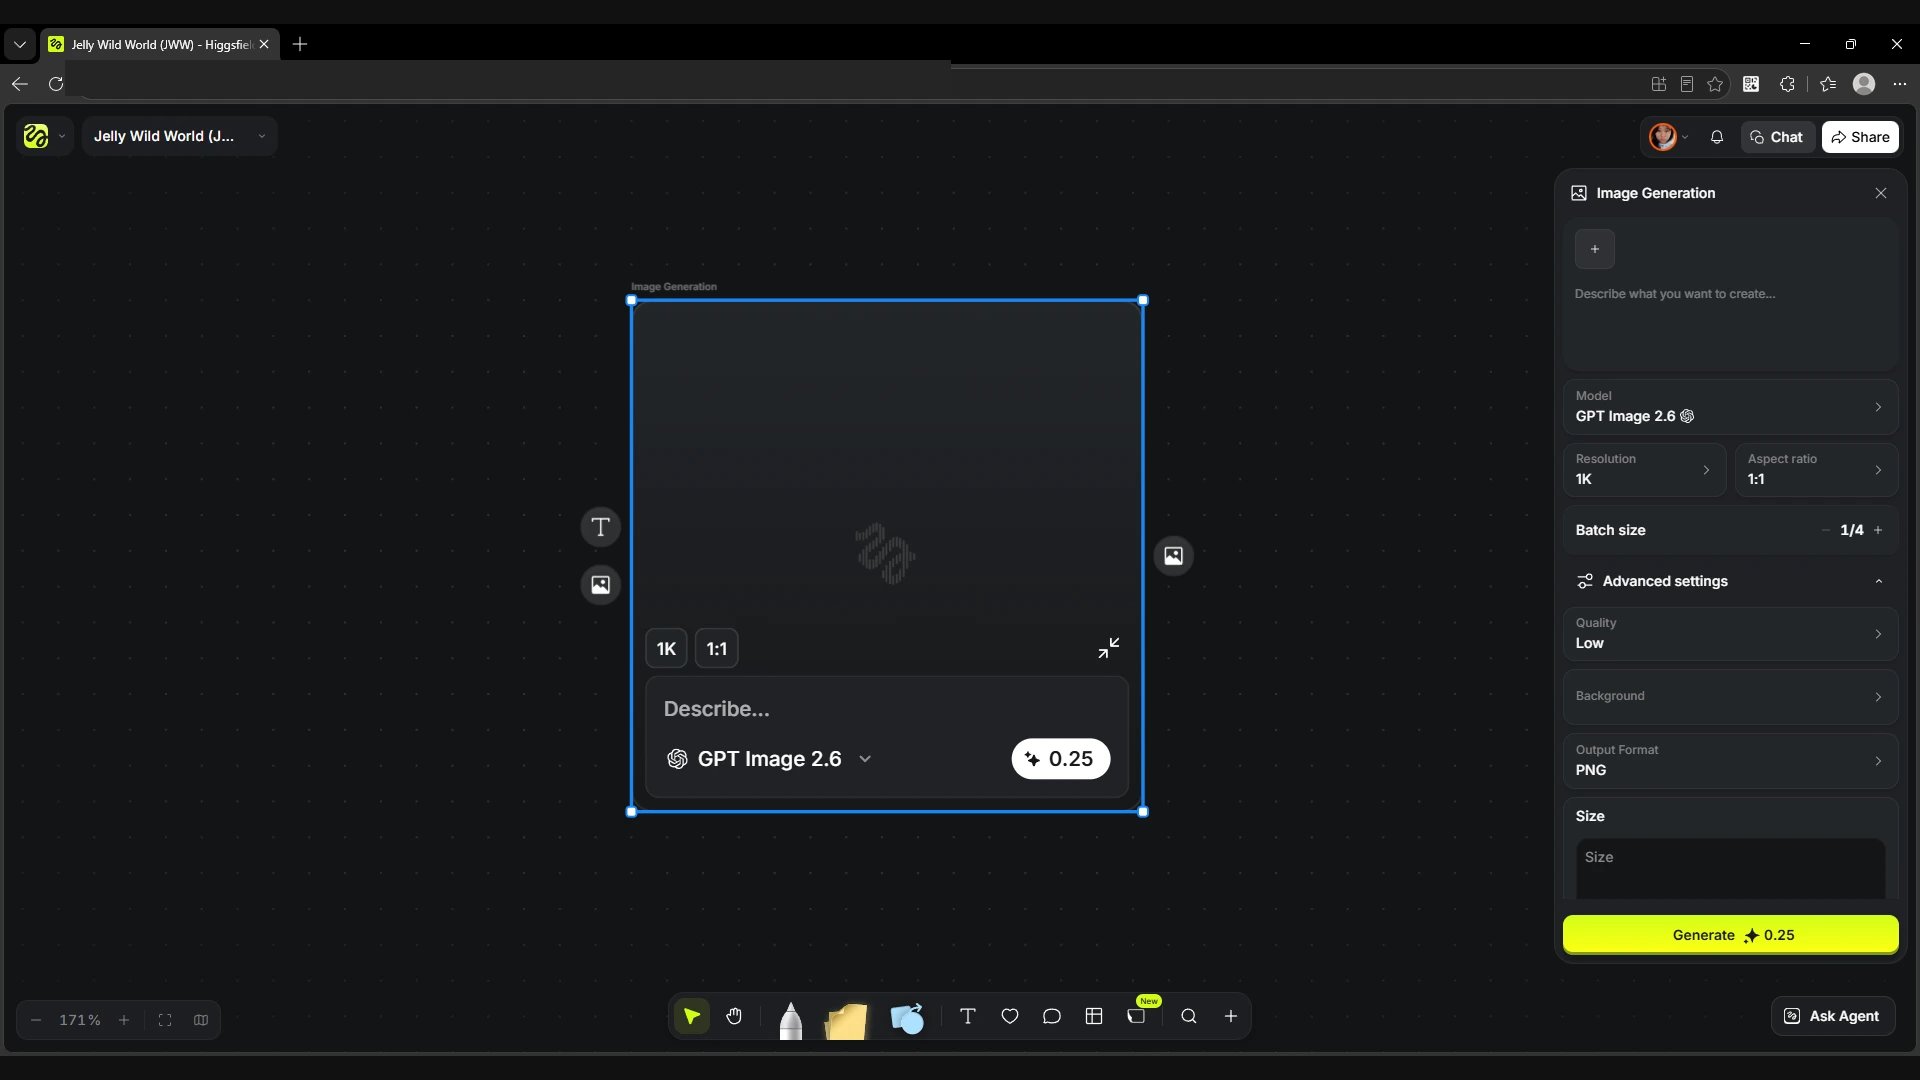
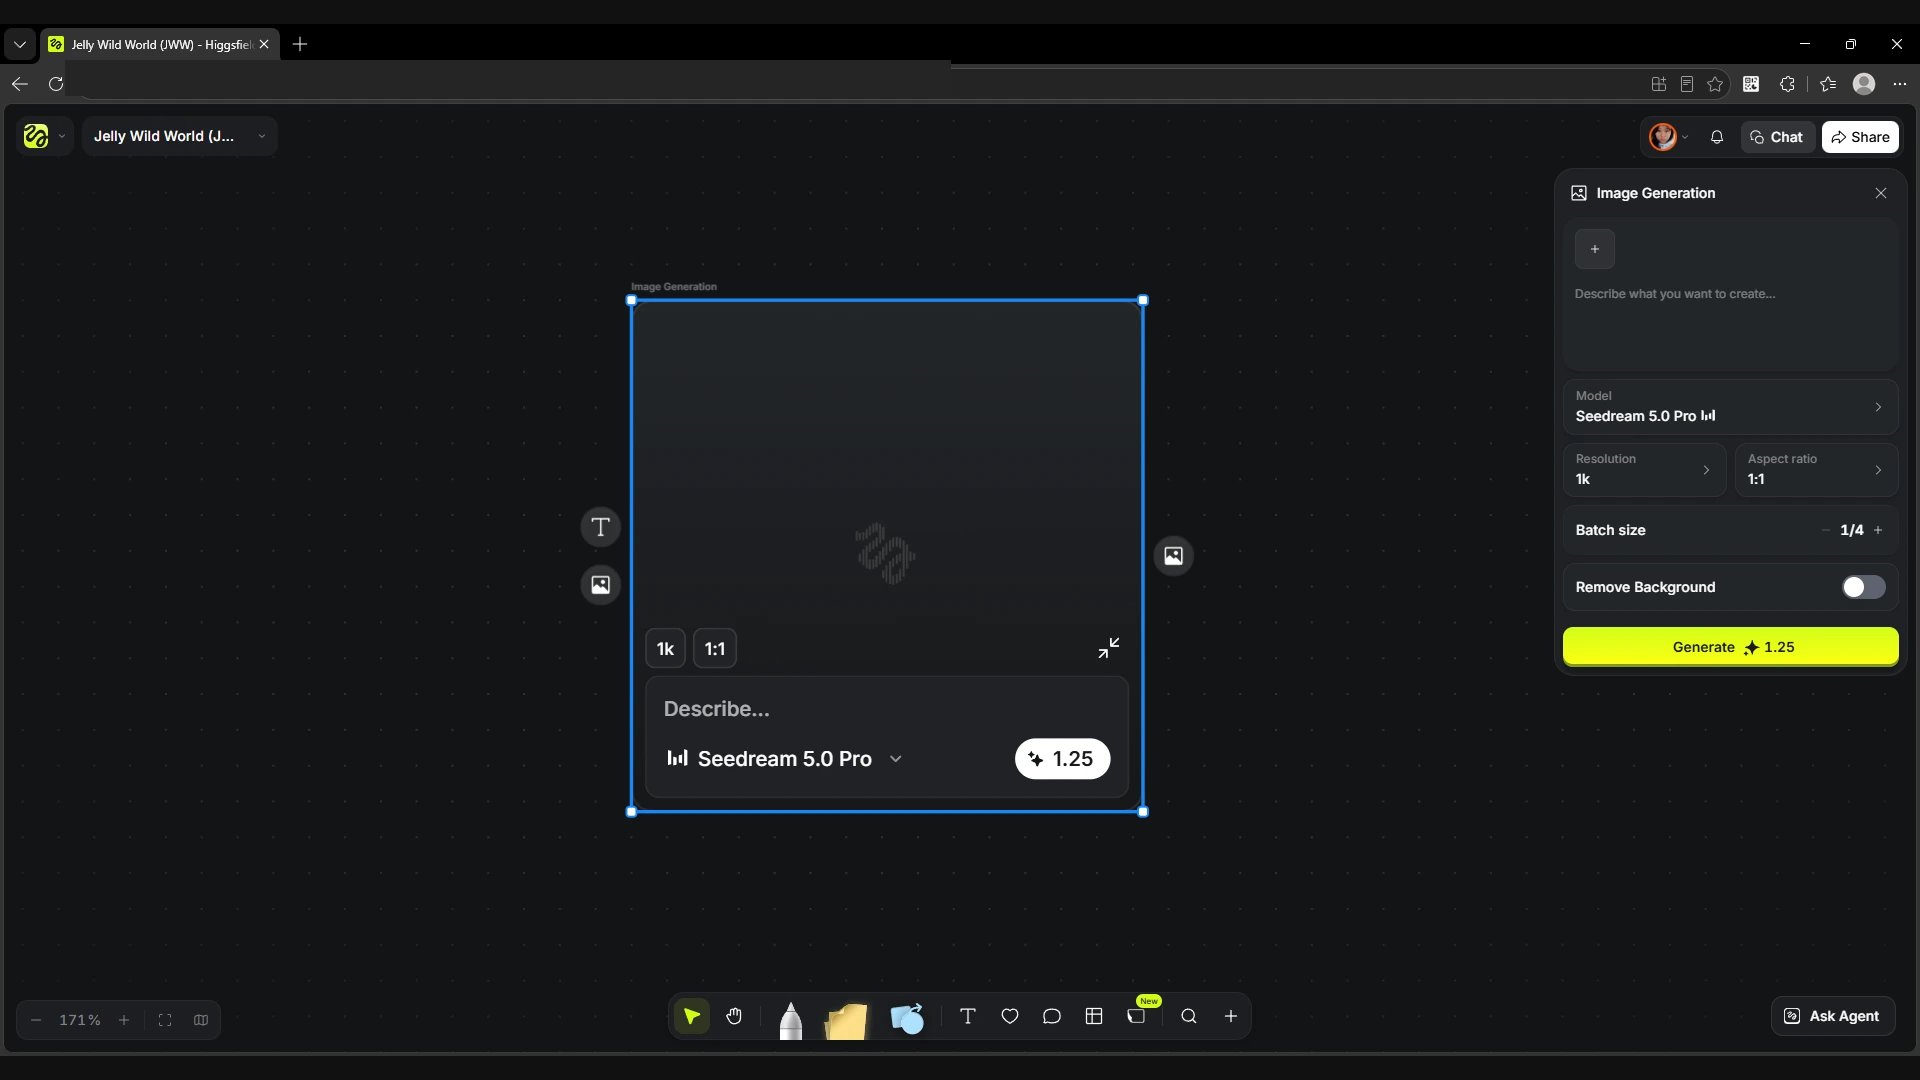
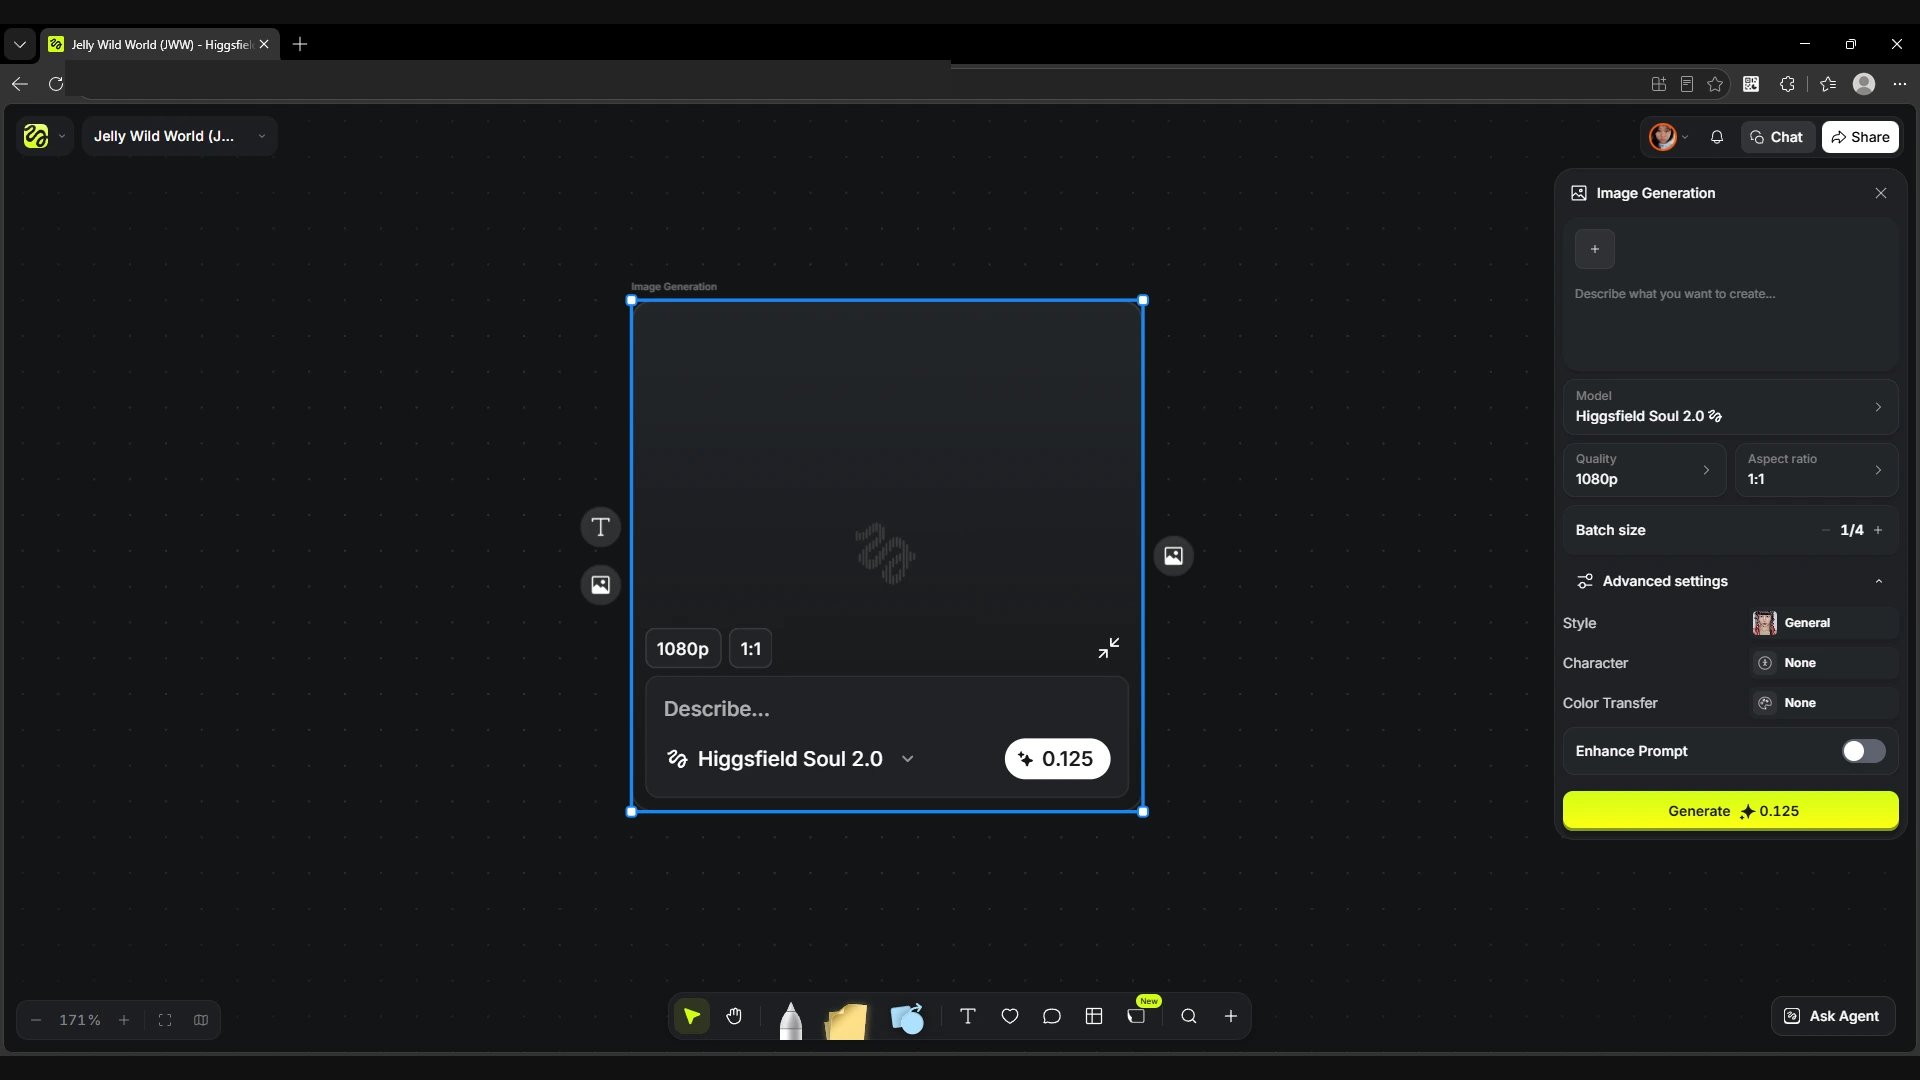
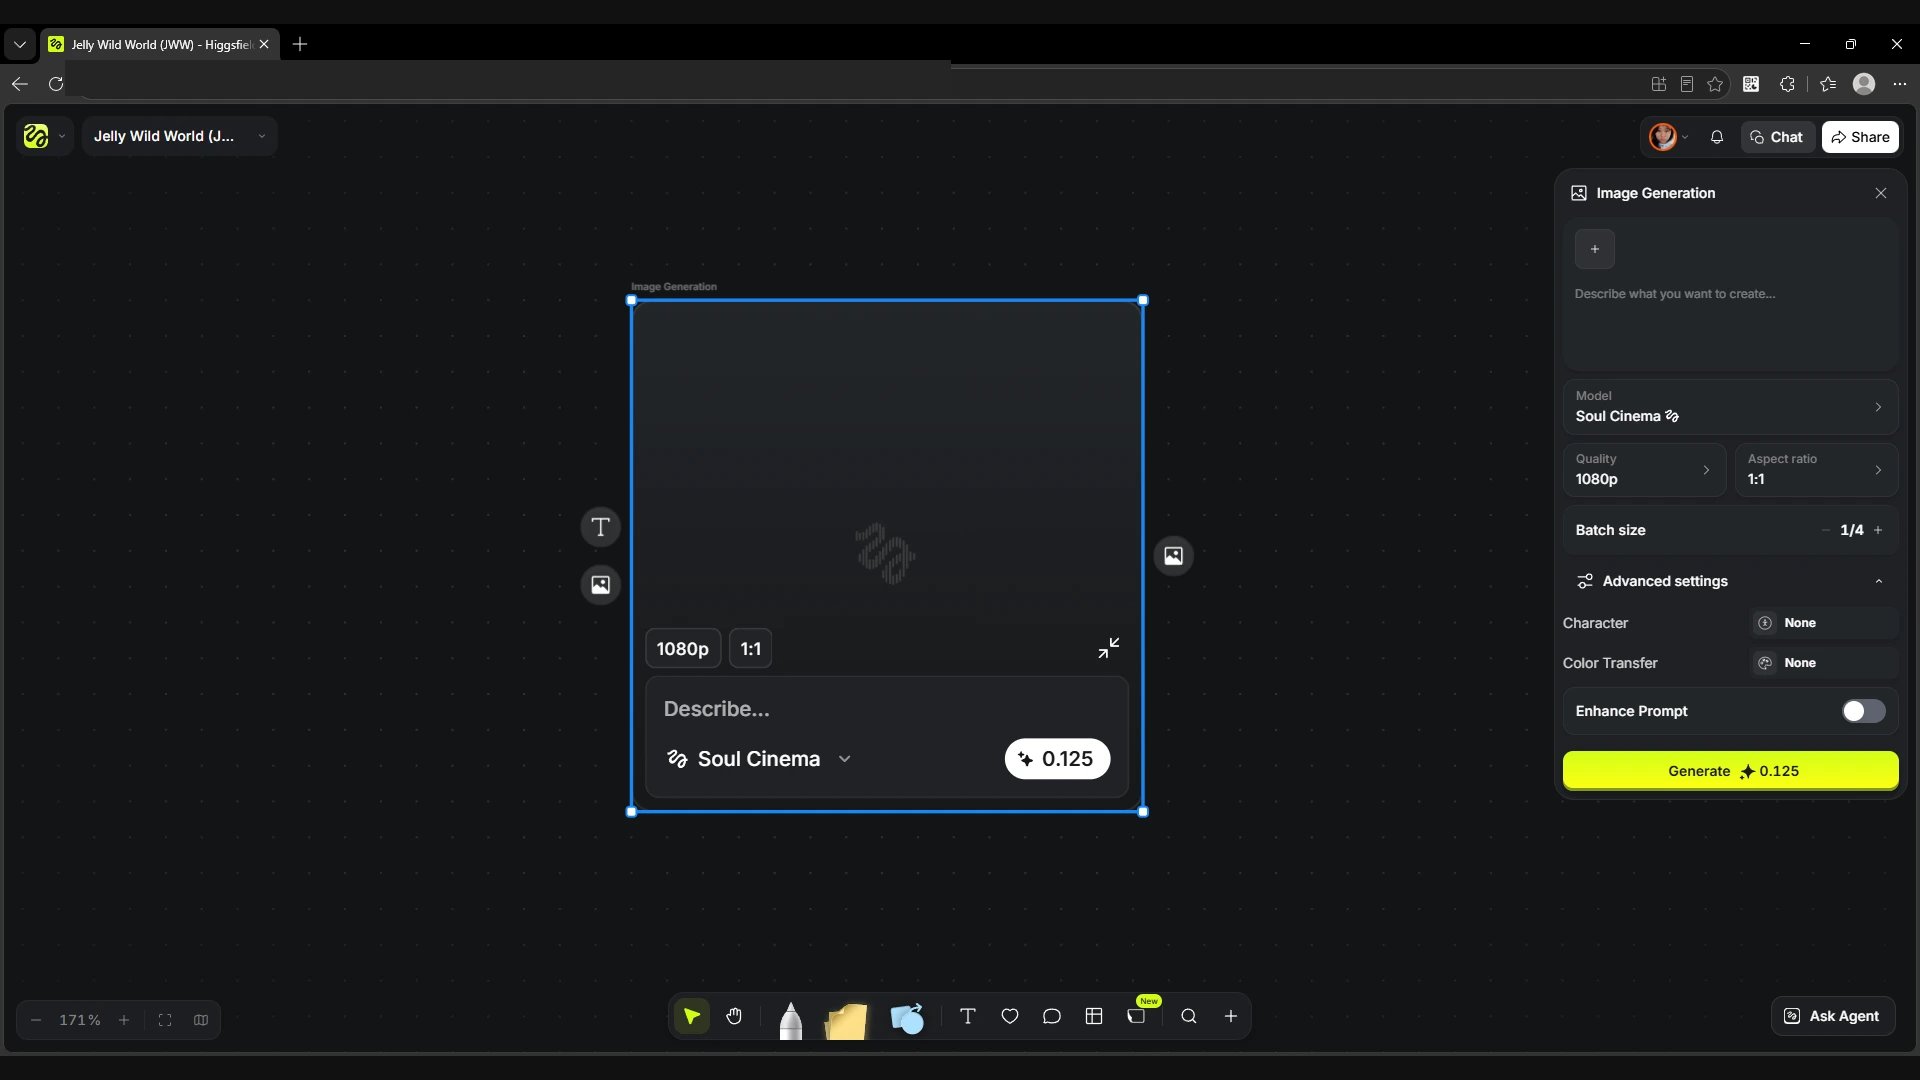
When you change the model in the Model field, the Image Generation right panel updates. The set of settings and their available values depend on what the selected model supports. After switching, check the settings in the panel before you run the generation.
Screen
The GPT Image 2.6 panel.
Screen
The Seedream 5.0 Pro panel.
Screen
The Higgsfield Soul 2.0 panel.
Screen
The Soul Cinema panel.
Video Generation · model and inputs
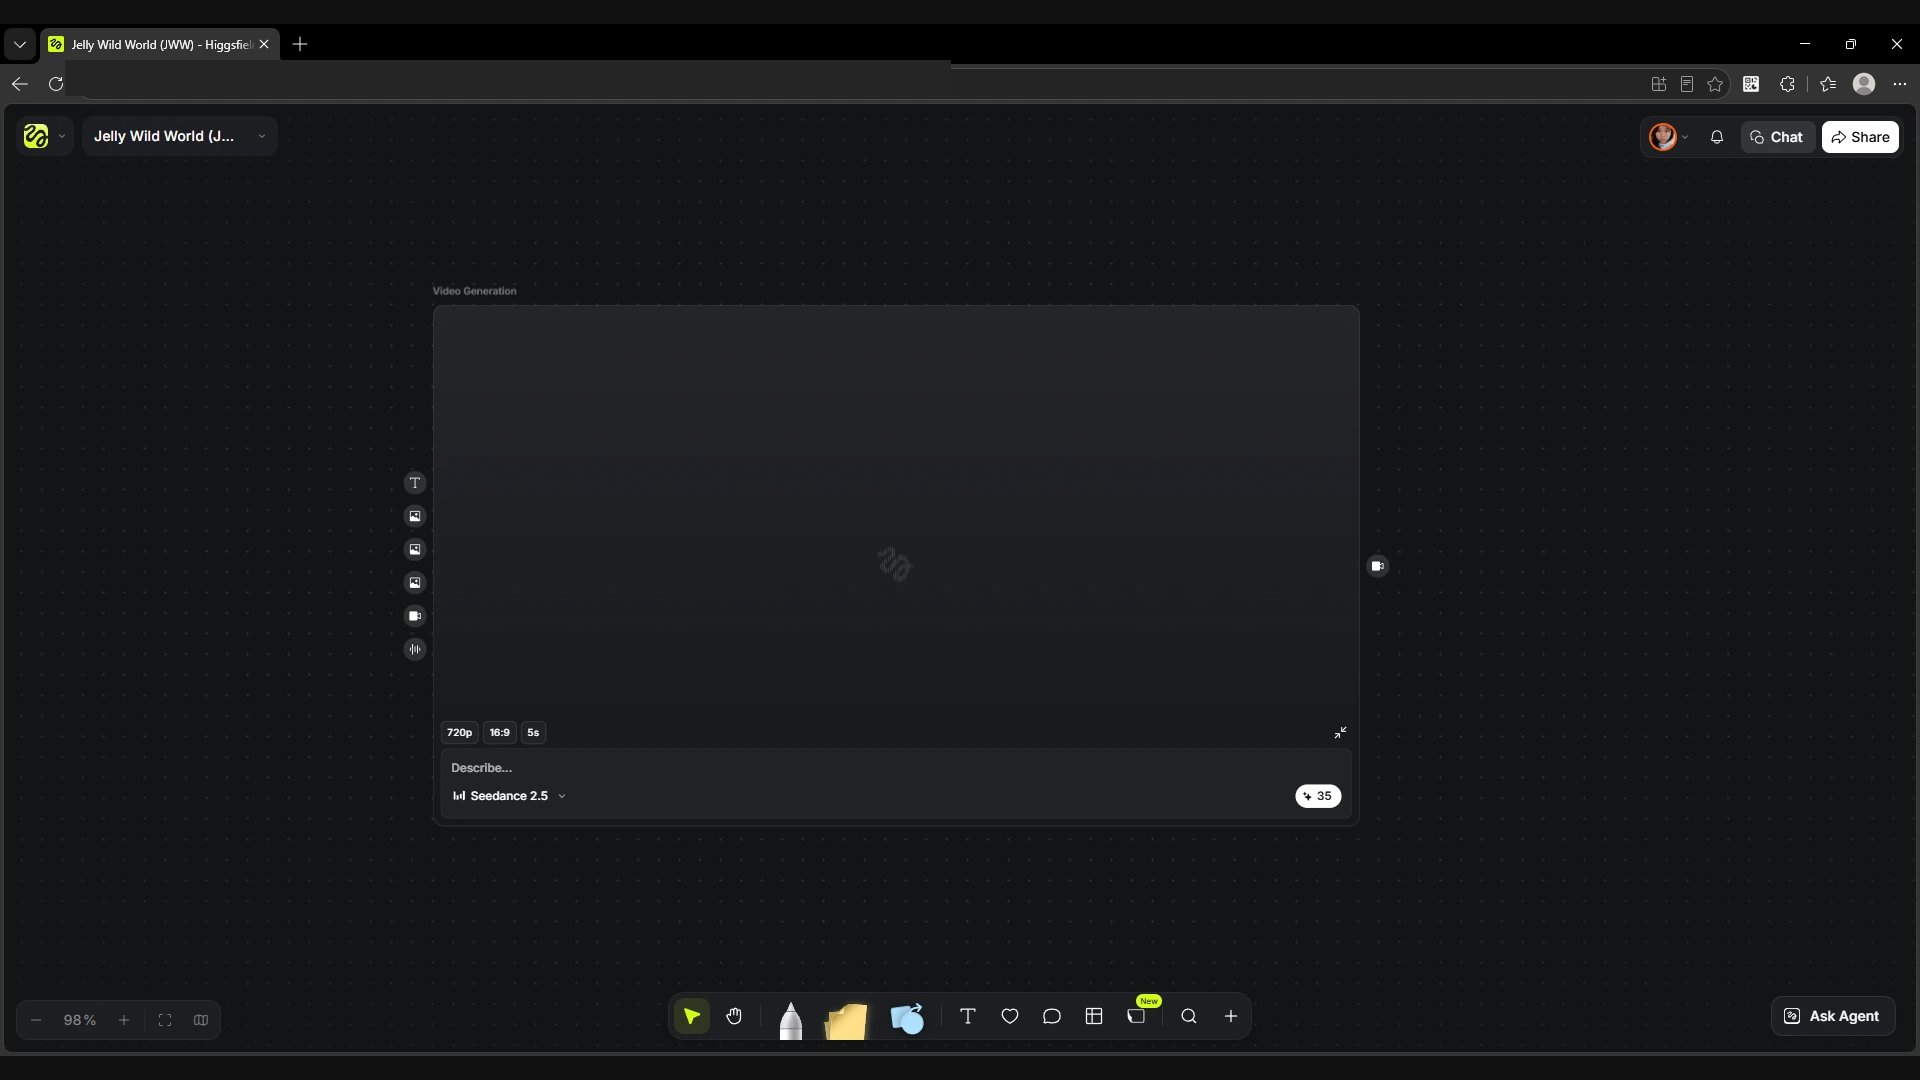
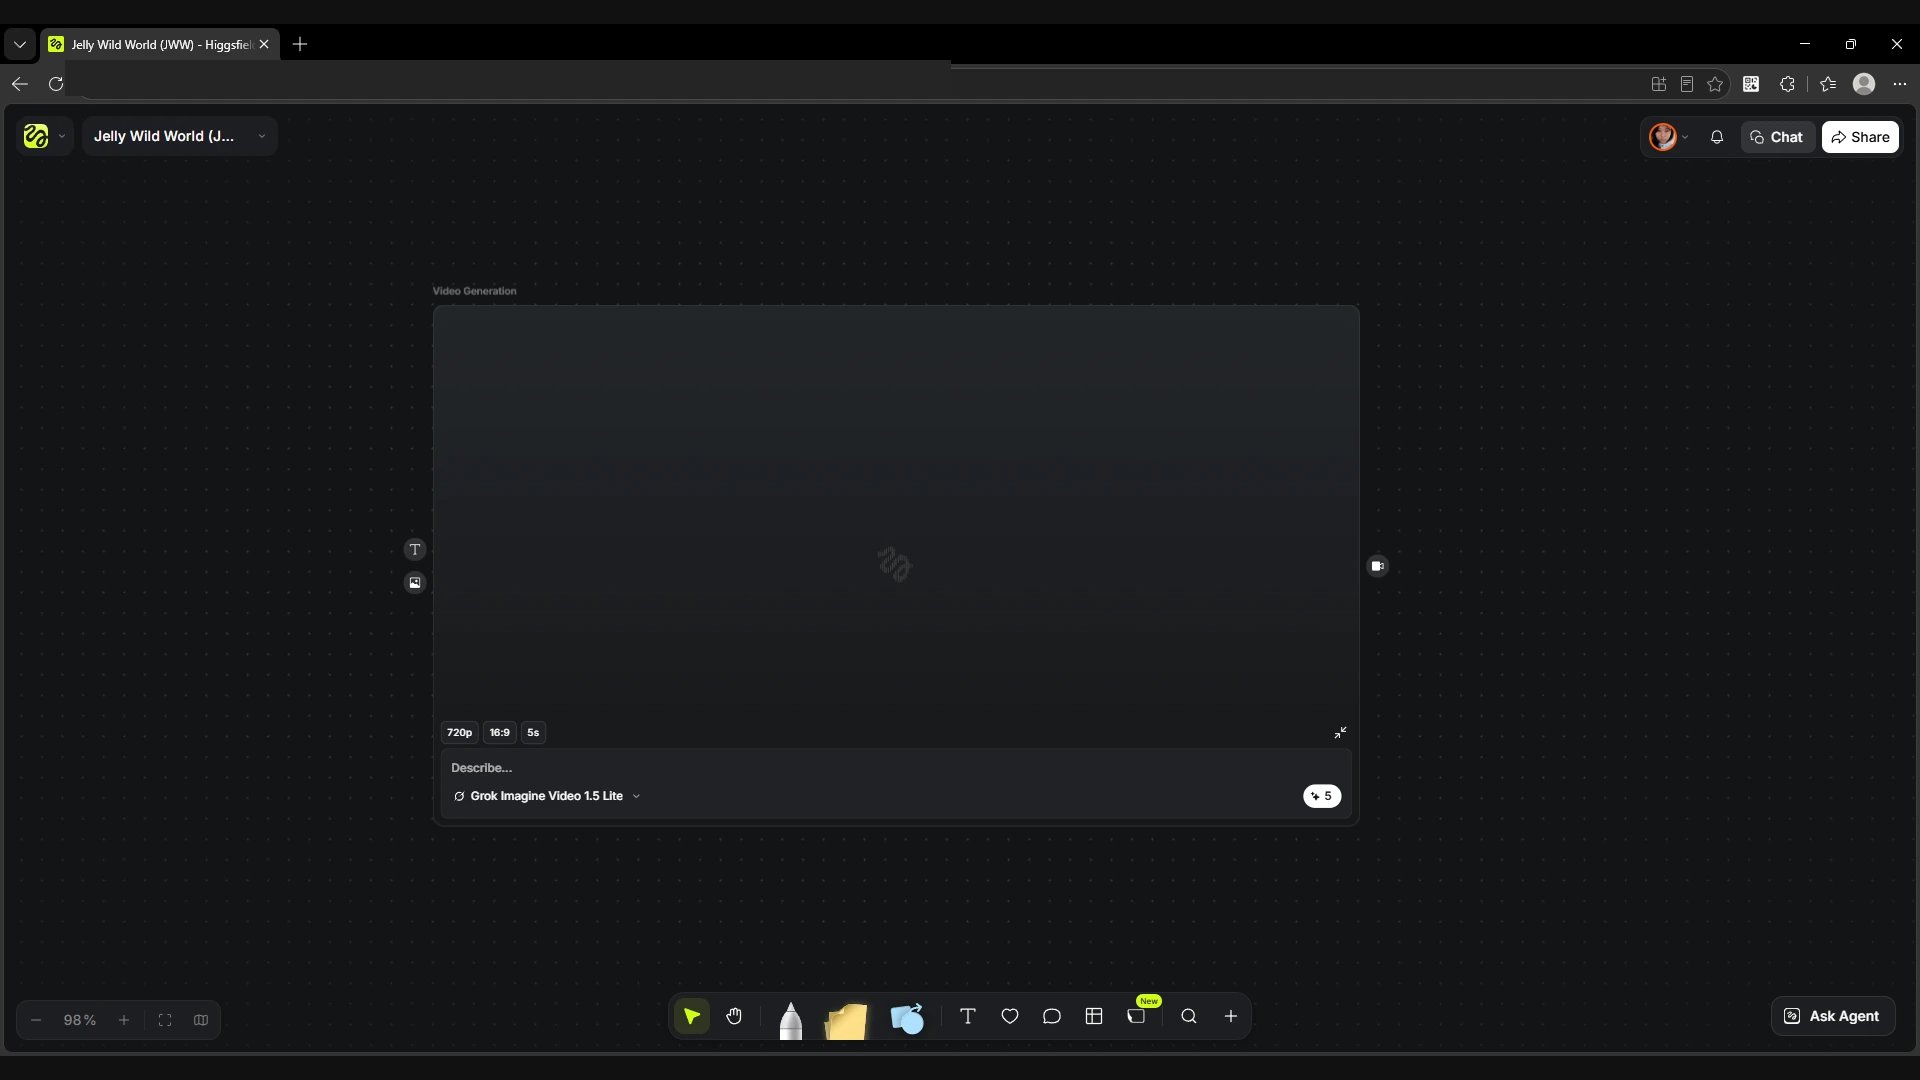
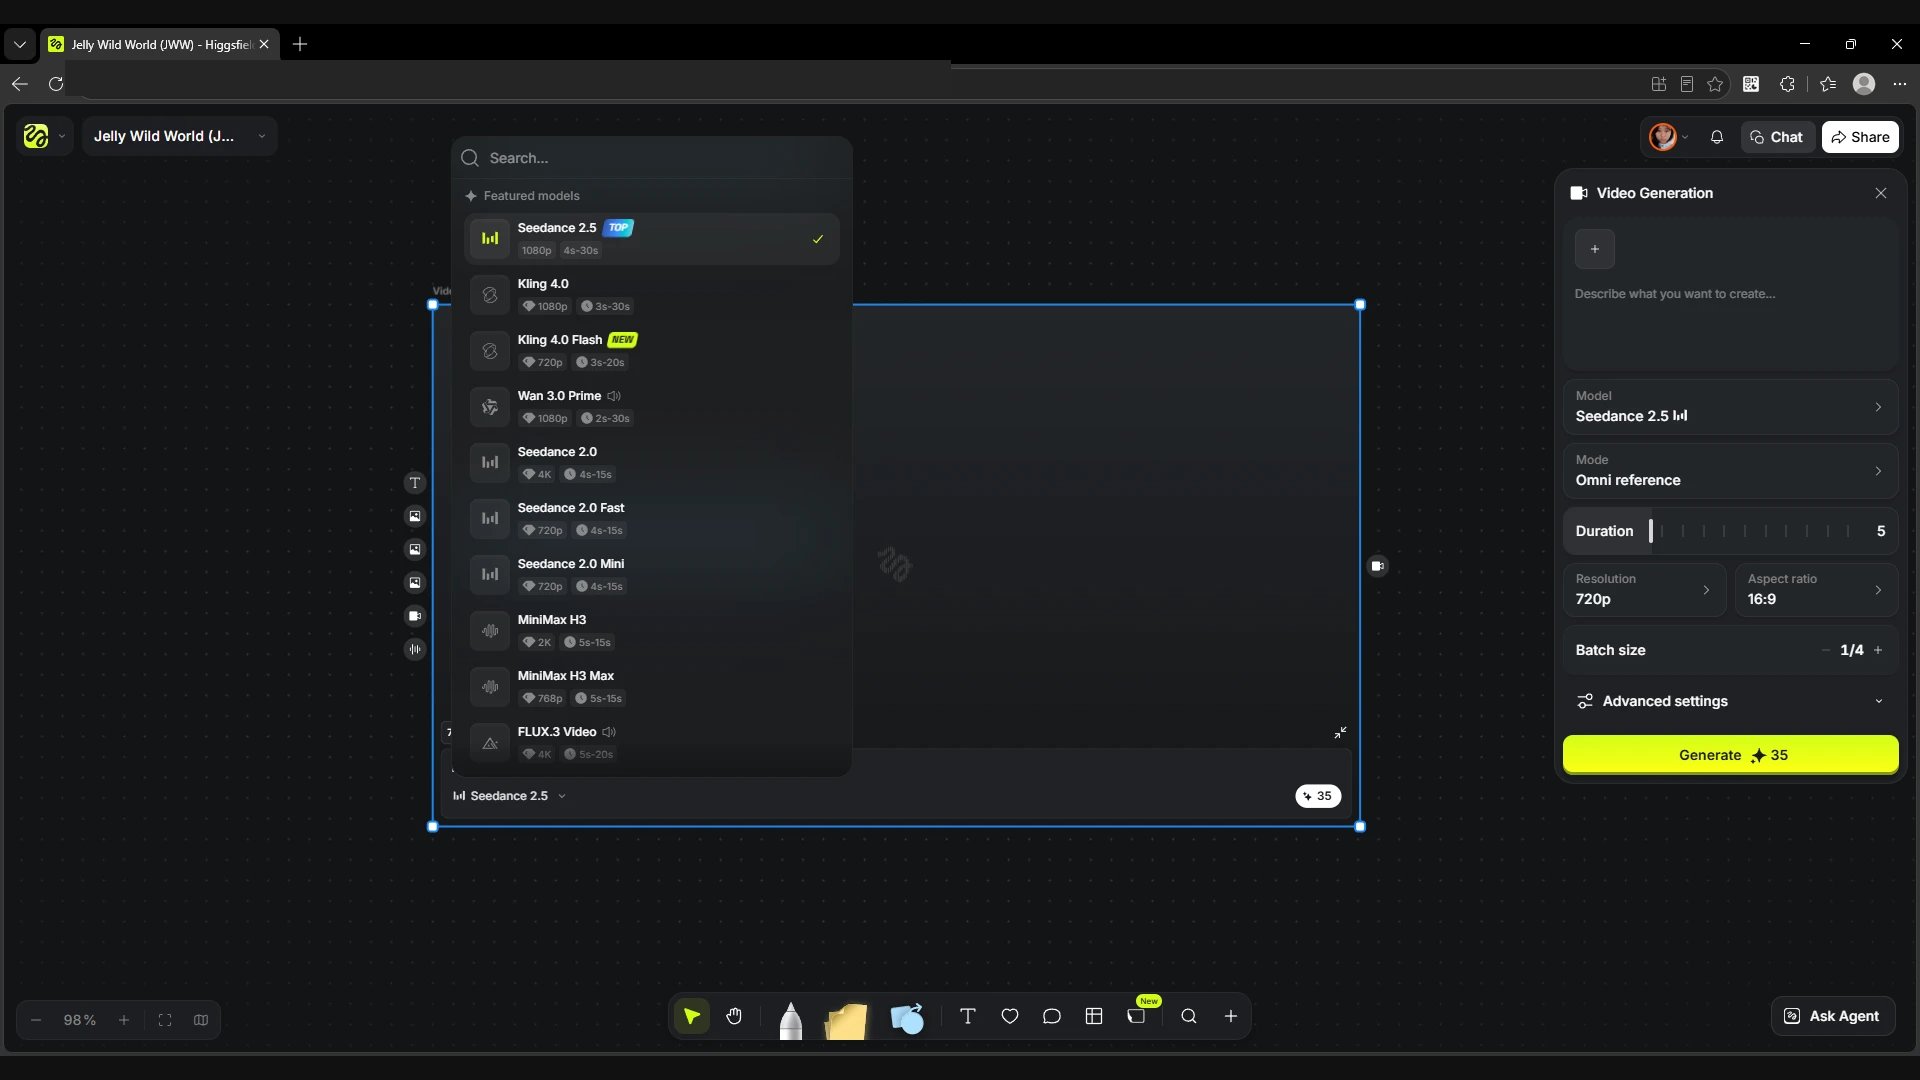
In the add menu the node is called Video Generator; on the canvas it is Video Generation. The model list opens from the card or from the Model field on the right. When you change the model or mode, check the ports on the left. The Seedance 2.5 example shows text and three ports for images, video and audio. Grok Imagine Video 1.5 Lite shows text and image. Both models have a video output on the right.
Screen
The Seedance 2.5 card with its set of inputs.
Screen
The Grok Imagine Video 1.5 Lite card.
Screen
The video model list and the right panel.
Video Generation · references and settings
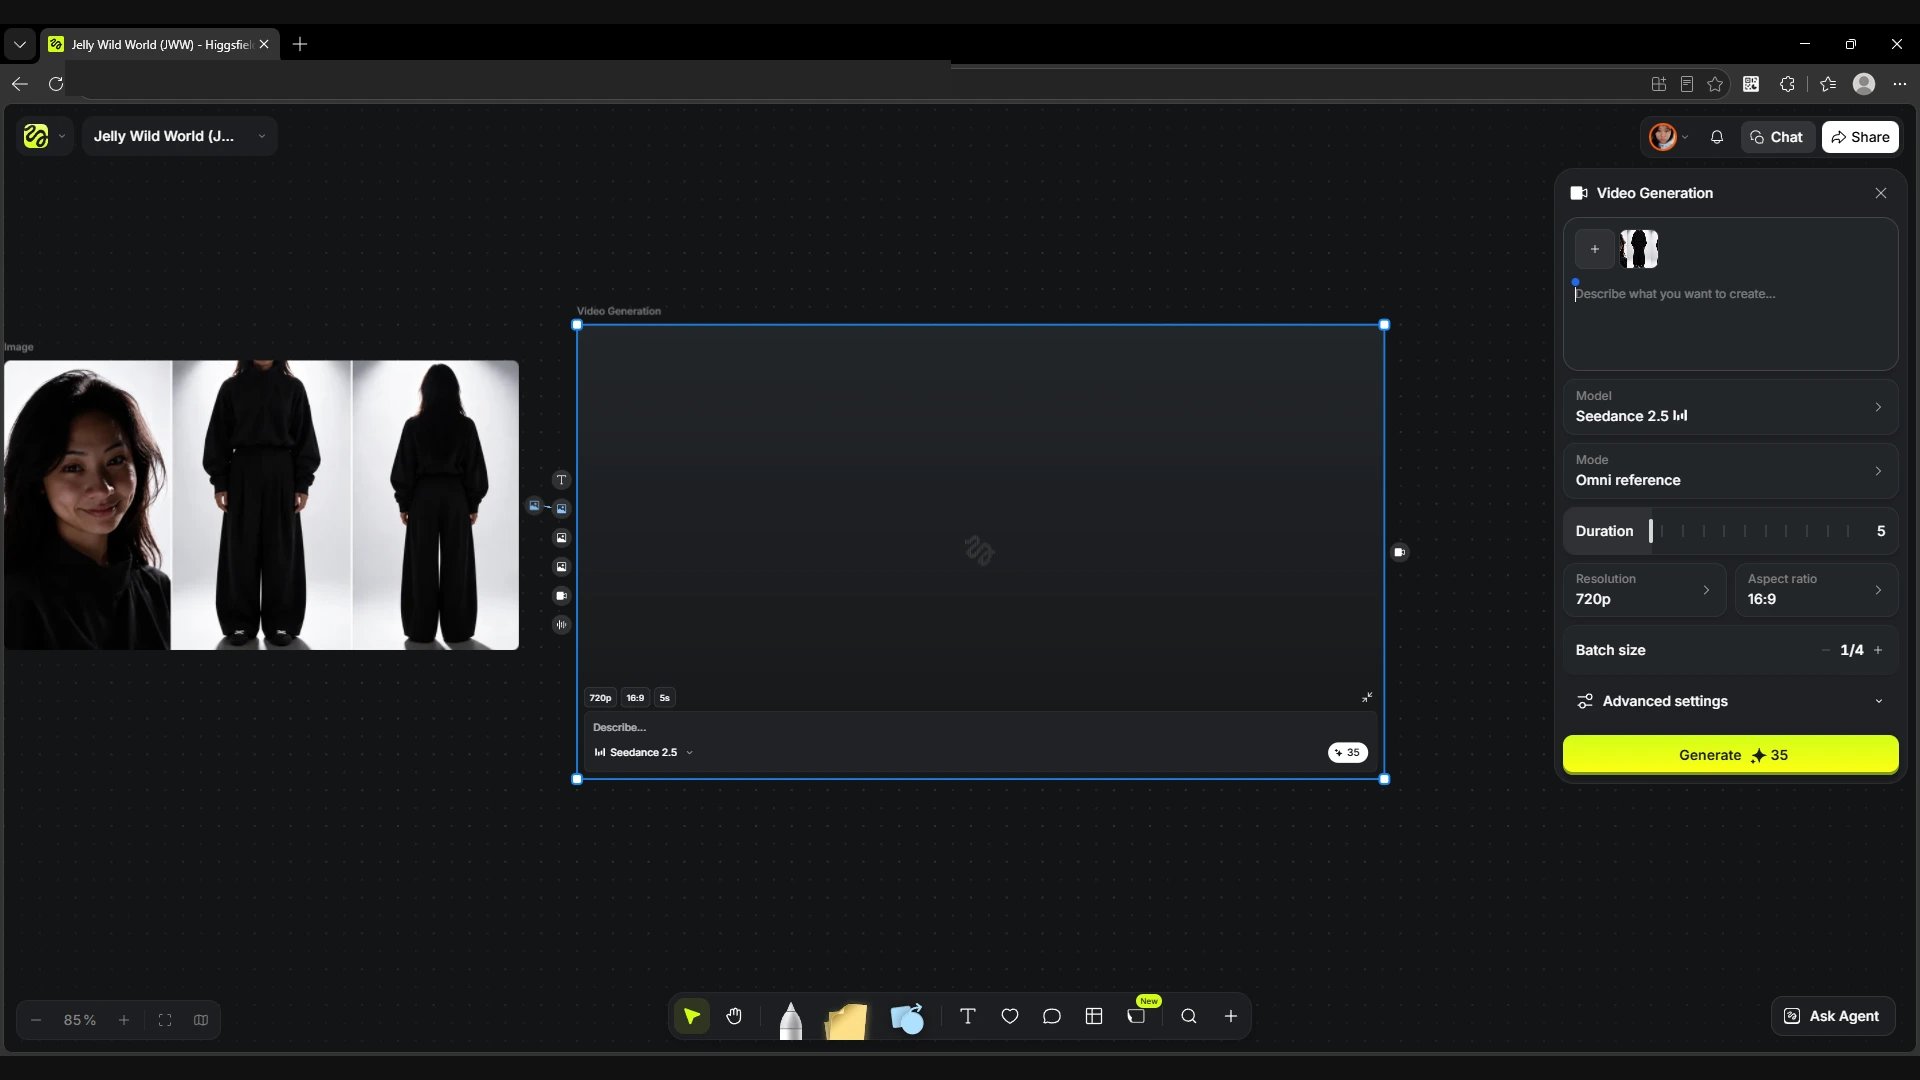
The selected Mode defines the role of the supported input materials. When an image is connected as a reference, its thumbnail appears above the prompt, next to the + button. It lets you check which file the node will receive. In the same panel, Duration sets the length, Resolution the frame size, Aspect ratio the proportions and Batch size the number of variants.
Screen
The source image on the canvas and its thumbnail on the right.
Video Generation · where to write the prompt
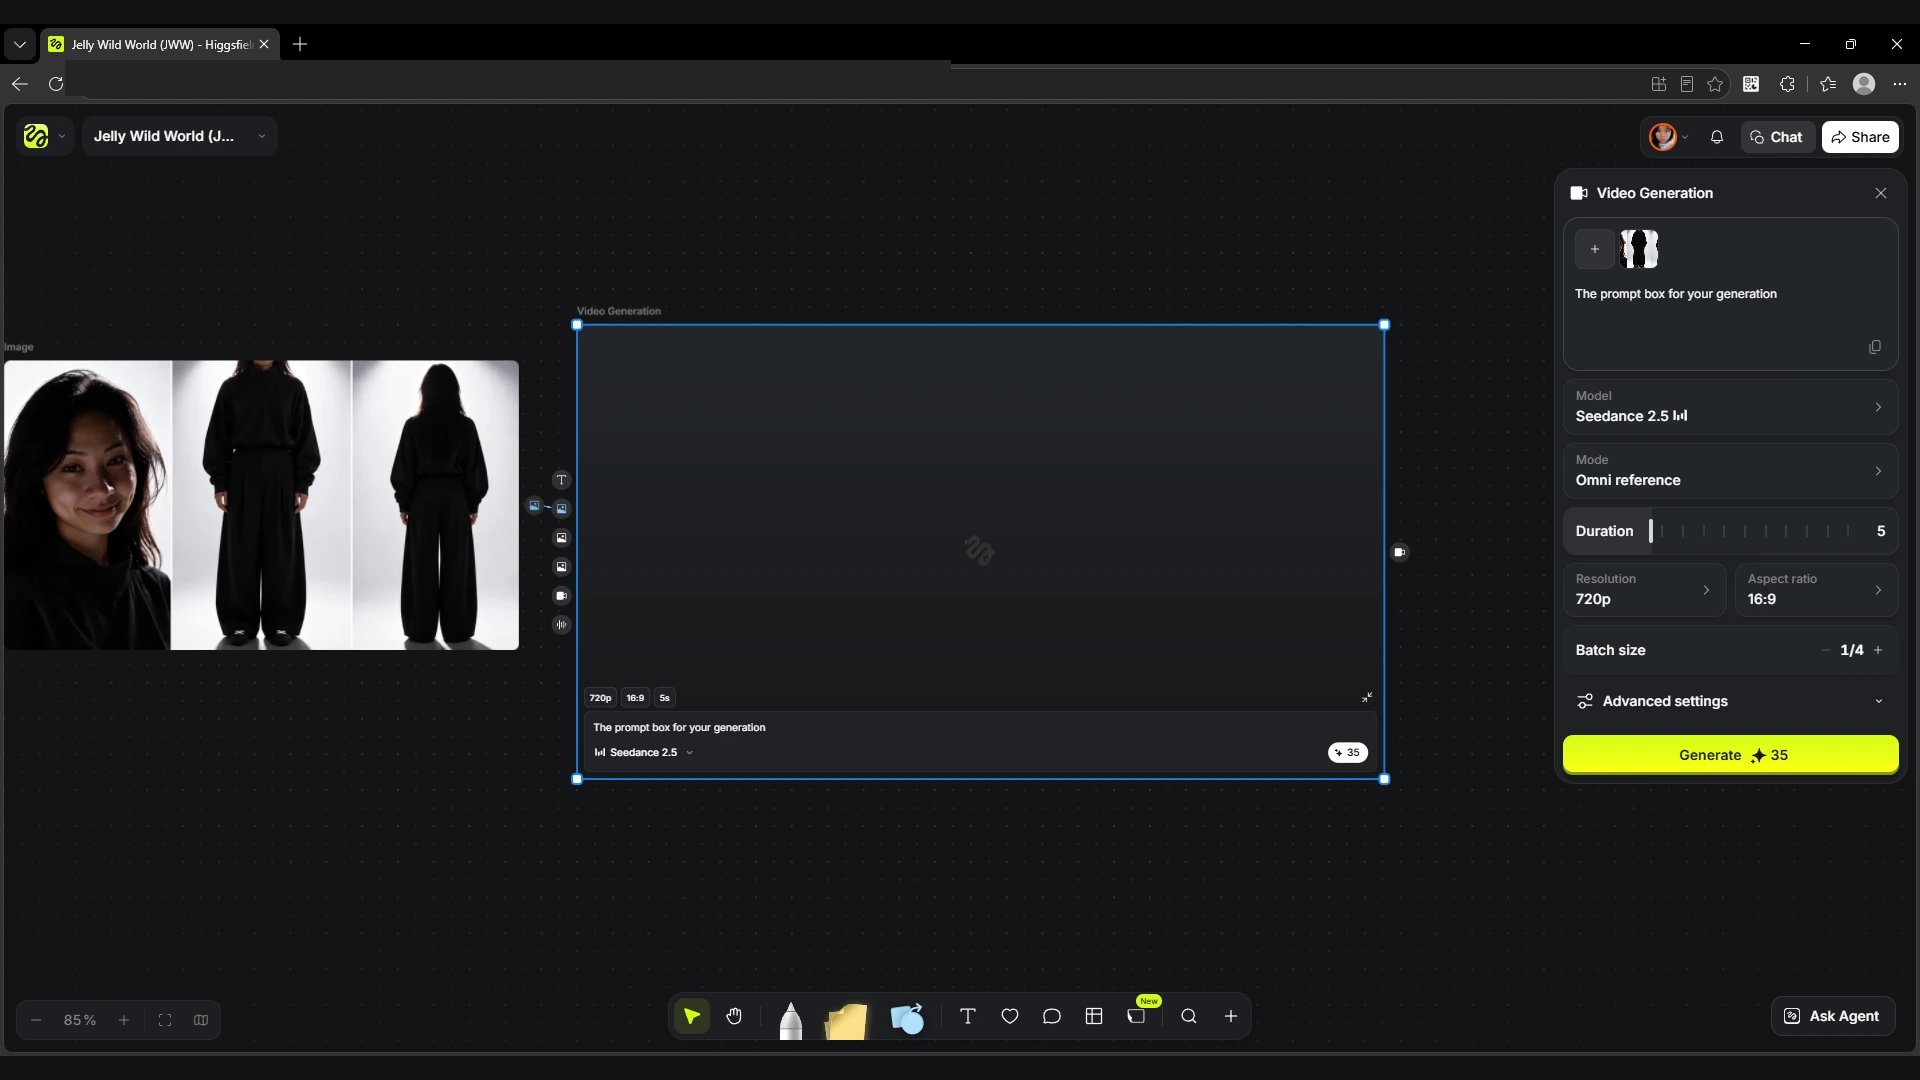
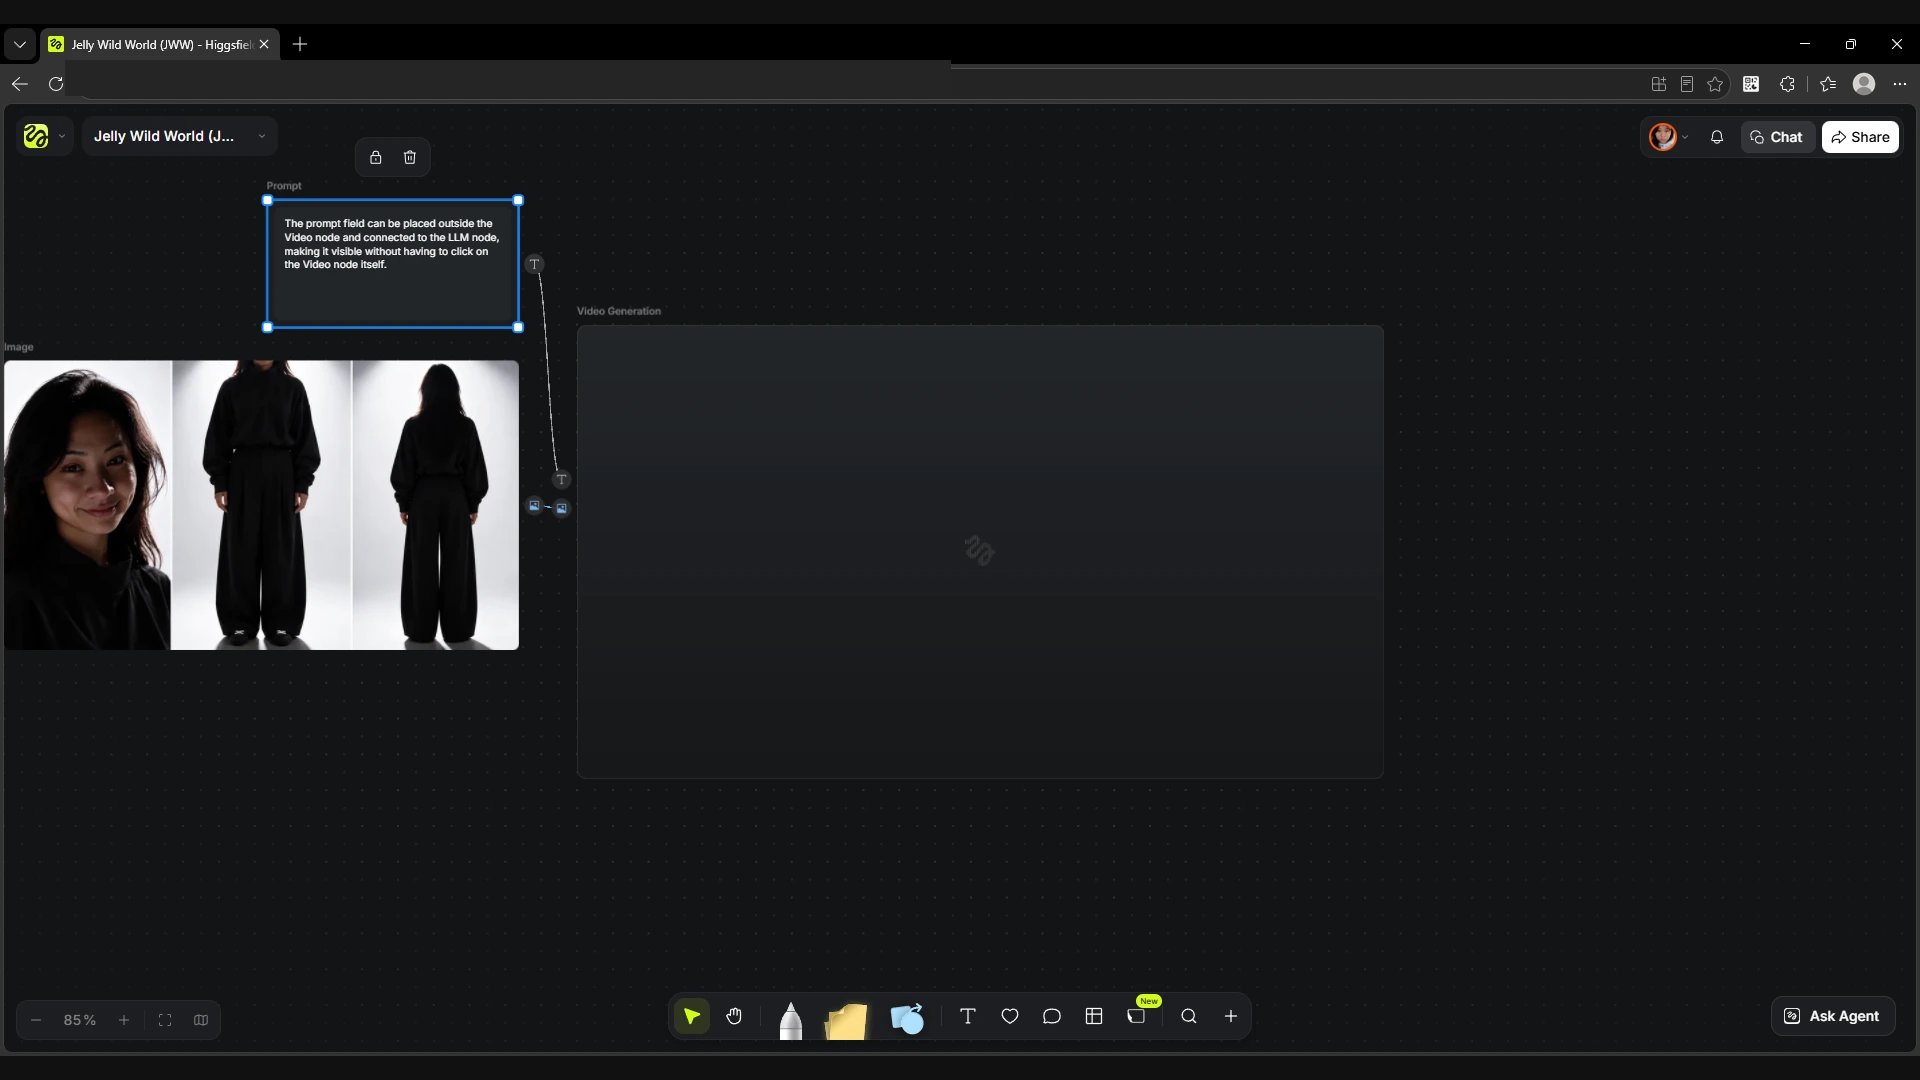
For a quick test, type the text right in the right panel. A separate Prompt node keeps the text visible on the canvas and passes it through the T input. This is handy for iterations. While the first version is generating, you can copy the prompt and prepare a second one, for example change the camera movement and keep the original description next to it.
Screen
The prompt in the Video Generation right panel.
Screen
A separate Prompt node on the canvas.
Voiceover · text and audio
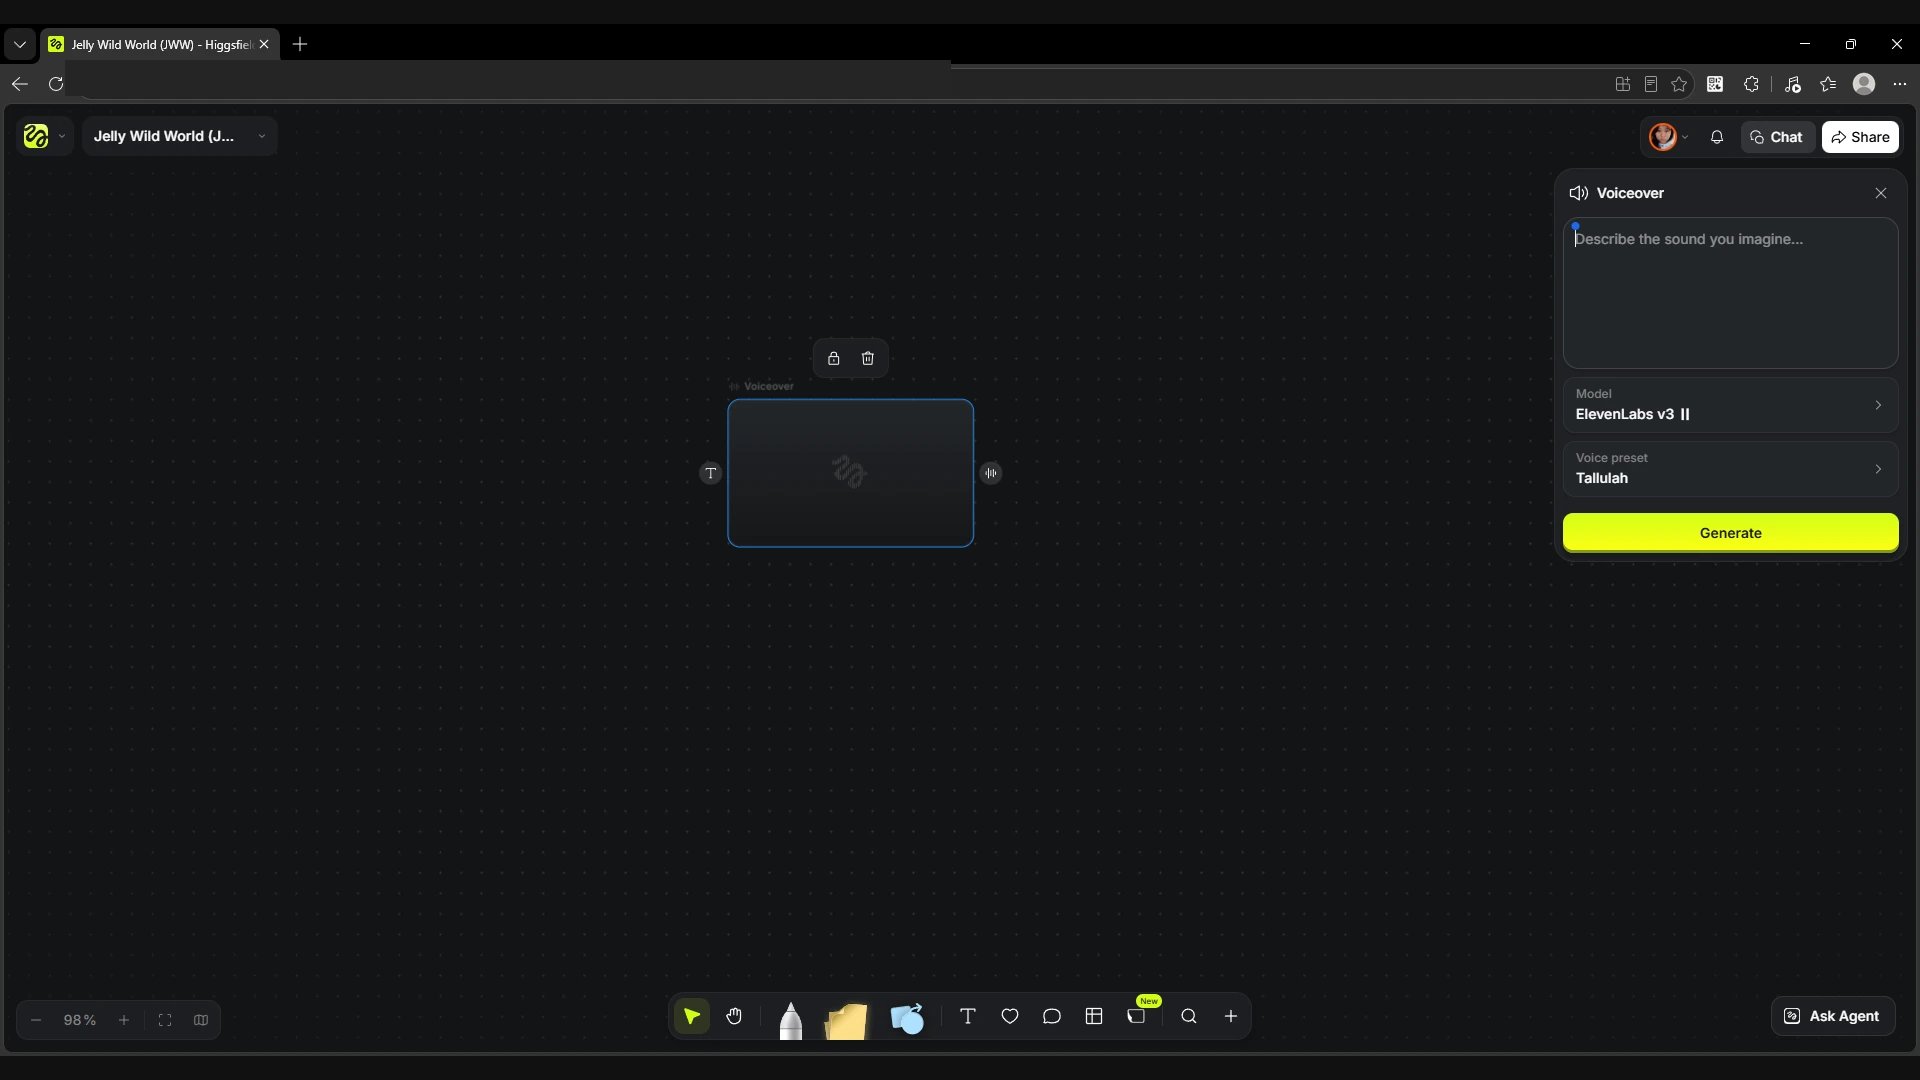
In the add menu the node is called Voice Generator; on the canvas it is Voiceover. The T input on the left takes text. You can also type the line in the right panel. The sound wave port on the right passes on the finished audio. Model selects the voiceover model and Voice preset the voice. The Generate button starts the voiceover.
Screen
Voiceover ports, the text field and the voice choice on the right.
Voiceover · models
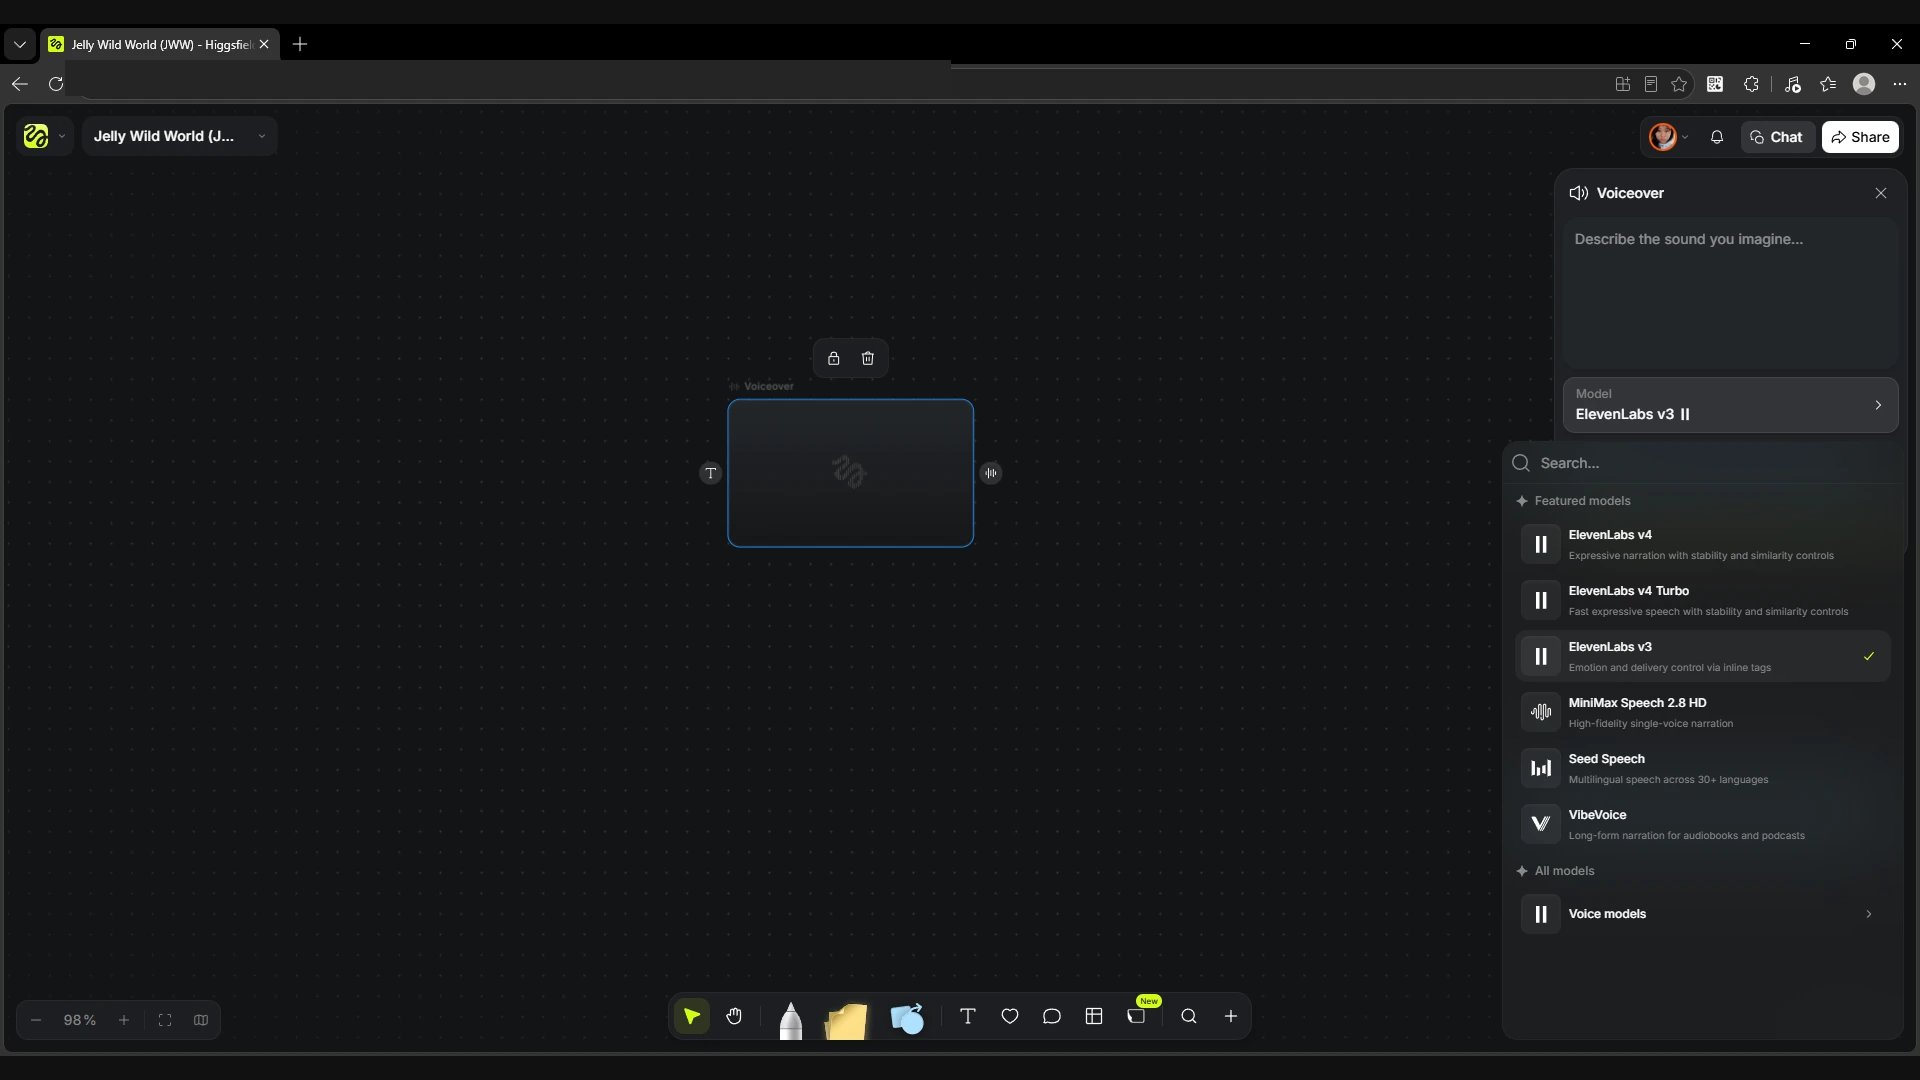
Click Model in the right panel. In Featured models the screenshot shows ElevenLabs v4 and v4 Turbo with voice stability and similarity settings, ElevenLabs v3 with delivery tags in the text, MiniMax Speech 2.8 HD for single-voice narration, Seed Speech for multilingual narration and VibeVoice for long formats. The full list opens through All models → Voice models.
Screen
The Voiceover model menu.
Voiceover · preset or your own voice
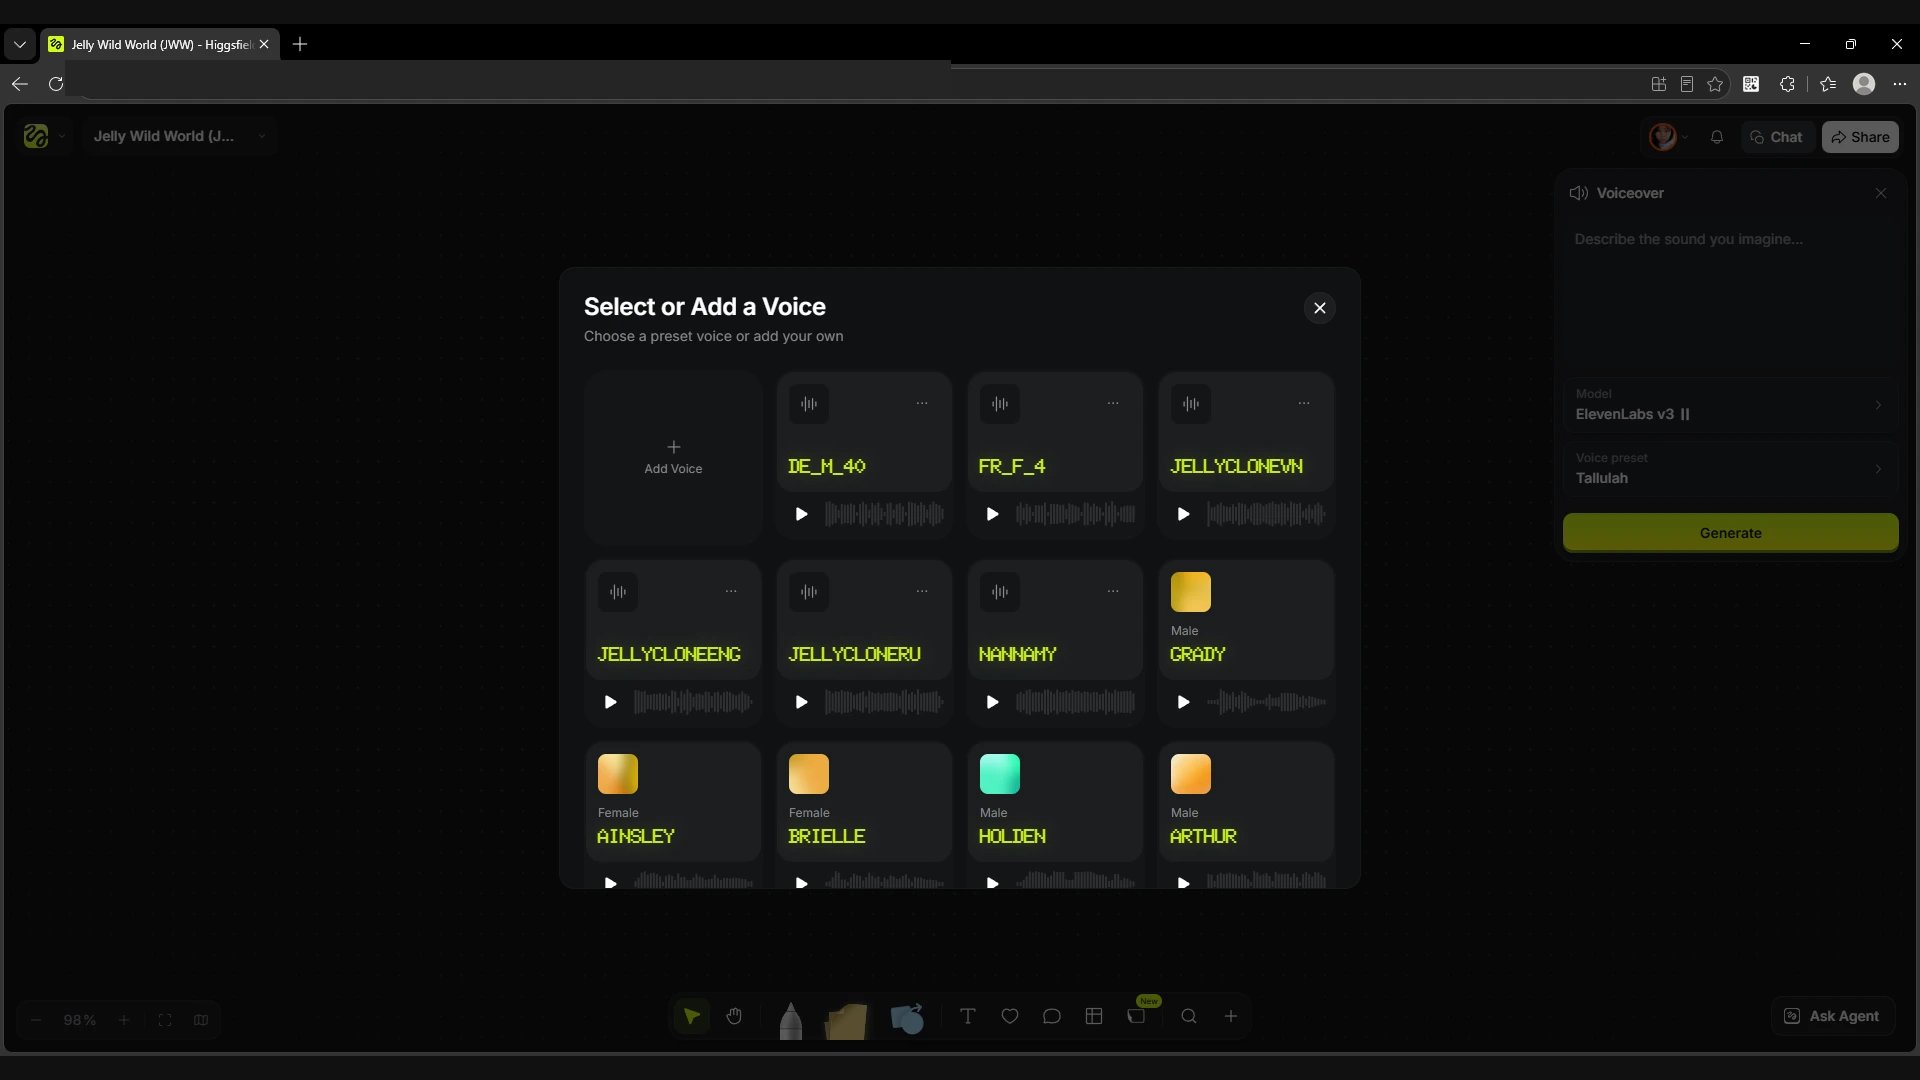
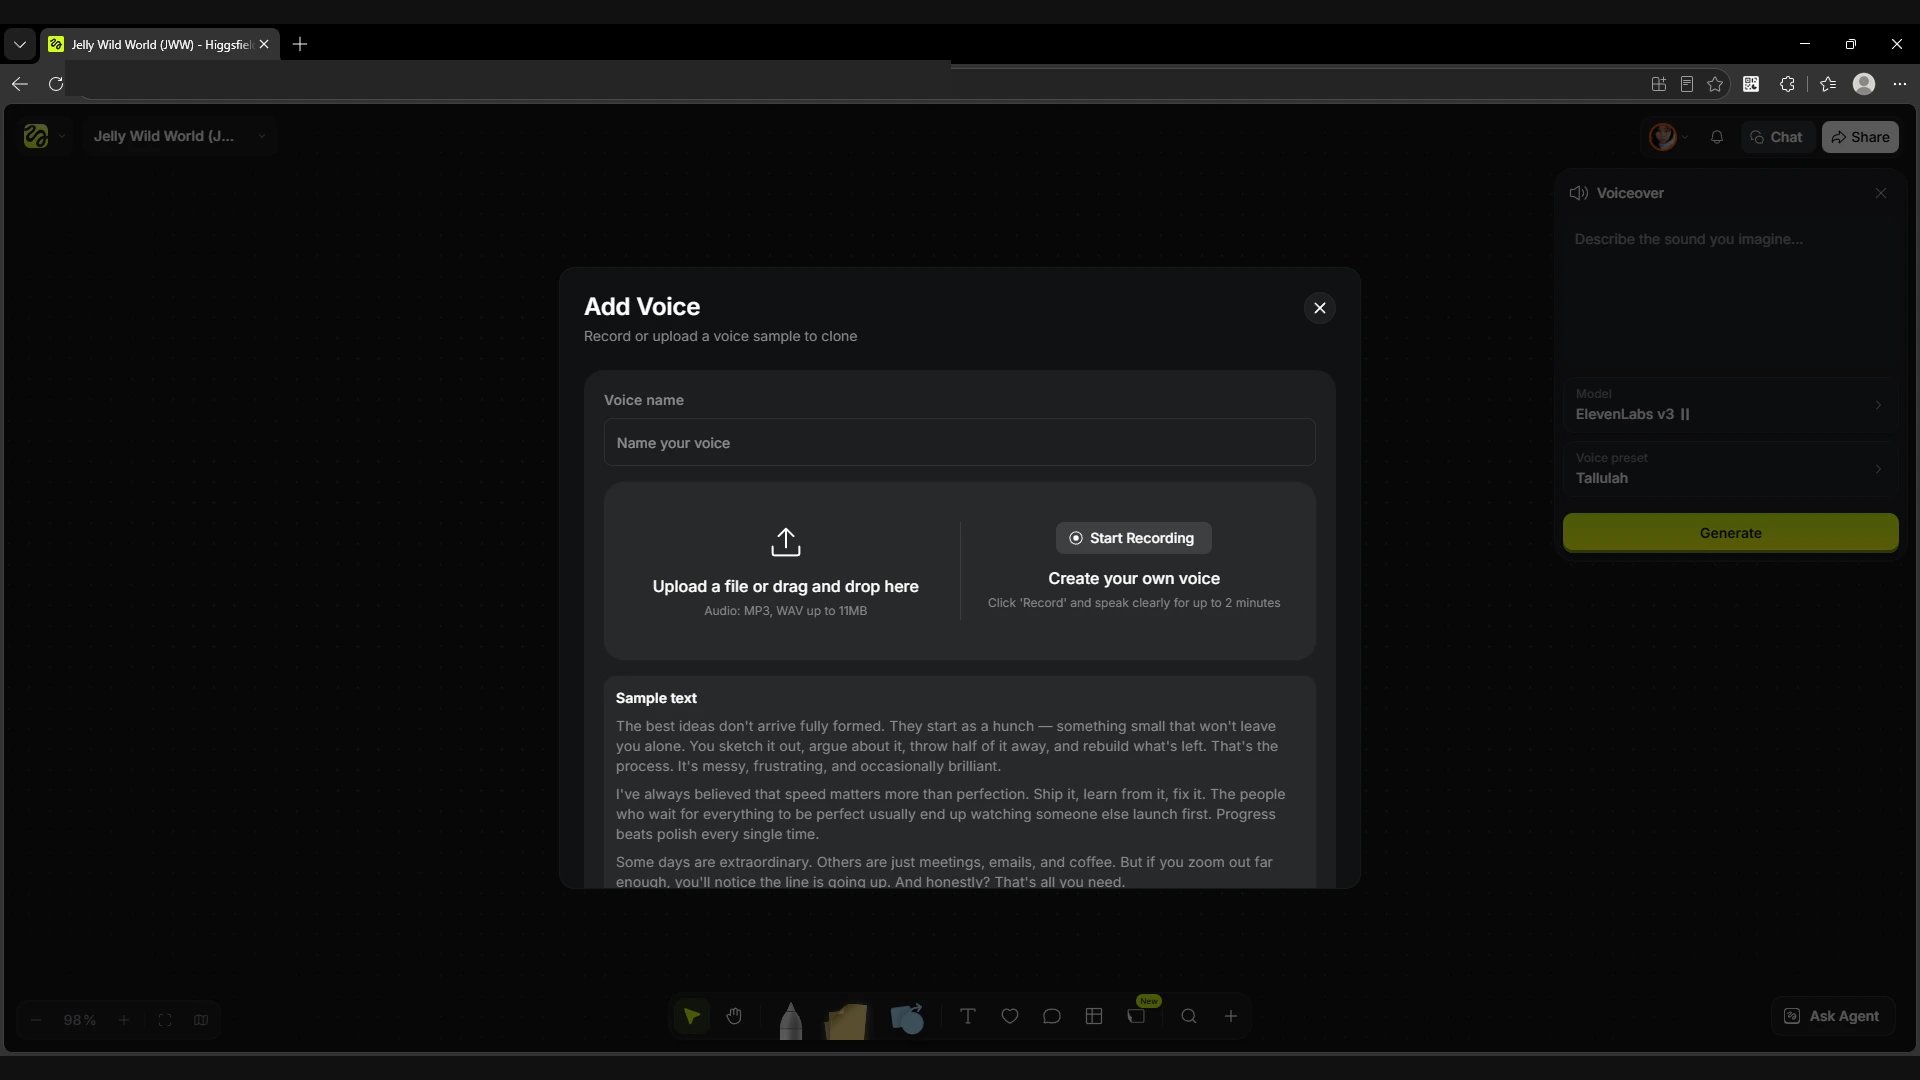
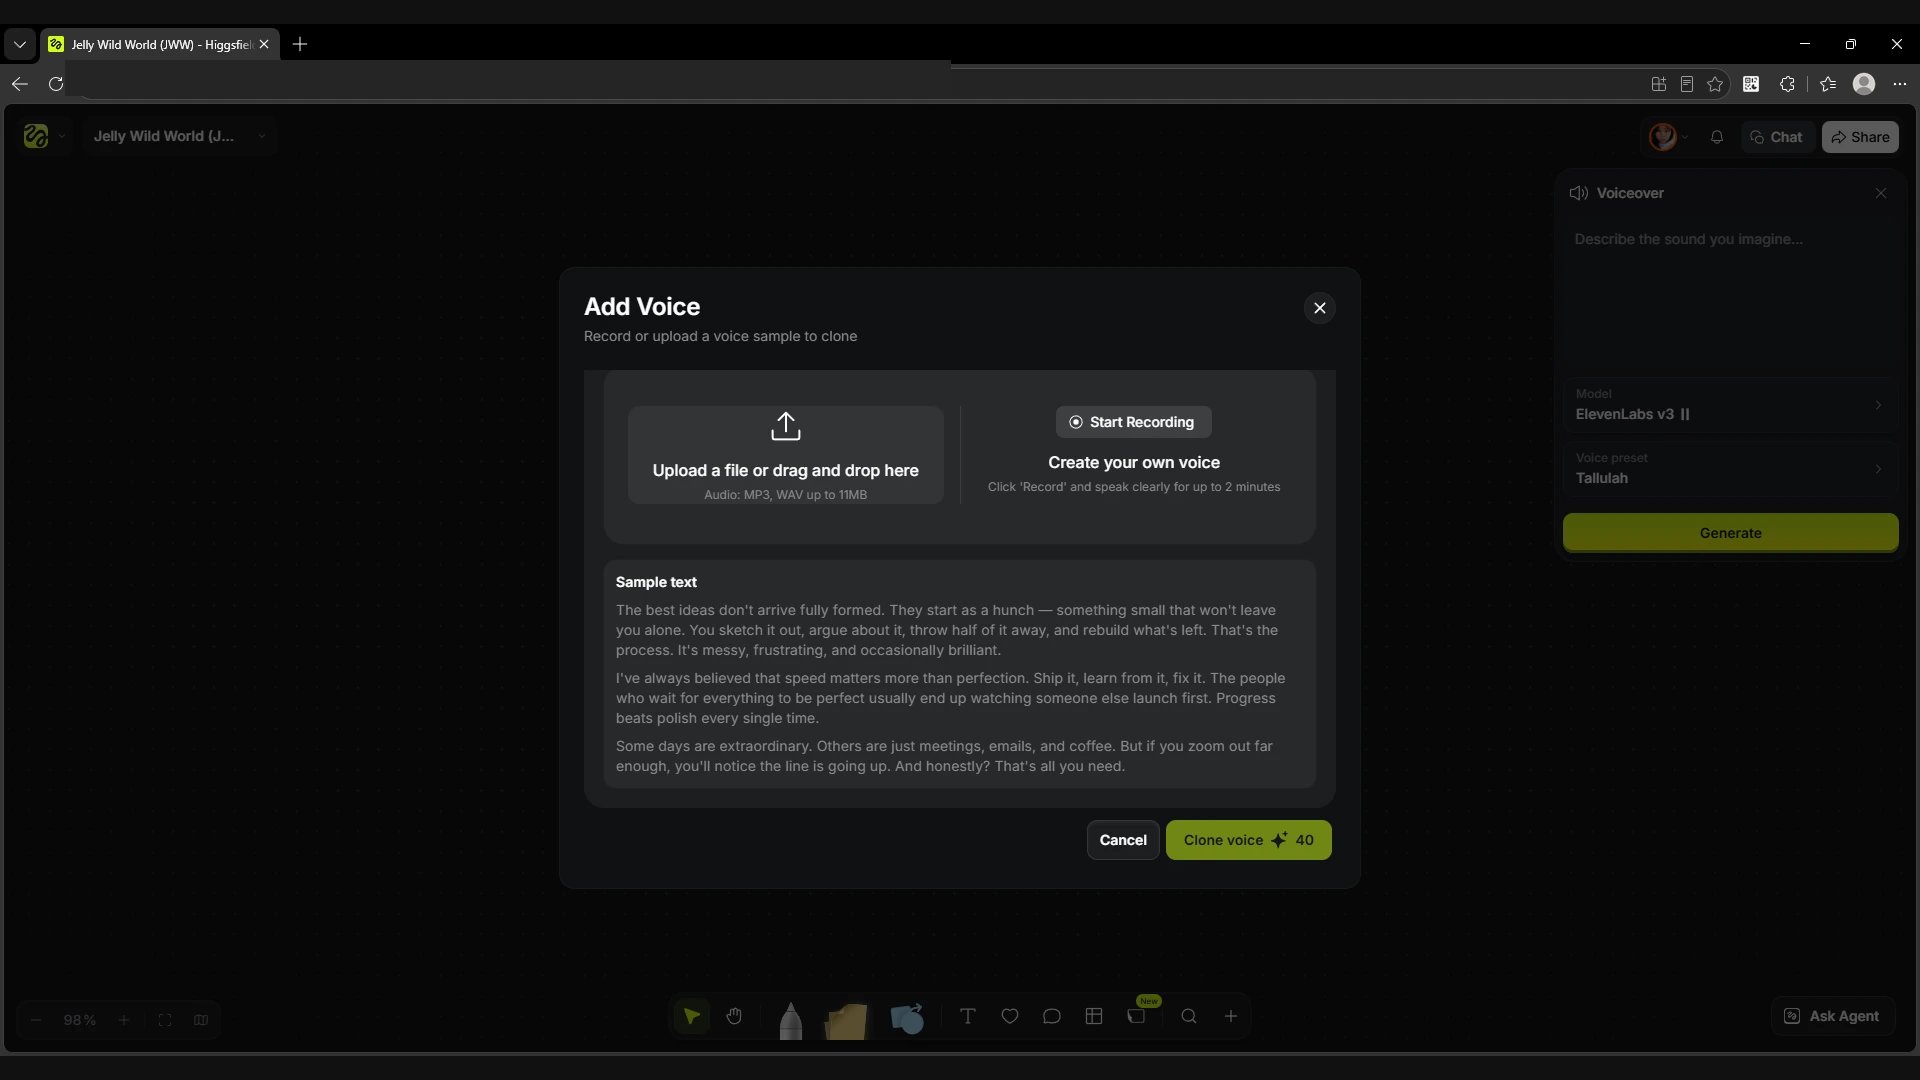
Open Voice preset. In the Select or Add a Voice window you can listen to the preset voices and choose one. For your own voice, click Add Voice, give it a name and upload an MP3 or WAV up to 11 MB, or record up to two minutes of speech with Start Recording. Use your own voice or a sample you have permission to clone. Scroll the window down to Clone voice. In the screenshot, creating a voice costs 40 credits. After you choose a voice, the voiceover of the text runs with a separate Generate button.
Screen
Choosing and listening to voices.
Screen
Voice name, upload and recording.
Screen
The Clone voice button at the bottom of the window.
LLM Assistant
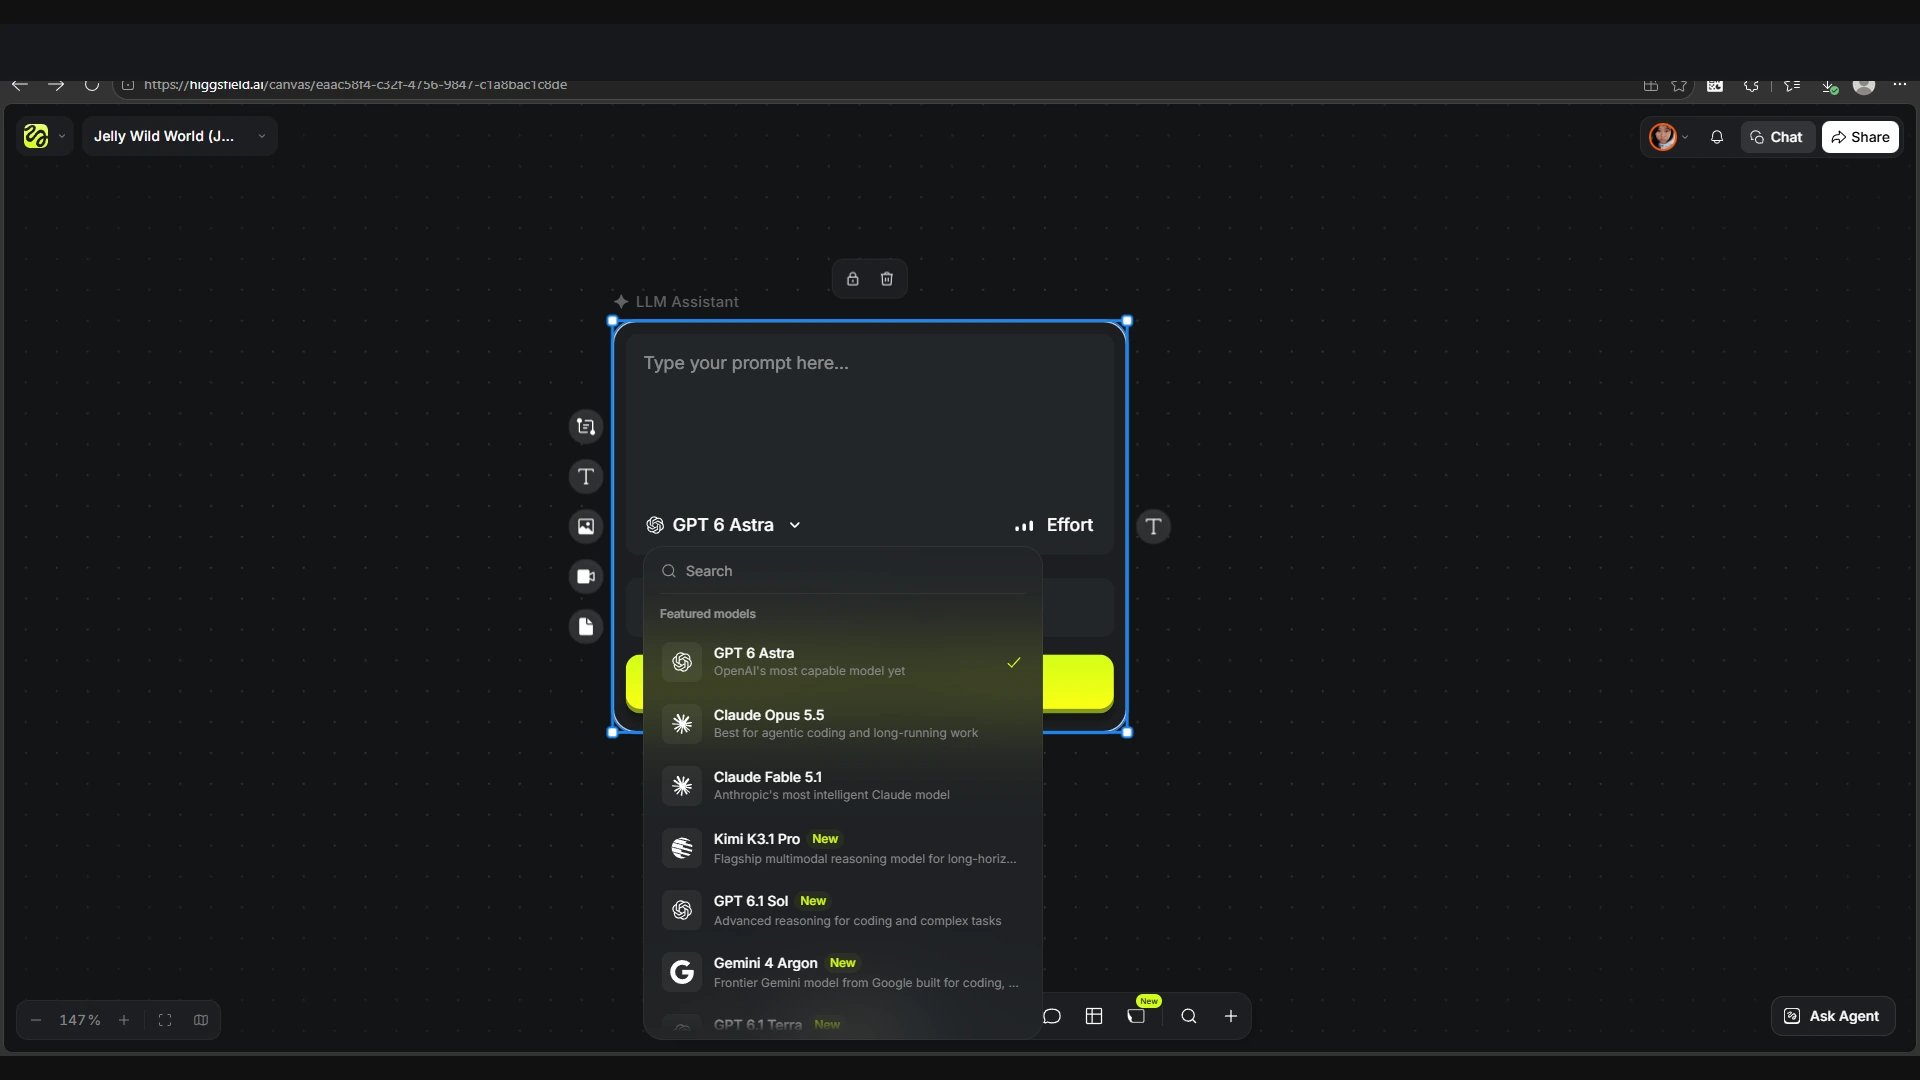
The node helps you analyse materials and refine text. For example, pass the original wording from Prompt and ask it to make the camera movement more precise while keeping the character description. You can pass the answer to another node as text. The model is chosen under the request field. The Effort setting is available for models that support it.
Screen
The model list opened from the LLM Assistant card.
Video output · Translate and Change Voice
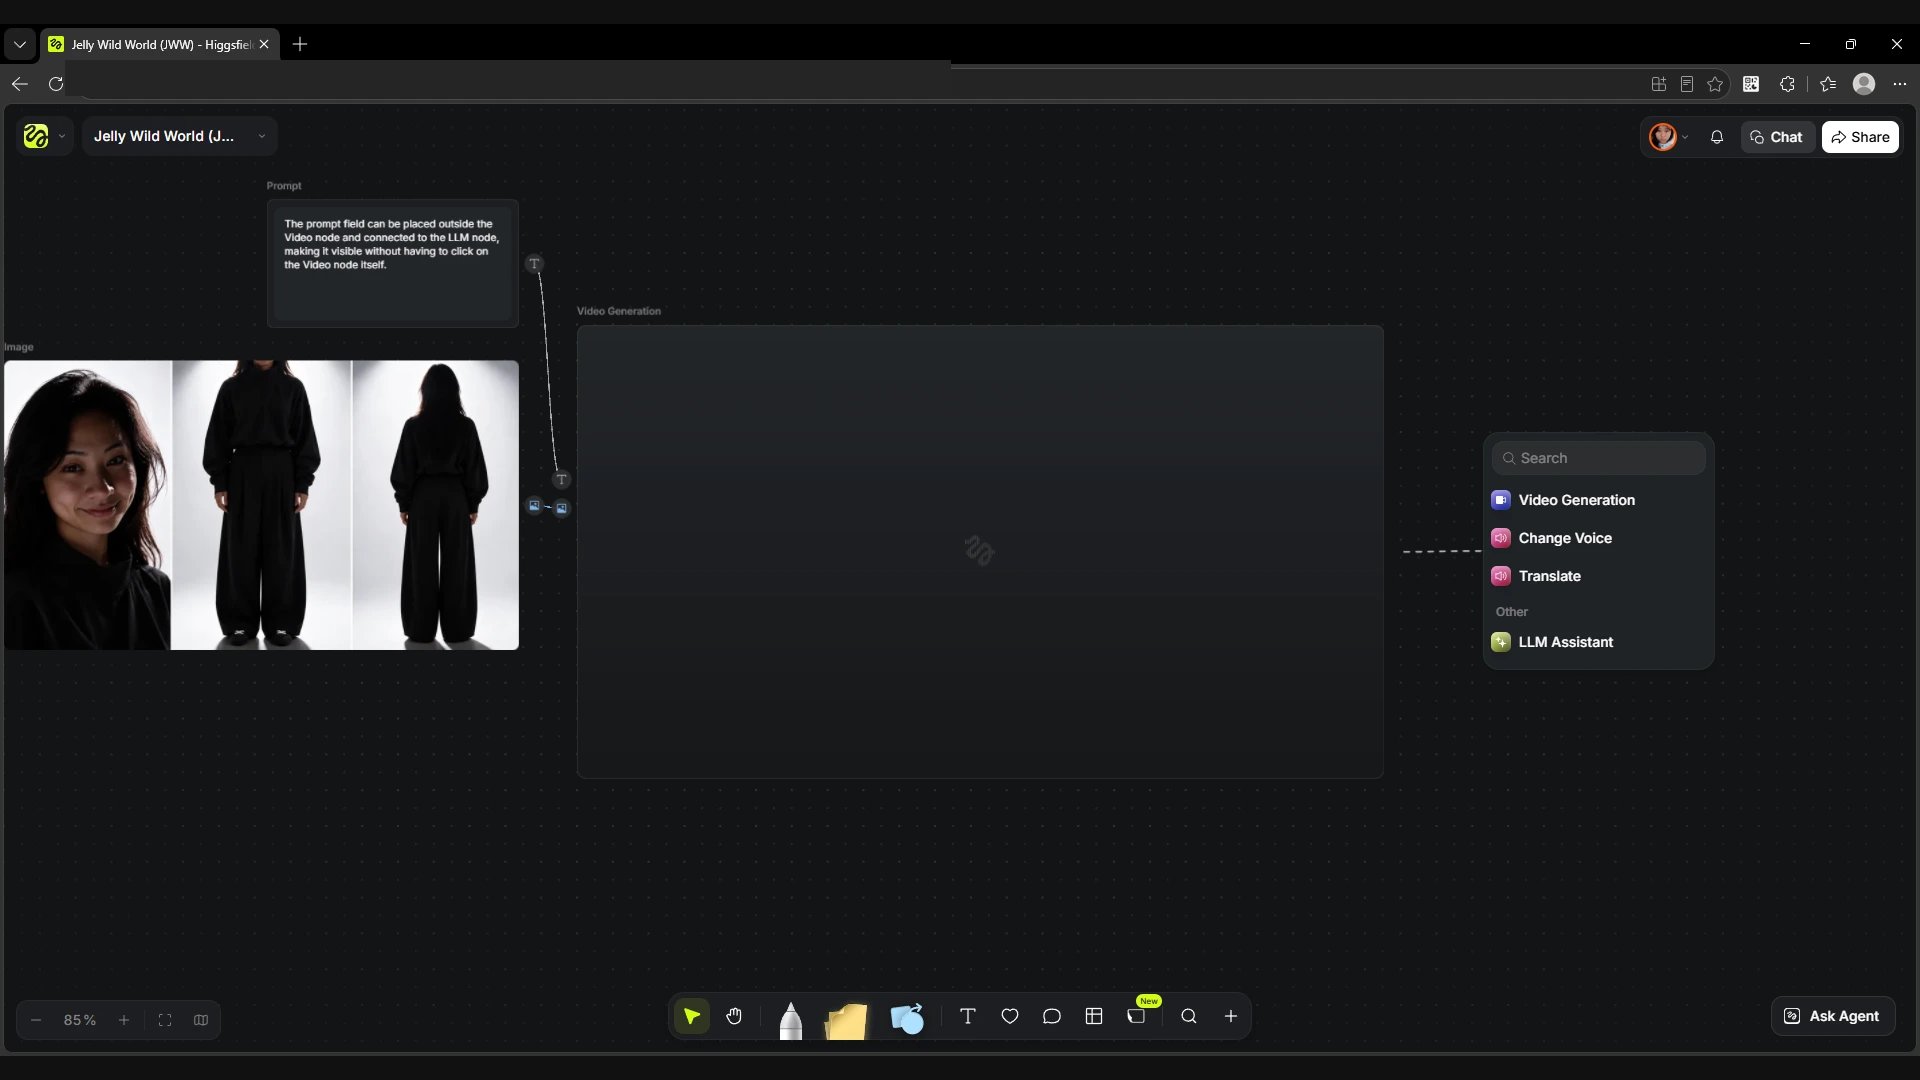
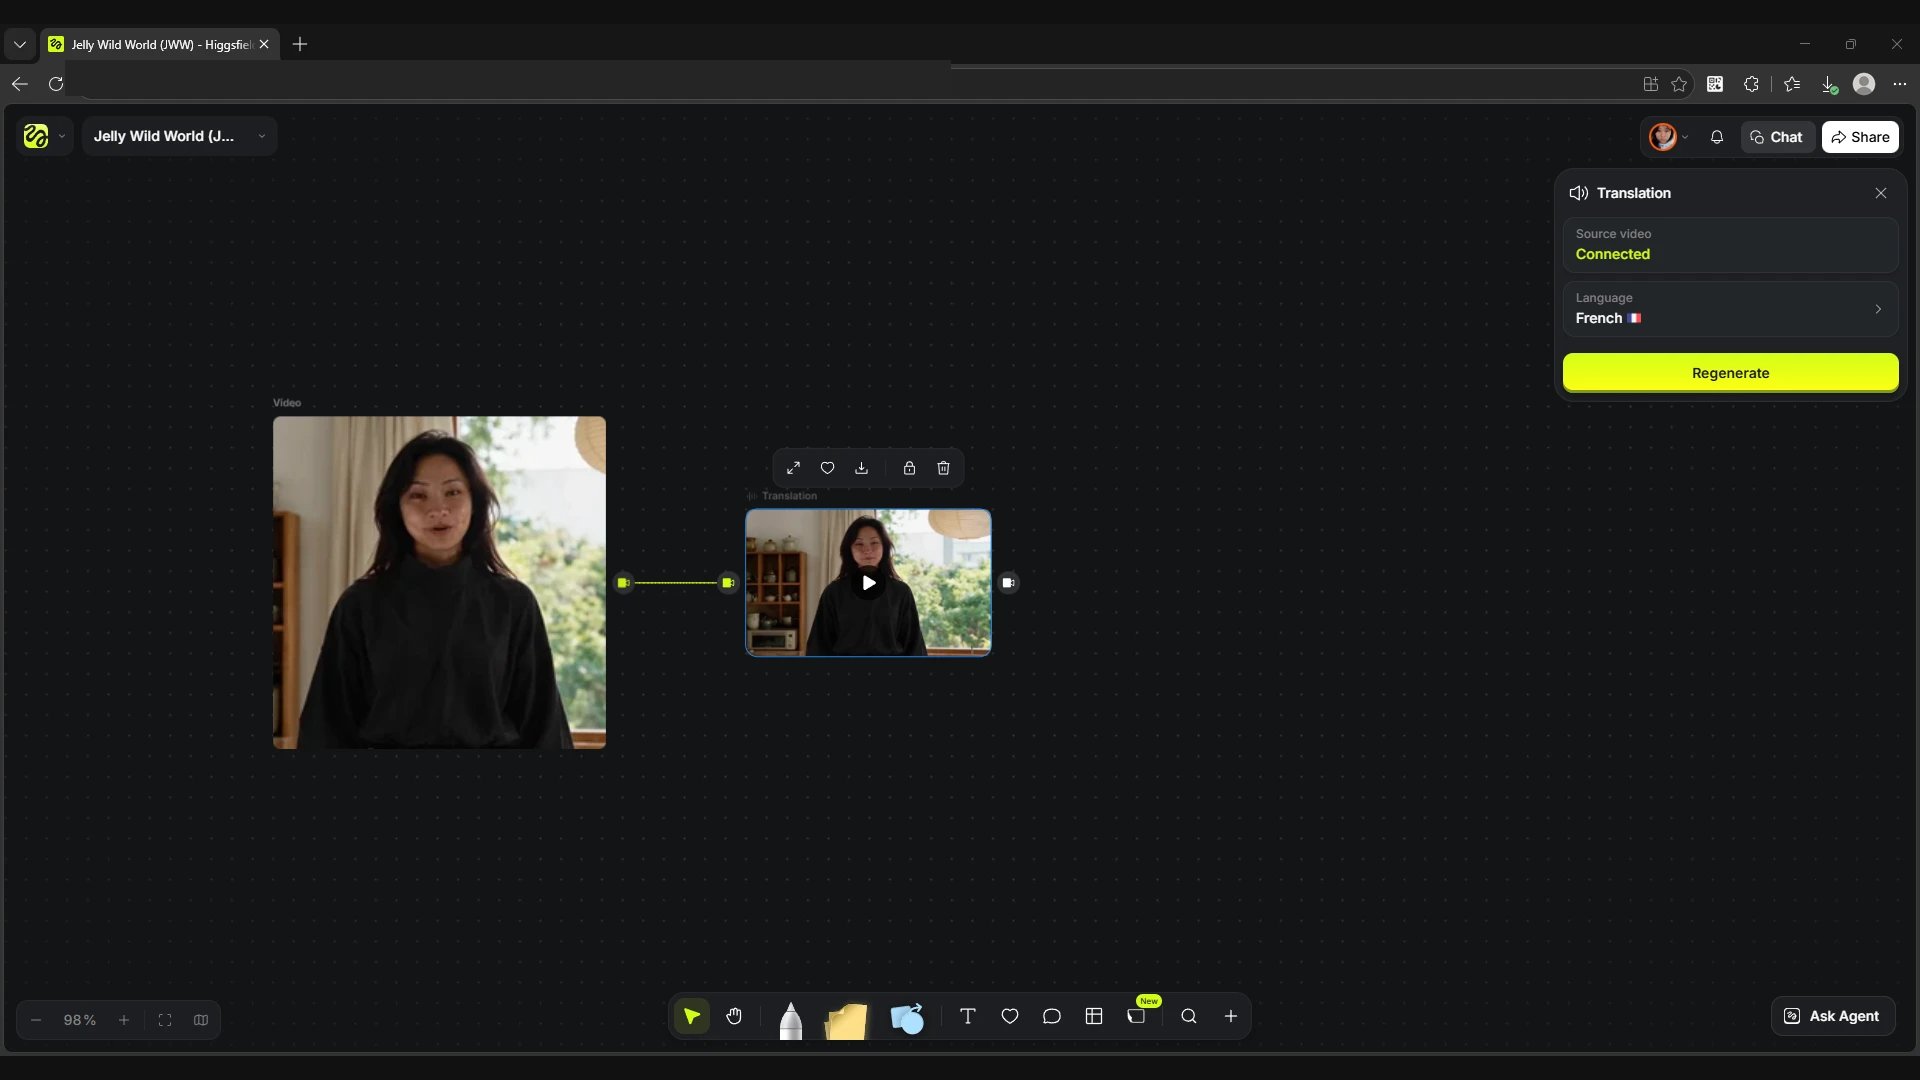
The video output port menu shows which actions are available for a finished clip. Translate opens a translation node. The Translation panel shows whether the source video is connected, and Language sets the target language. Change Voice is for changing the voice in a finished video.
Screen
The video node output menu with Translate and Change Voice.
Screen
The source and the translated video side by side on the canvas.
Now try it on your own board
You now know how to find your way around Canvas, share a board with your team and leave comments. You can add nodes, tell their inputs and outputs apart and find the settings of the selected model.
For your first try, take a simple idea. Add a Prompt node, connect it to Image Generation and try changing one detail in the description. Compare the results and see how that change affected the image.
Thank you for exploring Canvas with me. Have fun experimenting on your board!