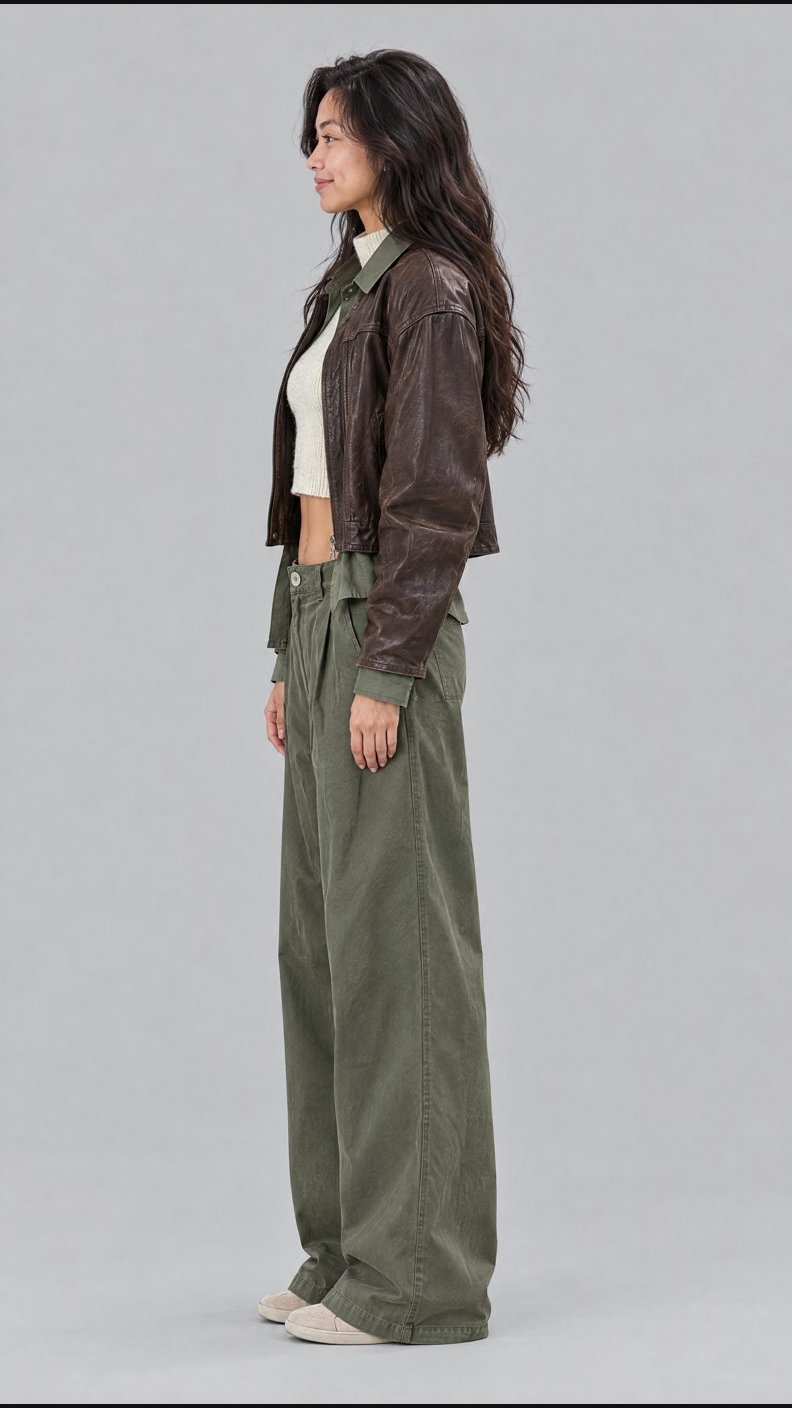
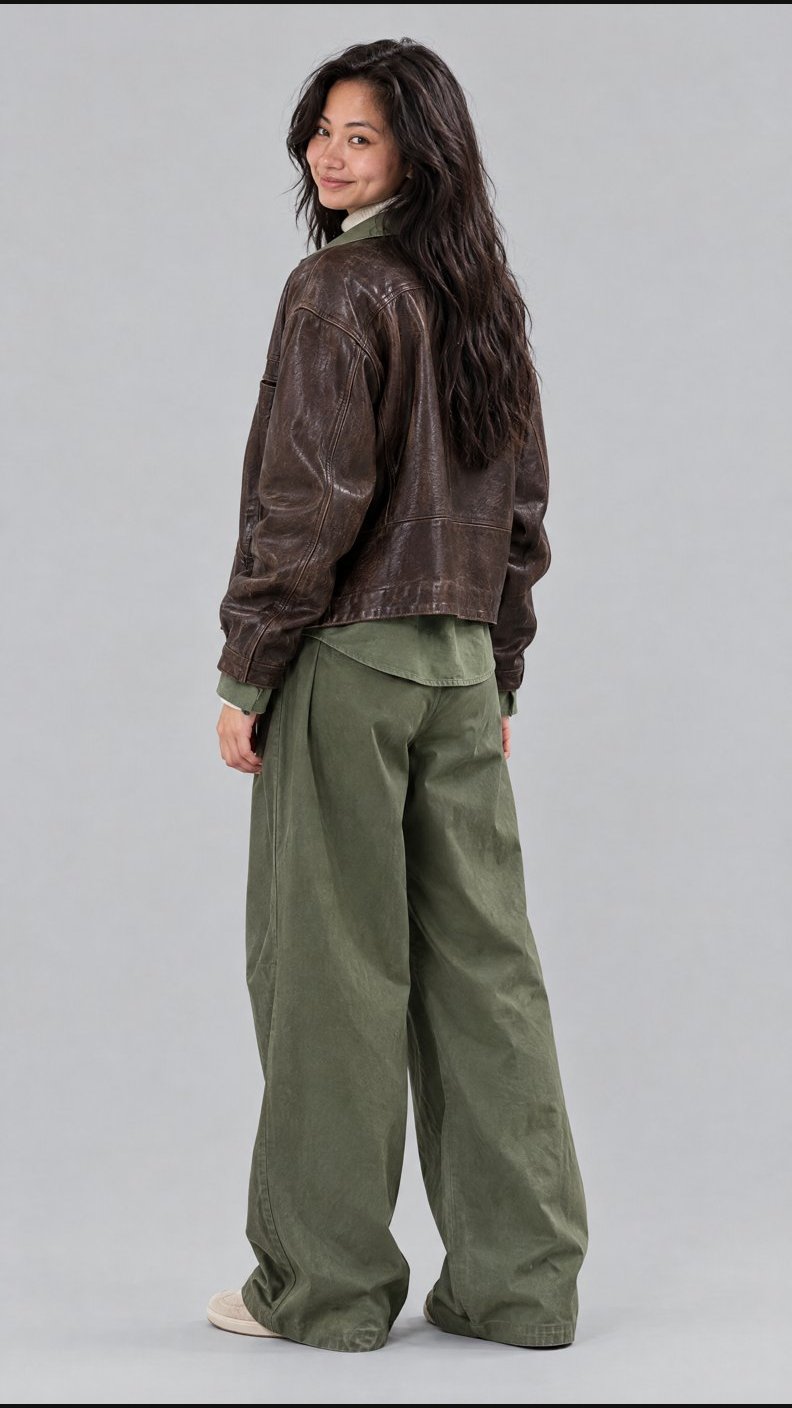
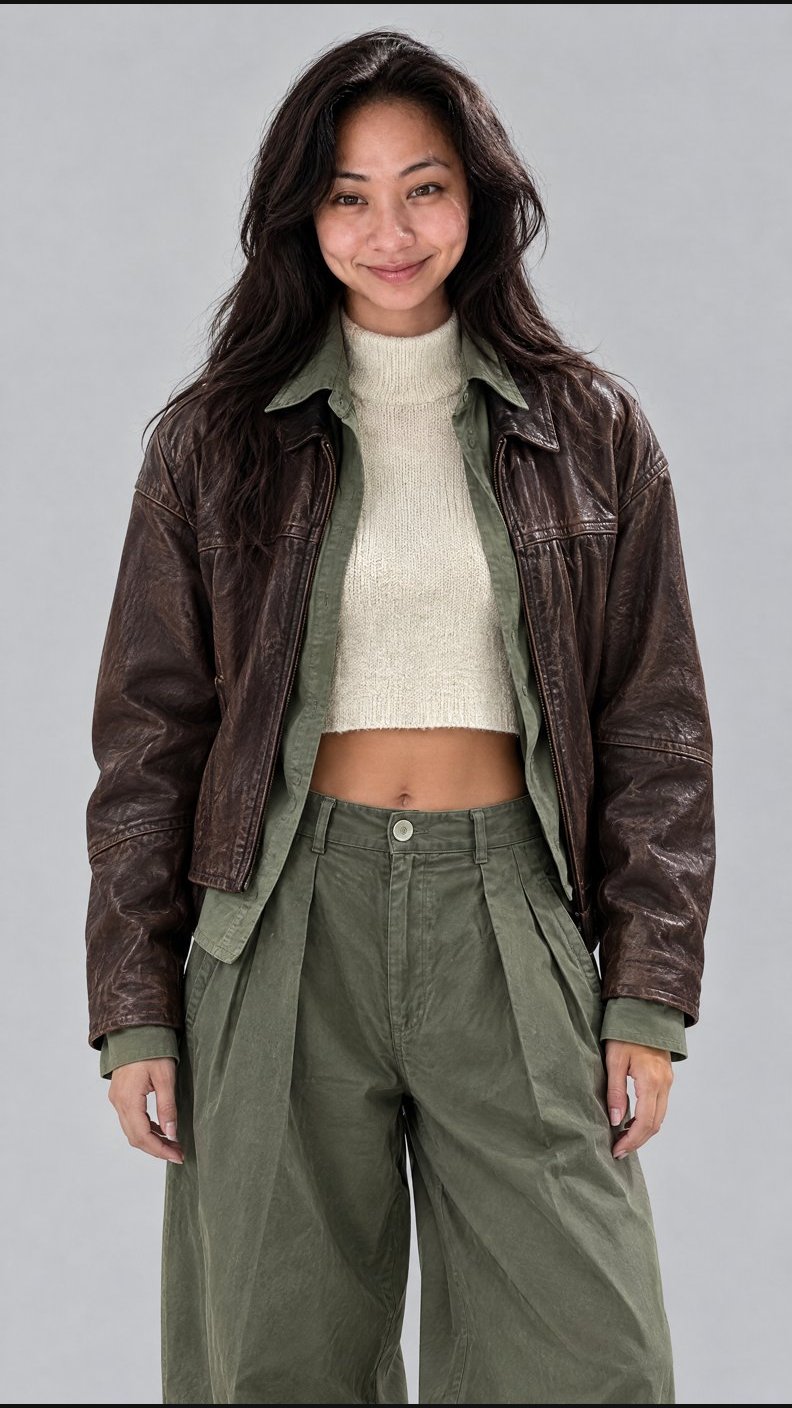
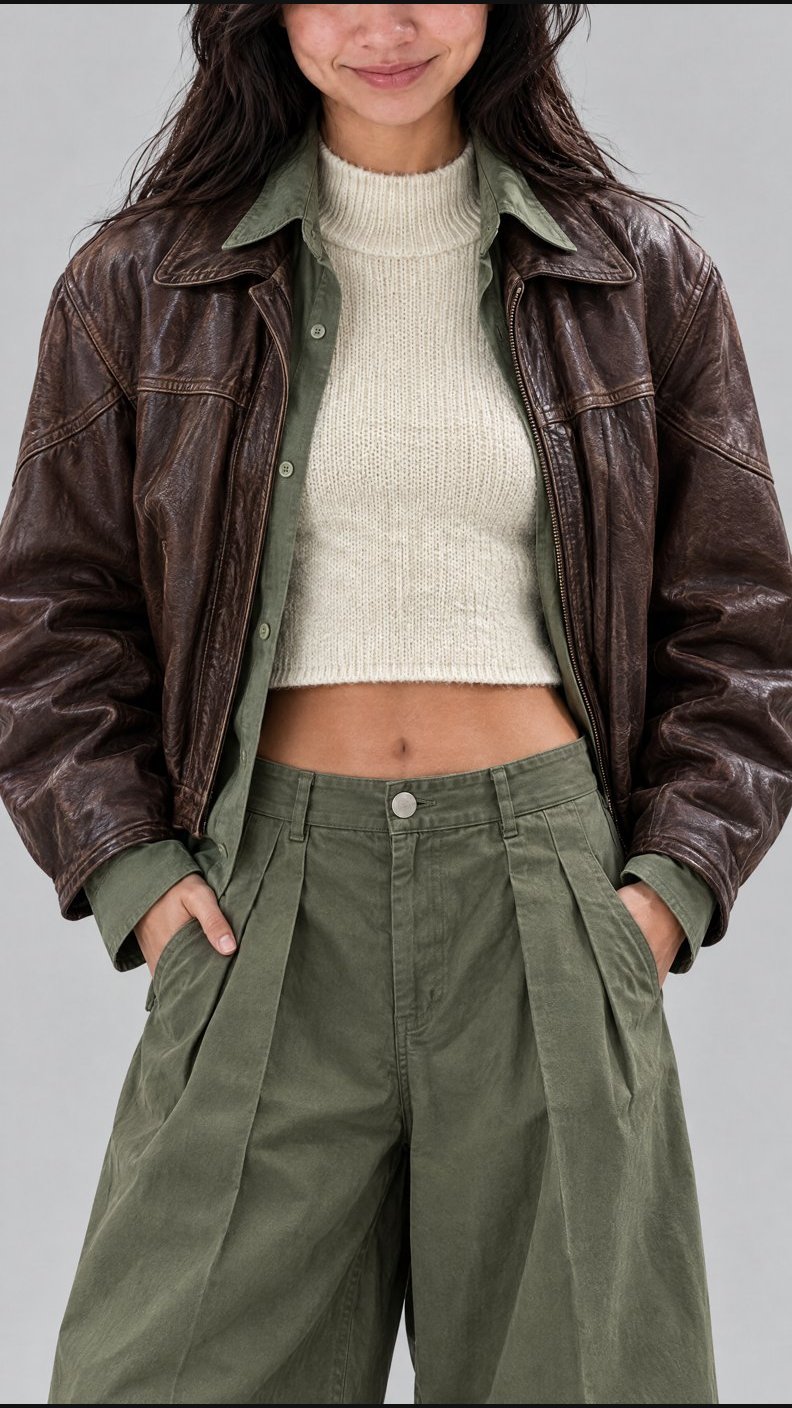
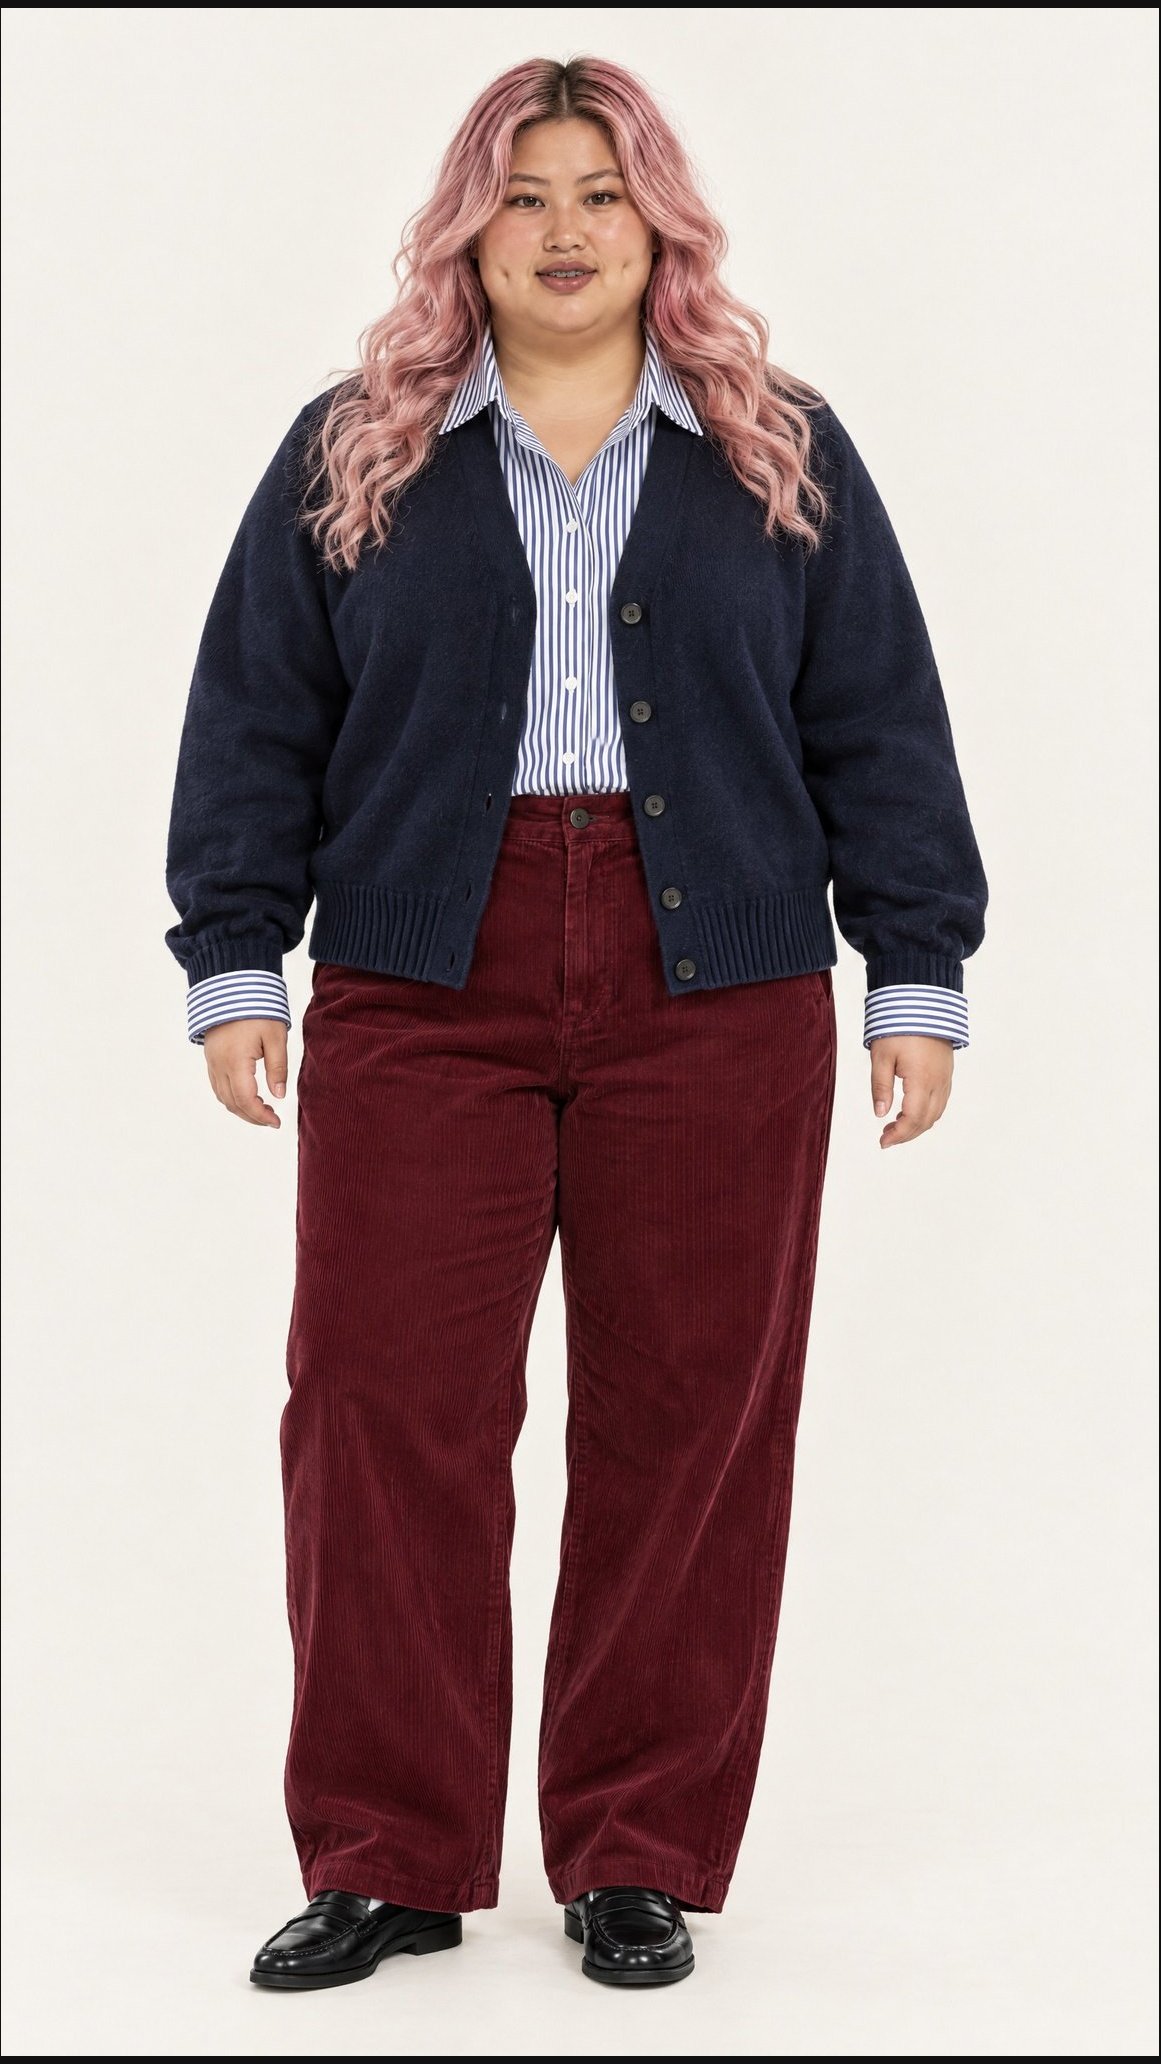
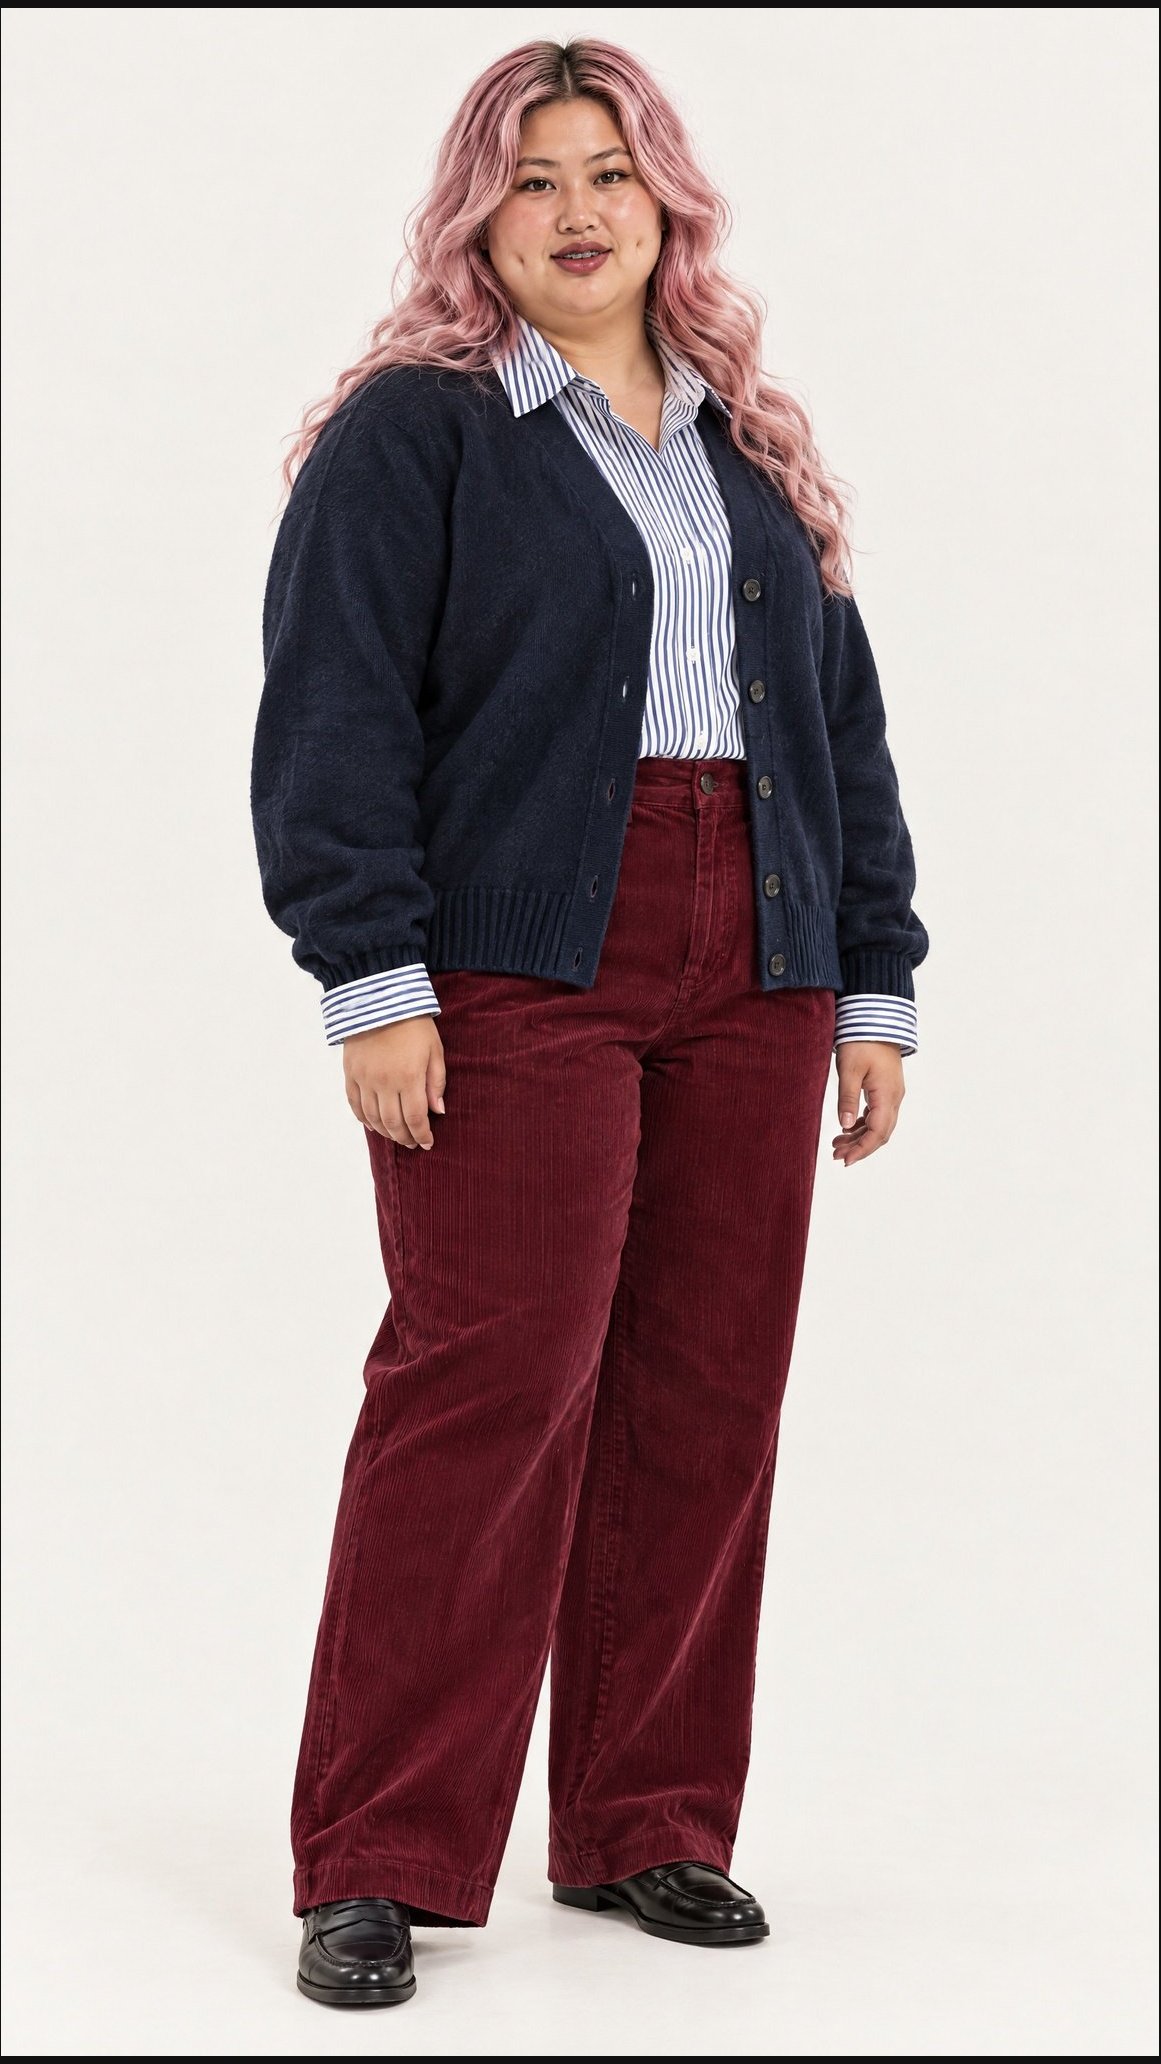
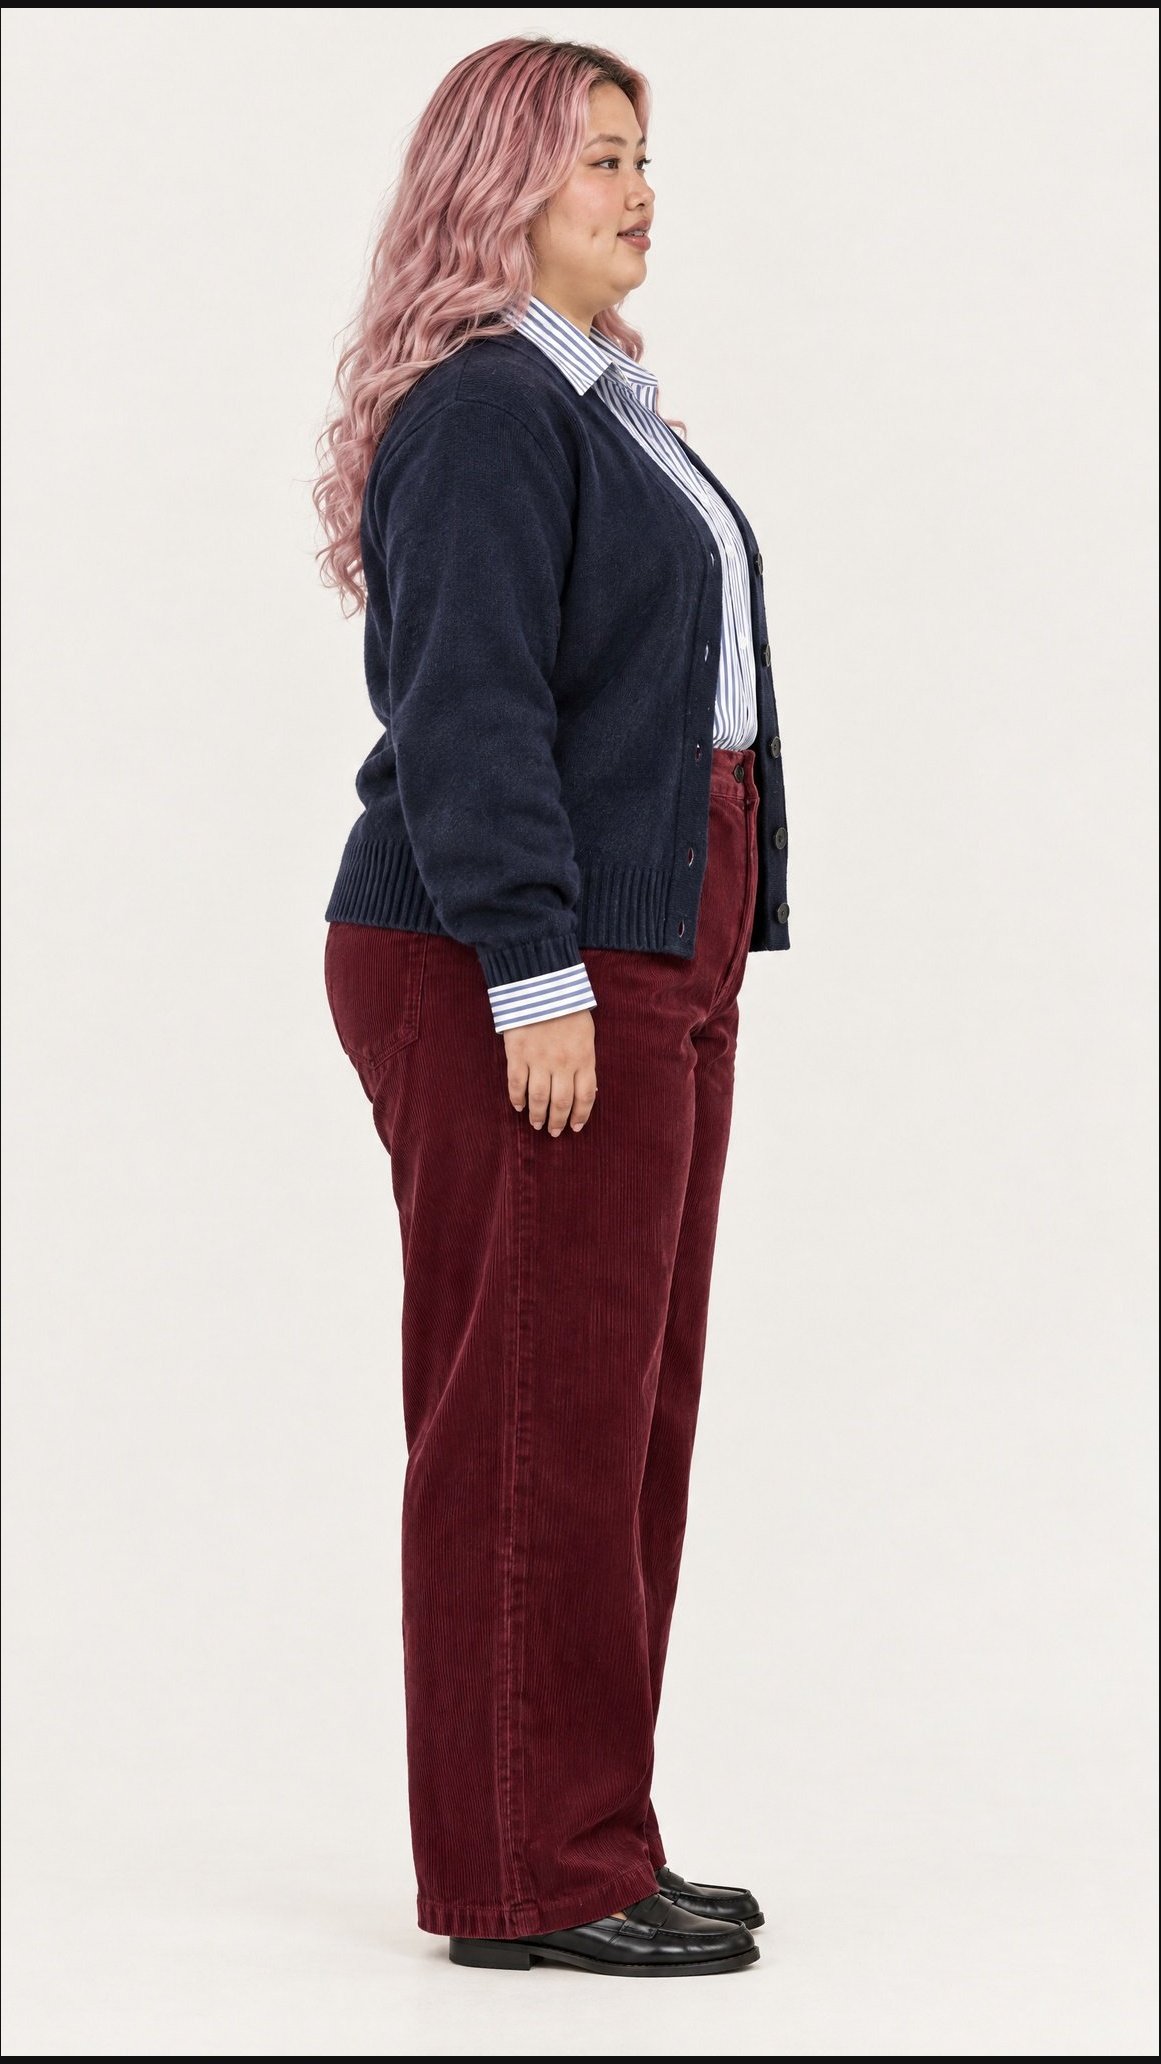
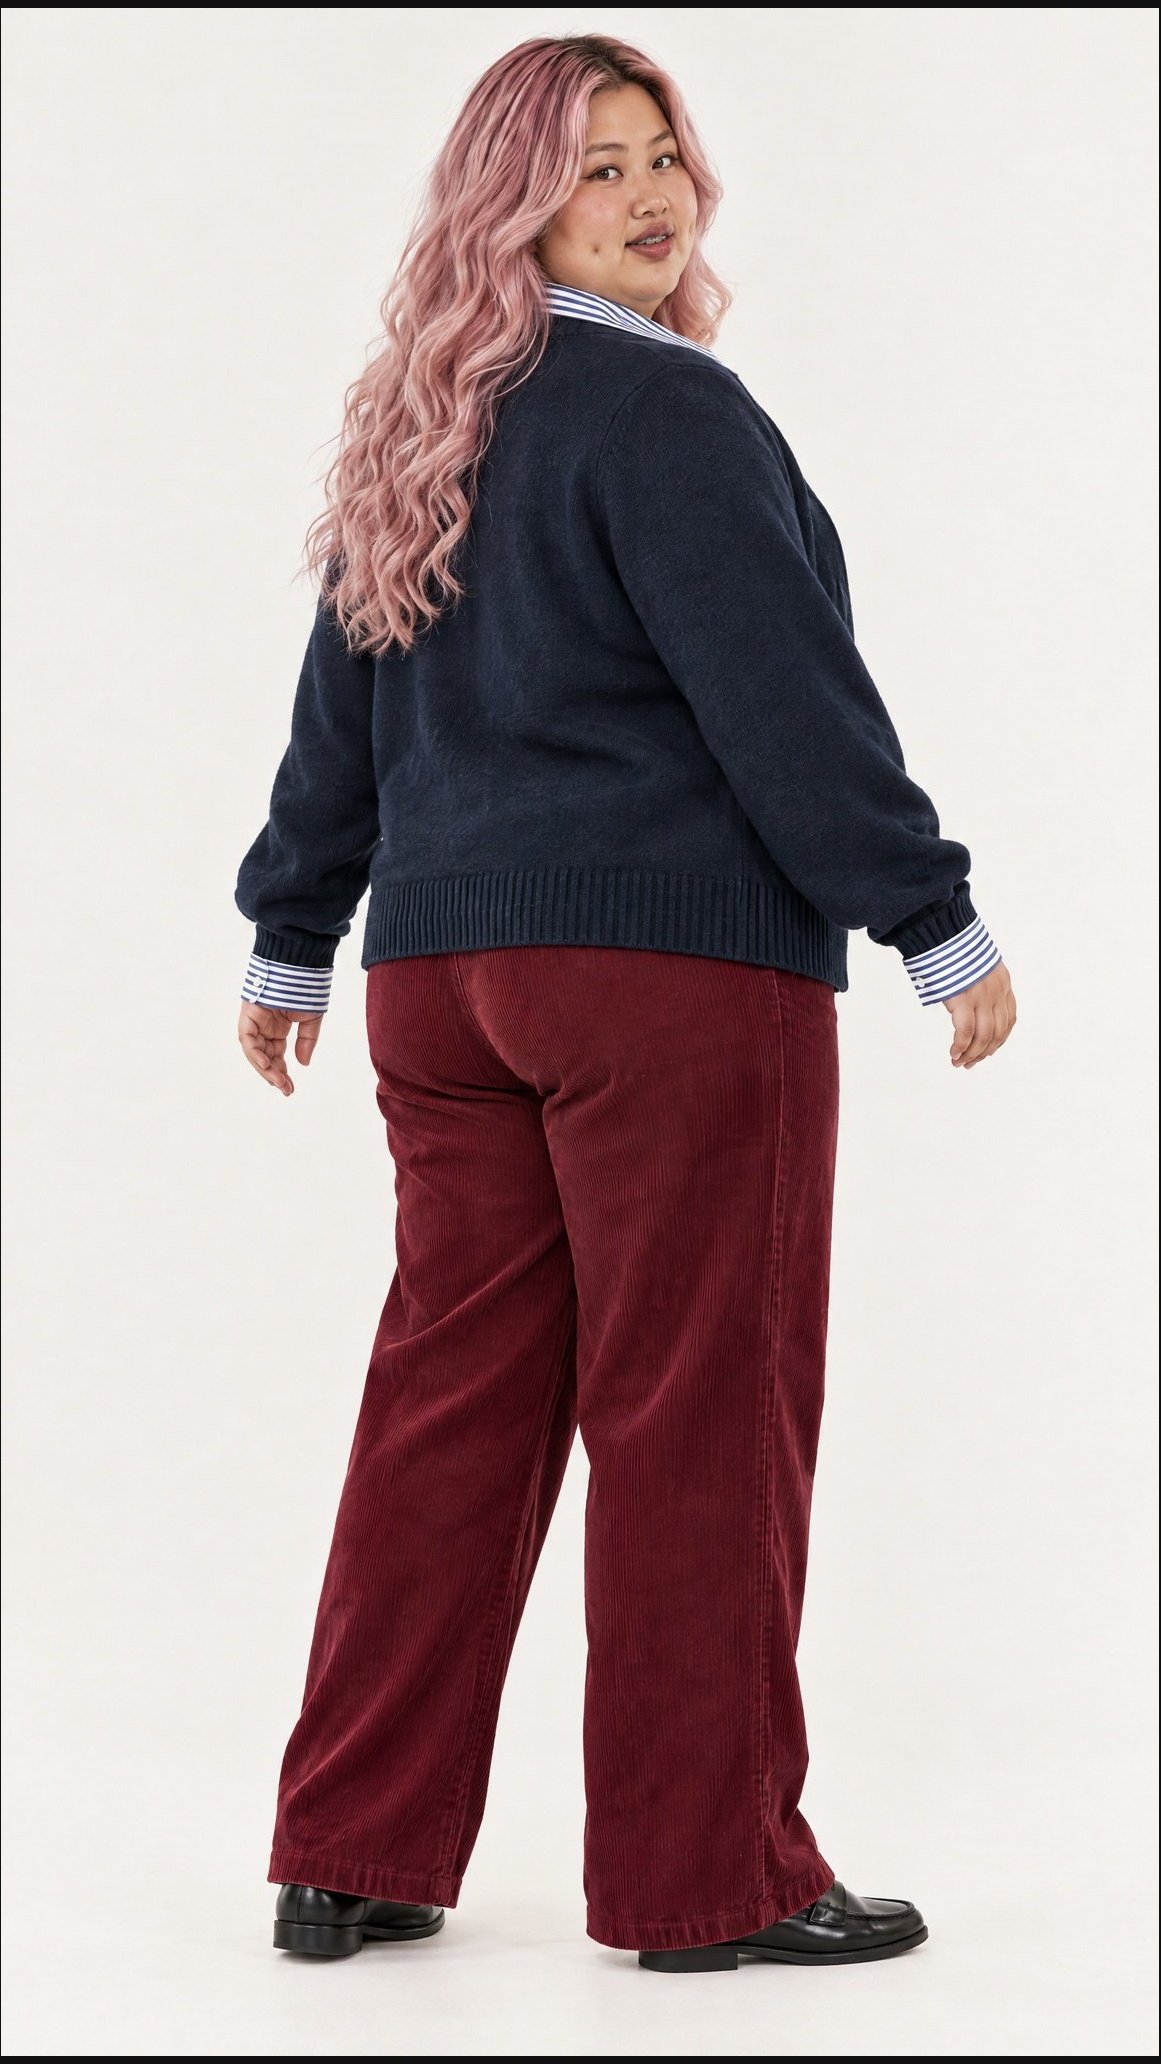
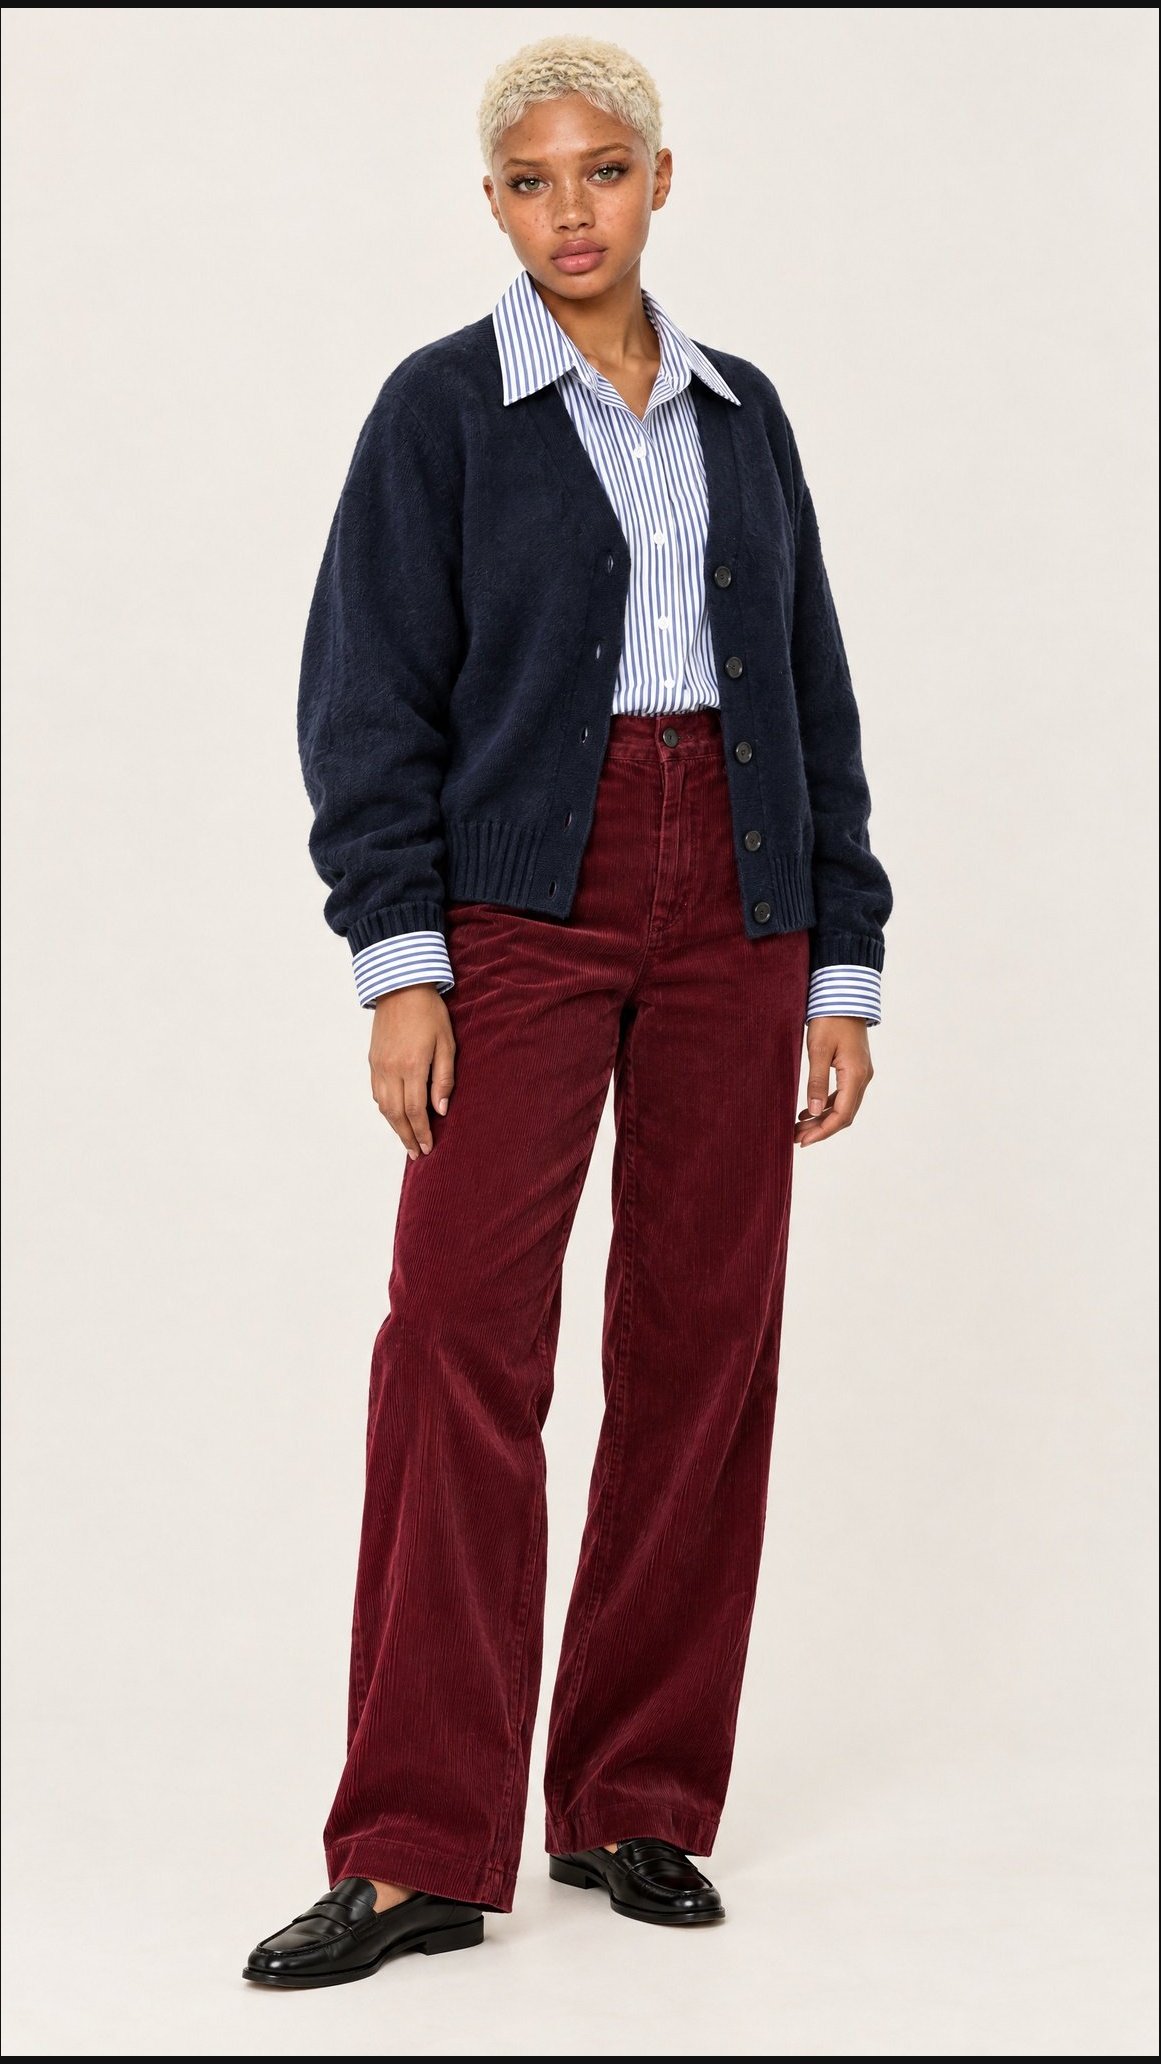
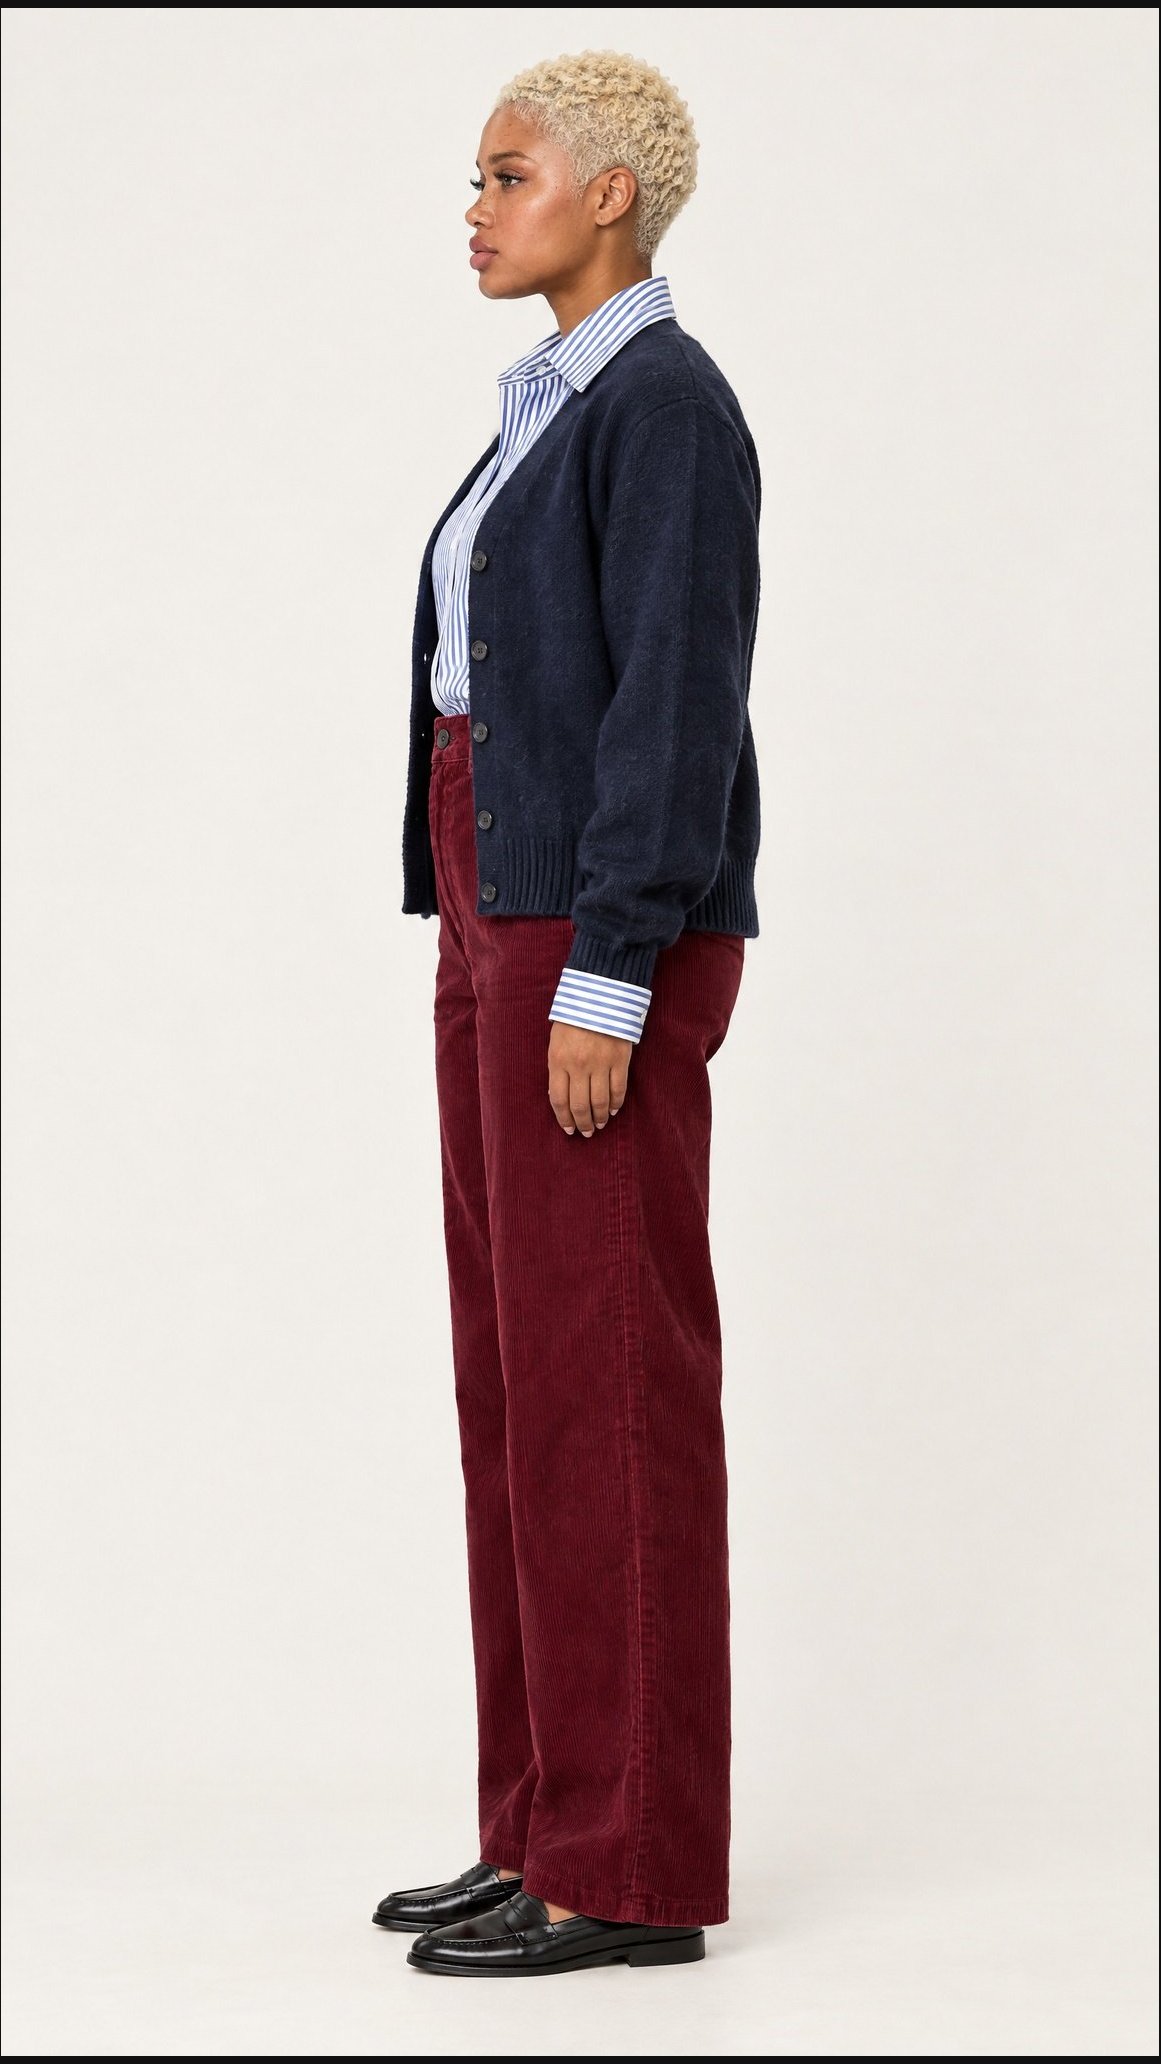
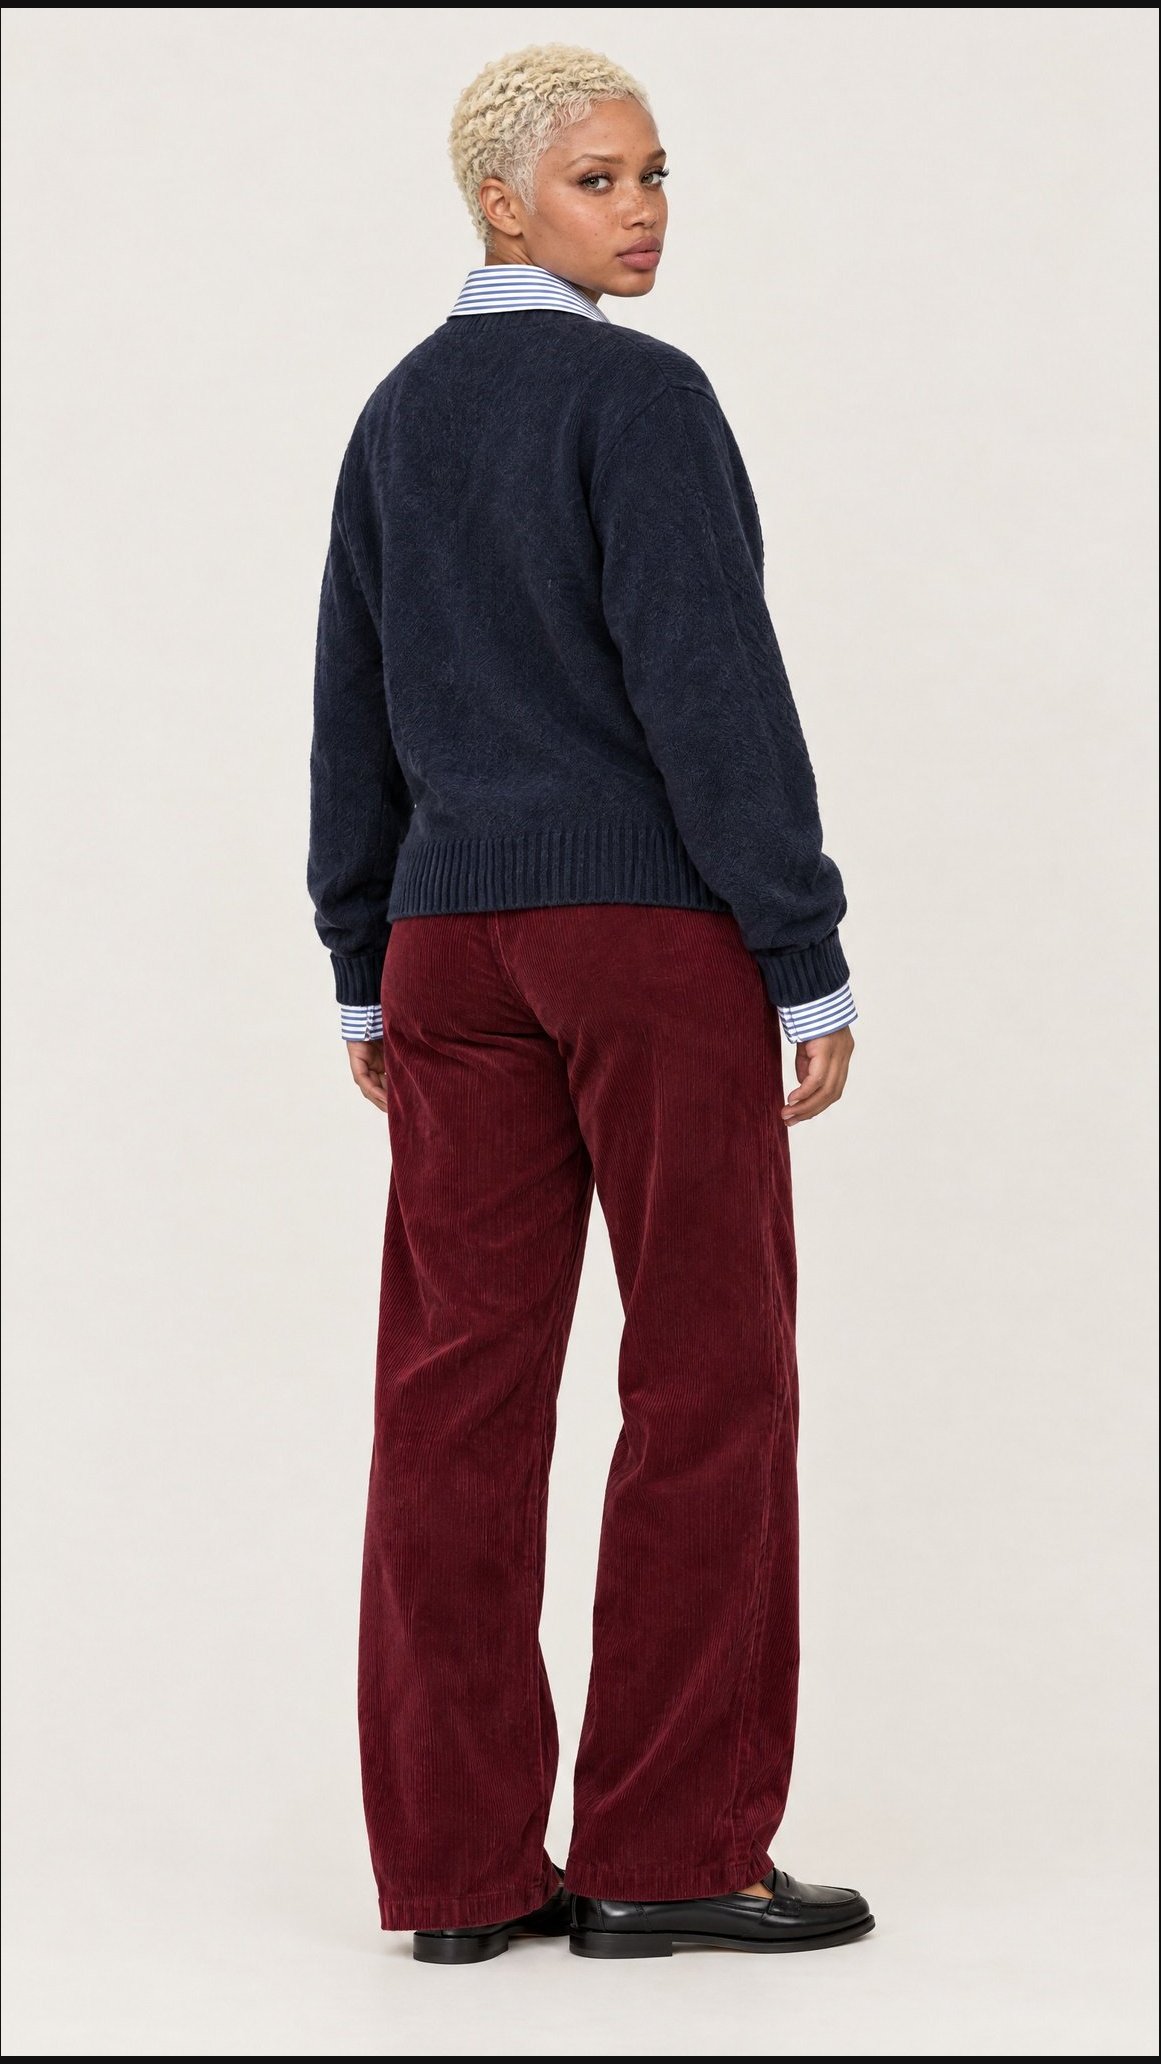
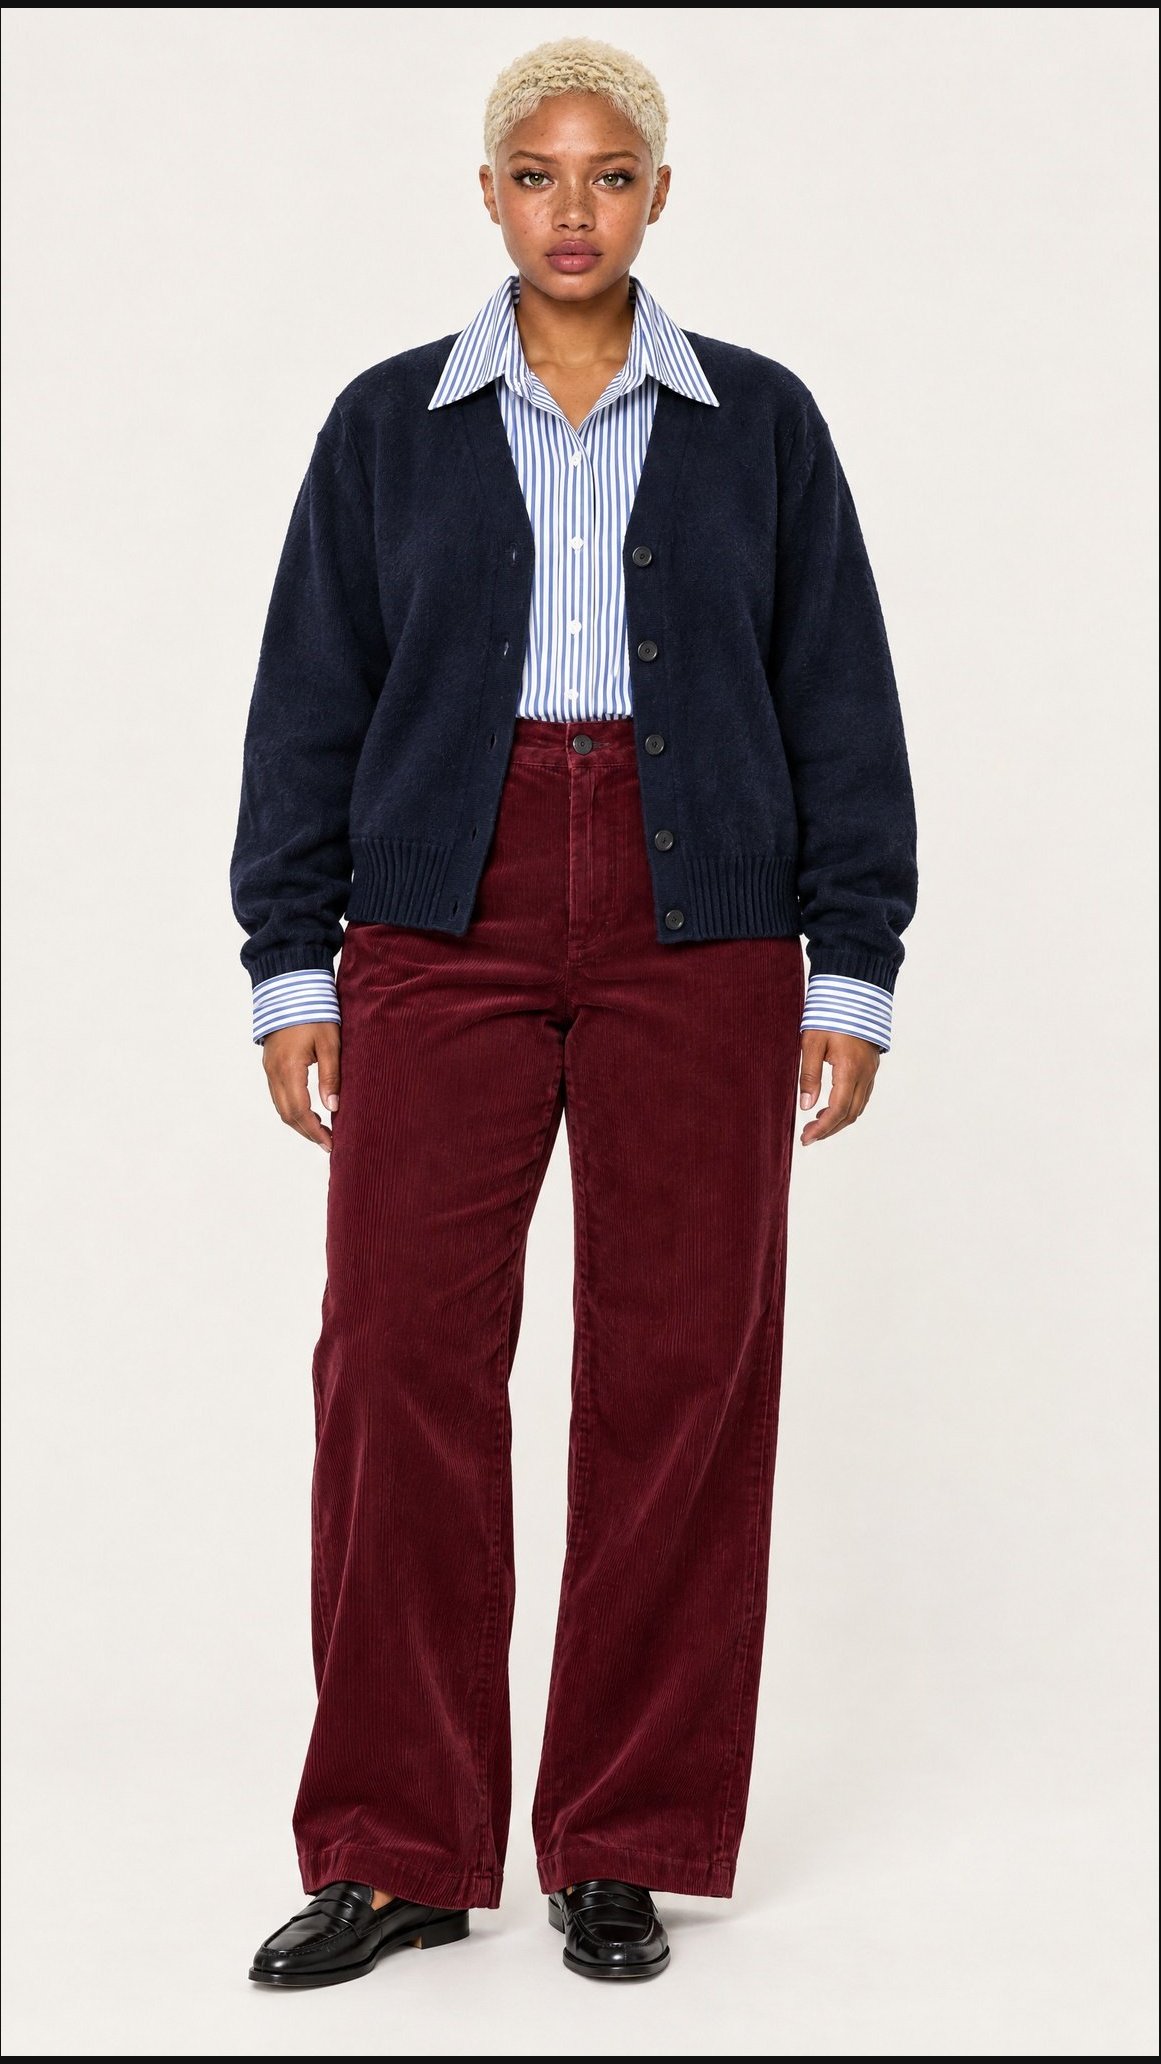
This is a ready workflow we want to share: it shows how to get a whole series of product images in Canvas — main angles and detail close-ups — with one model and one outfit.
From references to a finished product image series
A ready Canvas workflow for e-commerce
This is a ready workflow we want to share: it shows how to get a whole series of product images in Canvas — main angles and detail close-ups — with one model and one outfit. You set the scheme up once and then repeat it for new products.
What this workflow gives you
1 · Semi-automationReferences, prompt preparation and generators are already connected. You swap the inputs, and the scheme passes the data on by itself.
2 · Many images at onceOne run creates the whole series or the selected branch. No need to generate images one by one in a chat.
3 · Cost visible up frontBefore you run, you can see how many credits the whole set of generations or a single block costs.
4 · Easy review and regenerationEach shot sits in its own block: it is easy to compare the result with the product and rerun only what you don't like.
5 · Repeat on other modelsThe same outfit can be shown on different models and in different size ranges without rebuilding the scheme.
6 · A ready selection for the teamResults are collected in a Cinema Studio project, where you can sort them into folders, approve and download them.
Below we walk through the workflow step by step: from preparing the Canvas to approving and downloading the final selection.
Open the example CanvasThe ready workflow: connections, instructions and saved results. Opening the link does not start a generation.higgsfield.ai/s/BYcme2VCItc
Open the Canvas and see how the series is built
Instead of building each shot from scratch every time, you can prepare one Canvas: connect the source photos, the instructions for preparing prompts and the generation blocks. For the next product you replace the references and refine the instruction inside the scheme that is already set up.
Screen
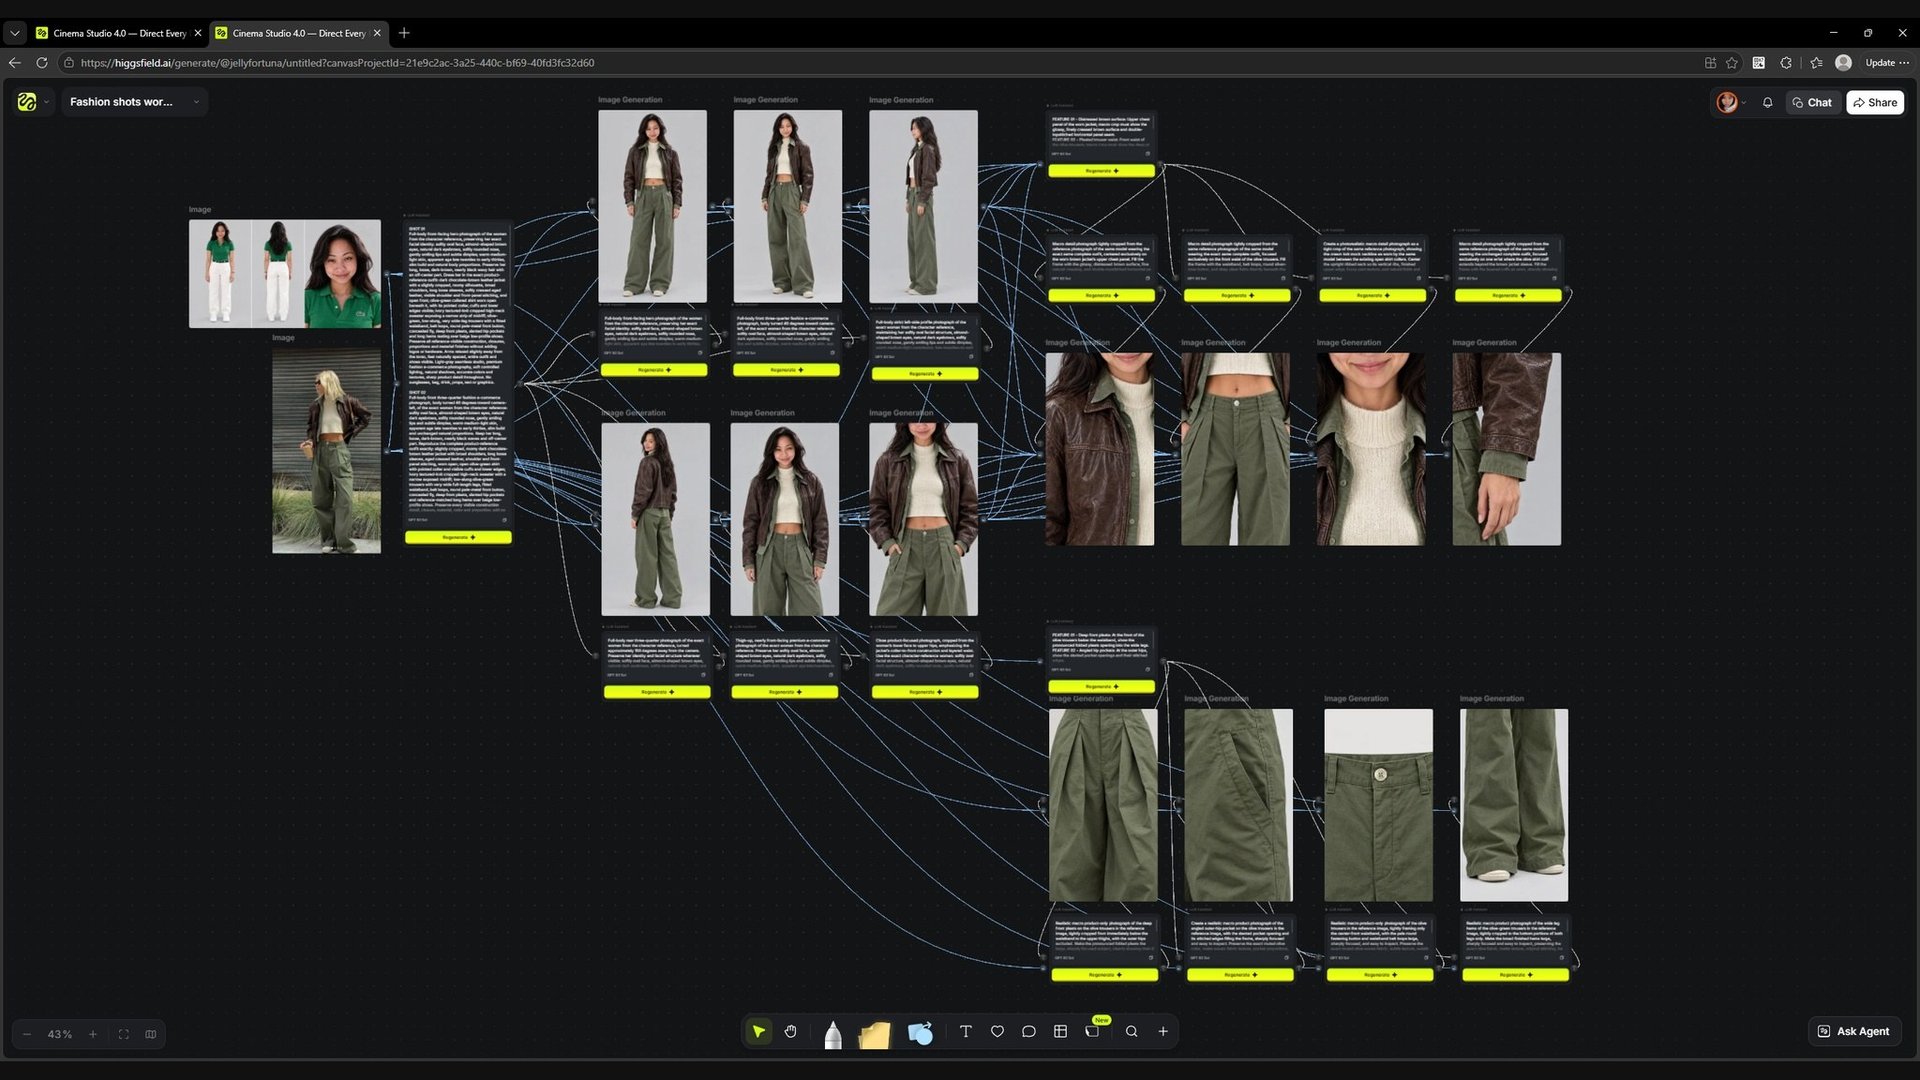
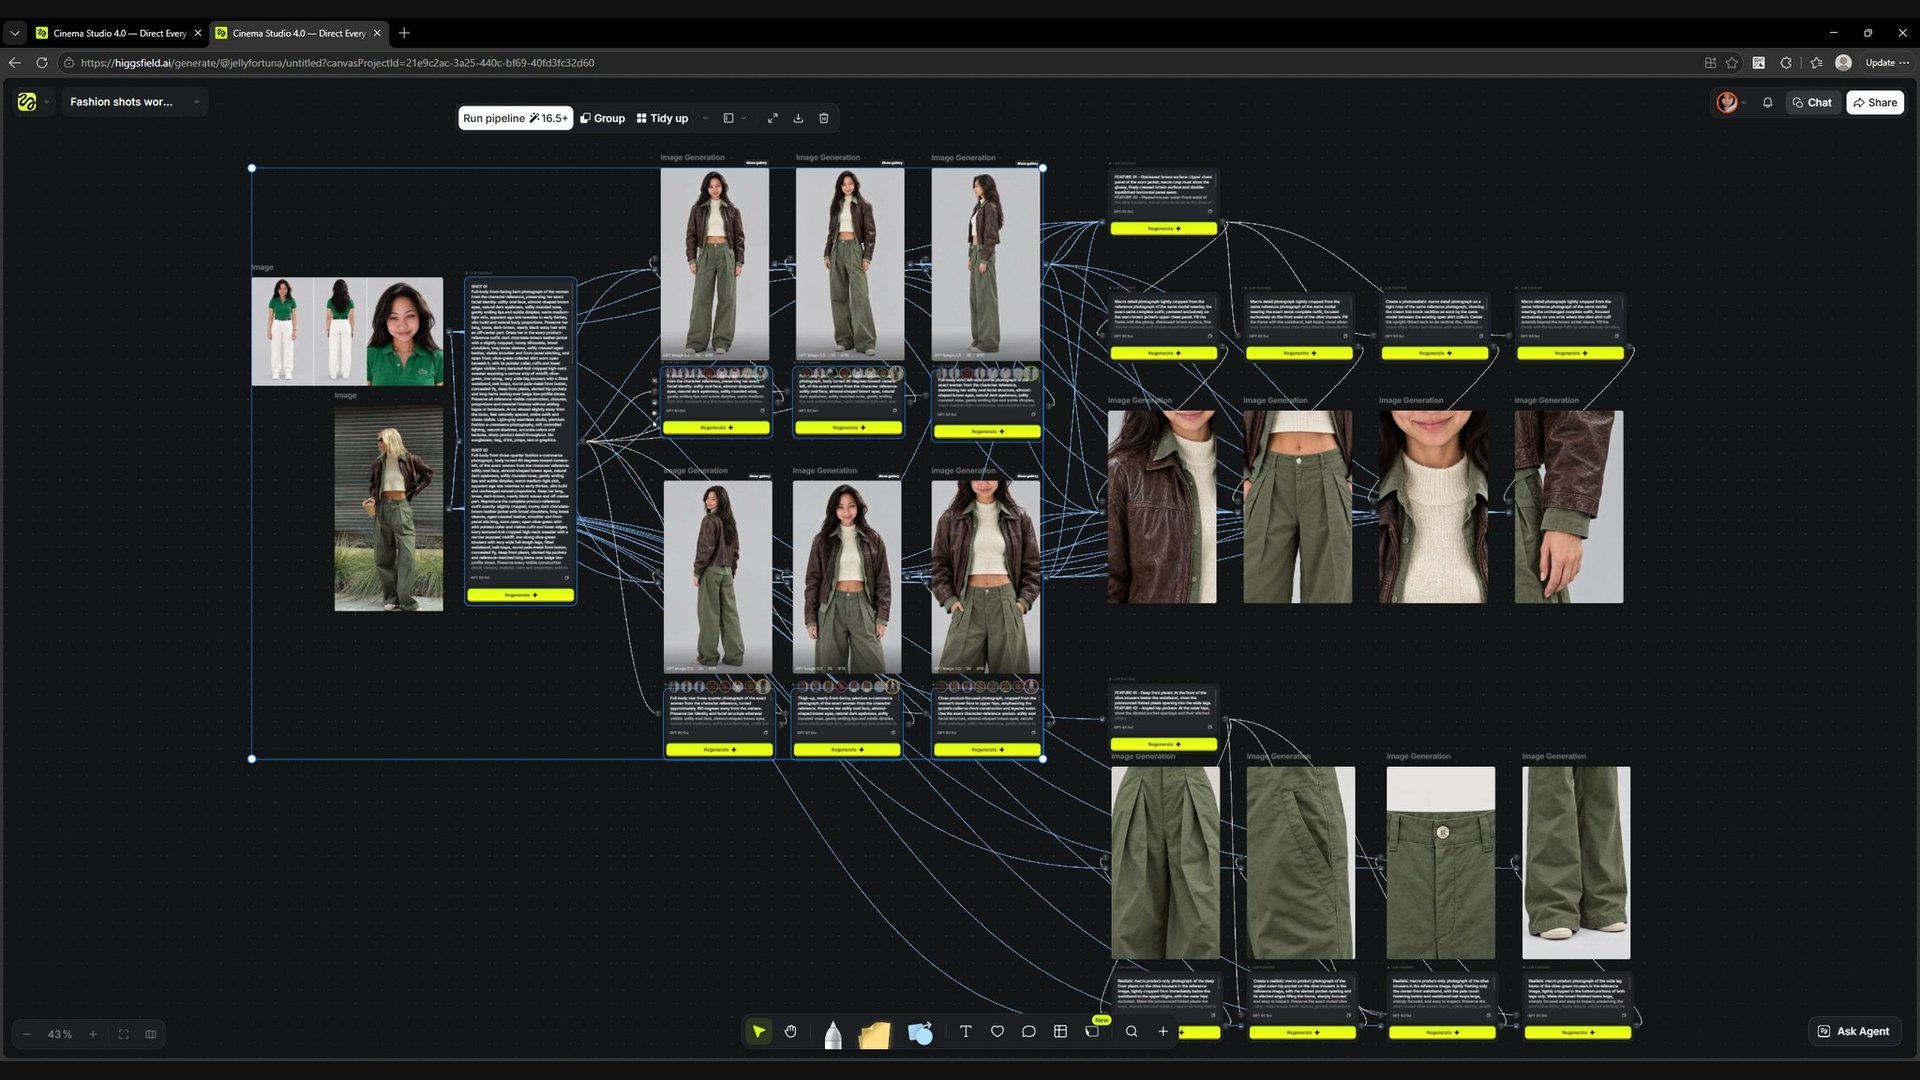
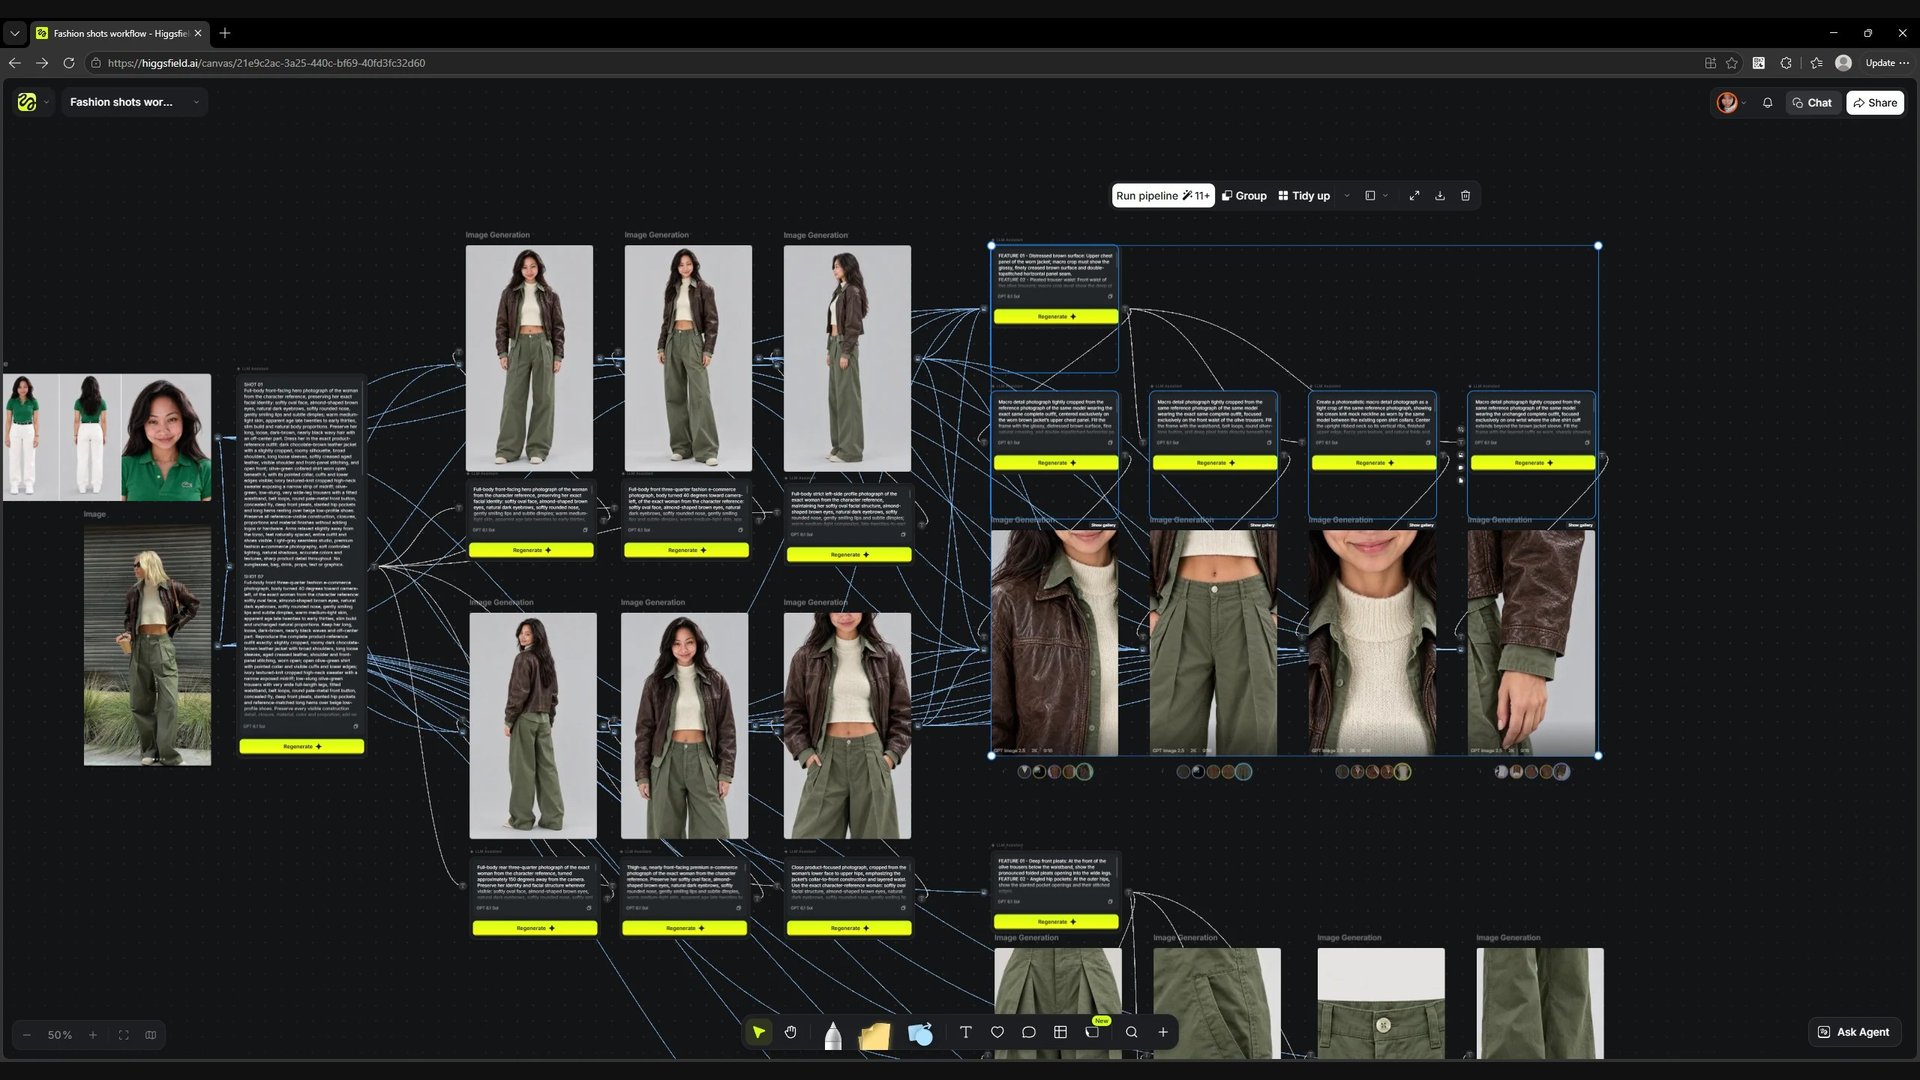
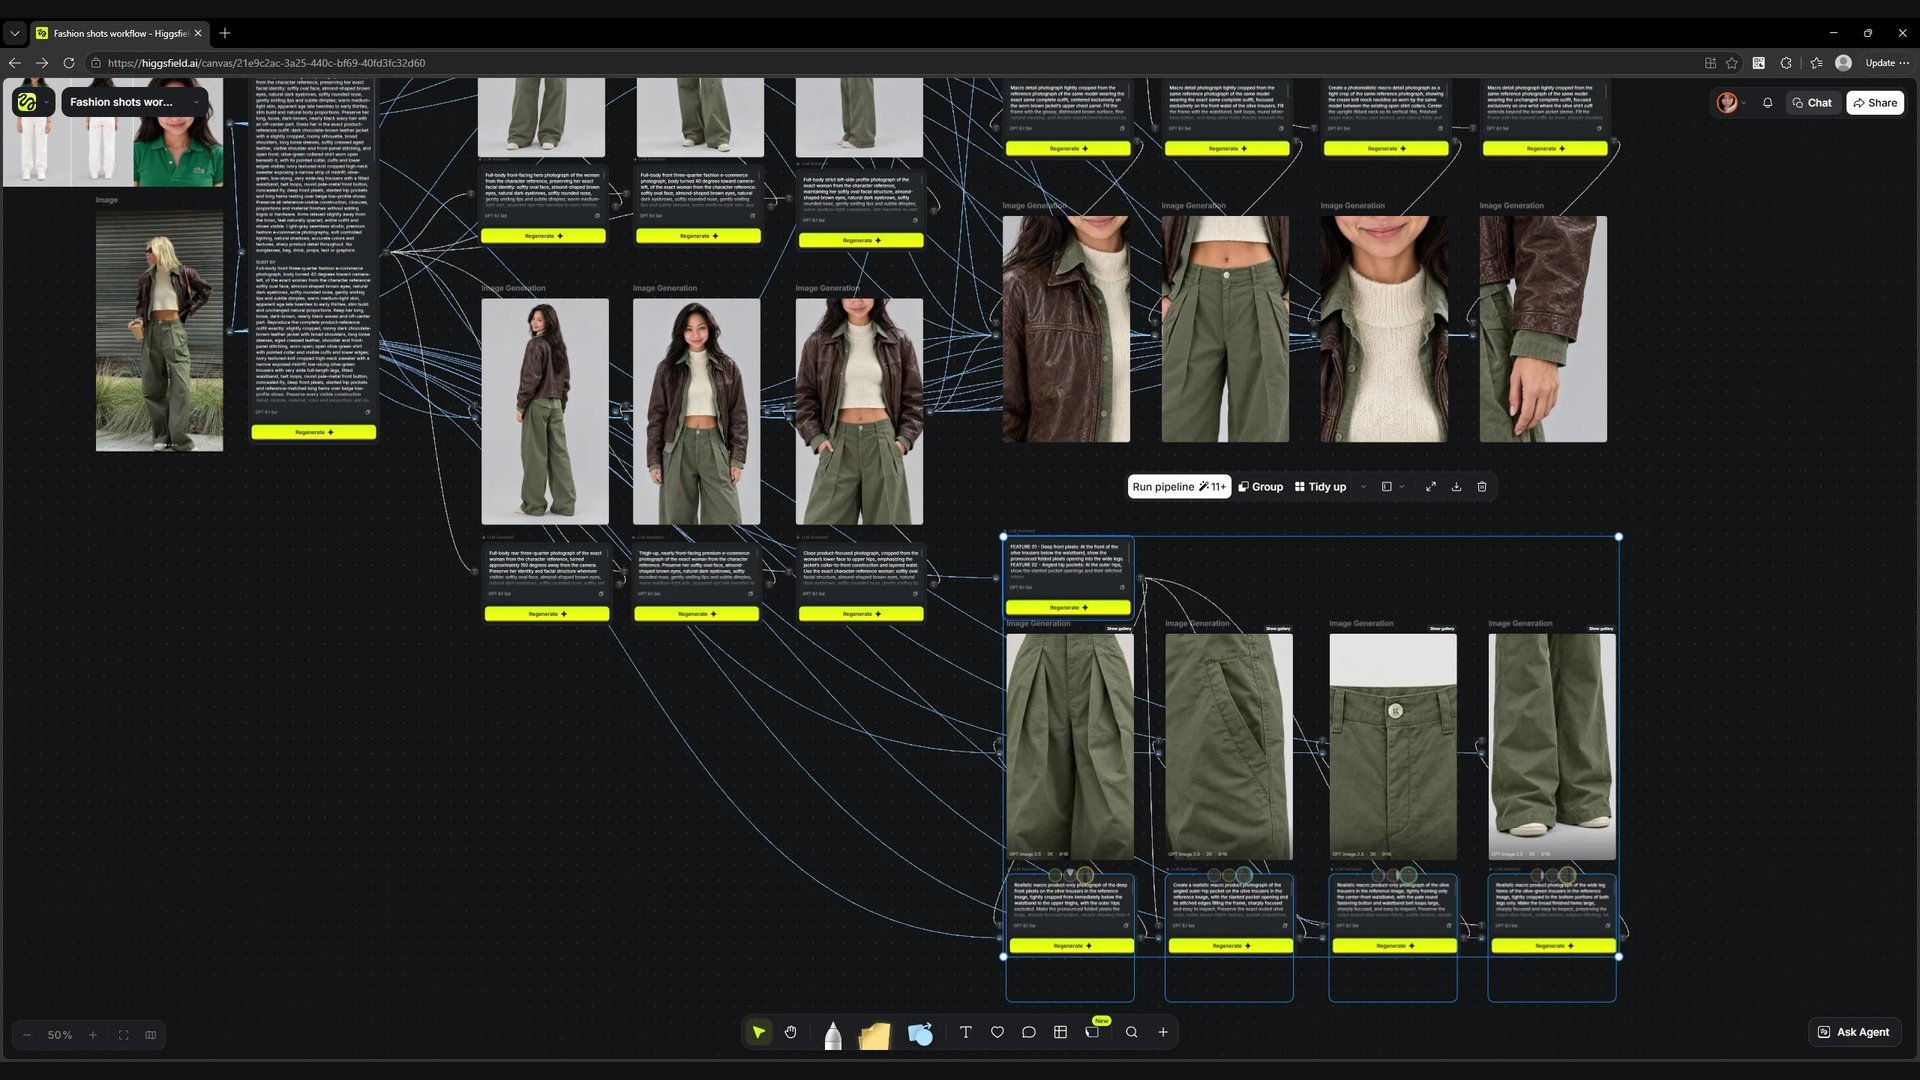
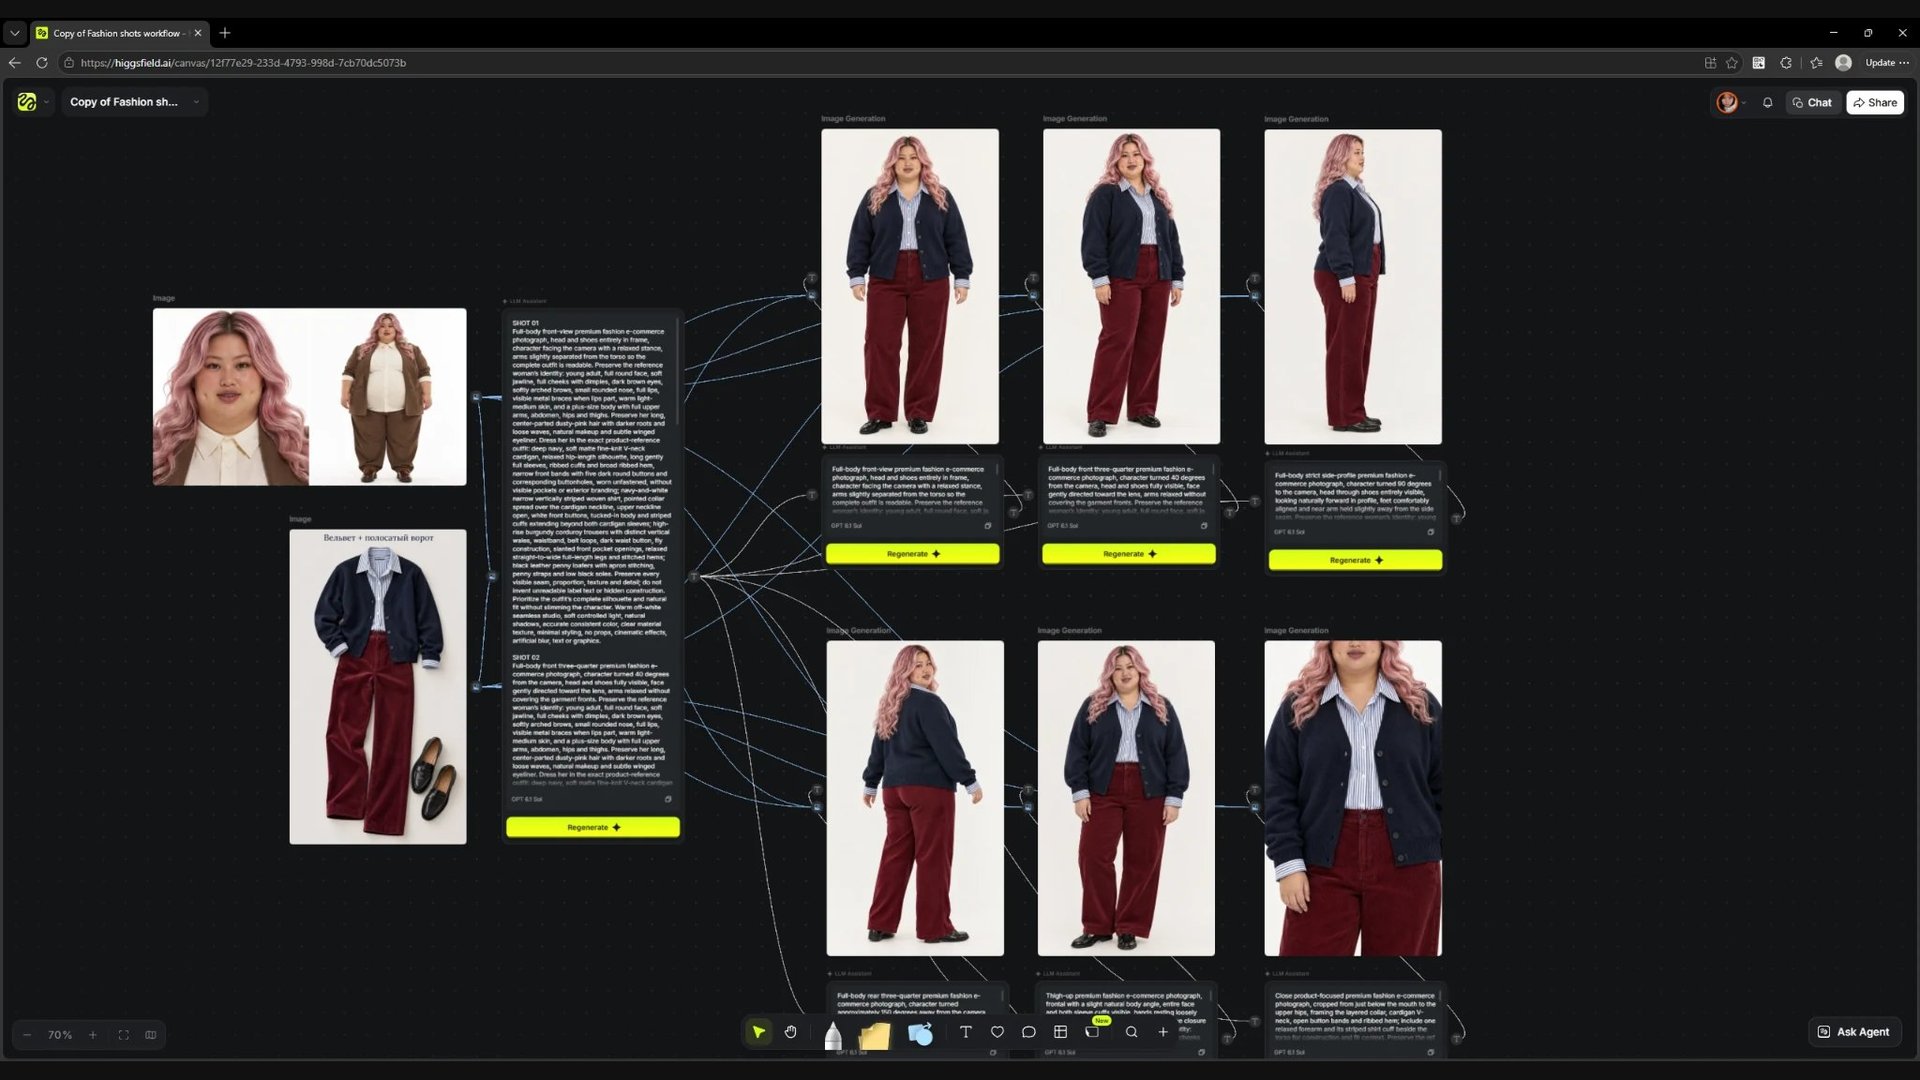
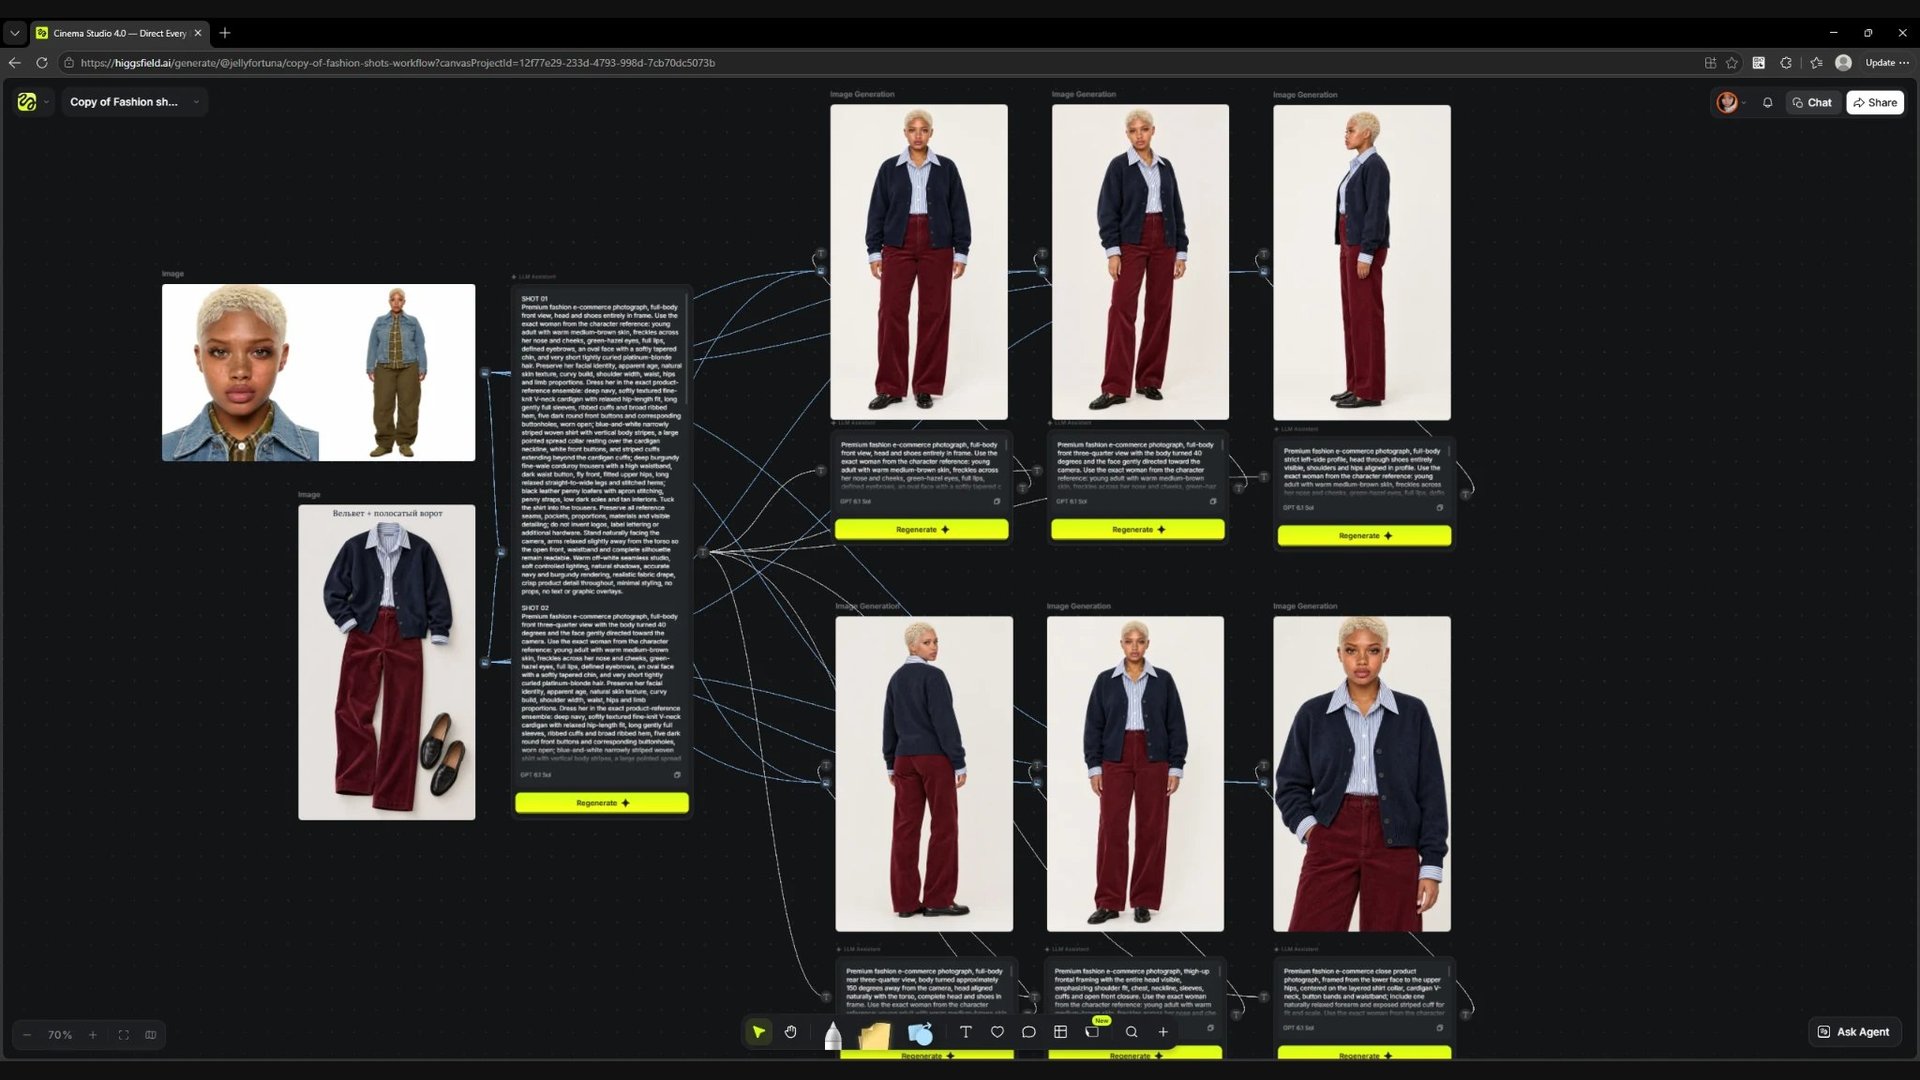
This is what the Canvas looks like when you first open the link: source images on the left, main angles in the centre, detail close-ups on the right.
Read the scheme from left to right. First the workflow receives the character and outfit images. Then the LLM prepares separate shot descriptions, and the image generators use those descriptions together with the connected visual references. The lines between blocks show which inputs are passed on.
The example has three branches: main angles, outfit details on the model and separate product details. The full scheme produces 14 images. If a product page needs 5–8 shots, choose only the blocks you need: for example, four angles and two close-ups. You do not have to run all 14 results.
Add the model and the outfit you want to show
Start with two separate tasks: who will be in the shot and what that person should wear. Add a prepared model reference to the character block. Add a photo of the product or the full look to the outfit block.
Screen
Top left is the reference for the model's appearance and proportions. Below it is a separate outfit reference. Both are connected to the next shot-preparation steps.
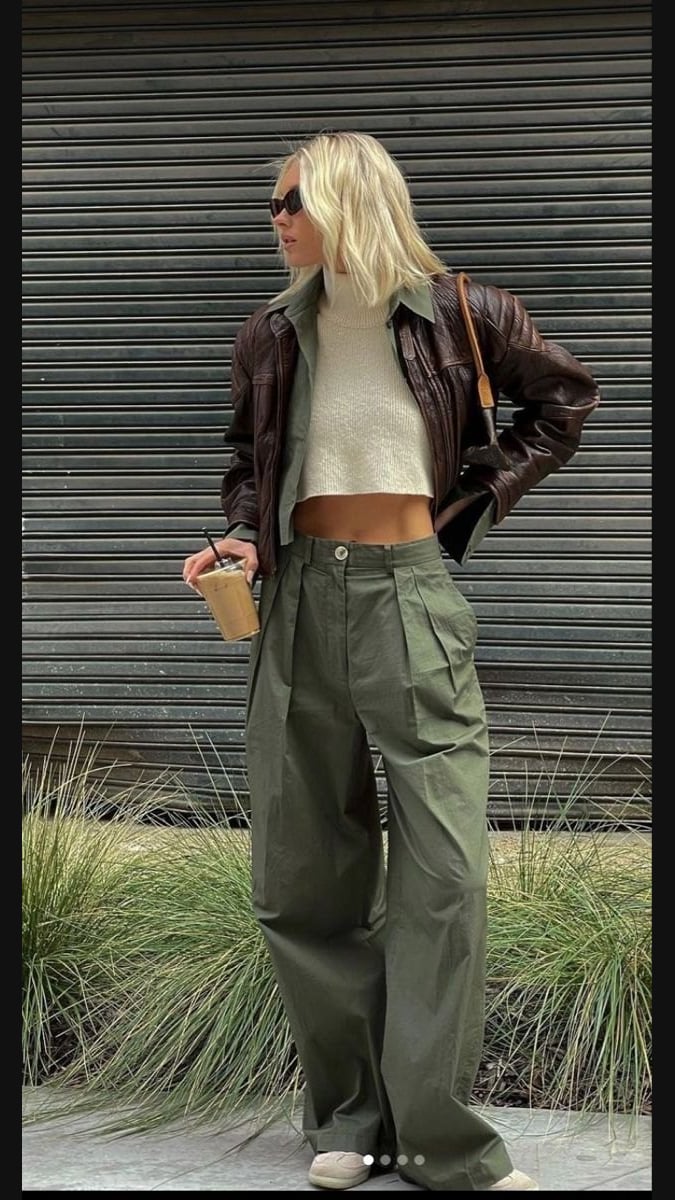
In this example the character is set by an image of a woman in a green polo, and the outfit by a photo of another person in a leather jacket and green trousers. The finished series combines the appearance from the first source with the look from the second. This lets you change the character while keeping the chosen outfit.
Both a moodboard and a regular photo work
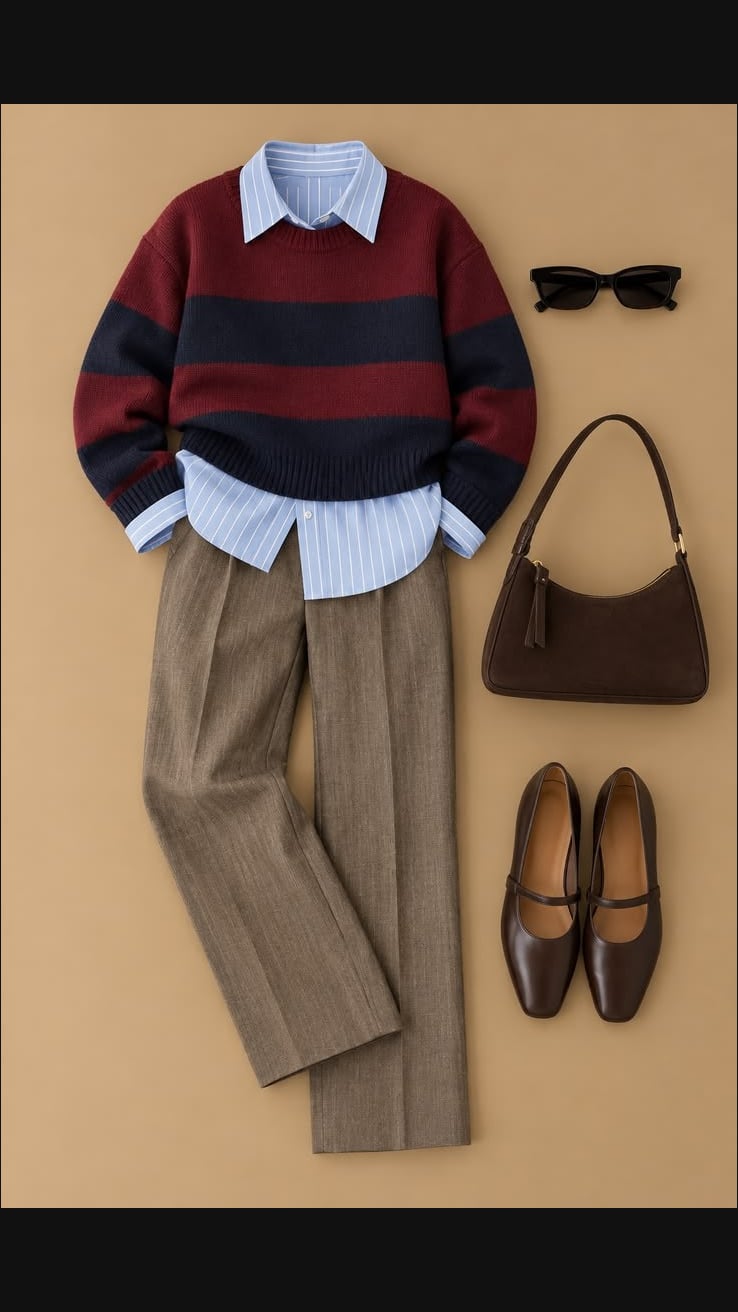
The workflow handles both formats of outfit reference well: a moodboard flat lay of the pieces and a regular photo of the look on a person. Use whichever you already have to present the look and the individual pieces.
Moodboard · flat lay of the outfit pieces
Photo · the look on a person
If the photo contains several pieces, state which product you are selling. For example: "The main product is the jacket; the trousers and knitwear are styling. Close-ups should show the jacket." Otherwise the workflow may pick details of the whole look when you only need one piece.
For an accurate collar, cuffs, fabric and hardware, add original photos of those details to the matching generators. If a side or element is not visible in the source photo, the model may invent it. Visual consistency of the series on its own does not prove the real garment is shown accurately.
Choose the LLM and define the shots
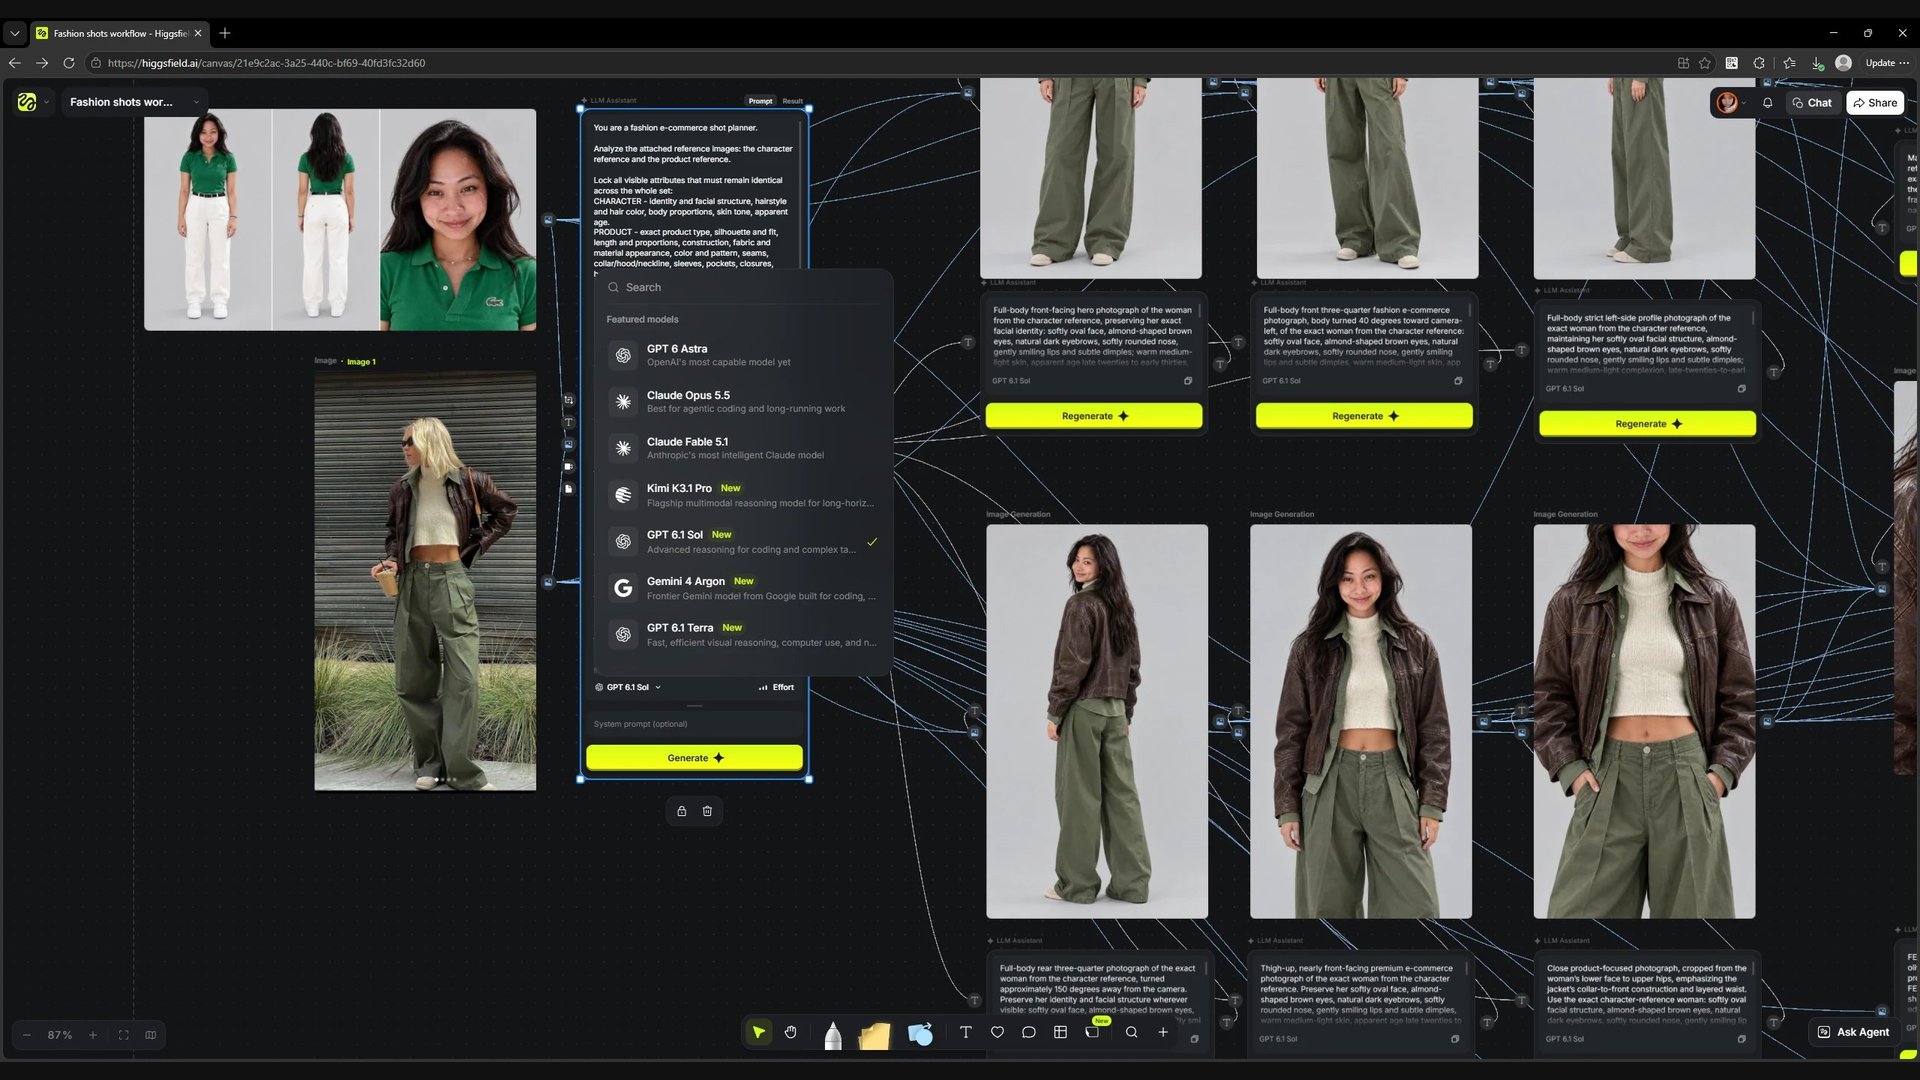
Open the first LLM Assistant block. It holds the task for preparing the series: analyse the references, keep the character's appearance and the outfit features, then prepare prompts for the required angles. In the model list you can choose any available LLM your team prefers.
Screen
The LLM list is open inside the prompt-preparation block. The LLM choice affects analysis and the text instructions, not the generation of the images themselves.
List the specific shots in the instruction. For a compact jacket series you can ask for a front view, three-quarter, back view, medium shot, collar and cuff. Set a shared background and lighting right away so the shots form one selection.
Start the preparation with Generate; if the block already has a result, the button may be called Regenerate. When it finishes, read the text in Result. It should contain instructions for your outfit and your angles. If an unwanted item or a wrong detail appears in the description, fix the instruction before running the images.
The LLM helps prepare consistent prompts. Preserving the face and the product also depends on the connected images and the chosen generation model, so next it is important to check which references each generator receives.
Set up the image generator and check the cost
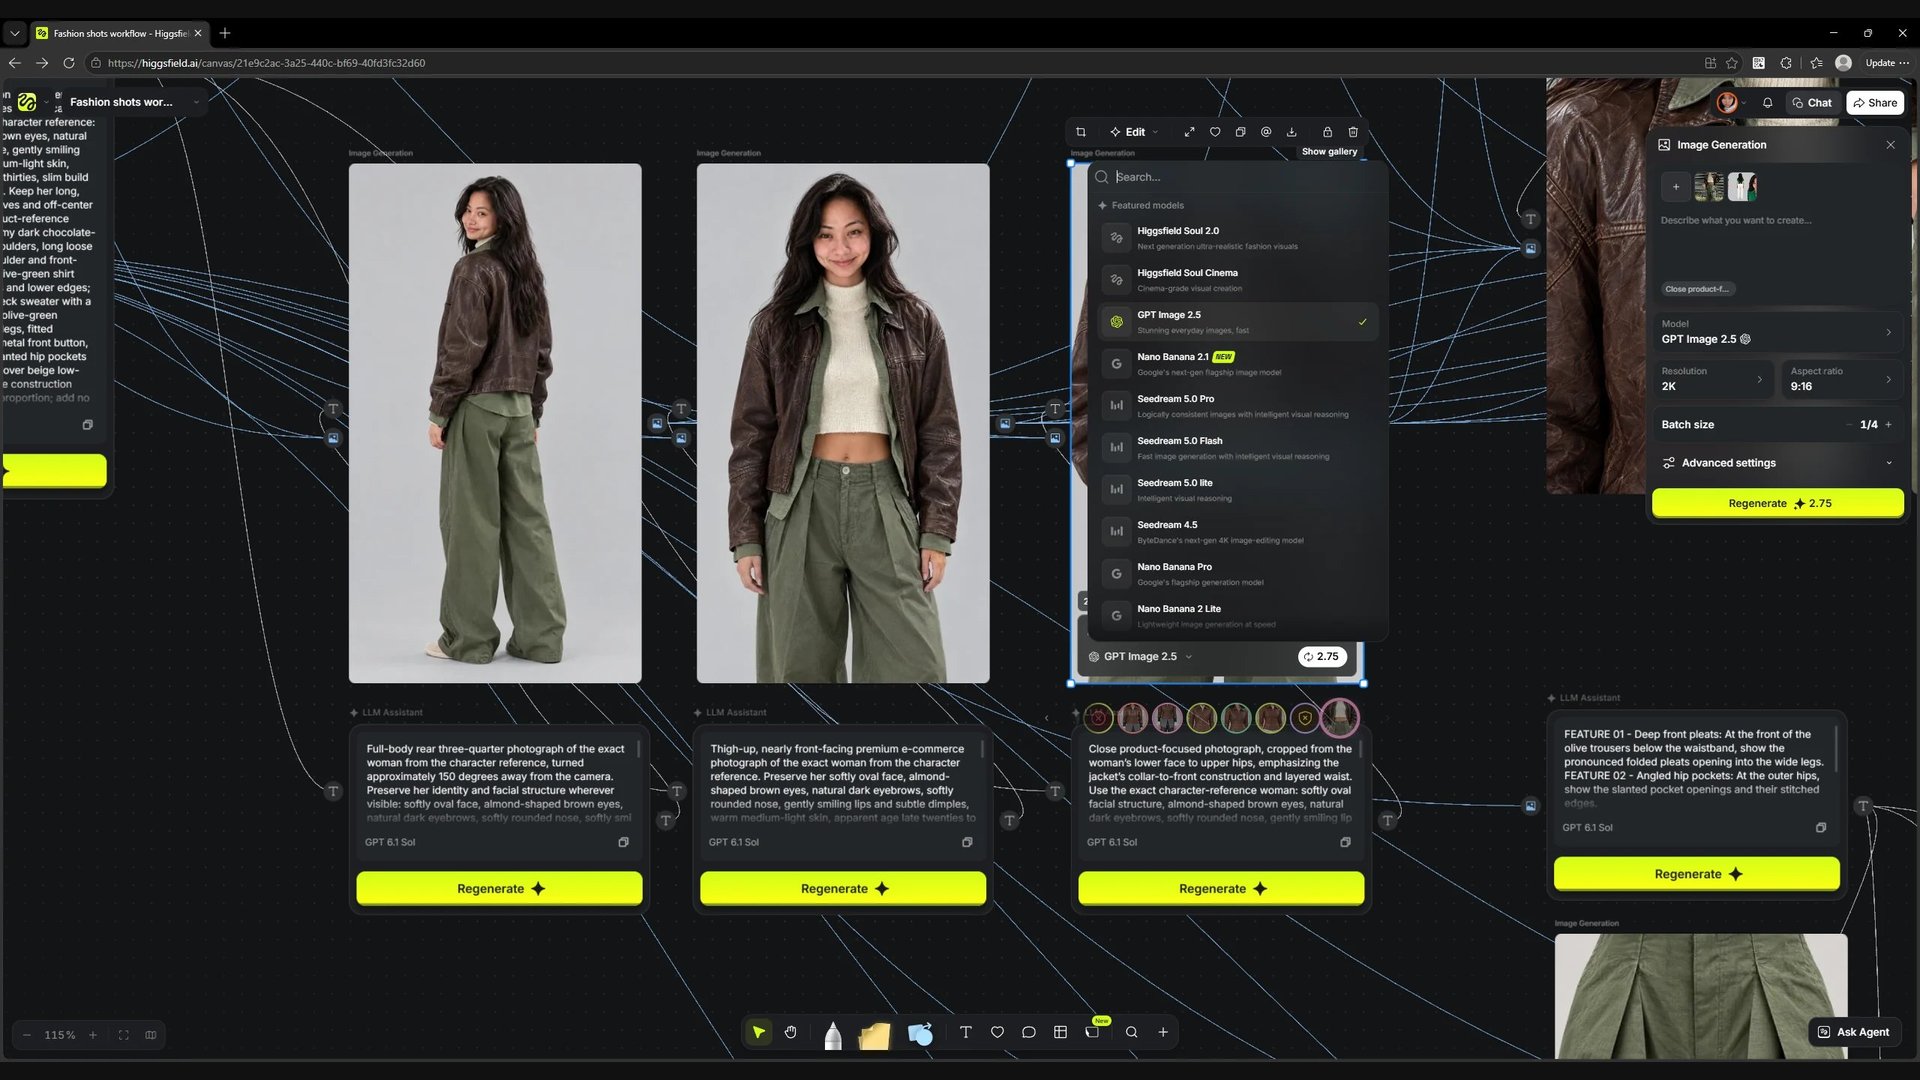
Choose one of the Image Generation blocks and open its settings. Here you separately choose the model that will create the images. It receives the prepared prompt and the visual references through the Canvas connections.
Screen
The image model picker and the generator panel on the right are open. The screenshot shows the model, resolution, aspect ratio, batch size and the regeneration cost.
Choose a suitable generator, then set the format and quality to your store's requirements. The example uses 2K and 9:16. These are demo settings: your product page can use another available format. If you need one version of a shot, keep the batch size in mind so you don't run extra images.
The cost of the selected action is visible before you run it. In this screenshot the Regenerate button shows 2.75. This value applies to the specific settings in the screenshot; go by the number your interface shows before generating.
When you run a selected group, the cost also appears on the Run pipeline panel. For the whole scheme it shows 11+. A value with "+" should not be taken as the final cost of the whole job: extra runs and fixes increase the total.
Run the main angles and get the first series
Once the prompts are prepared, move to the central branch. In this example it creates six shots: front, three-quarter, side, back three-quarter, medium shot and a close shot of the outfit. Each shot has its own instruction and its own generator.
Screen
The references, the LLM Assistant and the main-angles branch are selected. The Run pipeline panel with the cost of the selected blocks has appeared above the selection.
Select the blocks of this branch you need, check the cost and run them. If the prompts are not ready yet, finish the previous step first. Run the details branch, which uses the main images as inputs, after reviewing the first series.
Run result
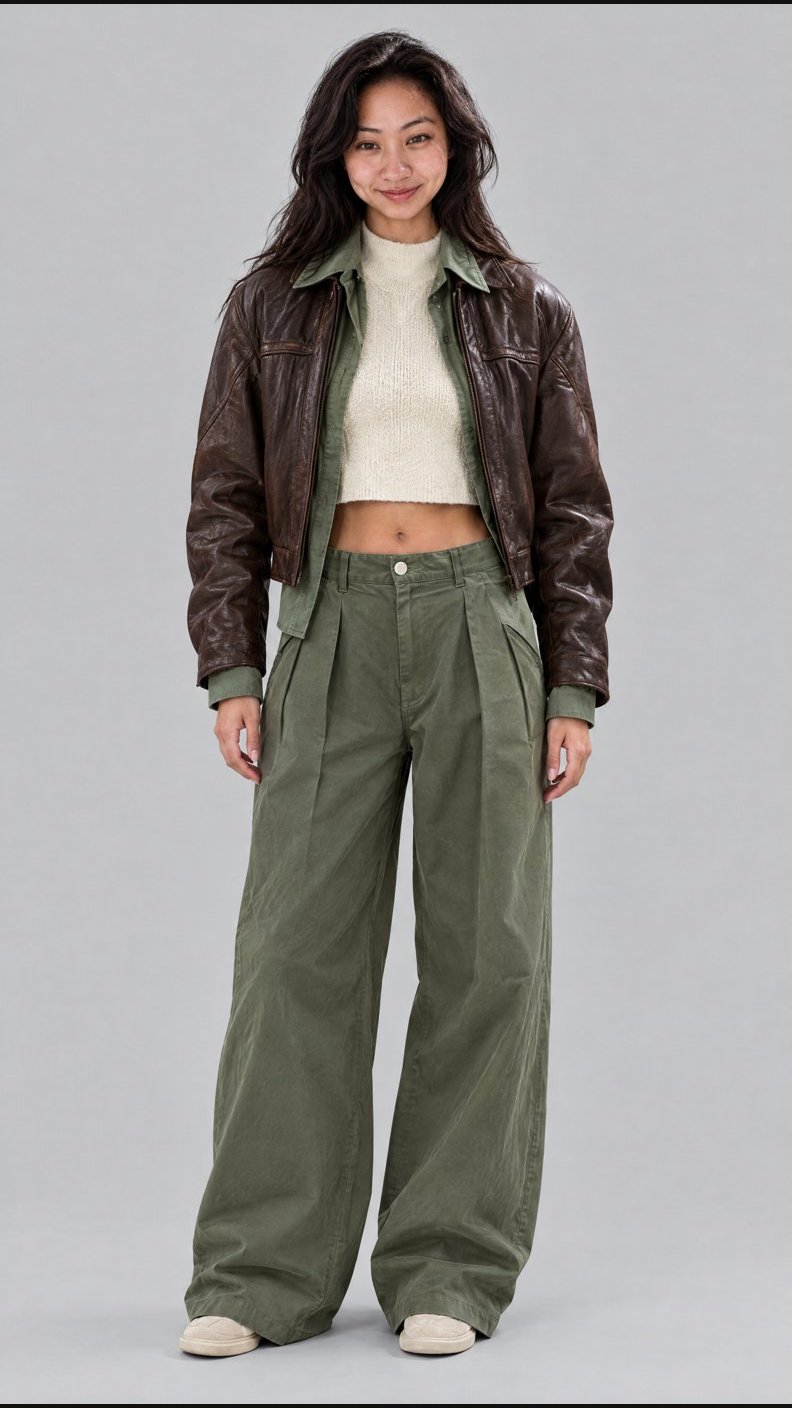
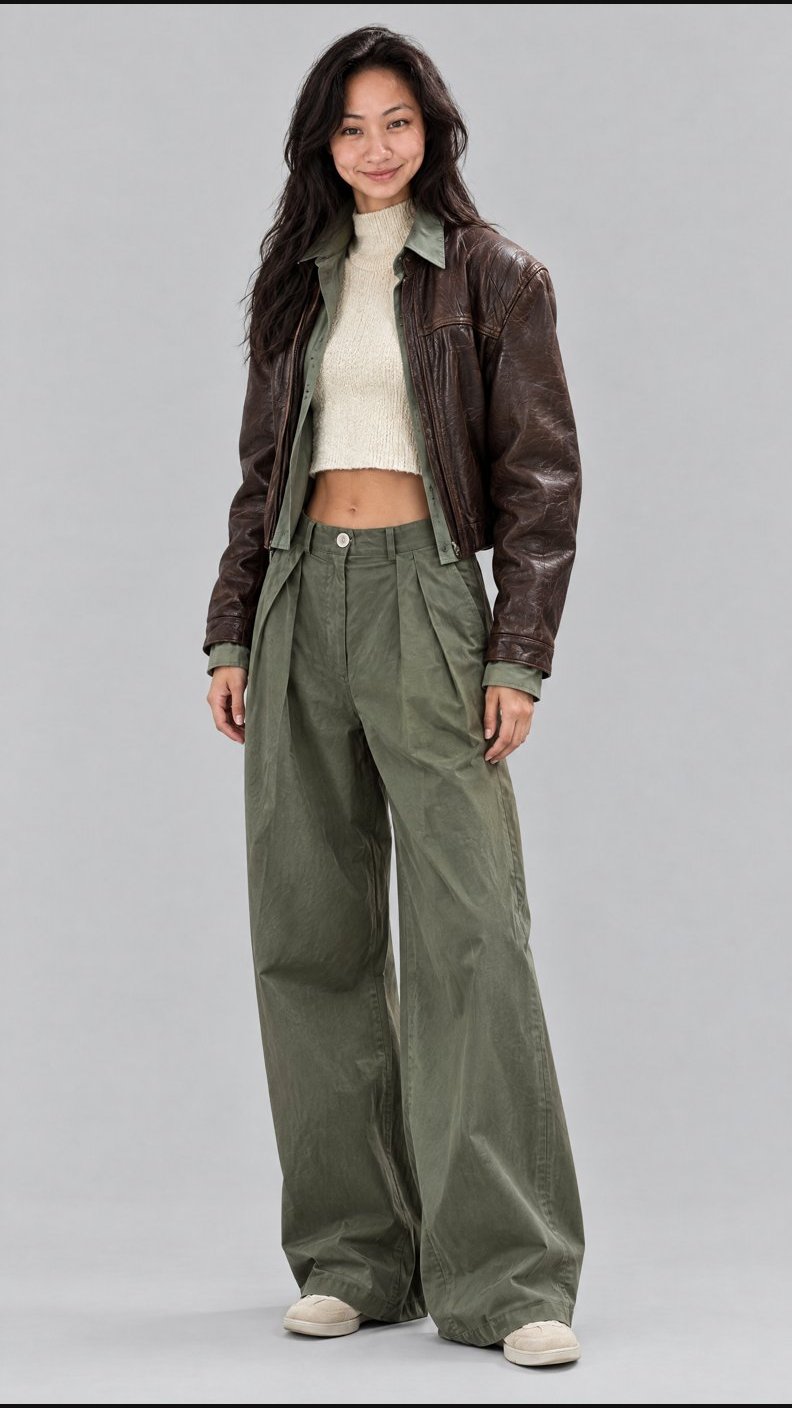
Back three-quarterfull length
Close shotoutfit close up
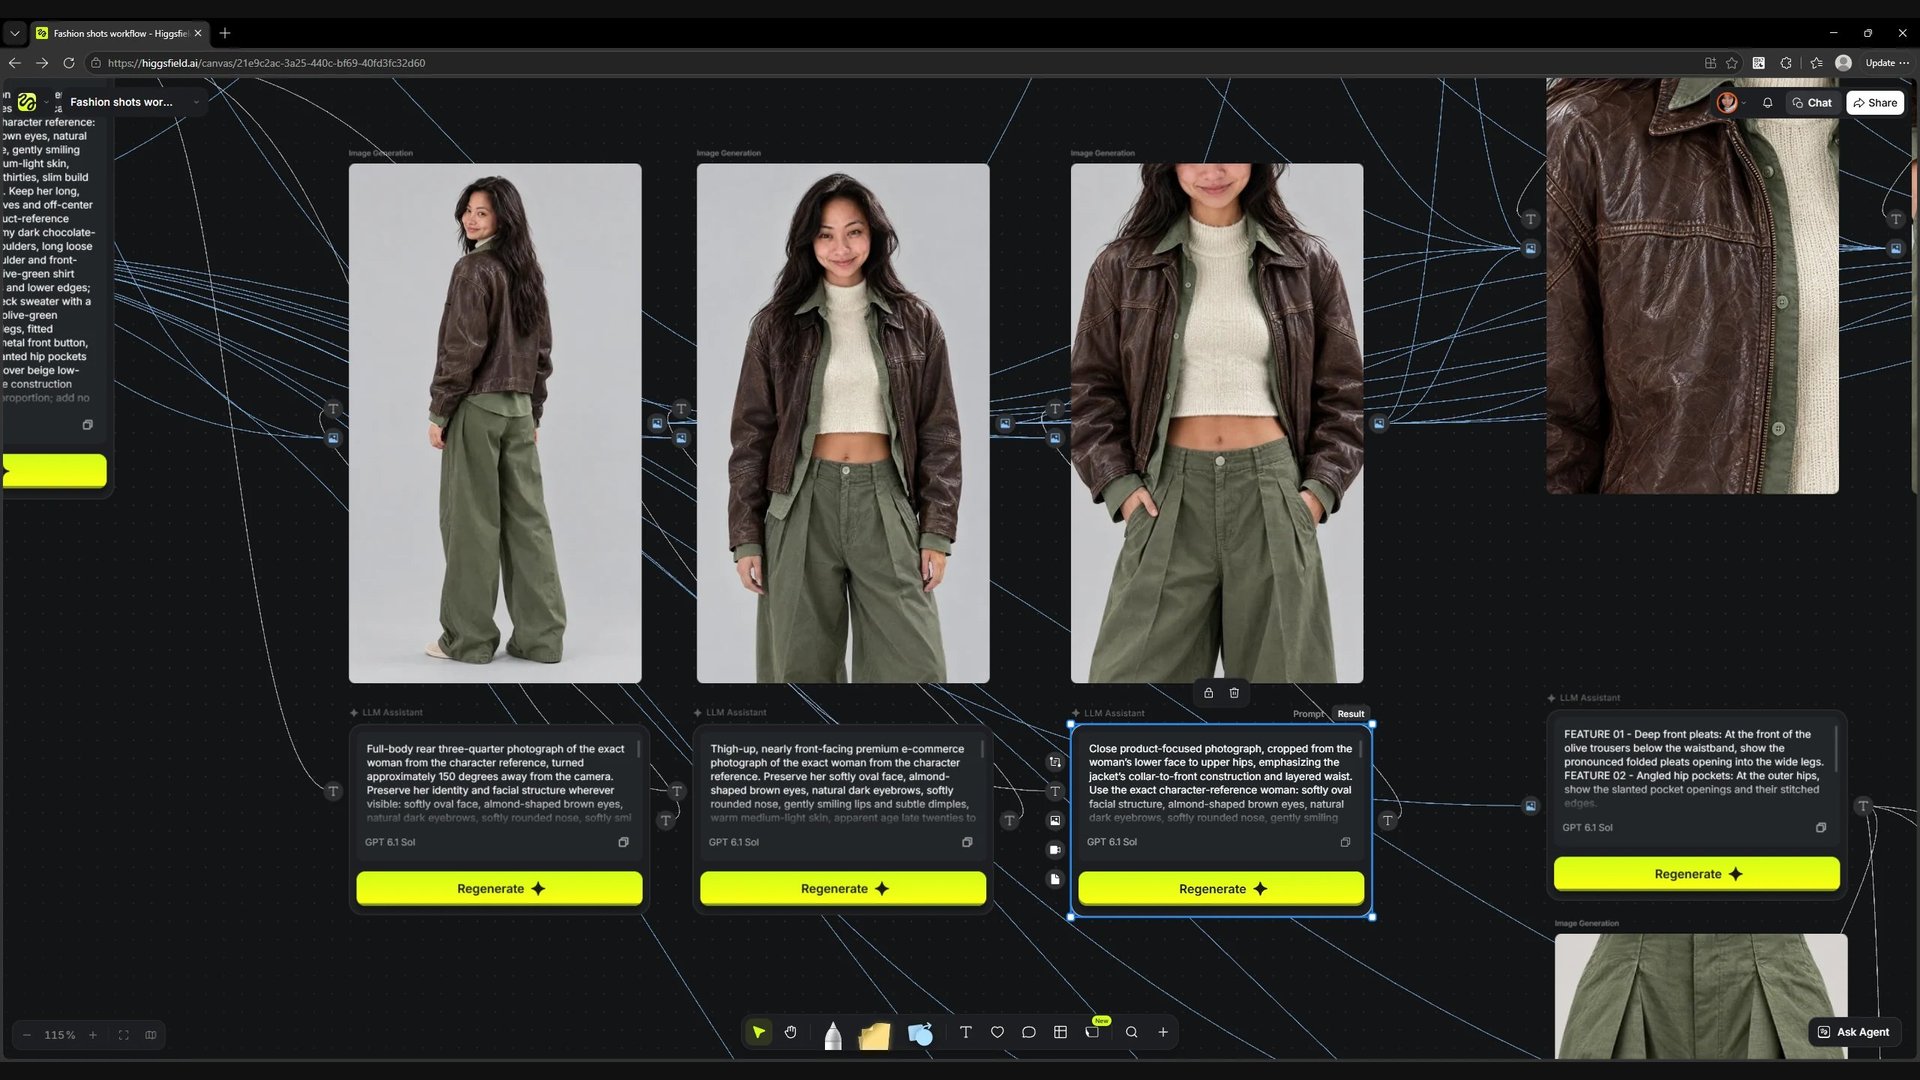
Now compare the shots with the source photos. First check that the model's face is preserved, then look at the cut, colour, length and construction of the outfit. At this stage it is important to catch a changed pocket or collar: if such a shot goes into the next branch, the error may repeat in the close-up.
This gives you the base of the selection for the product page. If you only need the general angles, you can stop here. If buyers need to see the material and construction, continue to the detail branches.
Fix a single shot if it doesn't work
There is no need to regenerate the whole series because of one result. Find the block of the problem image and check which text instruction and which photos go into it.
Screen
Under each image there is a linked text block. The screenshot shows the Result of the close-shot instruction; individual blocks can be reworked independently.
If the problem is in the description, clarify the detail in the instruction and update the linked result. If the reference doesn't show the element, add its original photo. Then rerun the relevant Image Generation and compare the new version with the product.
Note: the Regenerate button in a text block updates the text, while rerunning the image generator creates a new shot. These are different actions. If the problem image was already used for details, also update the affected results in the next branch.
Show outfit details on the model
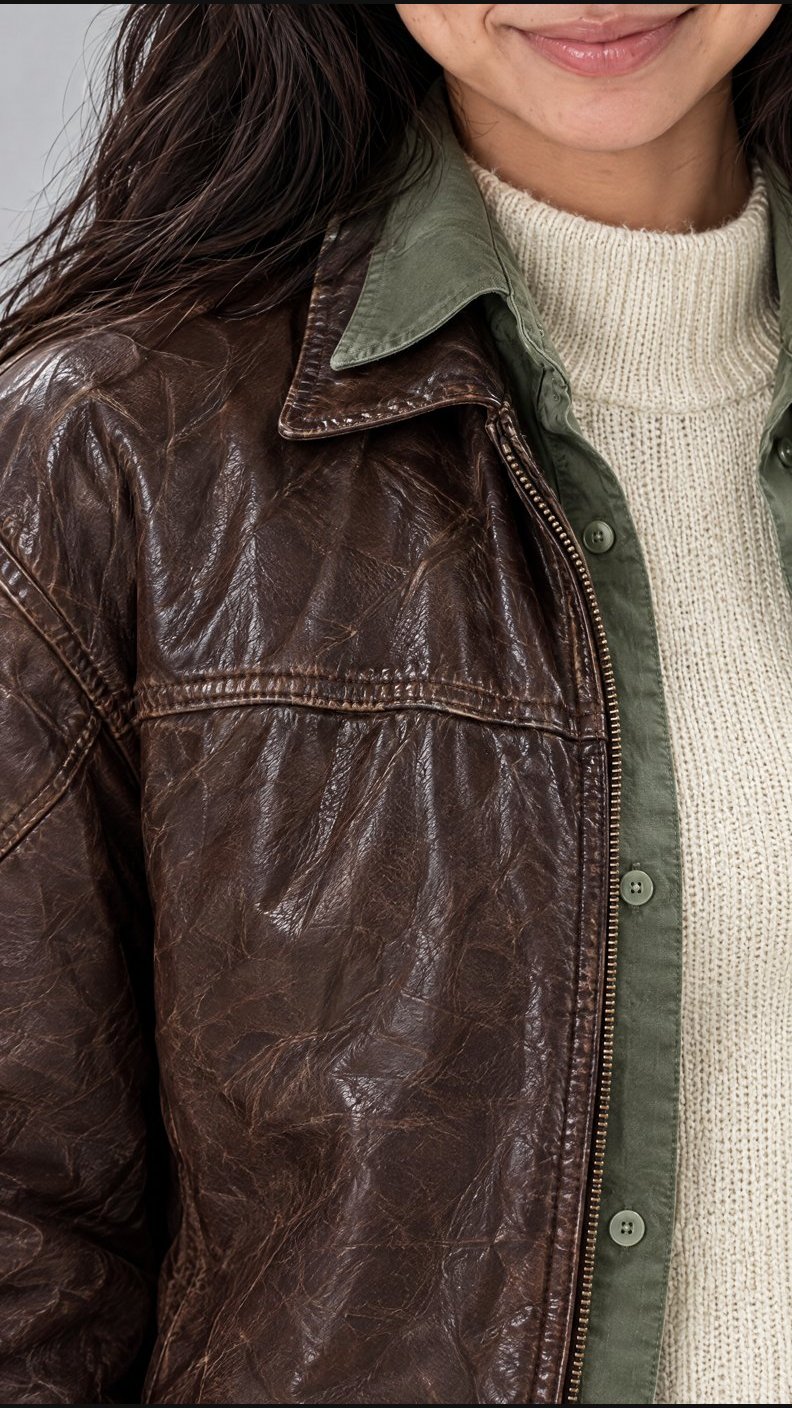
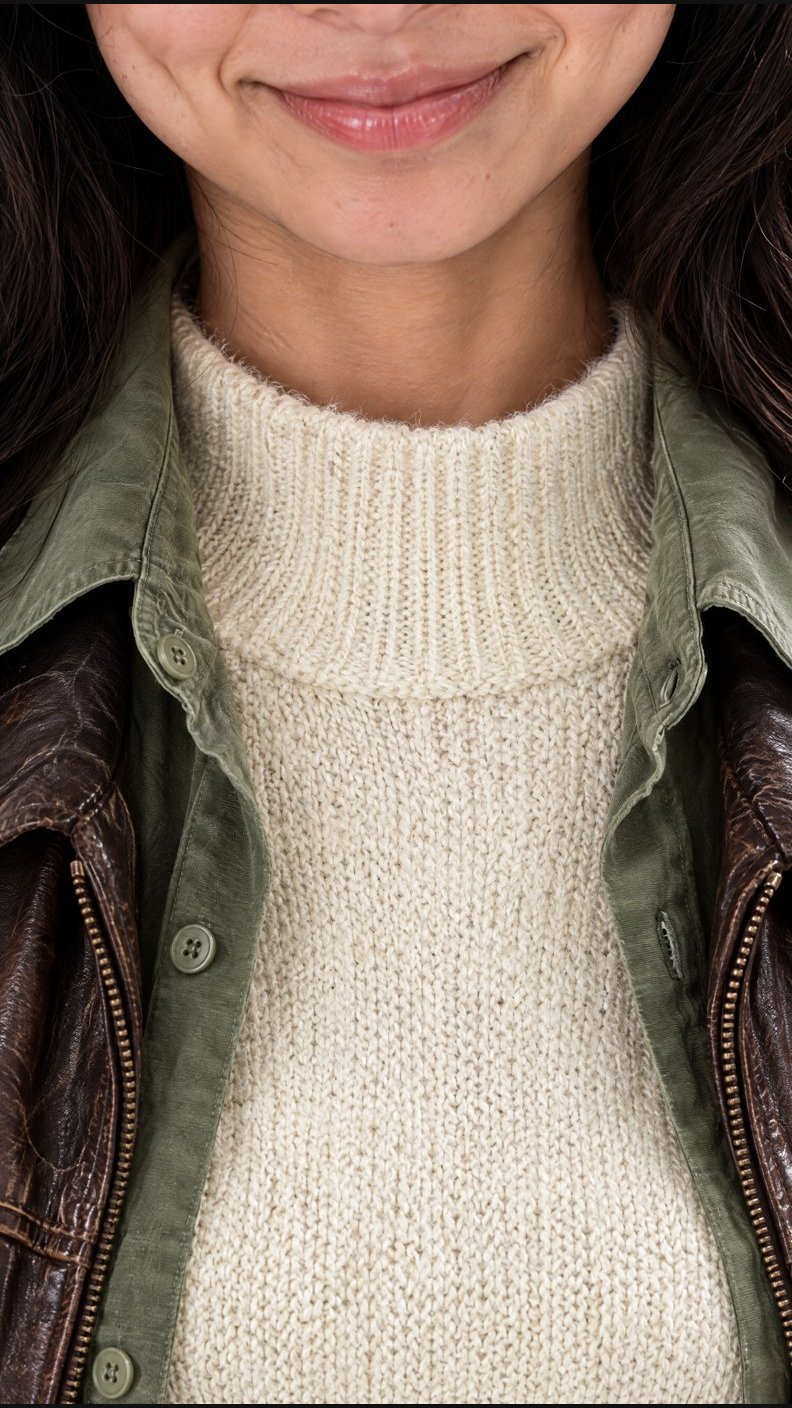
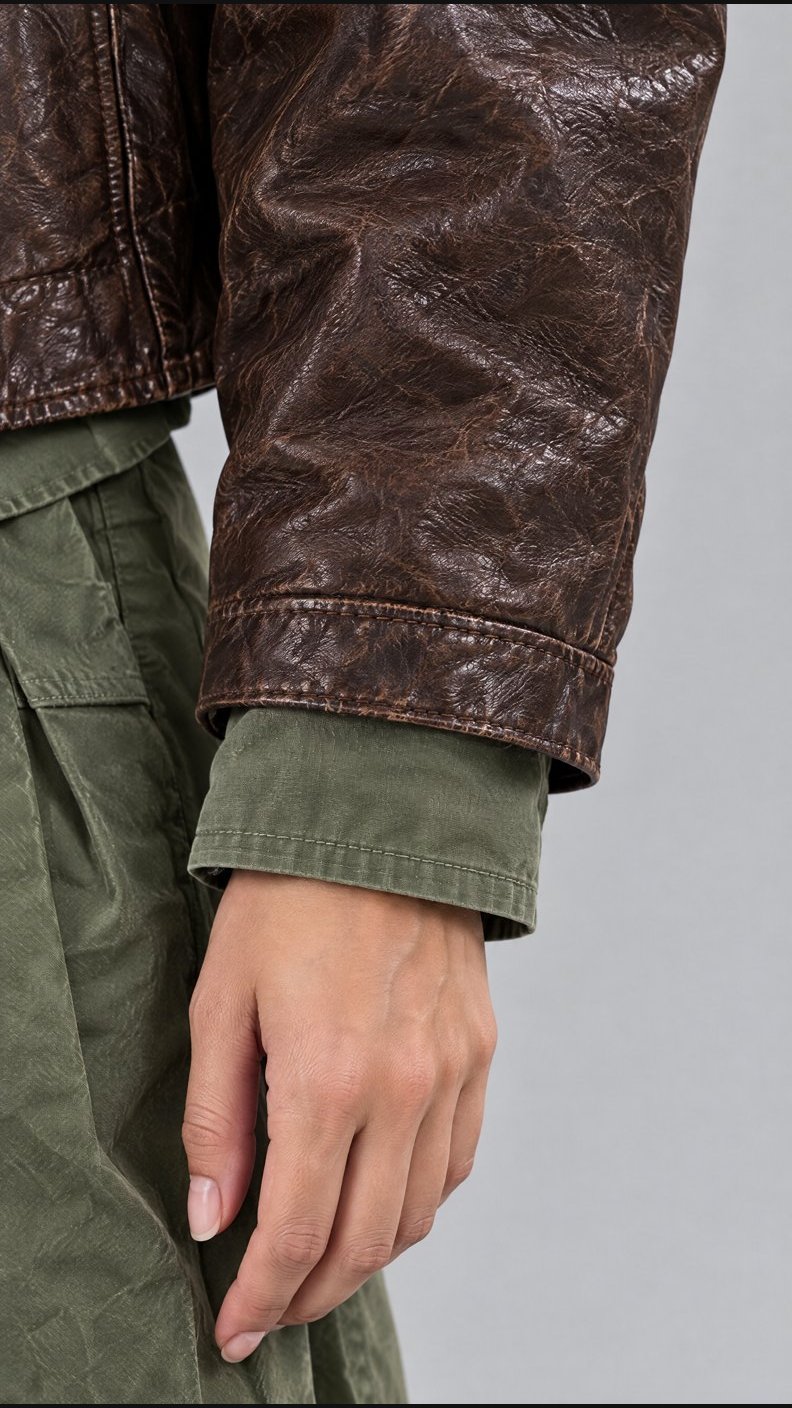
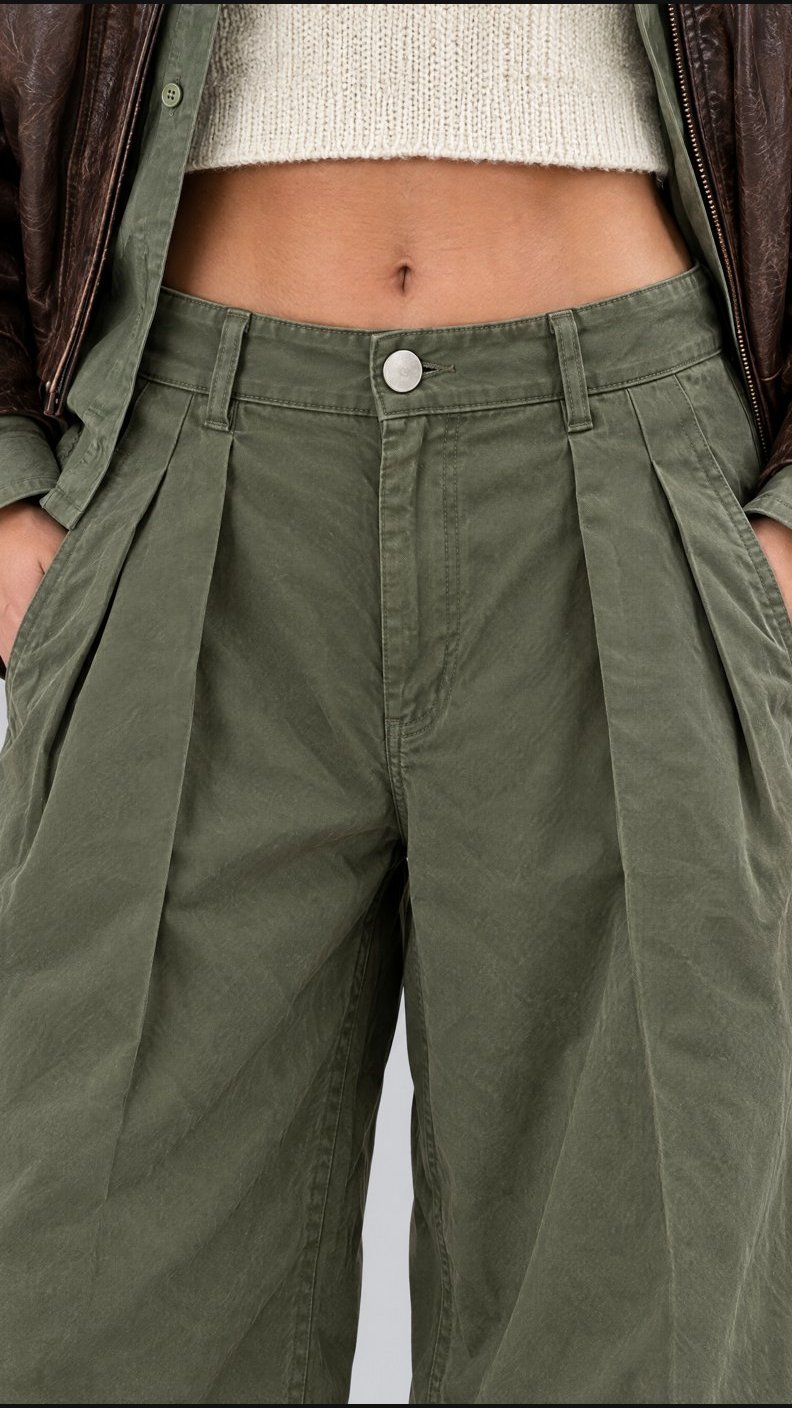
When the main images work, move to the upper right branch. It keeps the outfit in the context of the look and zooms in on the area you need. Here it shows the jacket surface, the trouser waistband, the knit neckline and the cuffs.
Screen
The branch of close-ups on the model is selected on the right. Its four results show different elements of the same look.
Run result
Cuffjacket and shirt sleeve
Waistbandclosure and pleats
Specify which details your product needs. If you are selling a jacket, replace the trouser waistband close-up with a pocket, zip or another important jacket element. Then prepare the descriptions in this branch, review them and run the matching generators.
In this workflow the branch uses the images already generated. This helps keep the link to the main series. For catalogue accuracy also rely on the original detail photos: a close-up should show the real construction of the product, not just look convincing.
Add separate product close-ups
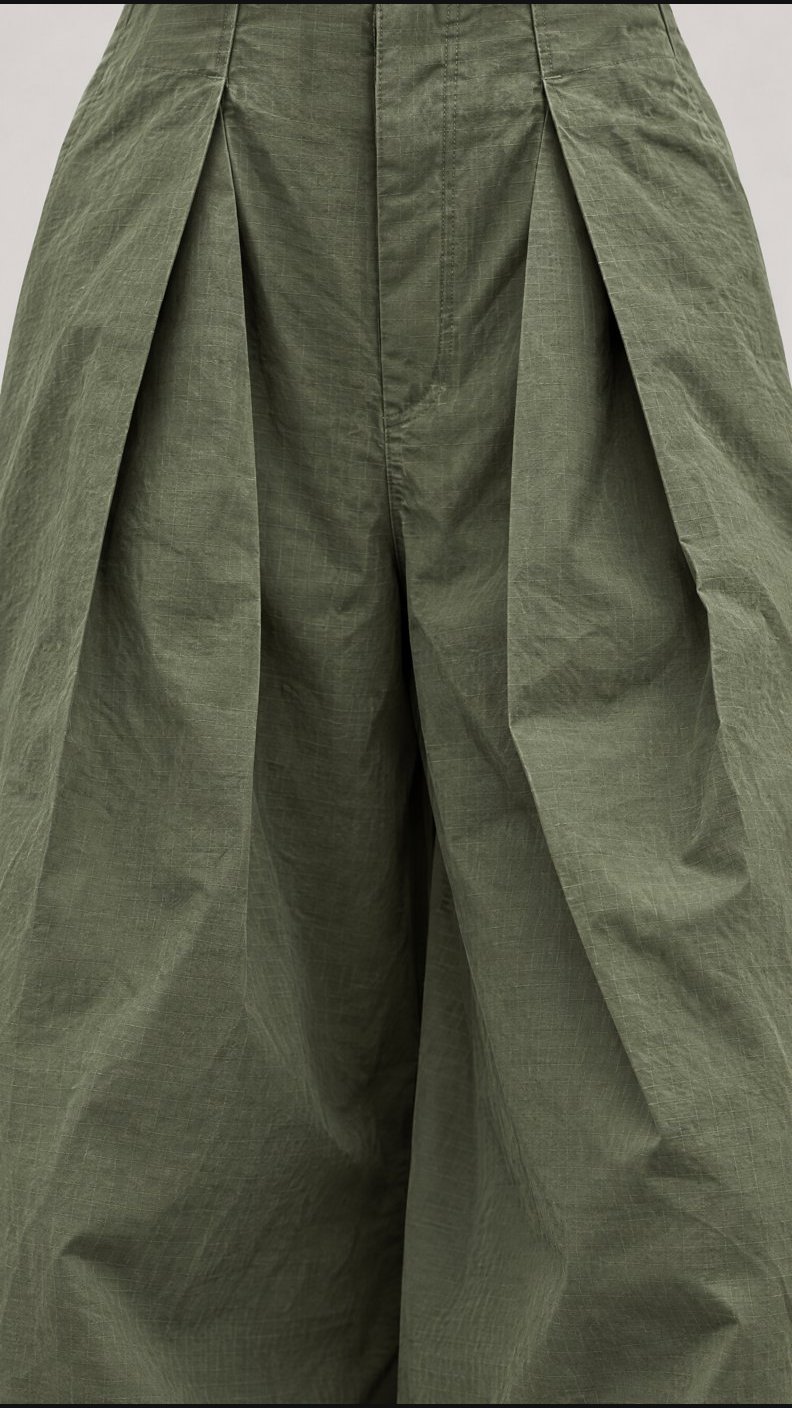
The lower right branch handles details of the garment itself. In the demo it focuses on the trousers: pleats, pocket, waistband closure and hem.
Screen
The lower branch of product details is selected: four separate instructions and four results with elements of the trousers.
Run result
Pleatsfront pleats of the trousers
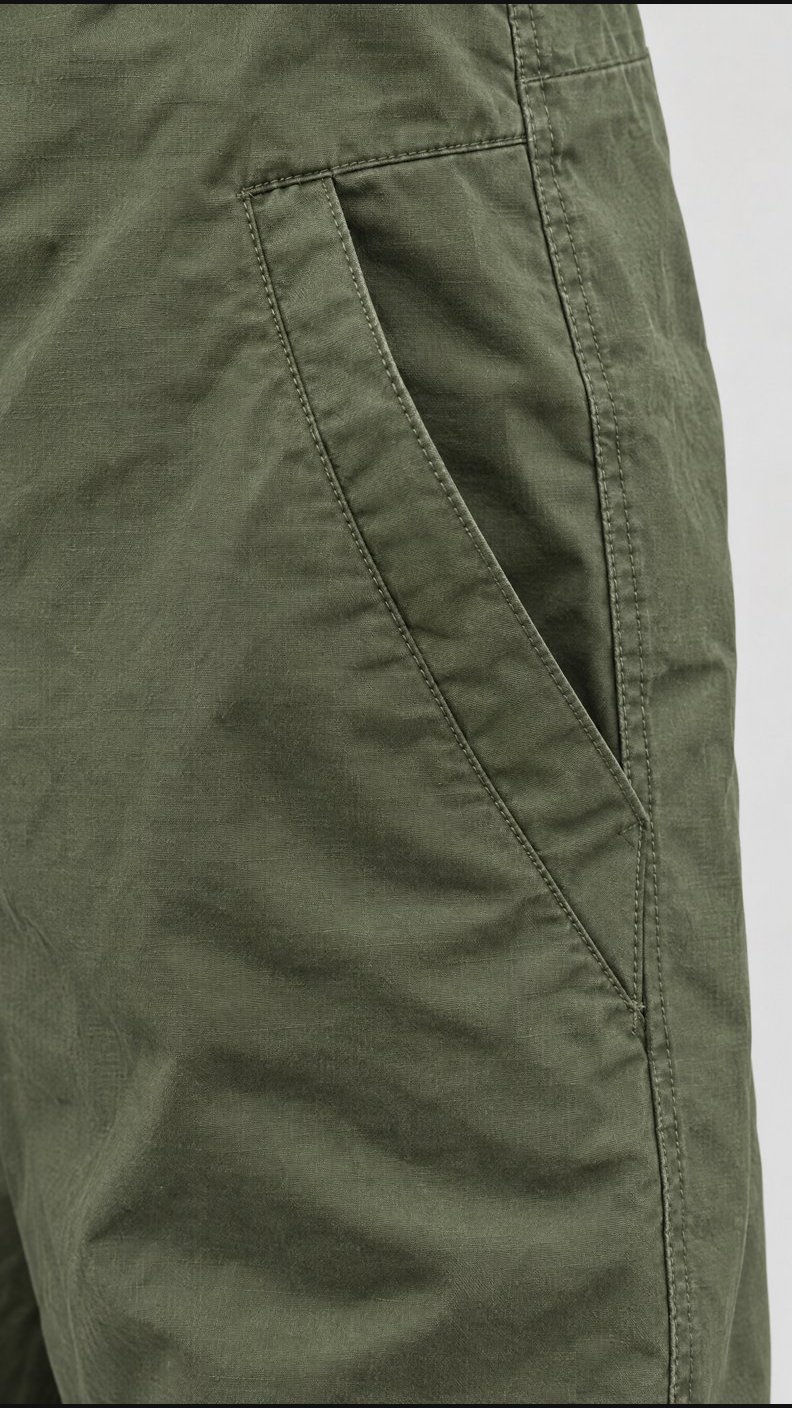
Pocketside seam and pocket
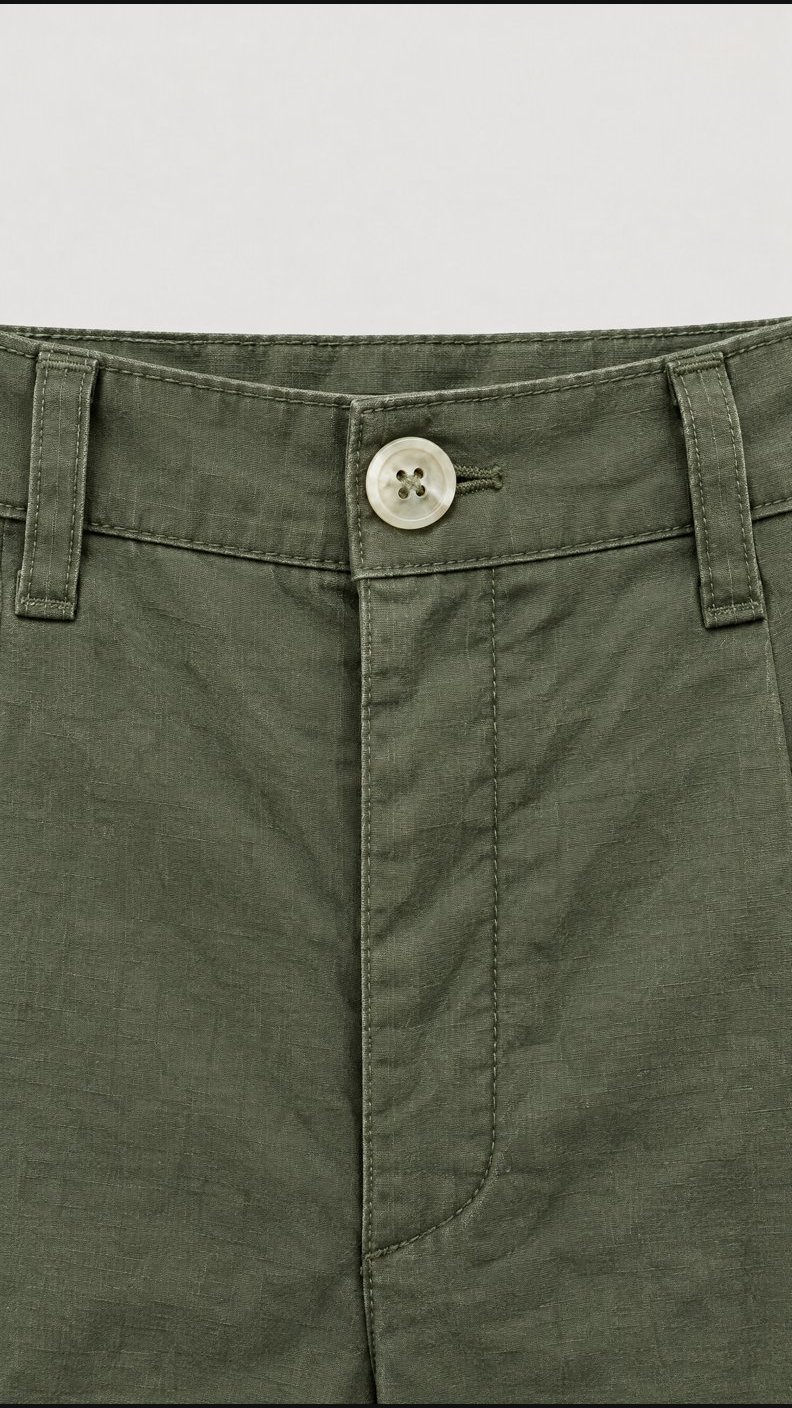
Closurewaistband, button, belt loops
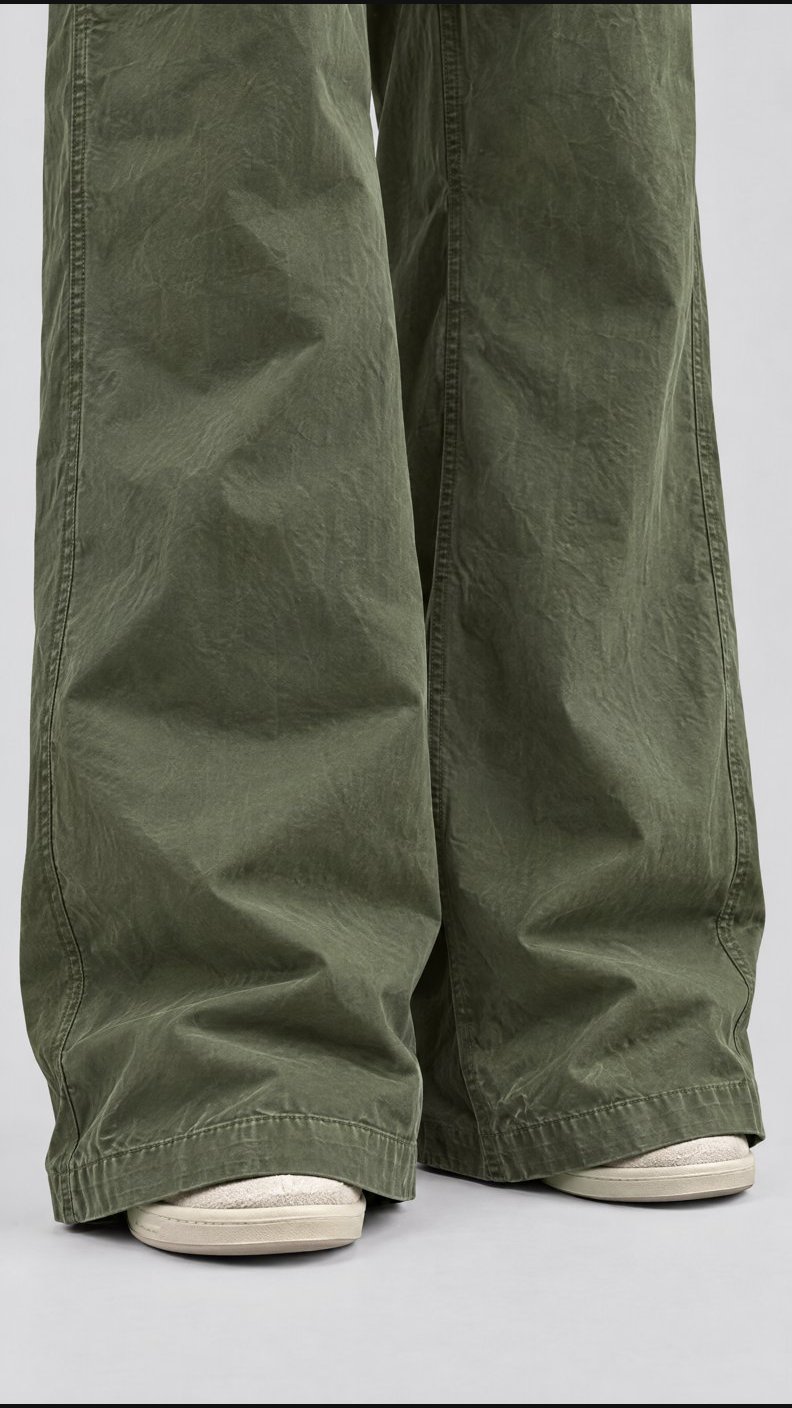
Hemtrouser hem and shoes
Use it when the product page needs to show the material or a specific construction element on its own. Name the item, the area and the framing. After preparing the text instructions, run only the generators the series needs.
Now you have three kinds of material: angles of the whole look, details on a person and separate images of the garment. For a 5–8 shot product page choose the right mix. For example, four main views, one close-up on the model and one product shot.
Repeat the look on other models and in different sizes
The workflow lets you change the model and show the same outfit on different people — for example, across different size ranges. Keep the outfit reference and the set of angles, replace the model reference and check that the new source is connected to all the generators you need. If prompt preparation depends on the character's appearance, update that step too.
Screen
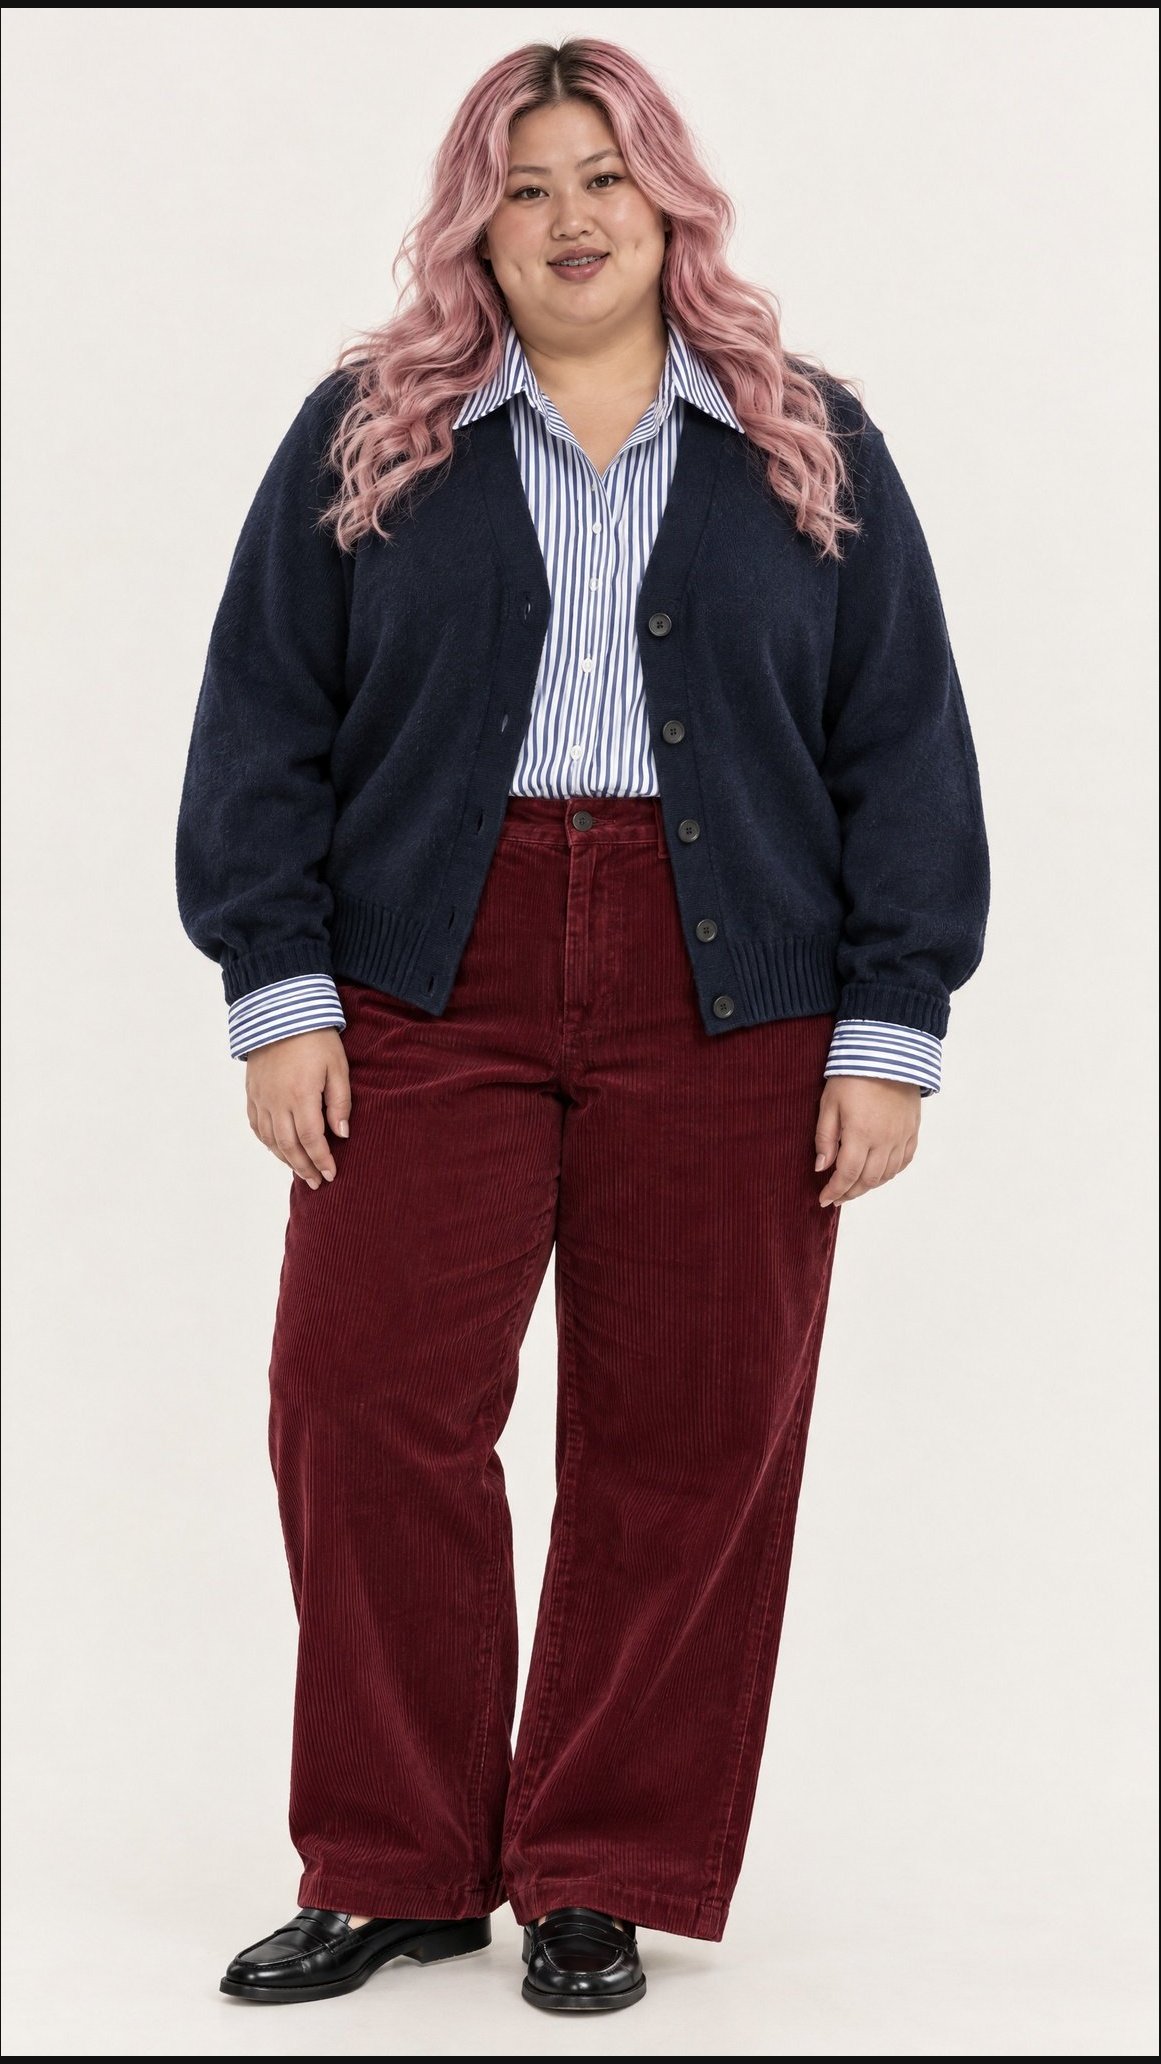
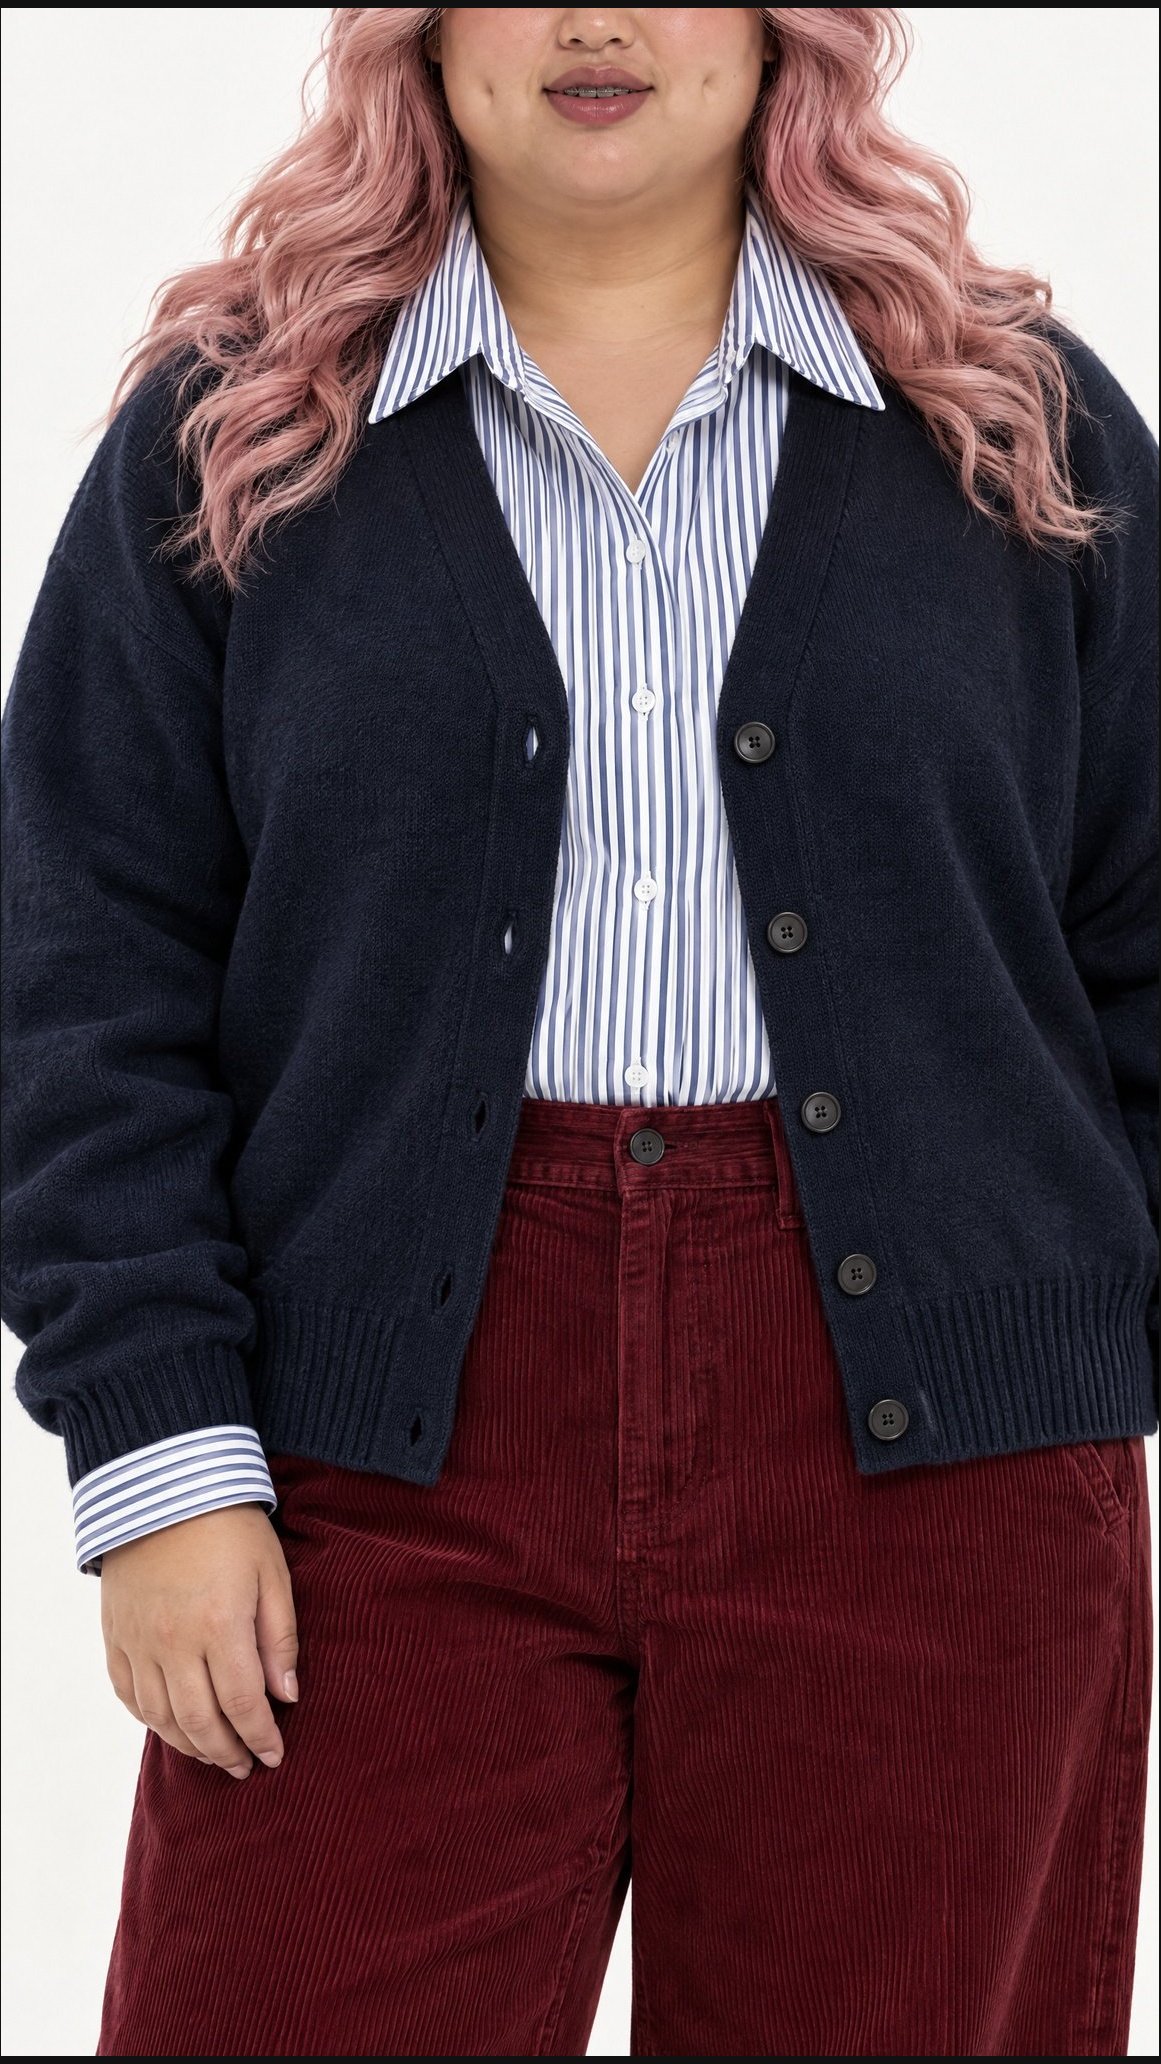
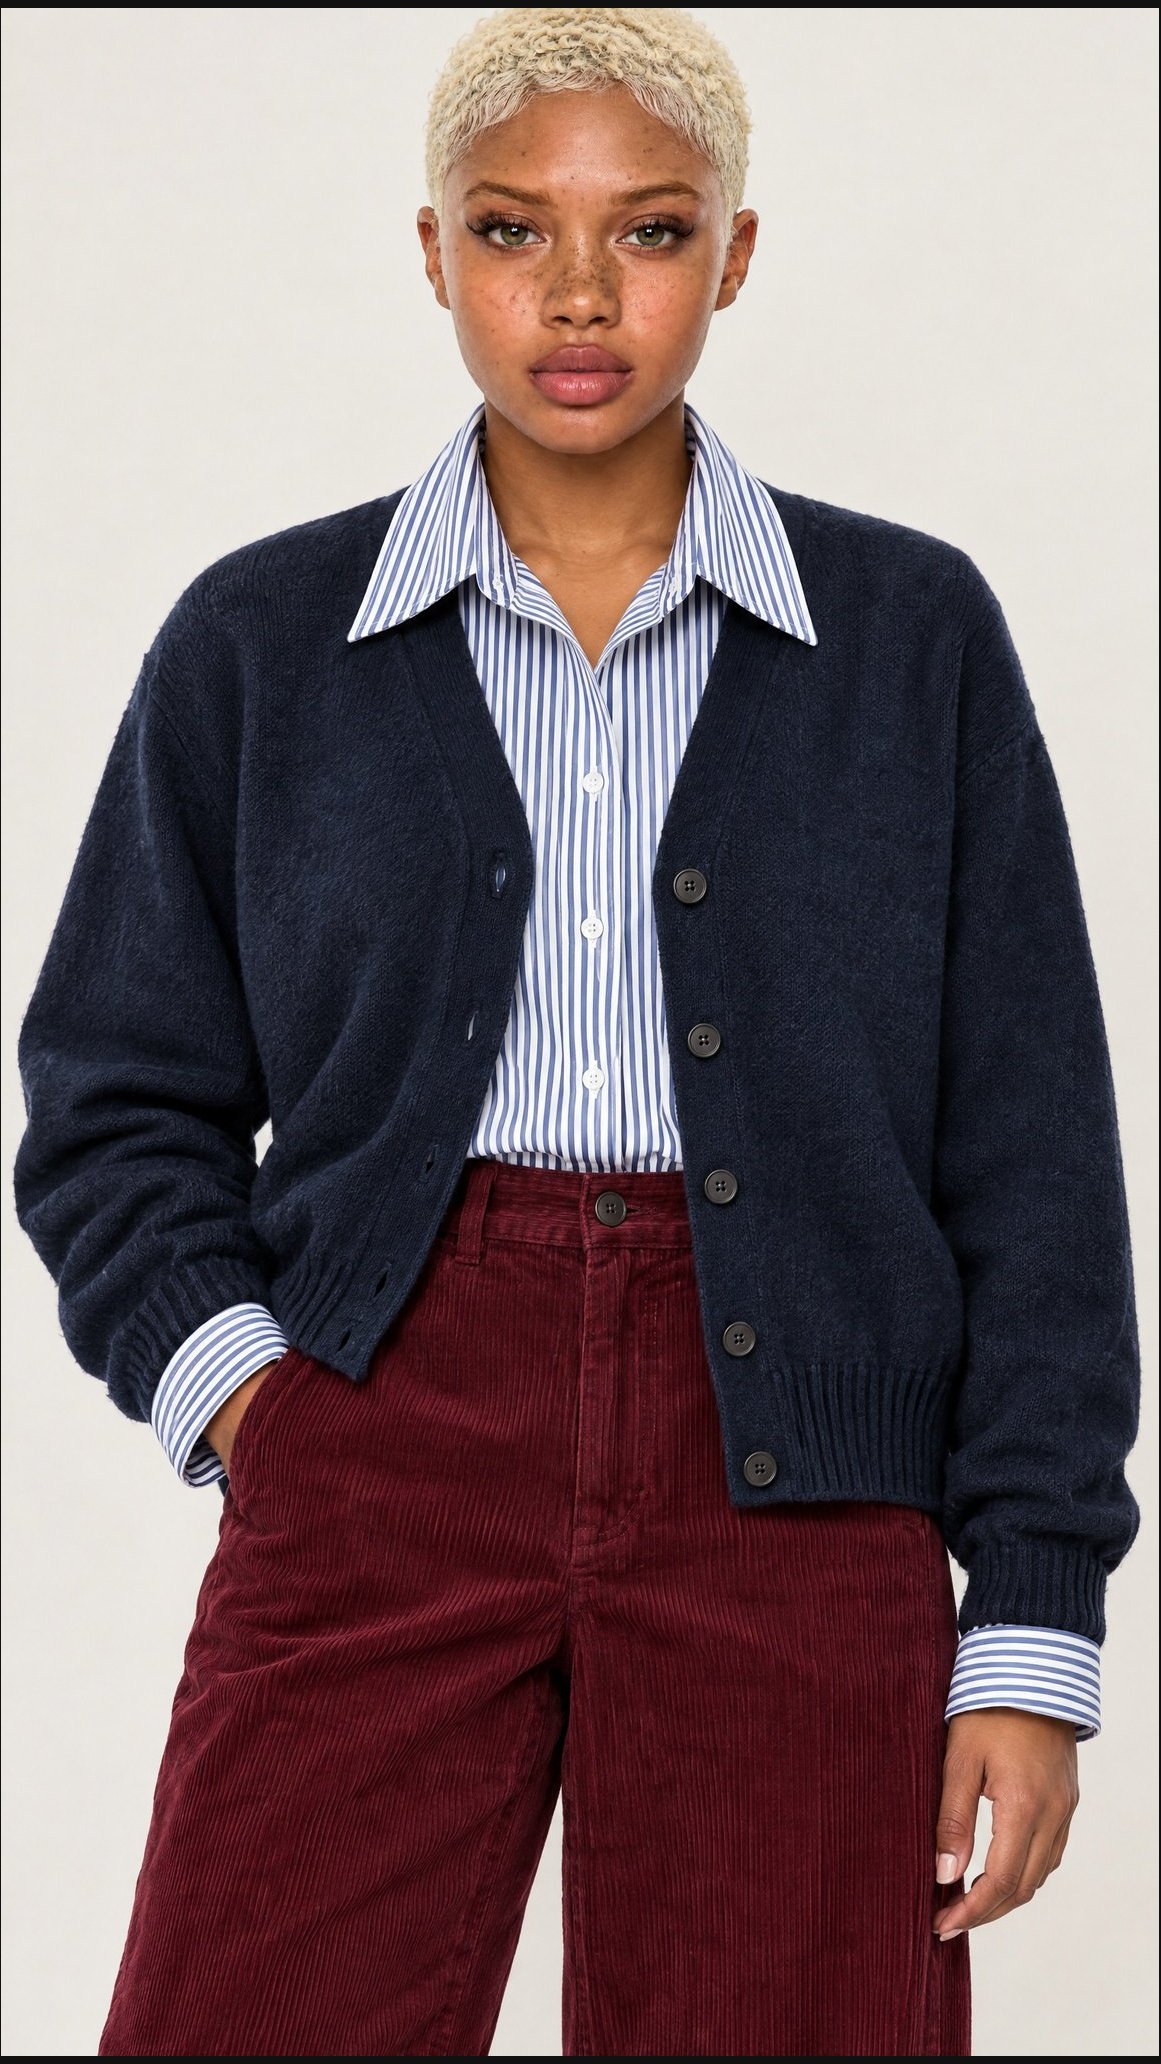
First example: one outfit reference and a model with pink hair. A six-shot series is generated on the right.
Result: pink-haired model
Back three-quarterfull length
Close shotcardigan and shirt
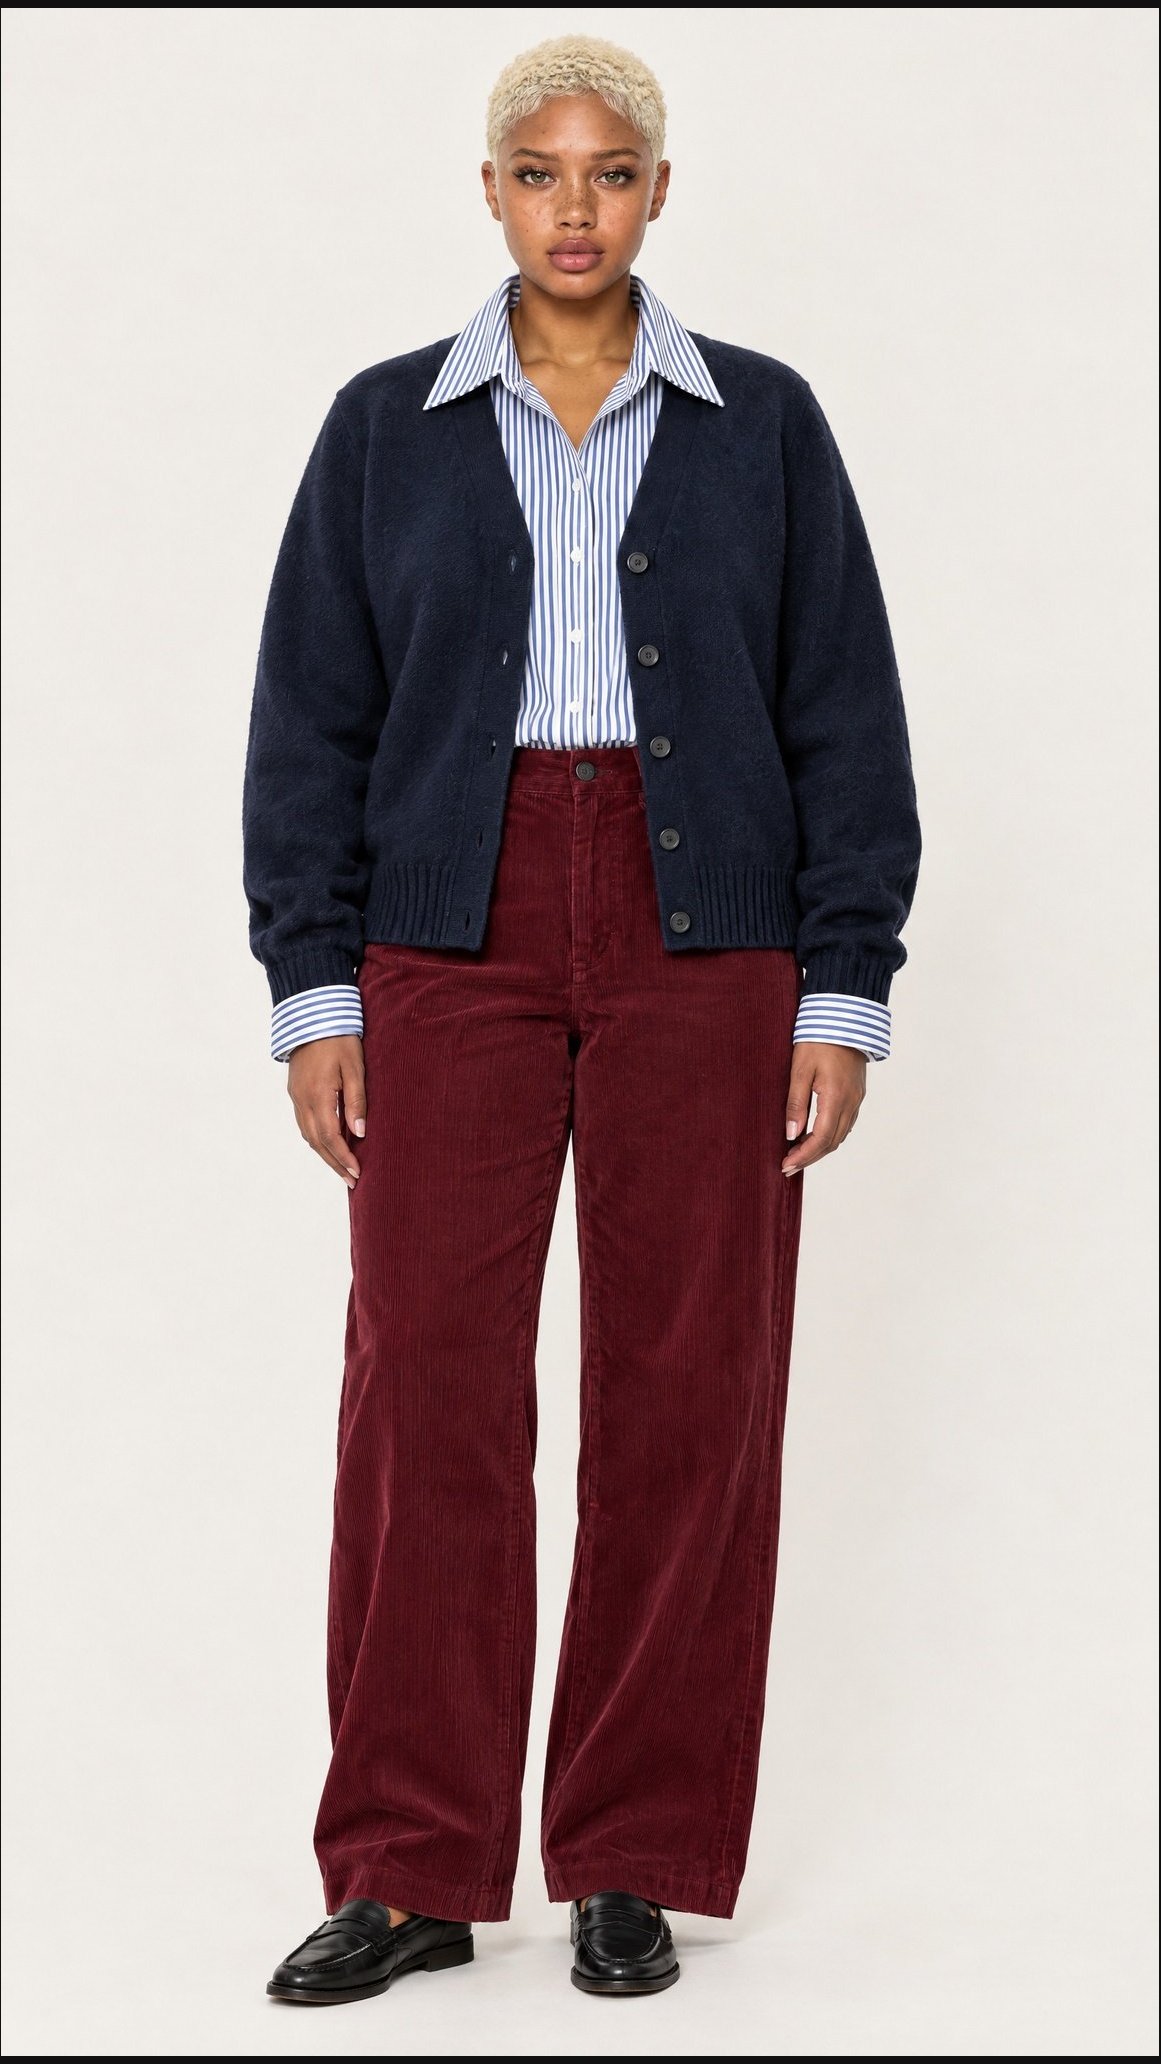
In the next example the outfit stays the same, but the character's face and proportions change. The scheme keeps a similar set of angles, so the team can repeat the same shoot structure for different models.
Screen
Second example: the same look and a different model. The character reference changes, while the structure of the series stays the same.
Result: platinum-haired model
Back three-quarterfull length
Close shotcardigan and shirt
If the brand already has prepared models for specific sizes, their references can be used for separate series across the size range. Tie the size label to the brand's data. Generation helps visualise the range, but it does not confirm the exact fit of the real garment, and size cannot be determined from a person's appearance alone.
Share the working Canvas with the team
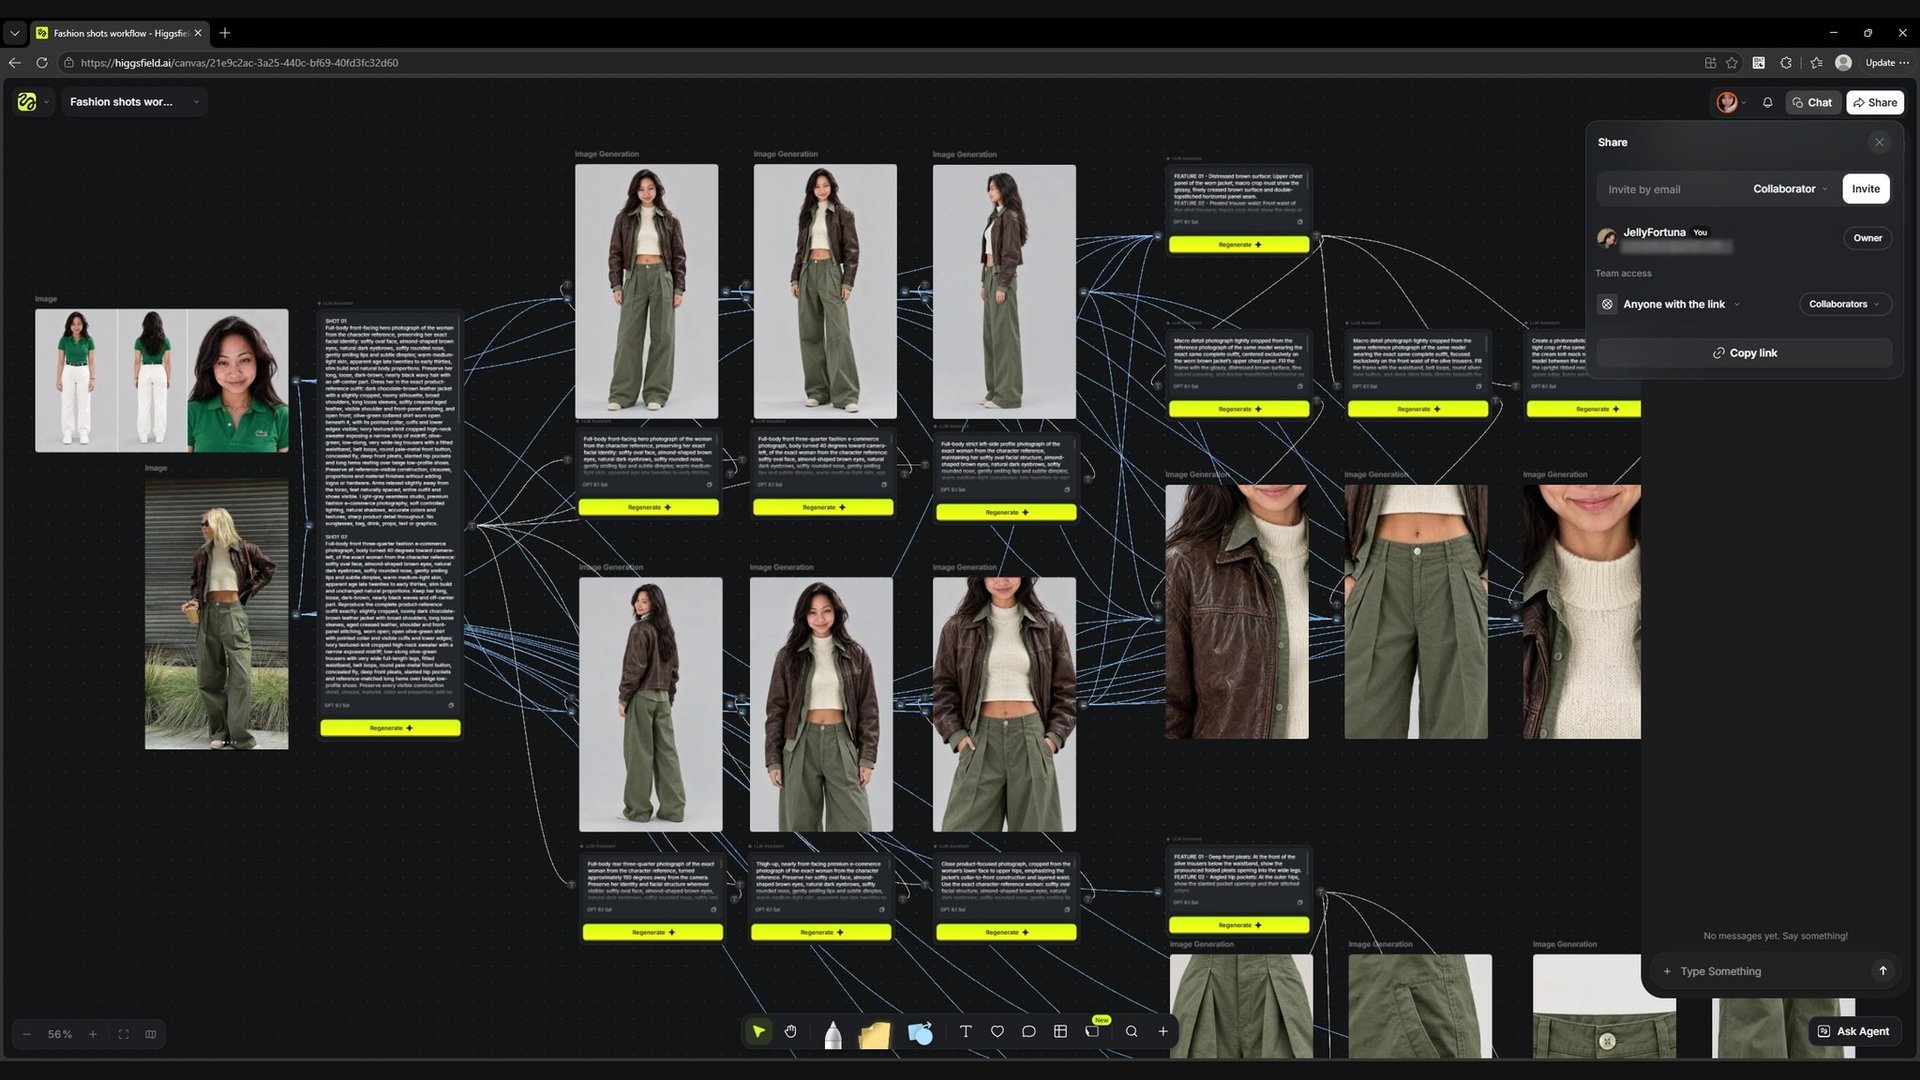
You can share the prepared workflow so colleagues can study the scheme and, with the right access, run it for the next products. Open Share in the top right corner of the Canvas and choose the available settings.
Screen
The Share window: invite by email, member roles and link access.
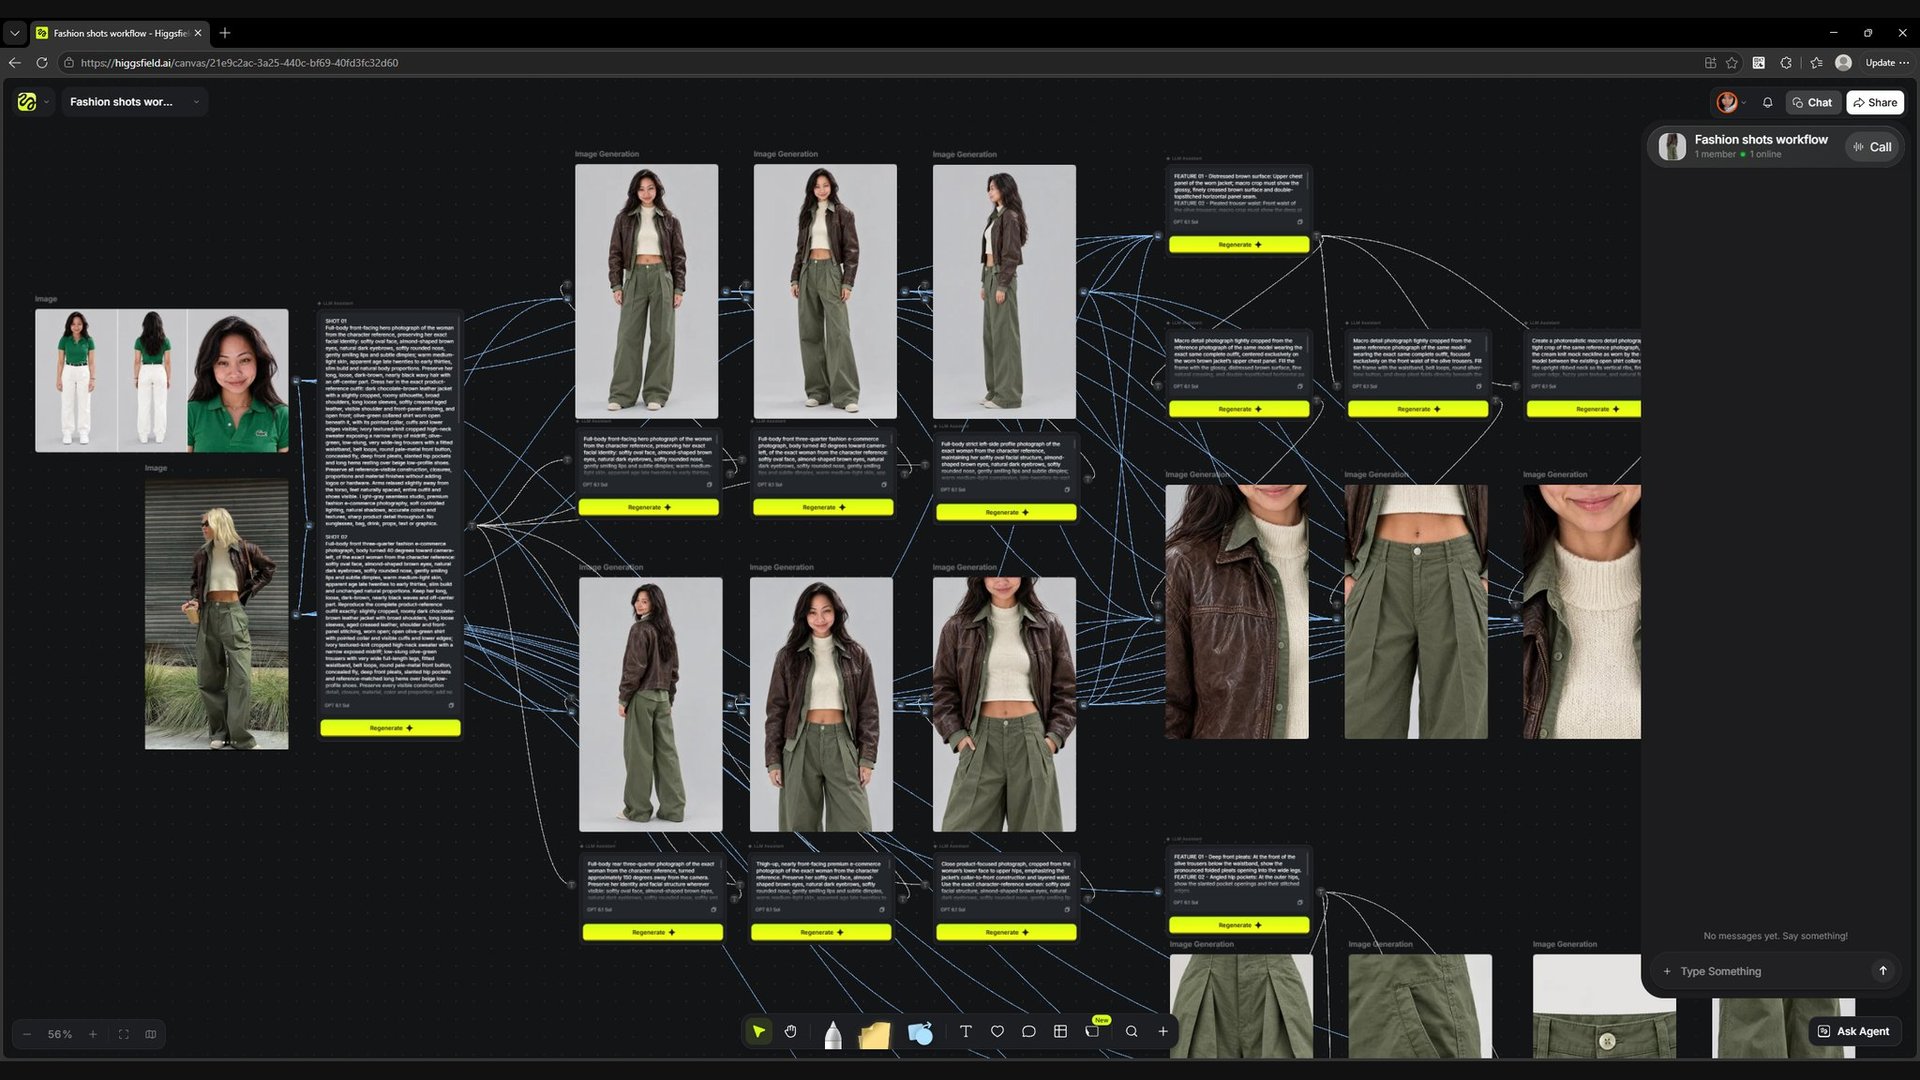
Next to it is the Chat button. Use the Canvas chat to discuss results: say which shot is approved, what needs fixing and which source should be used. For example: "Front view approved. The cuff close-up needs to be redone from the original detail photo."
Screen
The Chat panel on the right: discussing results inside the Canvas.
When handing over the work, explain which product is the main one and which branches should be run. This way the next person can repeat the process with the scheme already set up. Record decisions in the chat explicitly: having a chat does not mean every Canvas change is logged automatically.
Open the linked project in Cinema Studio
A linked Cinema Studio project is created automatically for the Canvas. It collects the generated images, so you can keep working with them: sort them into folders, mark the right versions and download the selection.
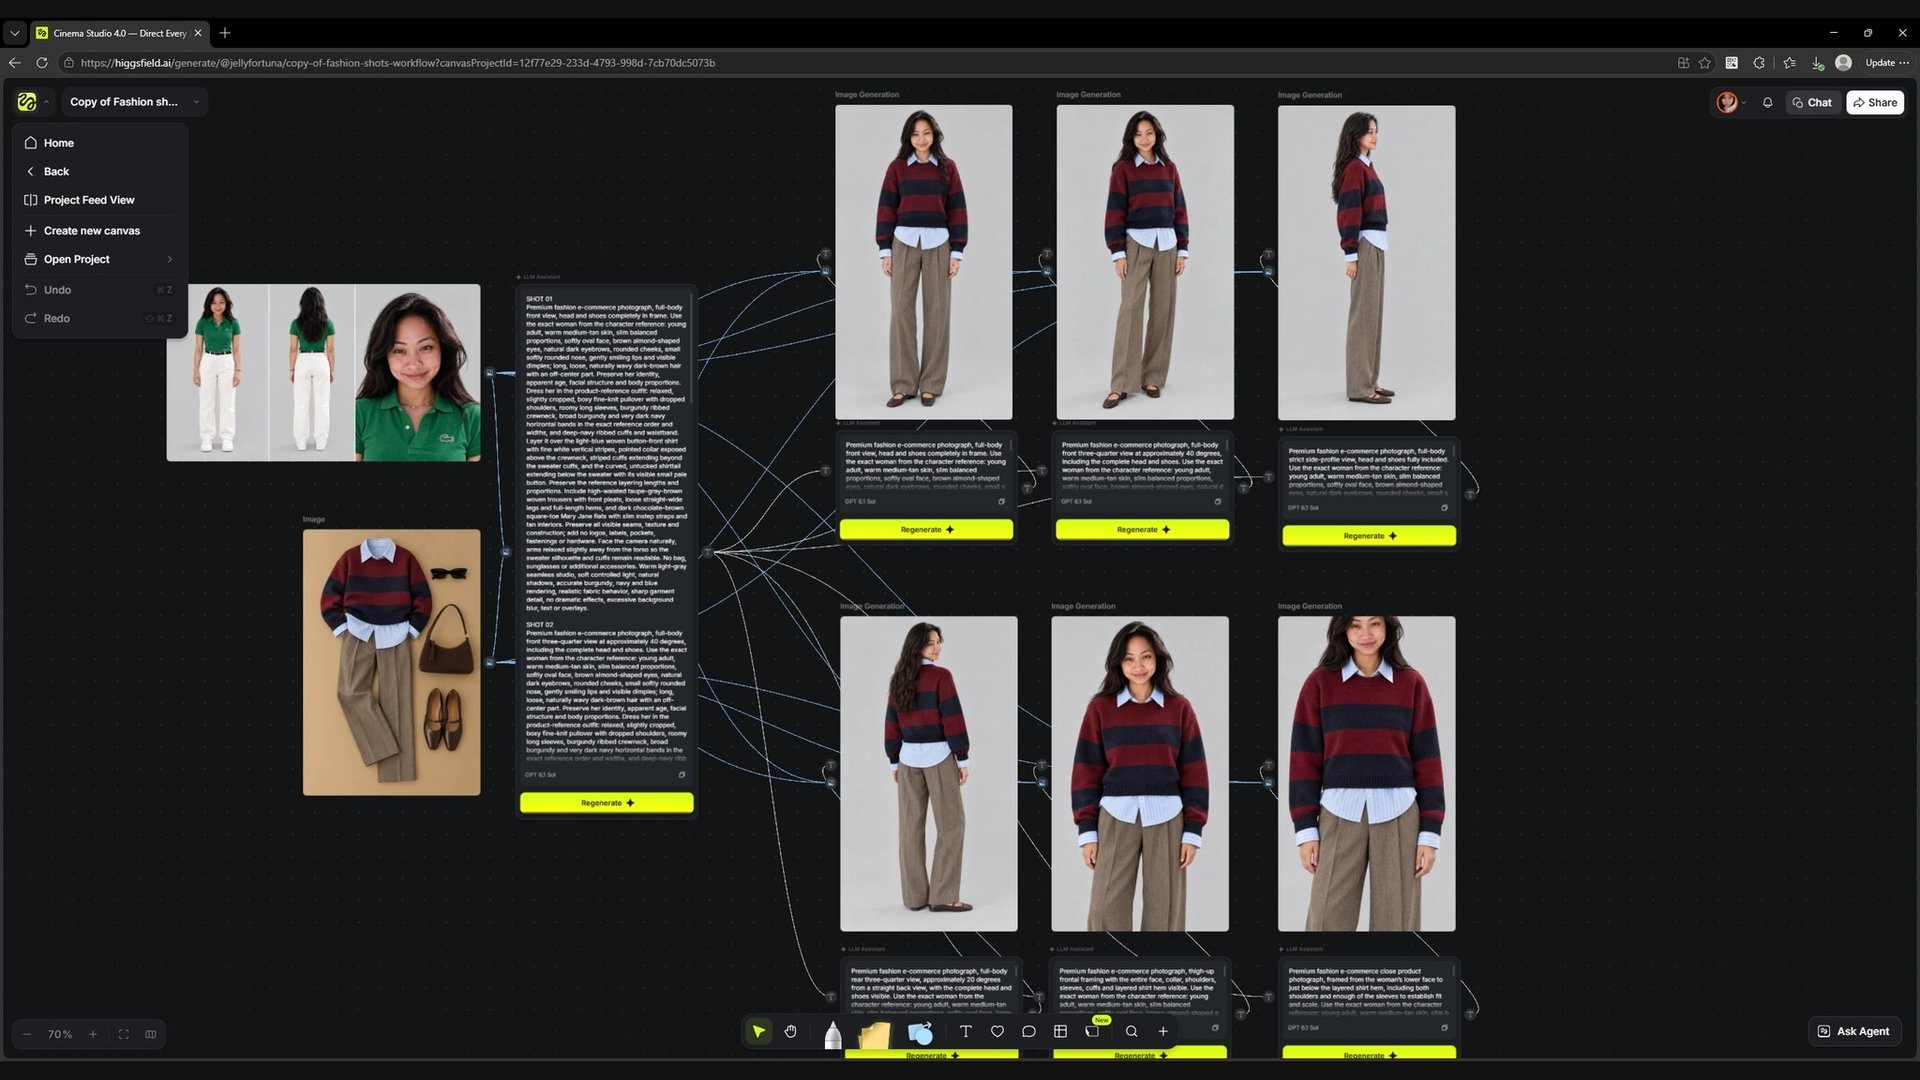
To go from the Canvas to the project and see all generated materials, click the logo in the top left corner of the Canvas and choose Project Feed View.
Screen
The logo menu in the top left corner of the Canvas: Project Feed View opens the project with all generated materials.
Screen
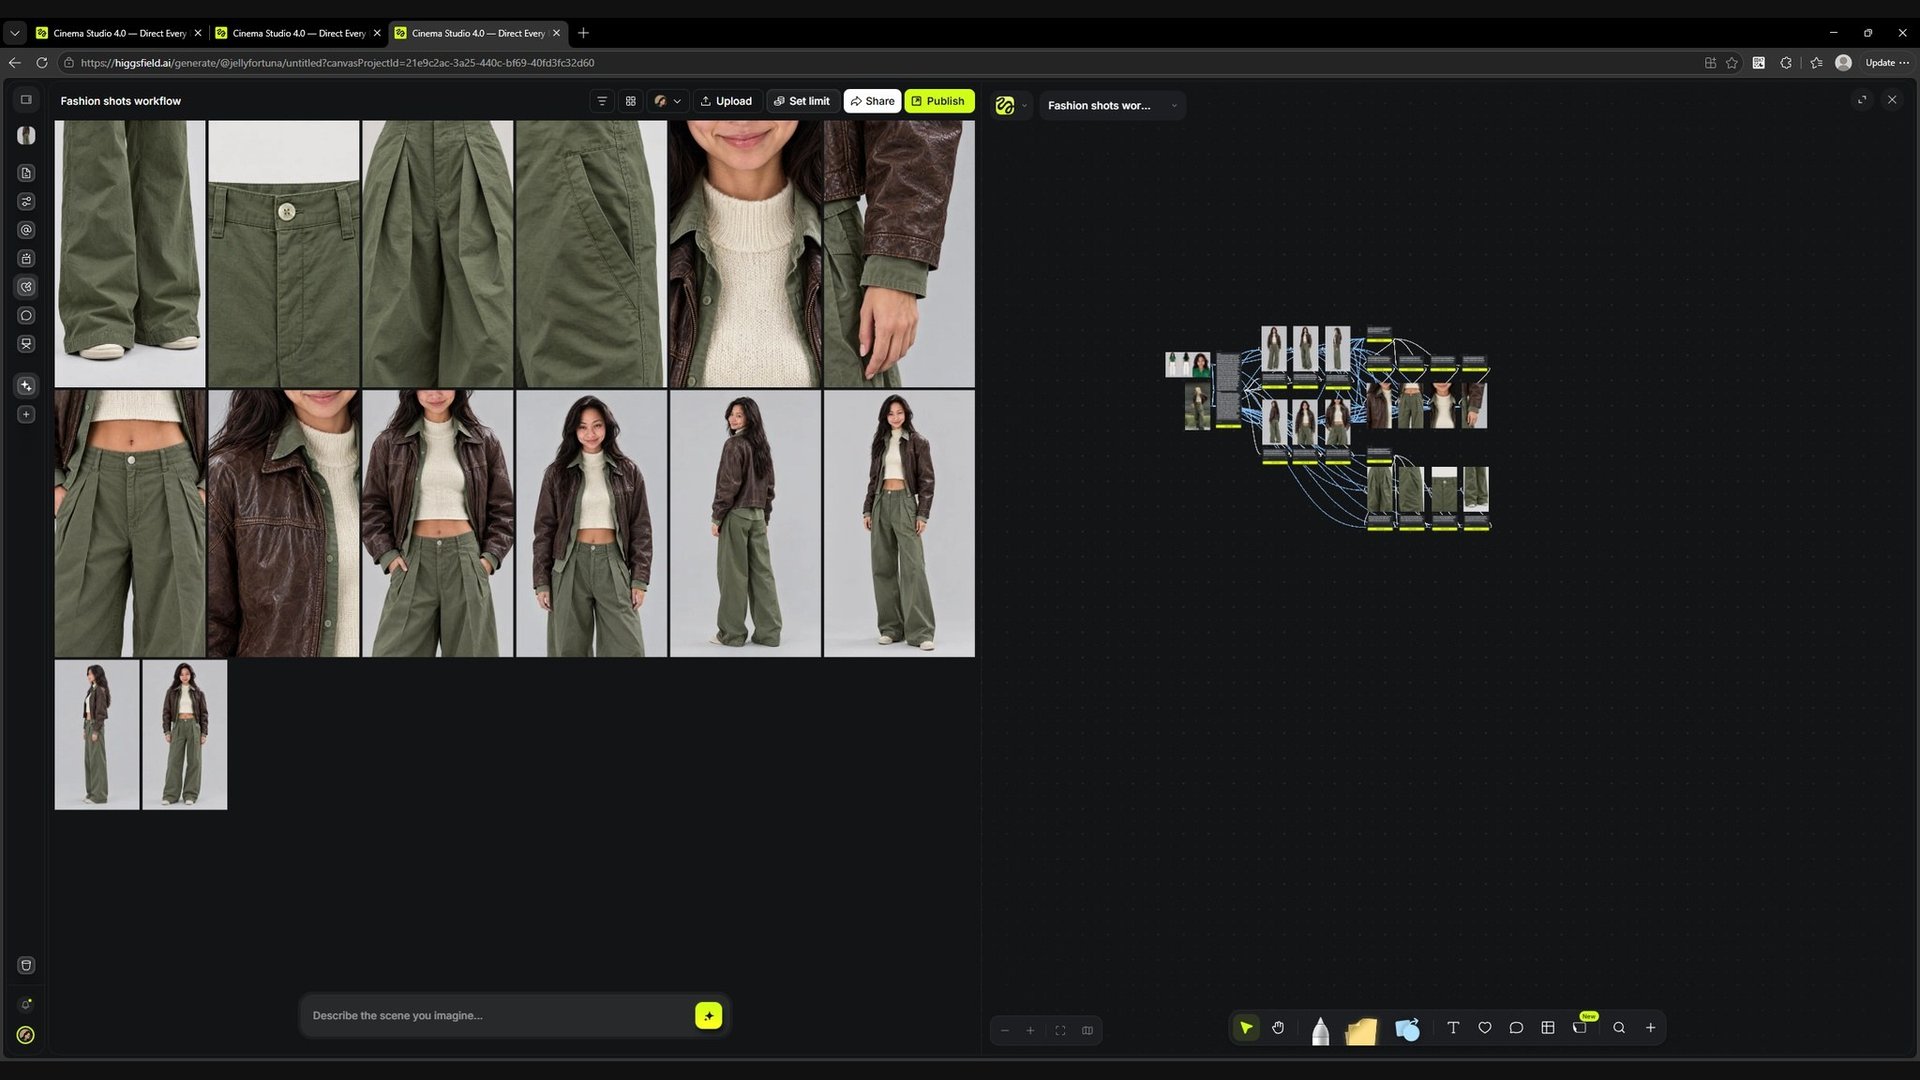
Cinema Studio and Canvas open side by side: the project's results library on the left, the scheme that creates them on the right.
Open the Cinema Studio workspace and find the project linked to your Canvas. The screenshot shows that results for different models are collected in one place. This lets you move from generation to selecting and handing over materials.
The link belongs to the Canvas itself. Rerunning a single block should not be described as creating a new project with every generation.
Create a folder and move the images into it
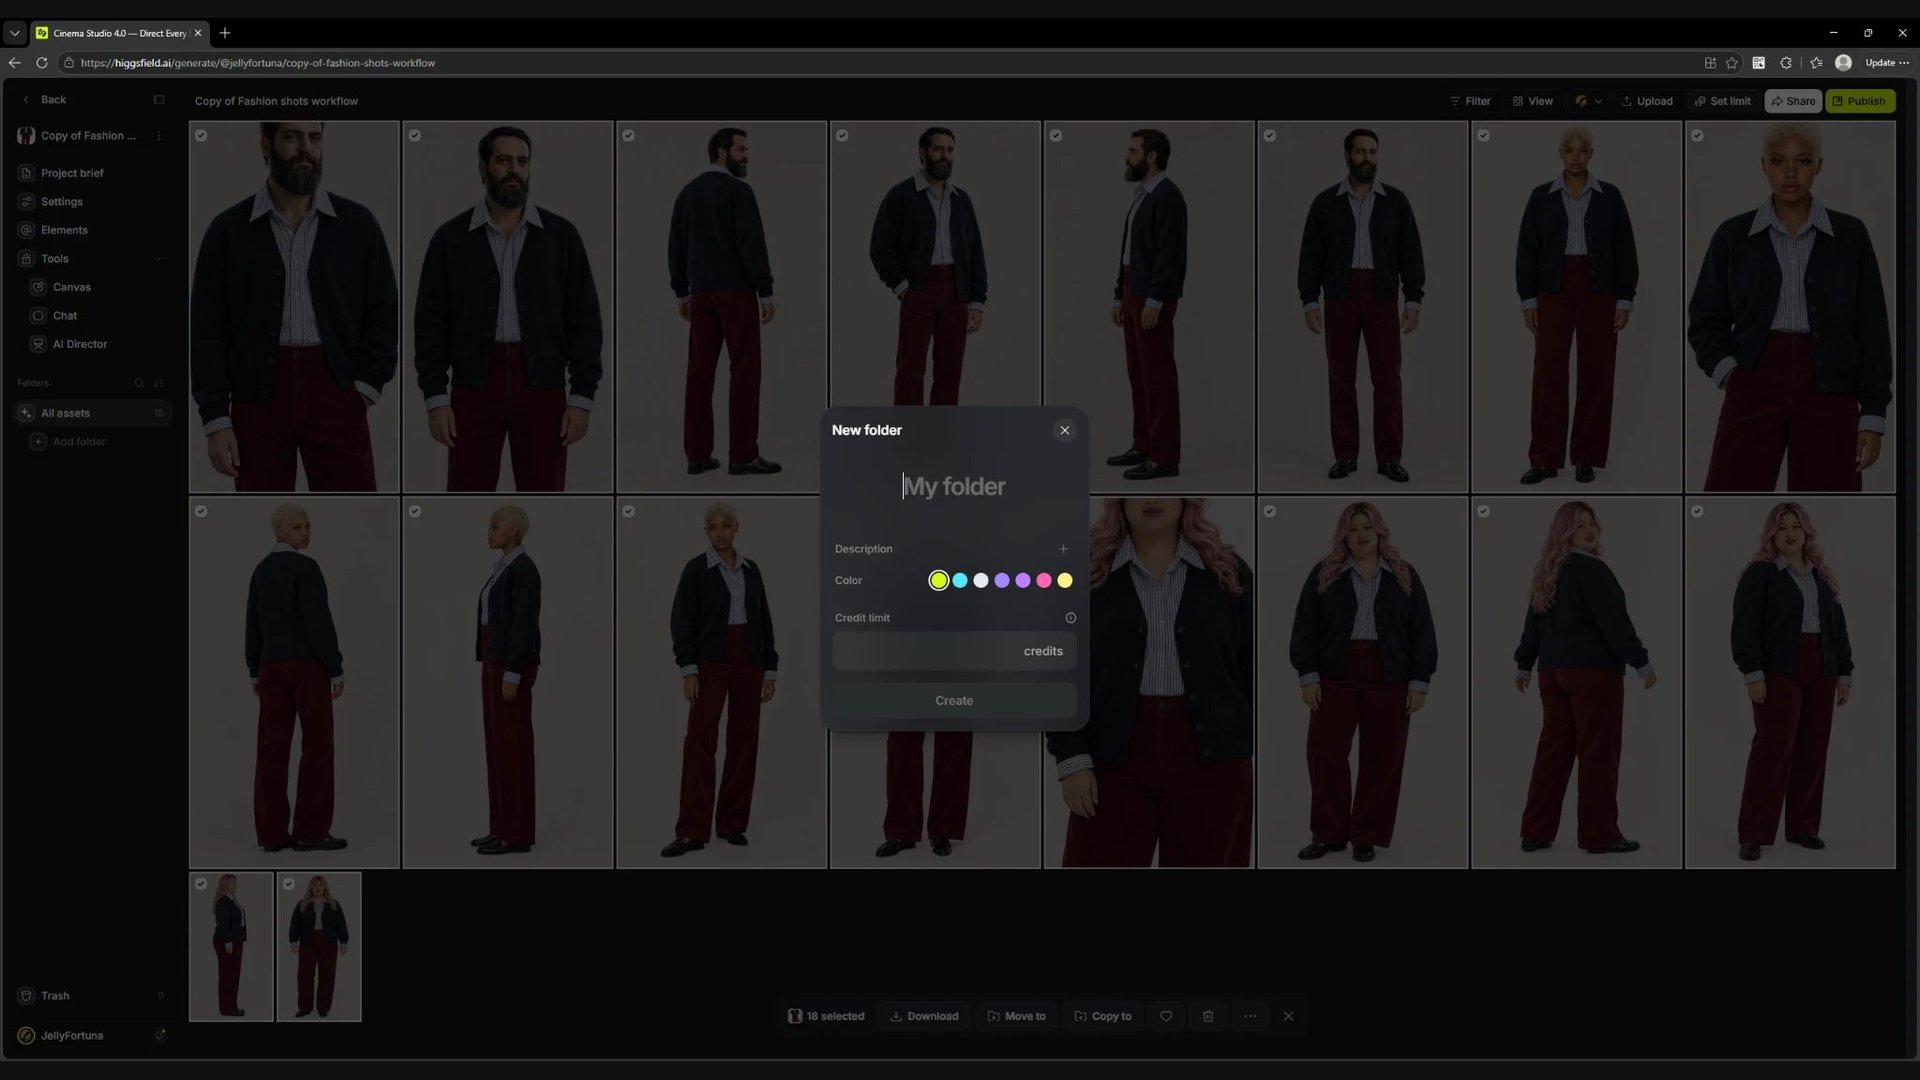
To separate one selection from the other results, click Add folder in the project's left panel. Enter a name the team will recognise the product by: for example, the SKU or the name of the look. Then click Create.
Screen
The New folder window: this is where you name the new folder. The project's images are visible in the background.
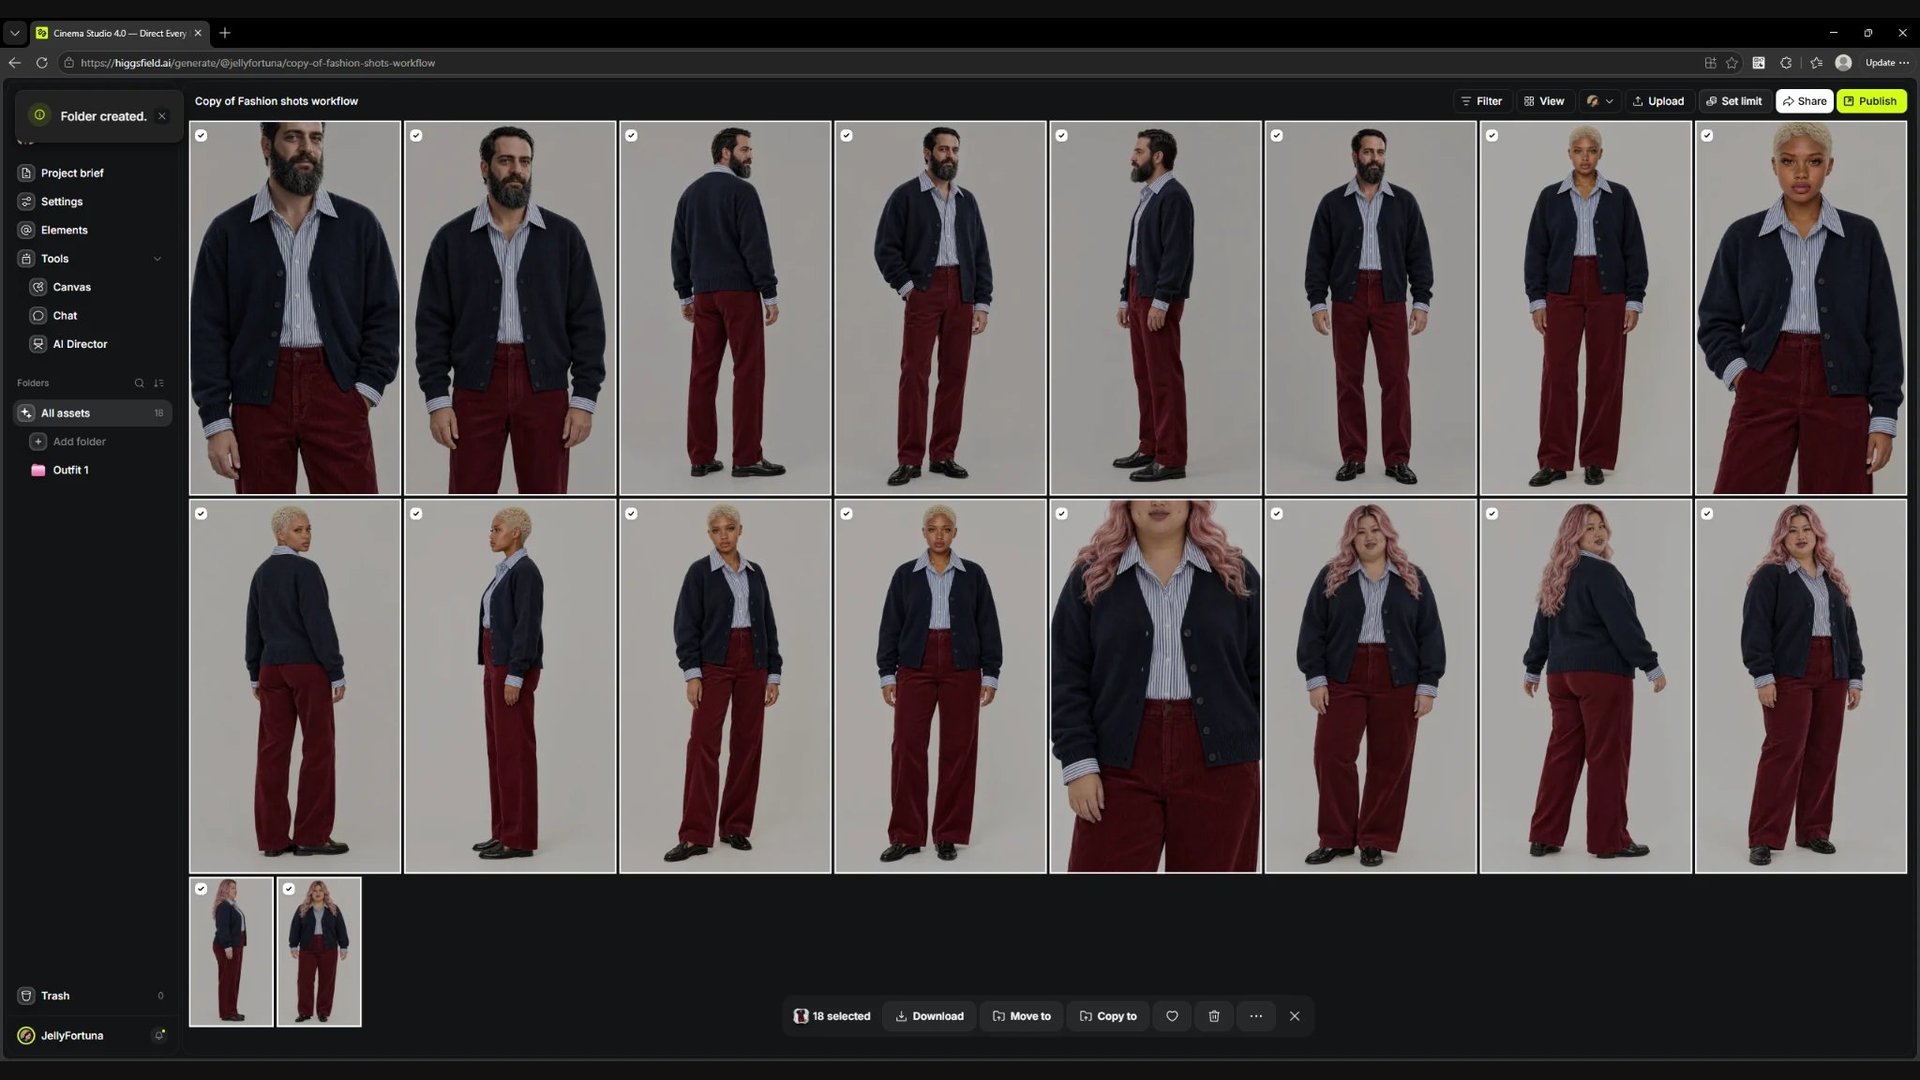
In the example, the folder Outfit 1 has been created. It appears in the left panel. Select the shots you want to group together: once they are selected, an action bar with the Move to button appears at the bottom.
Screen
The folder Outfit 1 has been created. The Download and Move to actions are available for the selected images at the bottom.
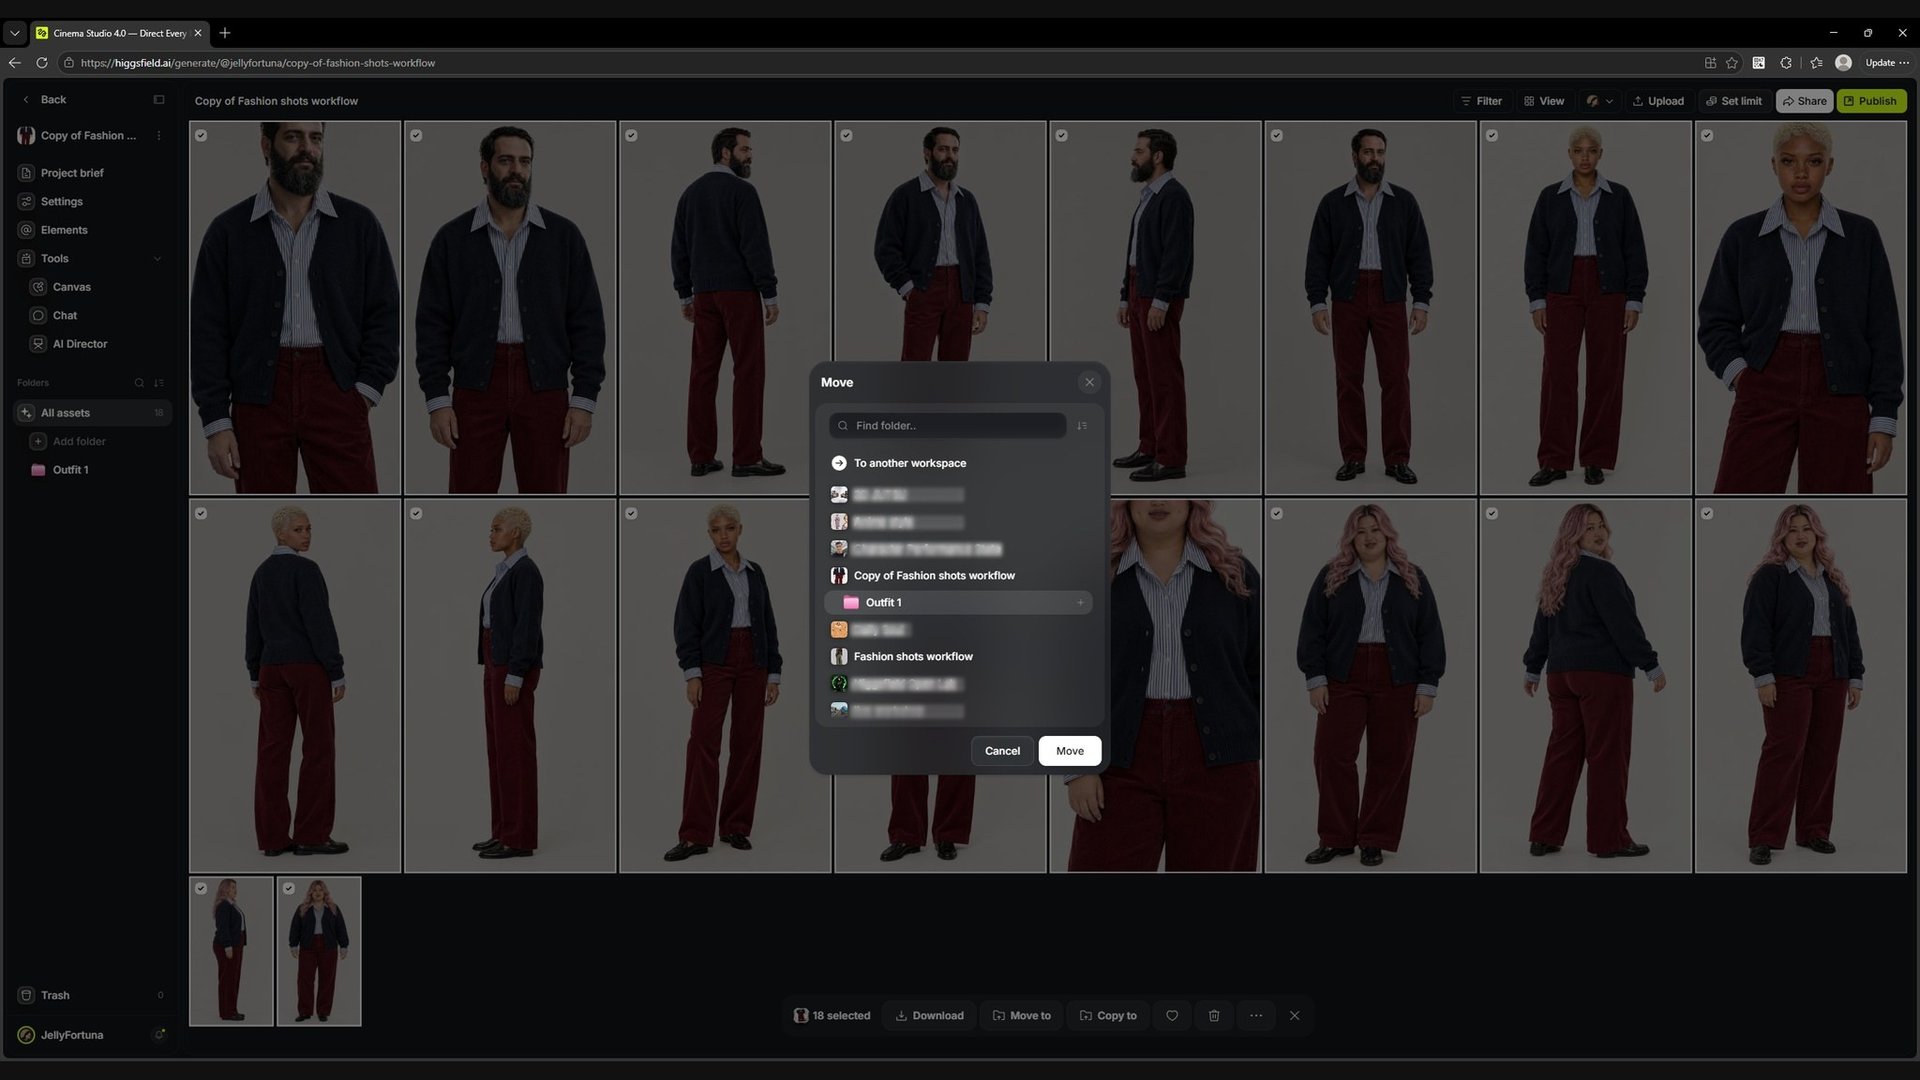
Click Move to, choose the folder Outfit 1 in the window that opens and confirm with Move. After that the selection can be opened separately through the folder in the left panel.
Screen
The folder Outfit 1 is selected in the Move window. The Move button confirms moving the selected images.
Mark approved shots and download the selection
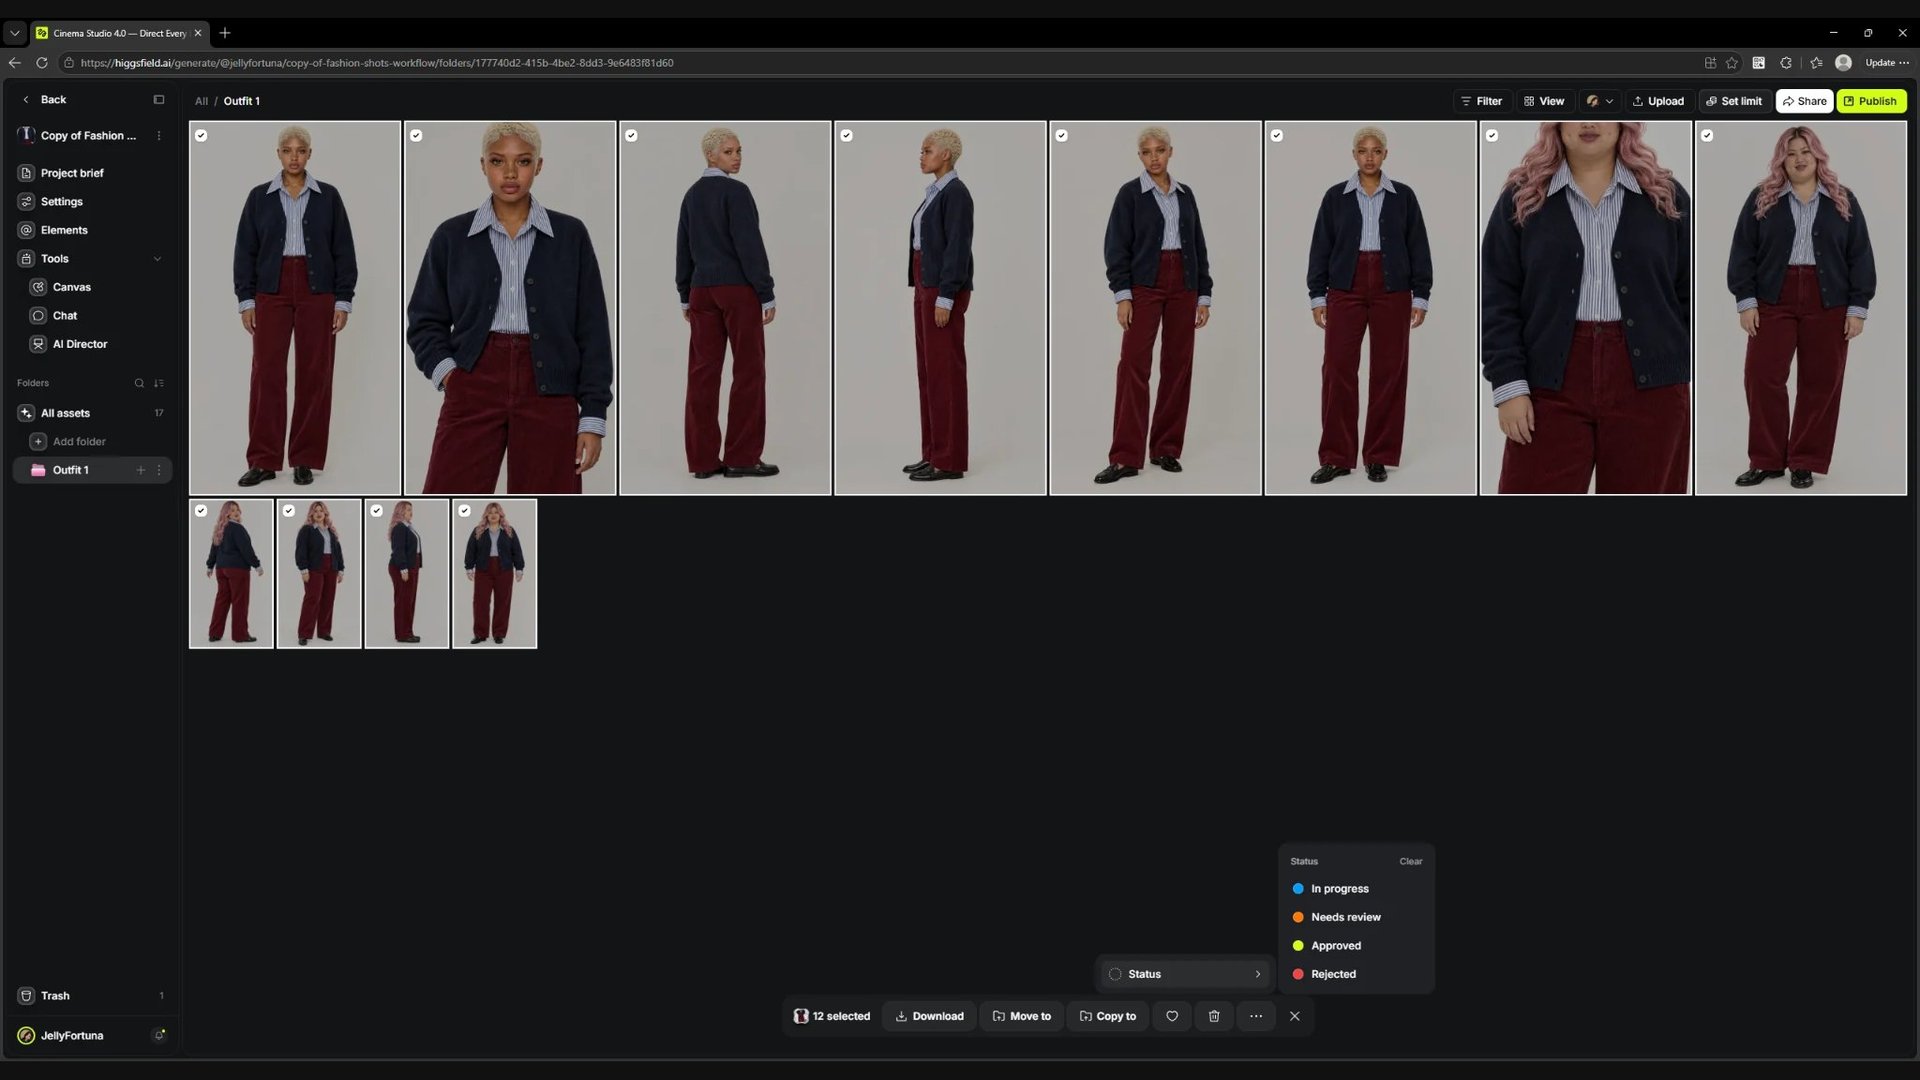
Open the folder and select the images that passed review. In the bottom bar click …, then open Status. Choose Approved for accepted shots. If an image still needs discussion, use Needs review.
Screen
The Status menu for the selected images. Needs review and Approved are available here, along with other work statuses.
A status helps team members mark a decision on specific results. It does not replace a visual check: before Approved, compare the product with the original and make sure the right version made it into the selection.
To download, select the final shots and click Download in the bottom bar. In the same screenshot the button is to the left of Move to. This is how the team gets the chosen series for further editing or for the product page.
For the next product, go back to the Canvas, replace the inputs and refine the instructions. The core structure stays useful: angles first, then review and the details you need, then approval and download.
See the ready workflow and copy it to your own Canvas
This Canvas already contains the whole process: model and outfit references, an LLM Assistant that prepares the shot instructions, and three generation branches — main angles, outfit details on the model and product close-ups. Finished results are saved next to the blocks.
Open it to study the connections in detail, read the instructions and see what each block does. You can copy the workflow to your own Canvas and use it as a base for your products. Opening the link does not start a generation.
Open the example CanvasThe ready workflow: connections, instructions and saved results. Opening the link does not start a generation.higgsfield.ai/s/BYcme2VCItc
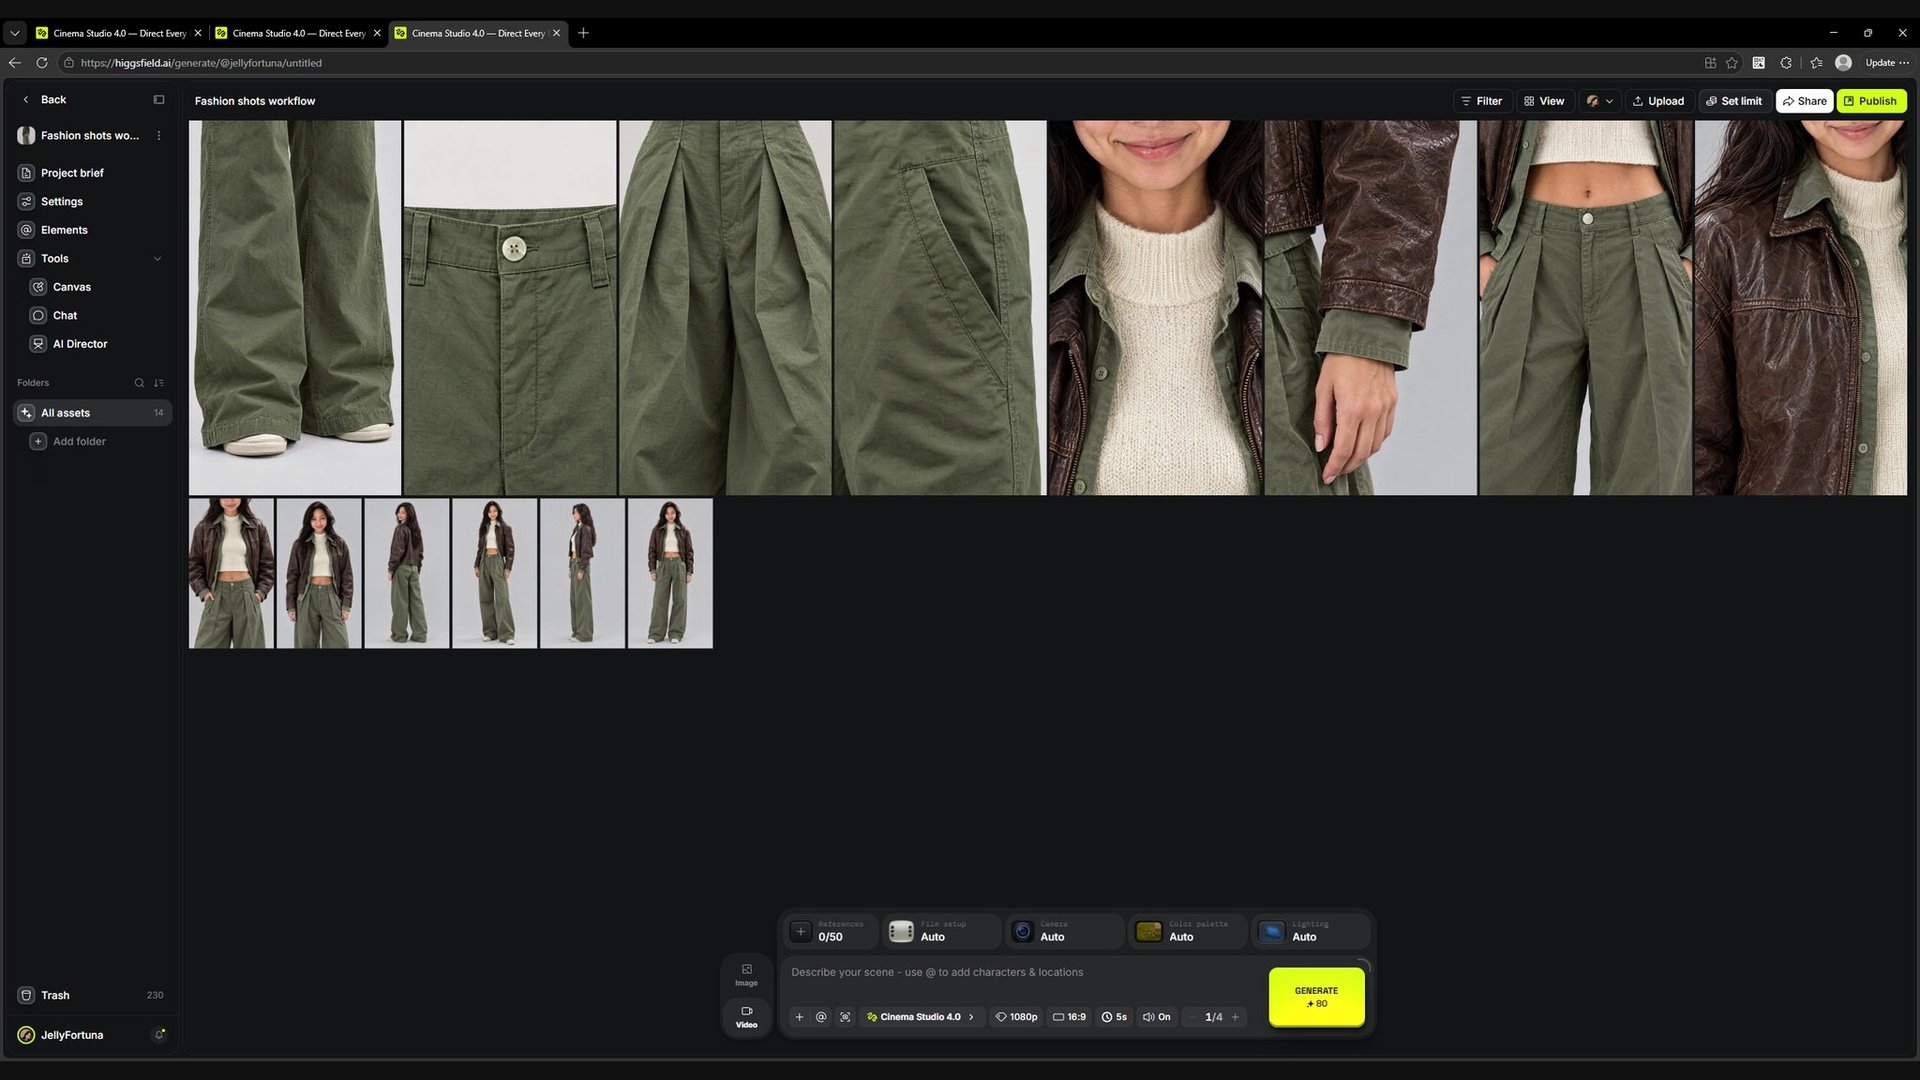
If the link opens Cinema Studio
The link may open the linked project in Cinema Studio instead of the Canvas itself. In that case, open Tools in the left panel and choose Canvas.
Screen
The project opened in Cinema Studio. In the left panel, under Tools, choose Canvas.
The Canvas opens next to the project's image library. Use the expand button in the top right corner of the Canvas panel to work with it full screen.
Screen
The Canvas is open on the right, next to the generated images. The expand button is in the top right corner of the Canvas panel.
How to copy the workflow
- Open the example Canvas via the link above.
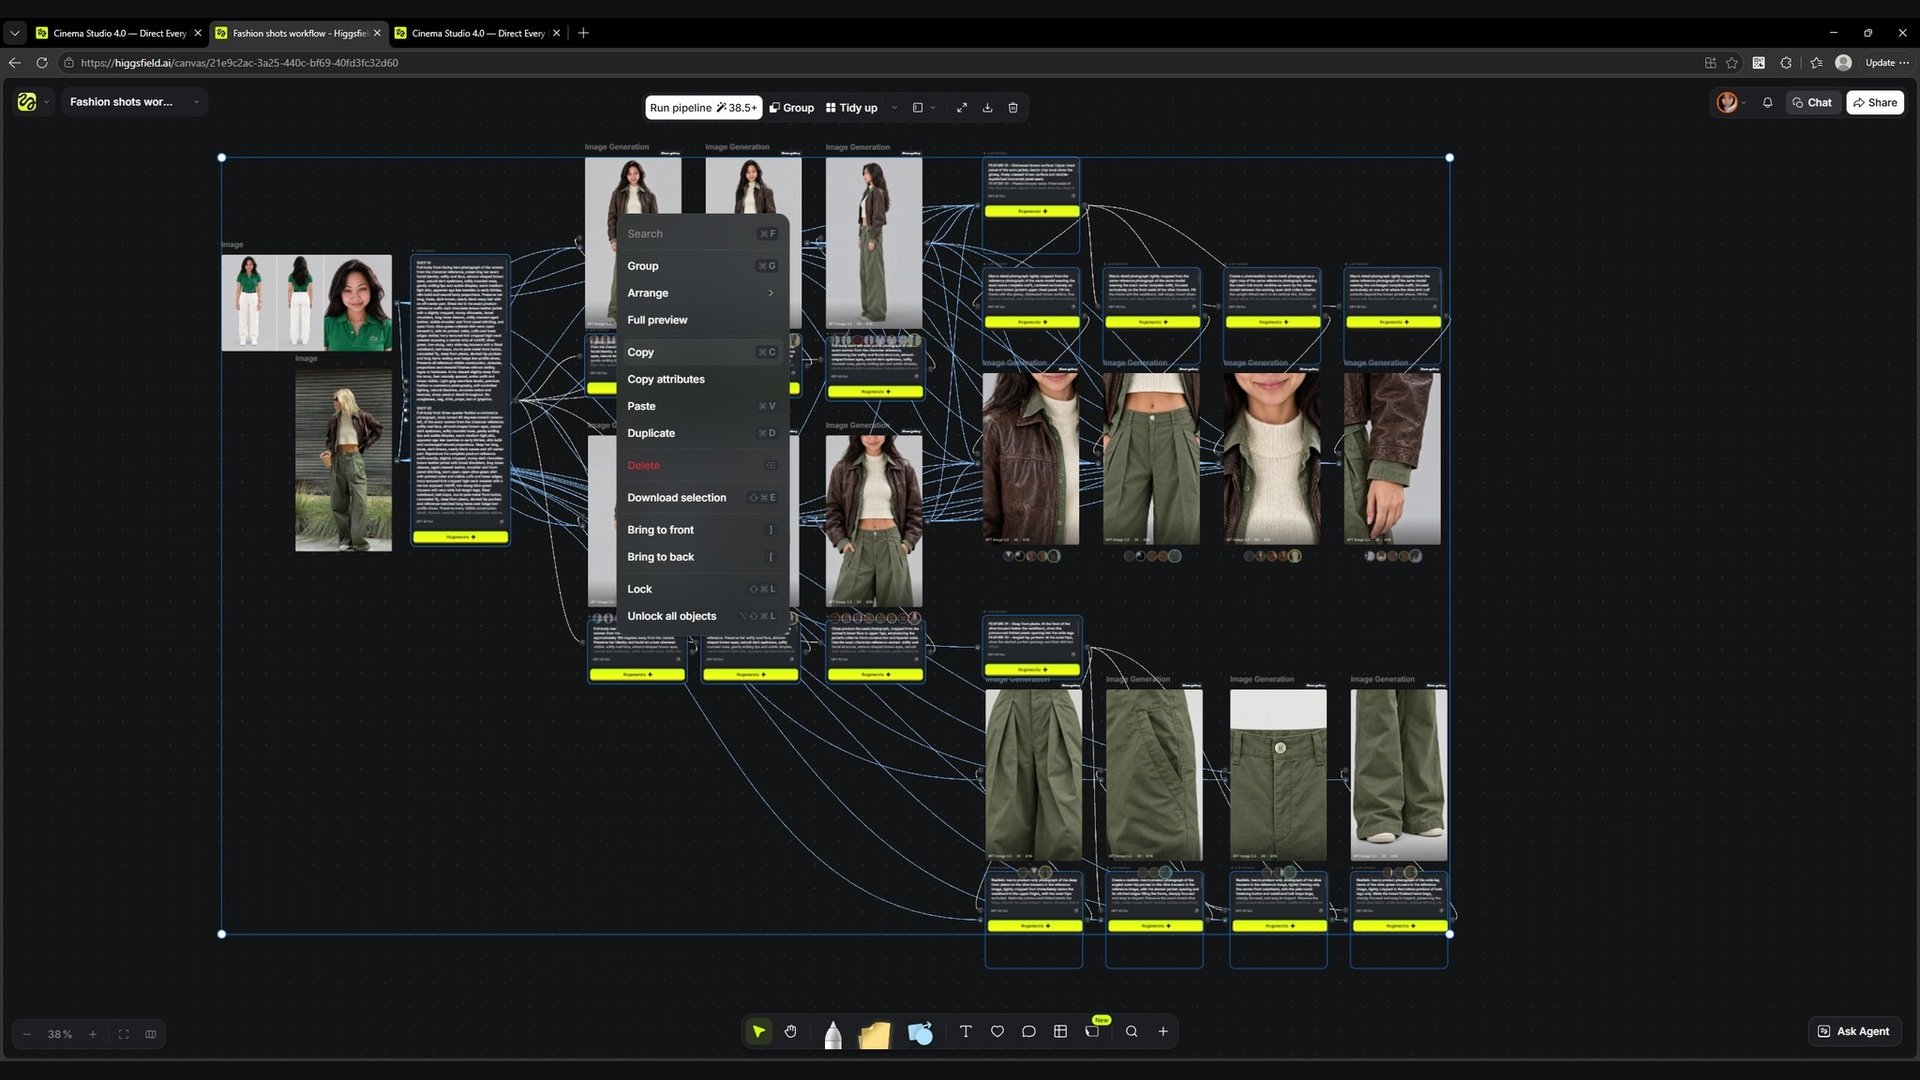
- Select the whole workflow: drag a selection frame around all the blocks on the canvas.
- Right-click the selection and choose Copy (⌘C).
- Go to your own Canvas.
- Right-click on the canvas and choose Paste (⌘V). The workflow appears in your Canvas with all its connections.
Screen
The whole workflow is selected with a frame and the right-click menu is open: Copy copies the blocks, Paste inserts them into another Canvas.