AI Cast · From description to character
How to find AI Cast, build a look from filters, get variants and edit the chosen character.
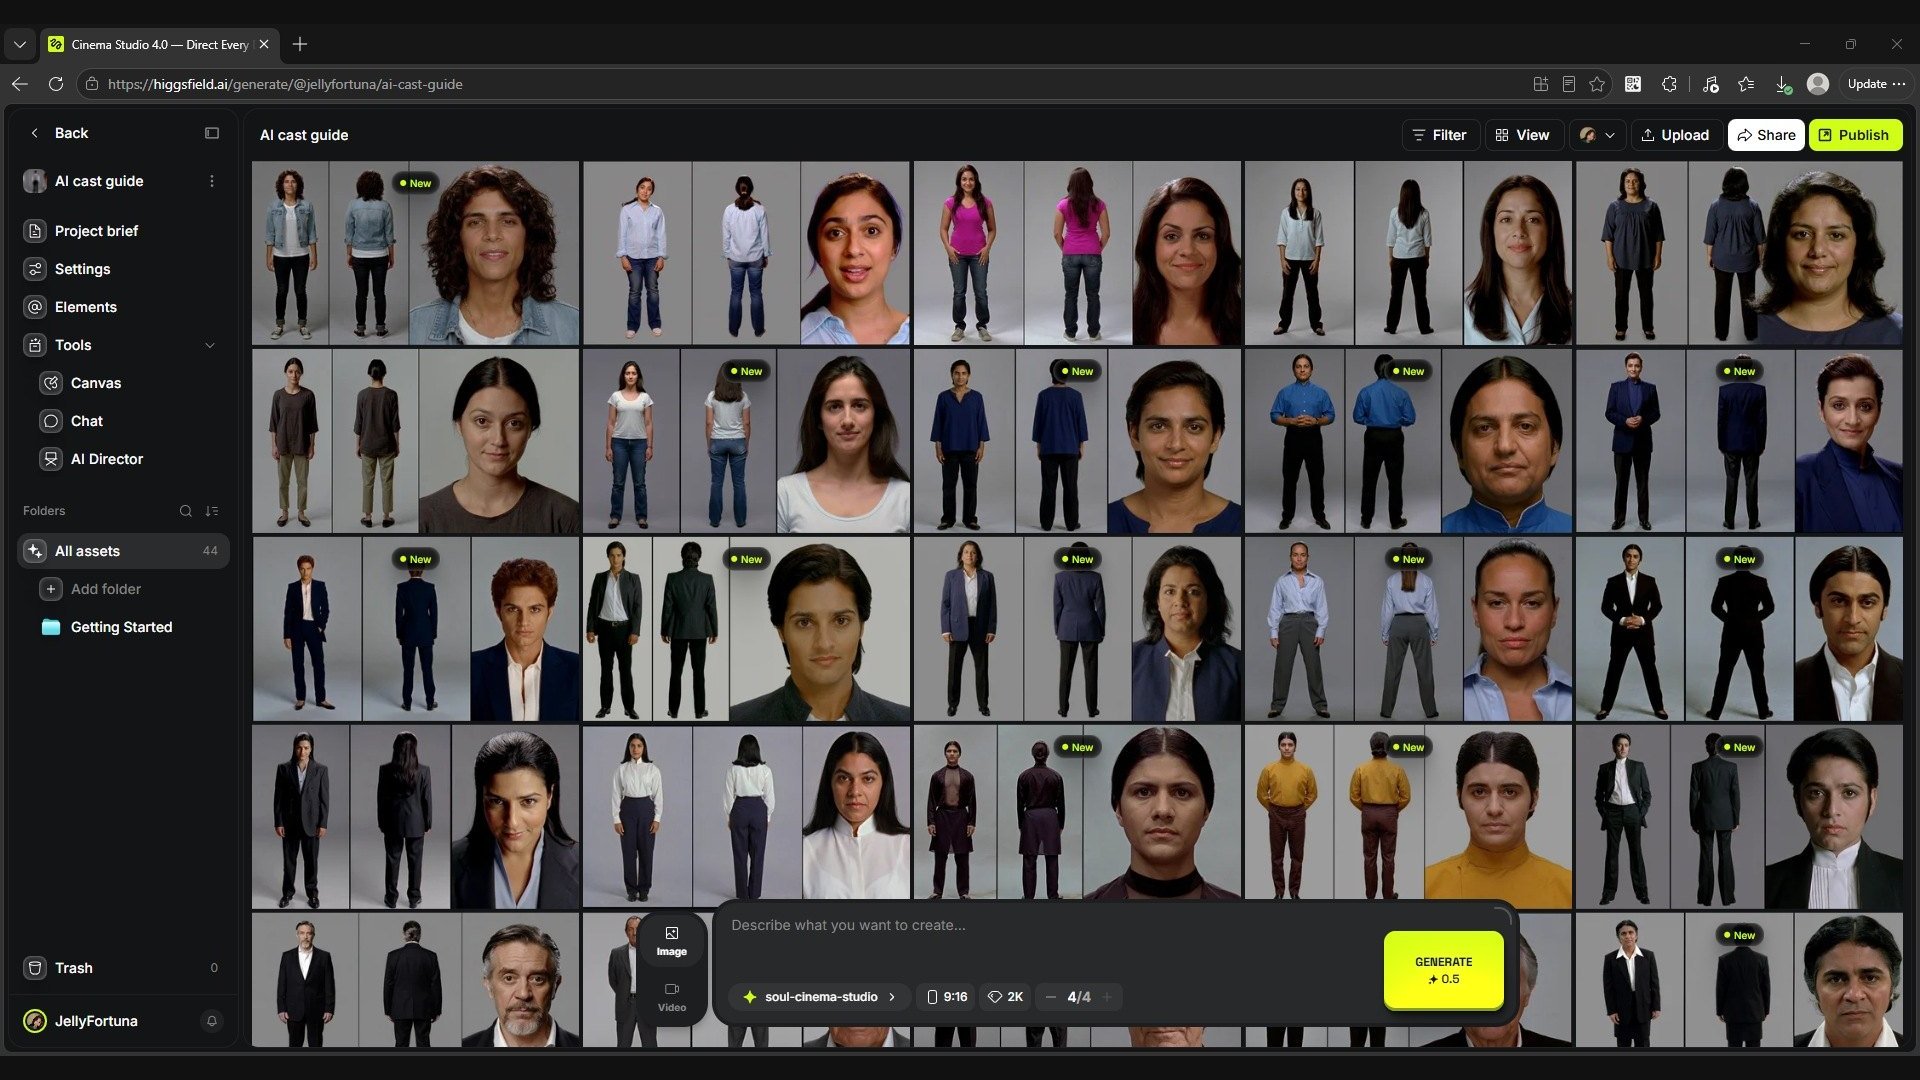
The AI Cast character gallery in Cinema Studio.
Open your project in Cinema Studio. In the generation panel at the bottom, choose Image, then click the name of the current model: a list of available tools opens.
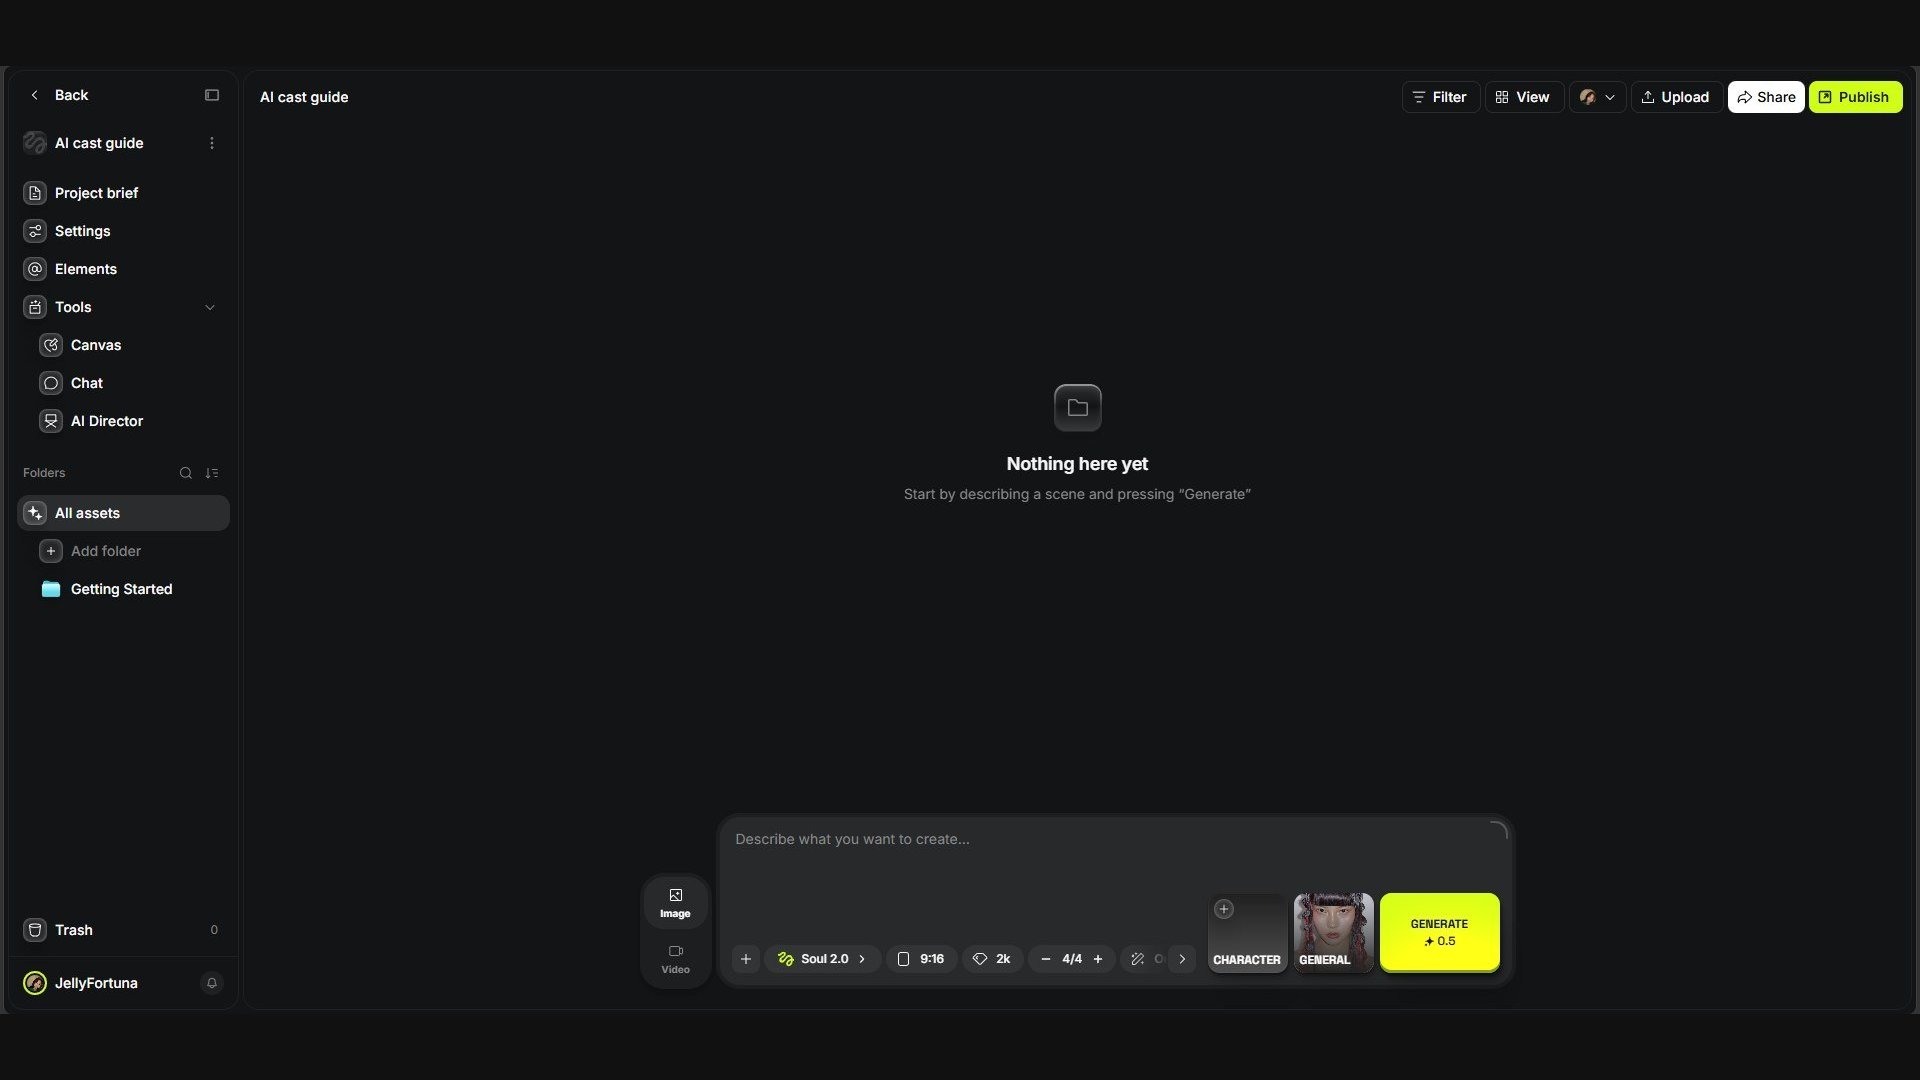
The Cinema Studio workspace. The generation panel is at the bottom.
In the Cinematic models group, choose AI Cast. It is a tool for casting a character's look: you set the story context and the appearance, and get a sheet with several views of the same character.
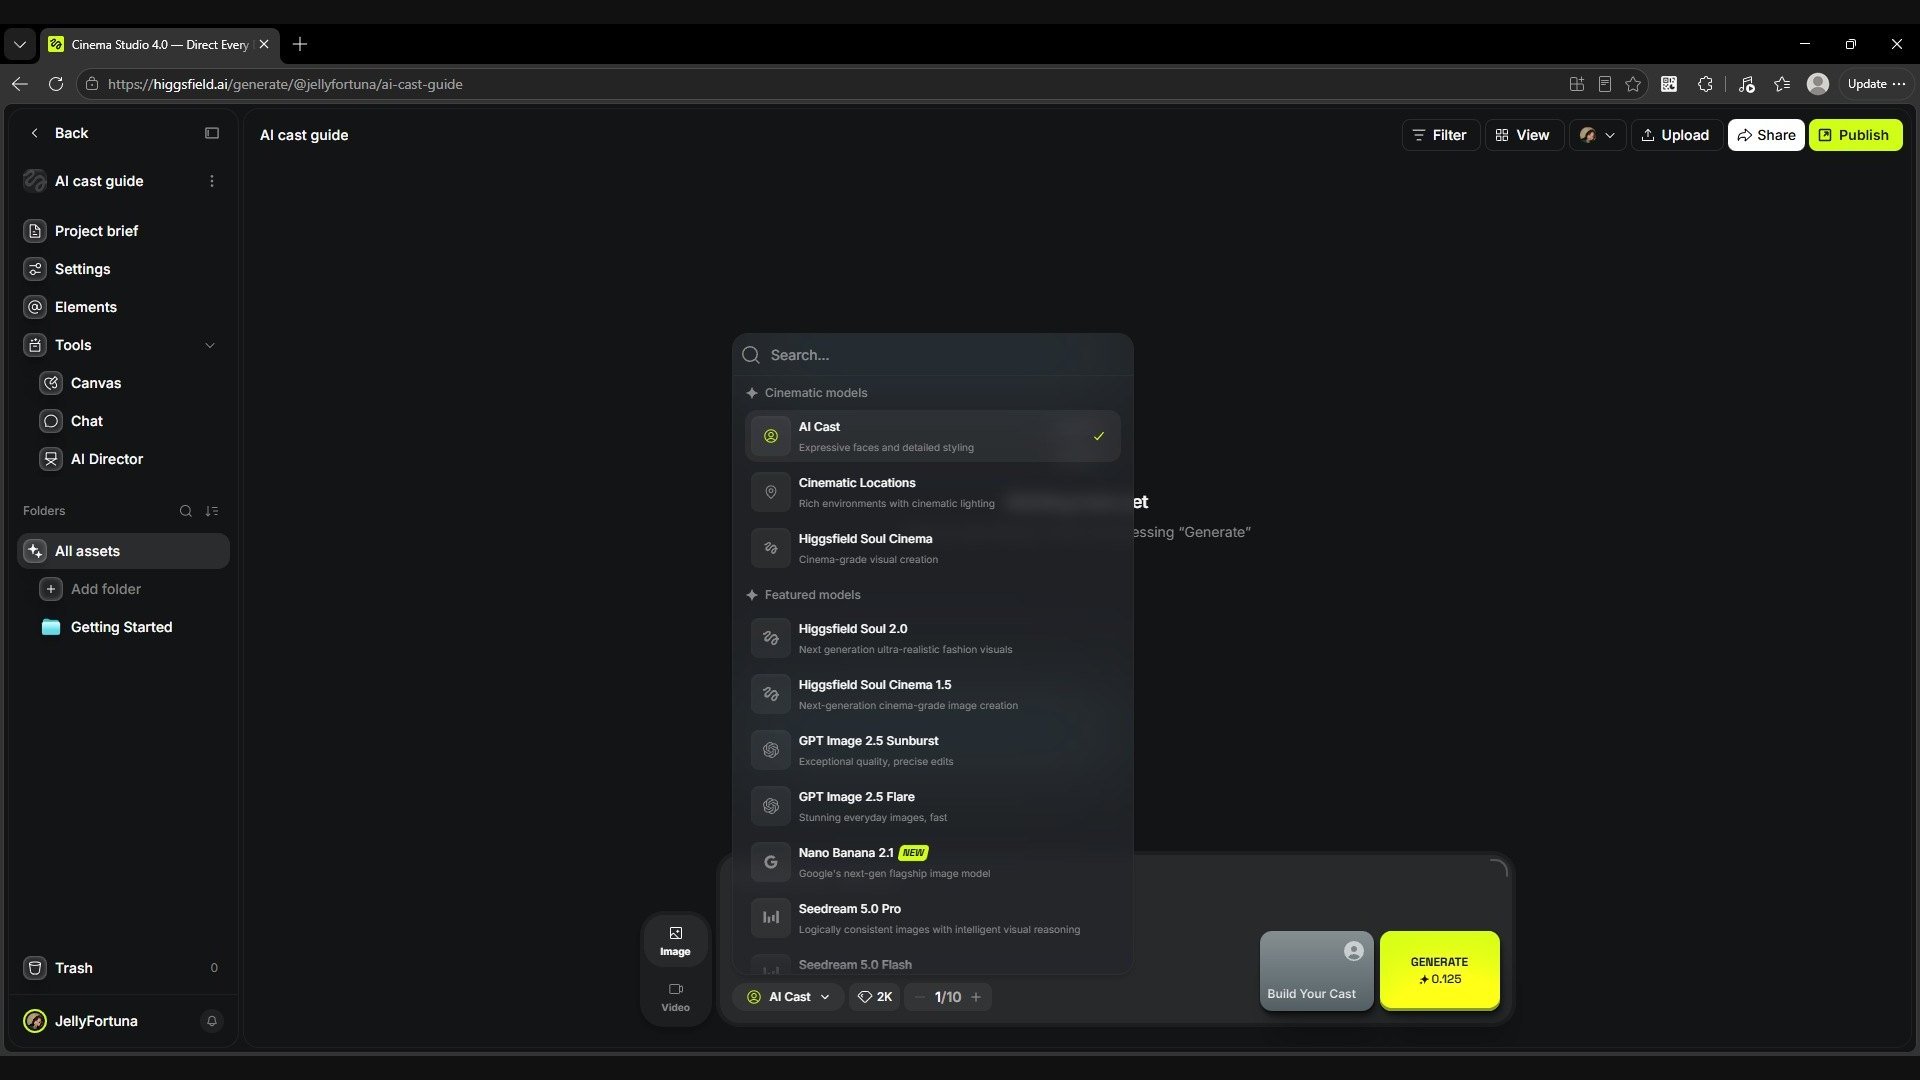
AI Cast is the first item in the Cinematic models group.
To the right of the prompt field, click Build Your Cast. The CREATE YOUR SOUL CAST builder opens, where you can assemble a look using filters.
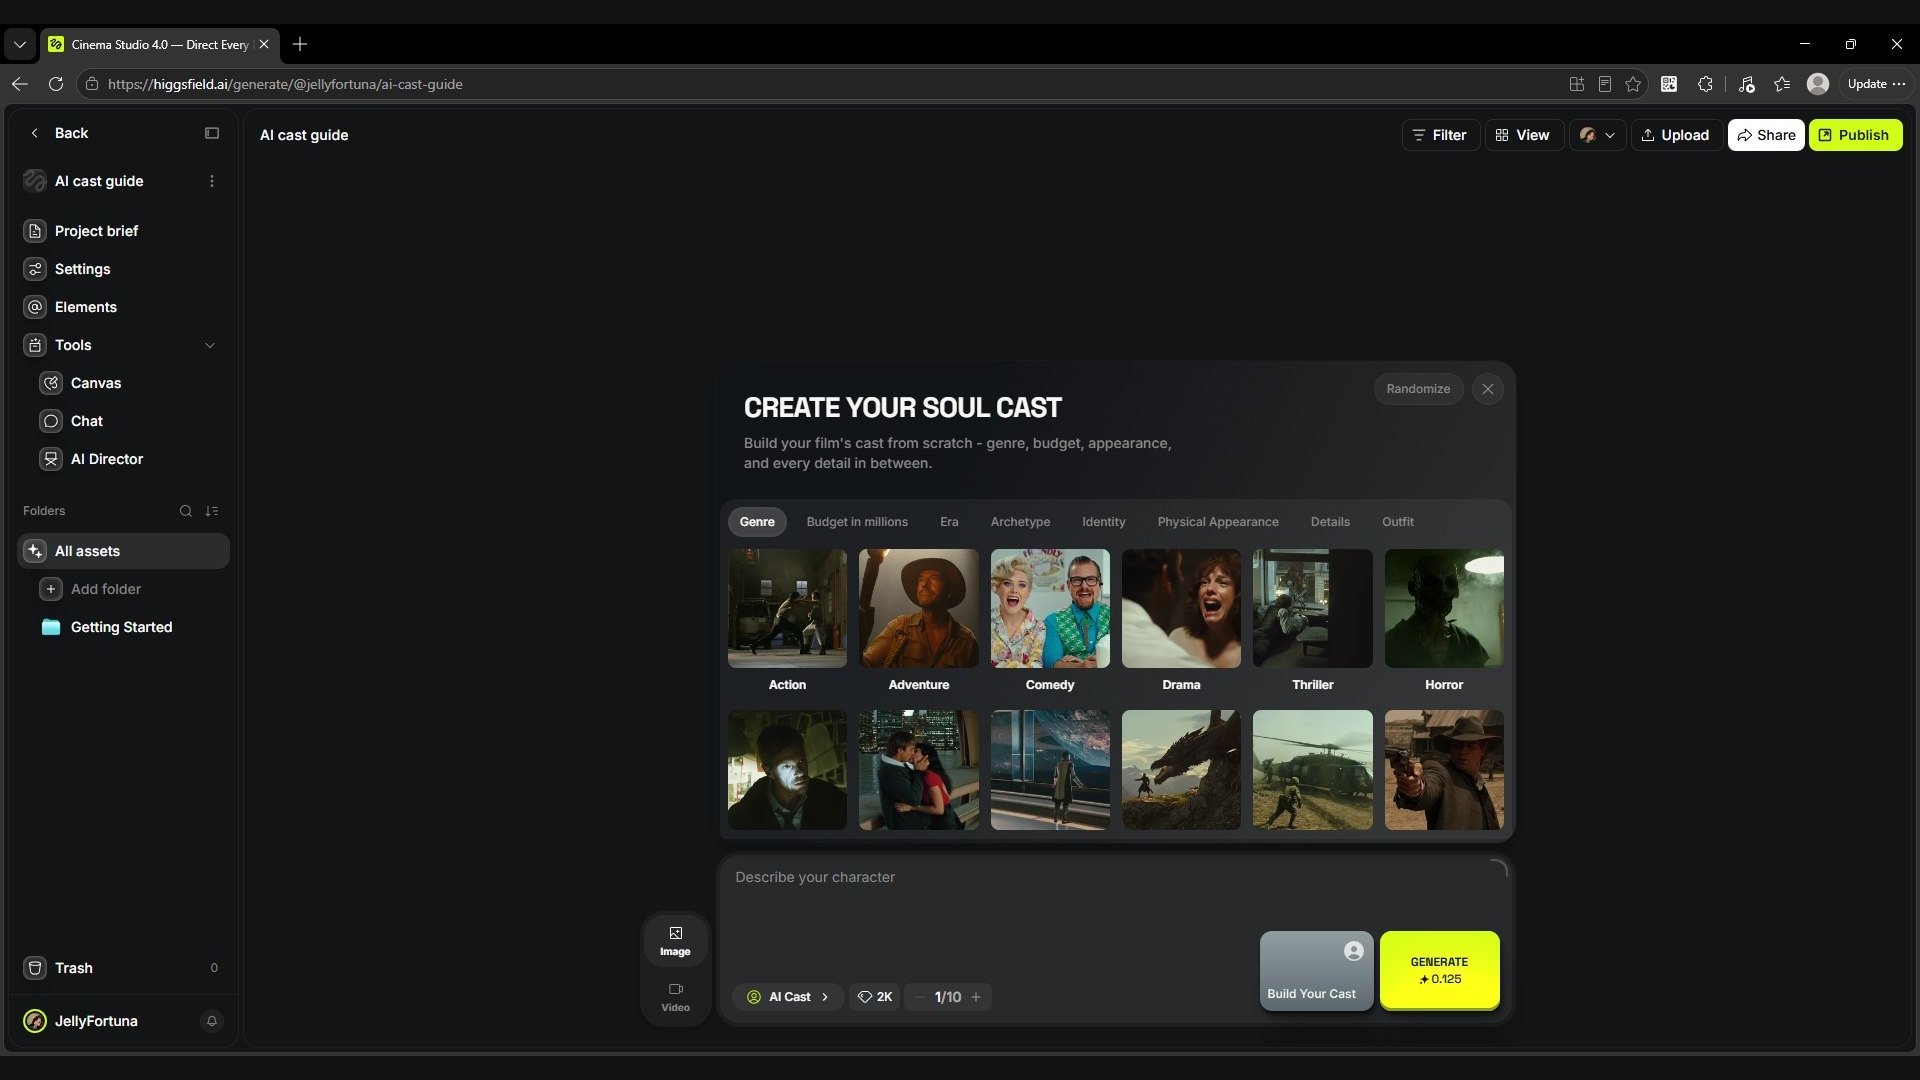
Build Your Cast opens the character builder.
How the builder works
The builder helps you move step by step from a general idea to a specific look. First you set what story the character is for, then choose their role, main appearance traits, distinguishing features and clothes. You don't have to fill in everything at once: start with the traits that matter for your task and refine the look as you work.
Section | What to use it for |
|---|---|
Genre | Set the genre context: how the character should feel in your story. |
Budget in millions | Indicate the intended scale of production as part of the creative brief. |
Era | Tie the look to the time period of the story. |
Archetype | Define what impression and role the viewer should read. |
Identity | Set the base appearance type, gender and age. |
Physical Appearance | Build the silhouette, proportions and appearance traits. |
Details | Add distinctive features that make the look recognisable. |
Outfit | Choose a wardrobe that fits the role, era and situation. |
Identity and Physical Appearance have additional settings in the menu on the left. The selected values are collected as green tags in the prompt field. This way you can see which conditions you have already set and add your own description to them.
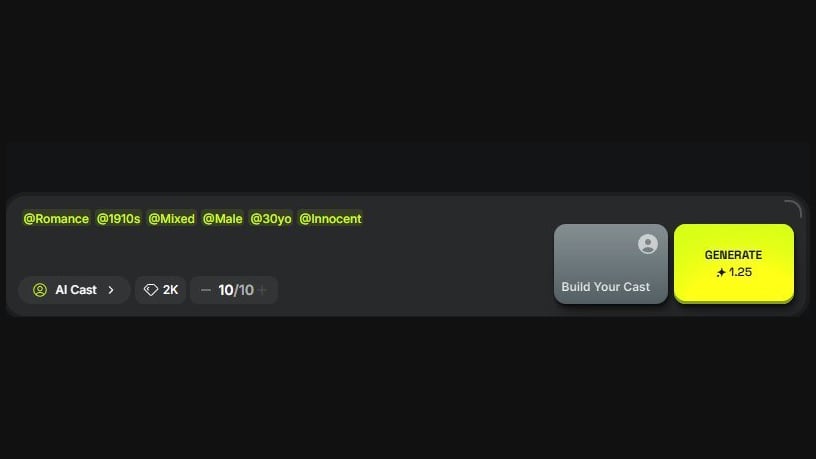
The selected settings are collected as tags under the builder.
Use the filters for the main characteristics, and free text for what makes the character specific: their profession, mood, usual way of carrying themselves or an exact description of the clothes. Make sure the description and the filters define a consistent look.
Context: genre, budget and era
Genre sets the context in which the viewer should perceive the character. It helps to start from the story itself: what drives the plot, what situations await the character and what impression they should make. The same person can be the hero of a drama, a thriller or a sitcom, but the creative brief for how they are presented will differ.
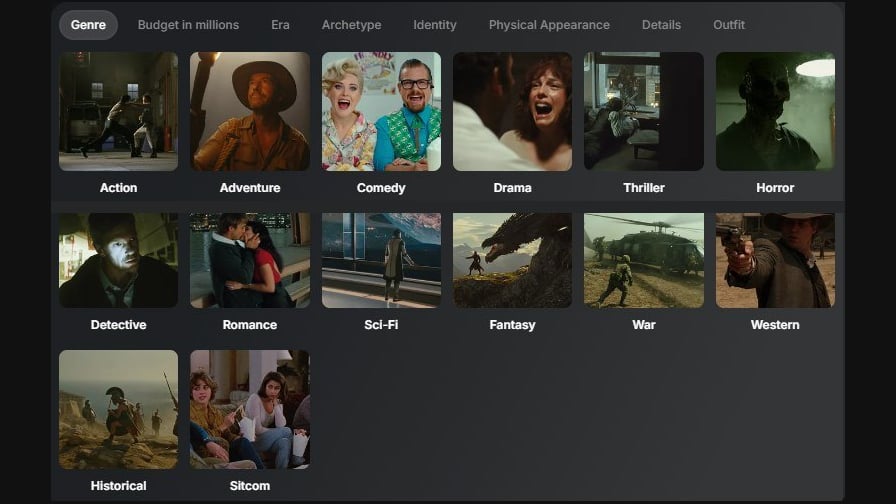
Genre: all available genres in one panel.
Genre | When to choose it |
|---|---|
Action | For heroes of stories built around active action, confrontation and dangerous tasks. Choose it if the look should suit a person who acts under pressure: a rescuer, a bodyguard, someone in a chase or an adventure conflict. |
Adventure | For stories about a journey, a search and discovering something new. Suits explorers, travellers and heroes who leave their familiar surroundings. The guiding idea here is readiness for the road and curiosity about the world. |
Comedy | For comic situations, character roles and expressive contrasts. Suits cases where the humour comes from the character's temperament, reactions or mismatch with the circumstances. If you need a calm, realistic look, specify a restrained presentation in the description. |
Drama | For stories about human relationships, choices and inner conflict. Choose it for everyday, emotionally convincing heroes, when character and life experience matter more than genre flair. |
Thriller | For tense stories about threat, pursuit, suspicion or uncertainty. Suits characters who should carry a sense of tension: a person with a secret, a witness or a hero trying to escape danger. |
Horror | For stories where fear, anxiety and confronting something frightening play the central role. Suits vulnerable heroes as well as unsettling, ambiguous looks. The genre alone does not set specific make-up or a creature's appearance; describe those separately. |
Detective | For investigations, mysteries and the search for a hidden truth. Suits detectives, journalists, witnesses and suspects. Choose it when the character should feel part of a story where observation, motives and things left unsaid matter. |
Romance | For stories centred on attraction, closeness and a developing relationship. Suits the heroes of a romantic storyline, from an everyday meeting to a period story. Set the age, era and how everyday the look is with the following settings. |
Sci-Fi | For worlds connected with technology, the future, space travel or scientific premises. Suits explorers, crews and people of the future. If you need a certain level of futurism, specify the materials and clothing. |
Fantasy | For worlds with magic, mythology and invented cultures. Suits heroes of a fairy-tale journey, a court story or an epic adventure. Add the character's specific profession, origin and unusual features as text. |
War | For stories about military conflict and the people inside it. Suits soldiers, medics and civilian characters in a war story. Specify the era and wardrobe so the look matches the chosen context. |
Western | For stories with a frontier aesthetic: small settlements, long roads, a harsh way of life and personal confrontation. Suits sheriffs, wanderers, ranch owners and other heroes of that world. |
Historical | For stories where belonging to a particular time matters for the look. Use it together with Era and a specific costume description: this gives the genre direction a concrete time anchor. |
Sitcom | For heroes of recurring everyday situations: family, neighbours, friends or colleagues. Suits cases where you need a recognisable character who fits naturally into a constant environment and regularly ends up in comic circumstances. |
Budget in millions
This slider sets the film's intended budget as part of the casting context. Use it to signal the scale of the project: an intimate story with everyday heroes or a large production with a stronger genre presentation. Keep this choice consistent with the genre and the character description.
Move the slider to a suitable value. You don't need to match a real production budget exactly: when working on a look, it is a creative guide. The cost of the generation itself is shown separately on the Generate button.
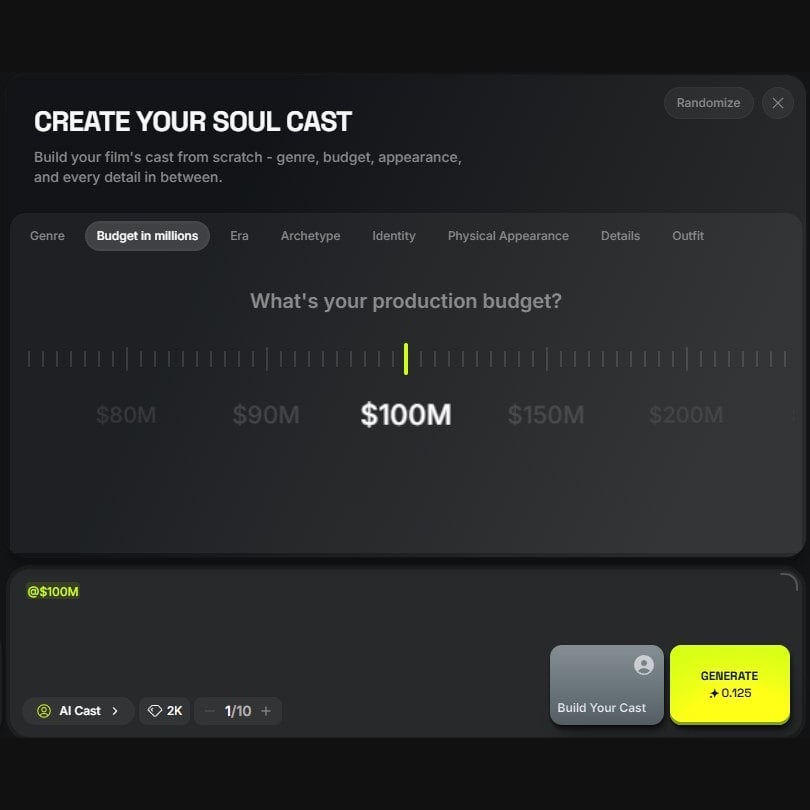
Budget in millions: setting the intended scale of the film.
Era
In the Era tab, choose the time period of your story. The era helps set the time context for clothing, hair and the overall look. Use it together with Outfit: for a historical story, for example, both the time period and the wardrobe should support one idea.
It is convenient to think of the slider as choosing a period. If specific details of the time matter for the character, add them to the description: the silhouette of the costume, the fabric of the clothes or a characteristic hairstyle.
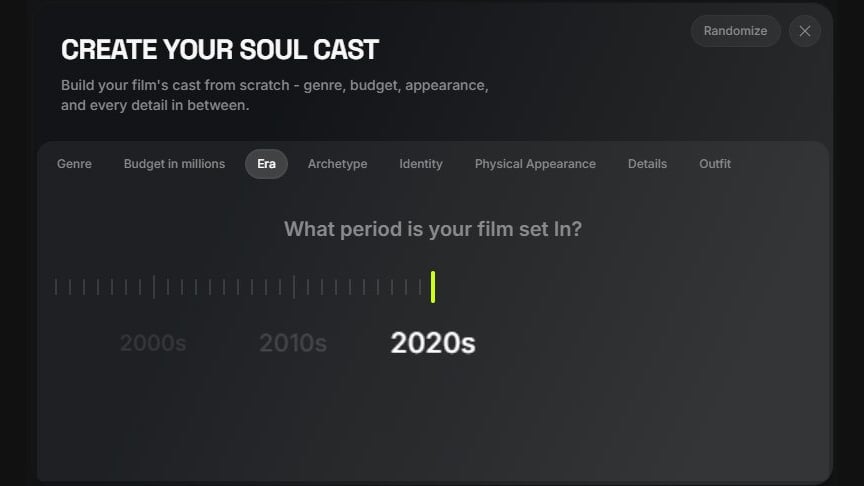
Era: choose the period your story belongs to.
Role archetype
Archetype helps define how the character should read at first meeting. You choose the basis of their role and impression: a familiar everyday person, a protector, a rebel, a mentor or a leader. It is a useful anchor for casting when you already have an appearance description but the character of the look is not yet defined.
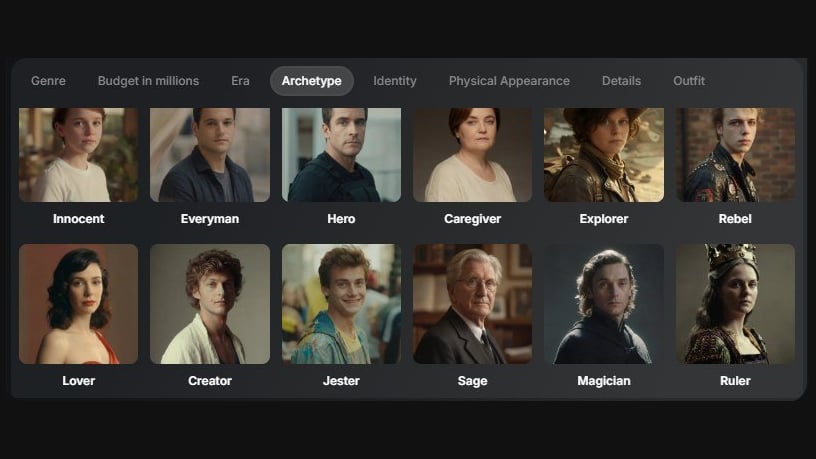
Archetype: choose the basis of the character and role.
Archetype | What look it suits |
|---|---|
Innocent | Openness, trust and a sense of sincerity. Suits a hero who looks at the world without cynicism, is starting a new path or keeps hope in a difficult situation. |
Everyman | An ordinary person close to the viewer. A good guide for everyday stories, family scenes and characters in whom the viewer should recognise themselves or people they know. |
Hero | Determination to act and overcome obstacles. Suits a main hero, a protector or a person who takes on a difficult task; the look does not have to be physically powerful. |
Caregiver | Care, attention to others and reliability. Suits a parent, mentor, doctor or a hero whose role is built around support and responsibility for loved ones. |
Explorer | Independence, curiosity and a drive to go beyond familiar limits. Suits travellers and heroes looking for new opportunities or their own path. |
Rebel | Independence and readiness to challenge the established order. Choose it for a hero who resists the rules, challenges those around them or deliberately stands out. |
Lover | Emotional involvement, sensuality and valuing closeness. Suits a character whose role in the story is defined by relationships, attachment or aesthetic experience. |
Creator | Imagination and the need to create something. Suits an artist, designer, inventor or a person who expresses themselves through their own work. |
Jester | Playfulness, lightness and a tendency to break the seriousness of the moment. Suits a comic character or a hero who responds to difficulties with humour. |
Sage | Experience, observation and a drive to understand what is happening. Suits a mentor, researcher or a calm, thoughtful hero. This is a feature of the role, not a requirement for old age. |
Magician | A sense of transformation, mystery and influence over events. Suits a visionary, an unusual mentor or a hero who changes the familiar order; literal magic depends on the genre. |
Ruler | Control, status and responsibility for decisions. Suits a manager, ruler or a character used to organising others and keeping the situation under their influence. |
An archetype does not replace a script. If you need a nuance, add it as text: for example, a caring hero can be tired and reserved, and a leader calm, without a display of authority.
Gender and age
In Identity → Gender you set the character's base male or female presentation. Start with this choice, then refine the appearance with the other settings. Gender alone does not define the character's personality, profession or clothing.
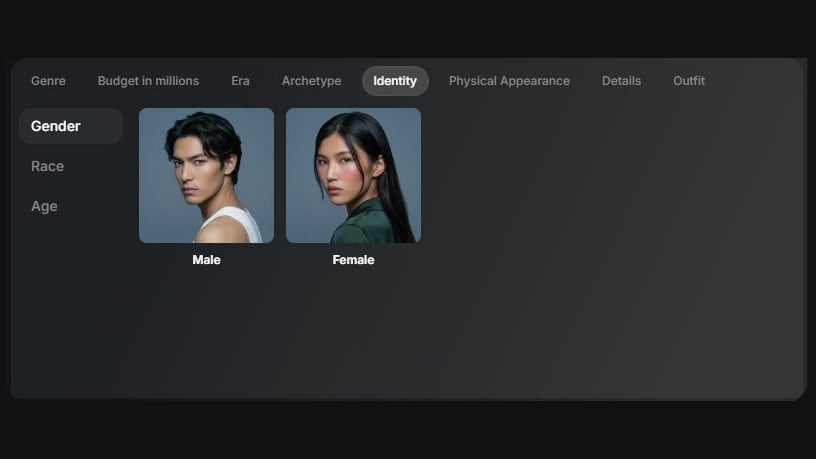
Identity → Gender: the character's base setting.
Age: Identity → Age
Age controls how old the character appears: how young, mature or elderly they should look. Move the slider to a suitable age and treat it as a guide for the appearance, not an exact measurable value.
For casting, what matters more is whether the resulting look fits your role. If the character should look especially young, mature, energetic or tired, add this to the description: age and the impression of life experience do not always match.
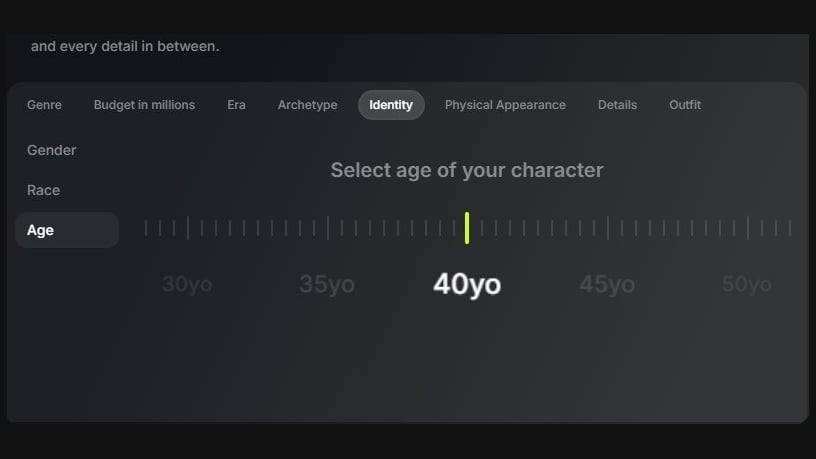
Identity → Age: choose a suitable age guide.
Appearance type
Identity → Race helps set the general direction of the appearance type. Choose the card closest to the look you have in mind, then refine it through age, hair, build and individual details.
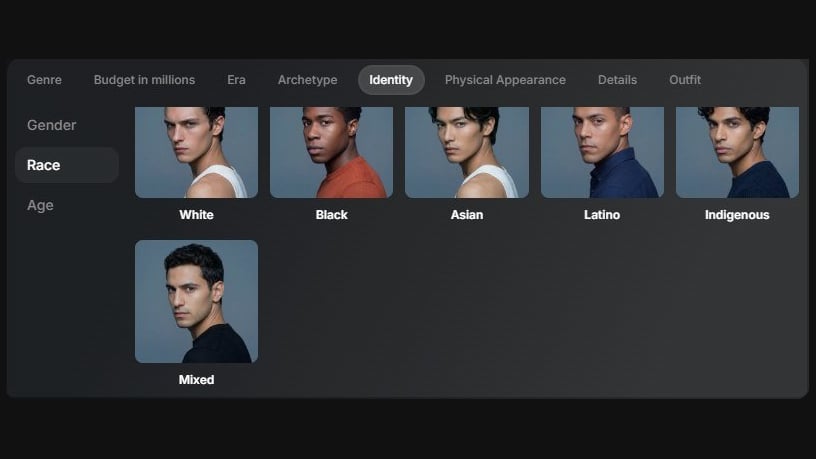
Identity → Race: choosing the general appearance type.
This filter is useful when casting an ensemble: it helps build differences between characters already at the search stage. So that characters don't differ by only one base characteristic, develop each look through its own silhouette, wardrobe and distinguishing features.
Build and height
Physical Appearance → Build sets the body type and overall silhouette. Use this setting when the look should read not only through the face: a slim figure, an everyday average build, an athletic shape, pronounced muscles or a larger build create different silhouettes.
Physical Appearance → Build: setting the body type.
For a mobile, sporty look you can start with Athletic; if pronounced muscles matter, start with Muscular. Stocky sets a denser, thickset silhouette, and Plus-size helps you look for a look with a larger build. Choose by the impression you need, then assess the result at full length.
Height: Physical Appearance → Height
Height sets relative height: from very short to very tall. It is a guide for proportions and the impression of the figure. The setting is especially useful when you are assembling several characters and want to plan the difference in their silhouettes in advance.
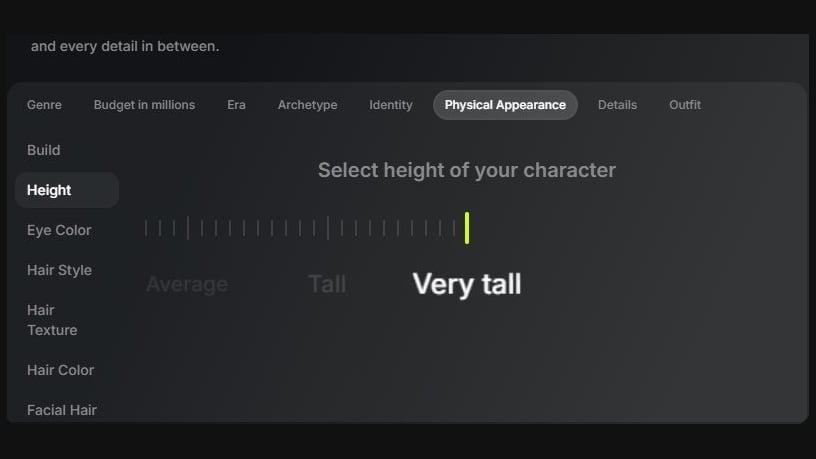
Physical Appearance → Height: the character's relative height.
Combine height with build. A tall slim hero and a tall massive hero will read differently even if the Height slider is in the same position. On the character sheet, assess these settings together.
Eye colour and Custom
Eye Color sets the colour of the iris and helps lock in one of the recognisable features of the face. Choose a ready card if you need a common colour, or use Custom when a specific shade matters.
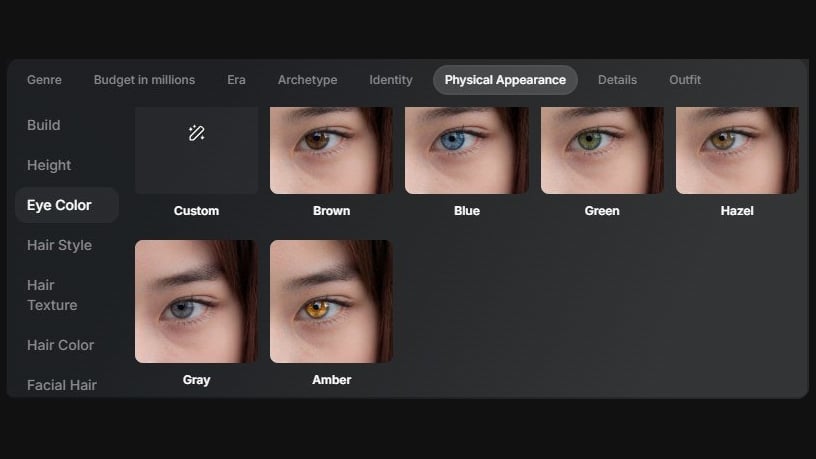
Physical Appearance → Eye Color: ready eye colour options.
In Custom you can describe the shade in more detail, for example a muted grey-green or a warm brown with an amber tint. Enter a description of up to 300 characters and click Apply.
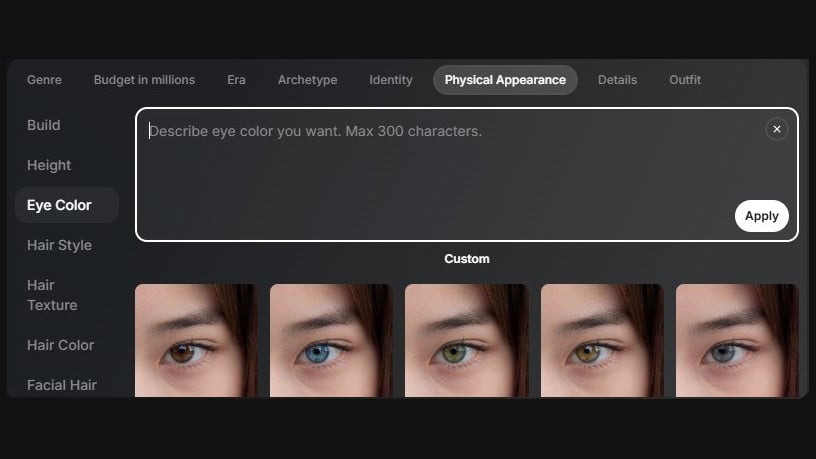
Custom: describe the shade you need and apply it with the Apply button.
Check the colour on the close-up portrait on the character sheet: it is easier to judge the shade there and see whether it matches your idea.
Hairstyle
Hair Style defines the shape of the hairstyle: the length, how the hair is gathered and the character of the styling. This setting noticeably affects the silhouette of the head and how the face is revealed in the frame.
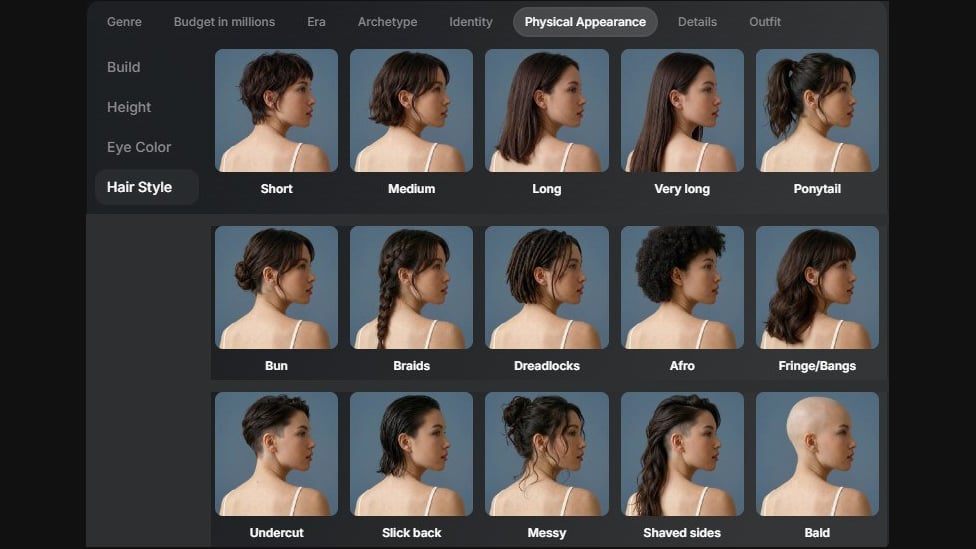
Hair Style: all hairstyle options in one expanded panel.
If length matters, start with Short, Medium, Long or Very long. If how the hair is gathered matters more, choose Ponytail, Bun or Braids. For a more distinctive silhouette, try for example Afro, Undercut or Shaved sides. Scroll the panel to see all the options.
Hairstyle and texture are separate settings. First choose the shape, then set whether the hair is straight, wavy or curly. If you need a nuance, for example a few loose strands around the face, add it to the general description.
Hair texture
Hair Texture sets the natural shape of the hair and how it forms volume. This setting helps tell a straight, smooth hairstyle from a soft wave, defined curls or tight coils.
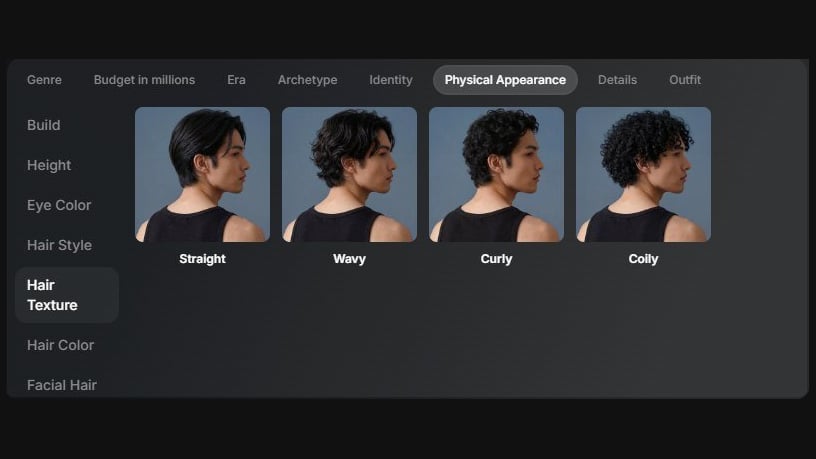
Physical Appearance → Hair Texture: the shape and character of the hair.
Use texture together with Hair Style. For example, Long + Wavy sets long wavy hair, and Short + Curly a short curly hairstyle. This way you can keep the same length but get noticeably different silhouettes and impressions.
Hair colour and Custom
Hair Color sets the main hair colour. Ready cards are convenient for a quick search; Custom is needed when a more specific shade or a combination of colours matters for the character.
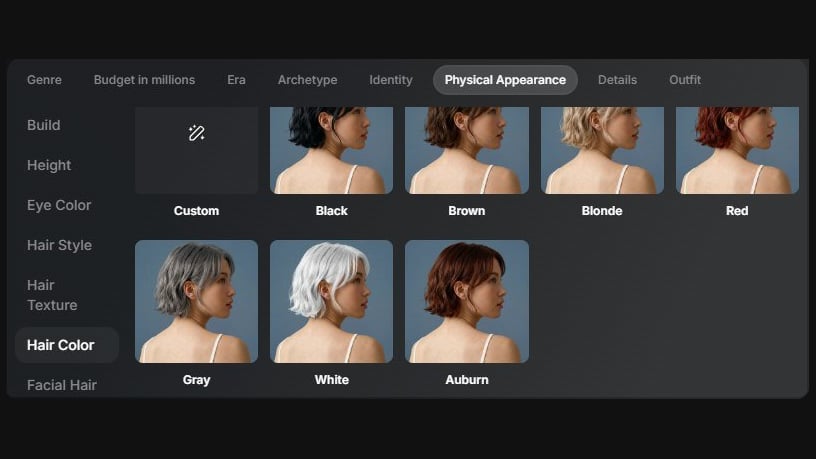
Physical Appearance → Hair Color: choosing the main hair colour.
With Custom you can describe dark chestnut with light grey at the temples, a soft natural blonde or any other option you need. First name the main colour, then add the refinement so the description stays unambiguous. The limit is 300 characters; after entering, click Apply.
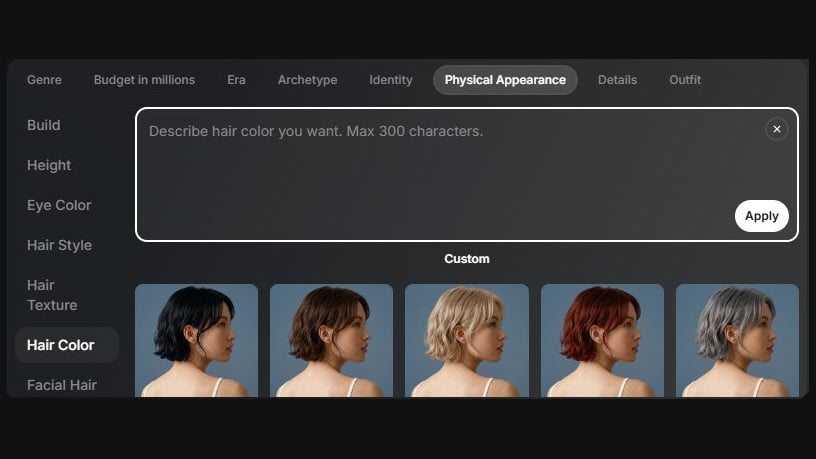
Custom: refine the shade or the distribution of colour.
If the character is needed for several scenes, save the chosen colour description together with the other characteristics: this makes it easier to use consistently in further work.
Beard and moustache
Facial Hair sets the facial hair and noticeably changes the outline of the lower face. Choose clean-shaven for an open jawline, stubble for a light texture, or one of the beard and moustache options for a more defined silhouette.
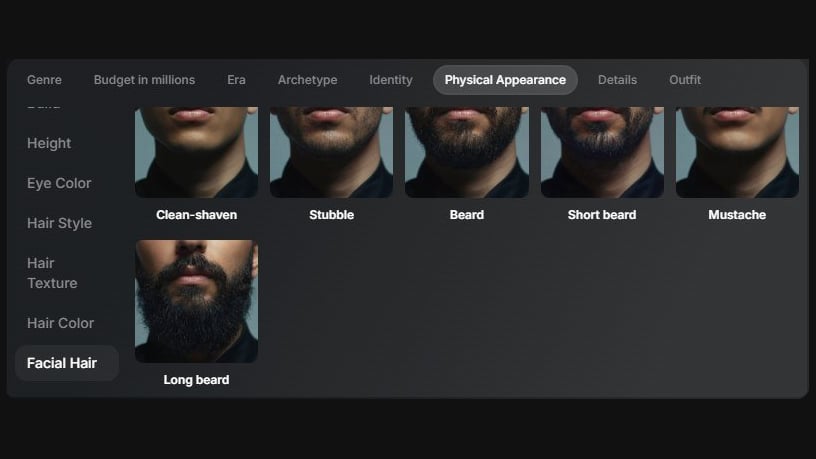
Physical Appearance → Facial Hair: beard and moustache options.
Match the choice to the role and wardrobe, not only to age. The same appearance with a clean shave, a short beard or a long beard can make a different impression. If grooming, thickness or shape matter, specify them in the general description.
Distinguishing features and Custom
Details helps add distinctive features: freckles, a scar, tattoos or an eye patch. Use them when you need a recognisable accent that sets the character apart from a more general type.
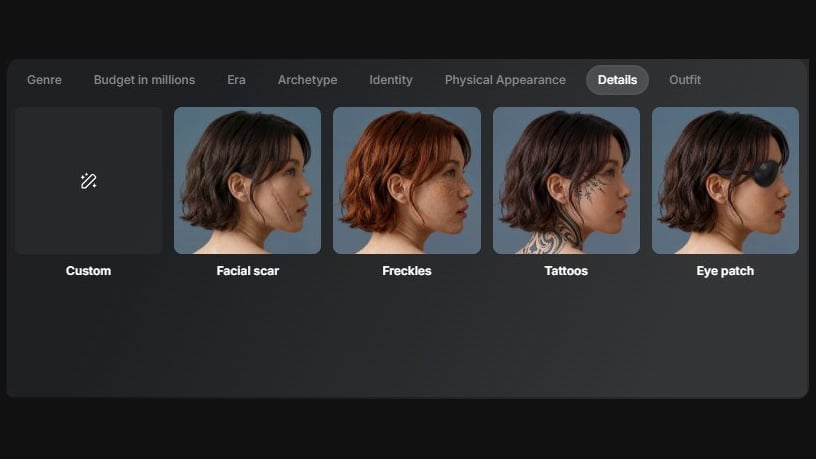
Details: the character's individual distinguishing features.
A ready card sets the type of detail. With Custom you can specify its position and intensity: for example, a barely visible healed scar above the left eyebrow or sparse freckles on the nose and cheeks. Enter up to 300 characters and click Apply.
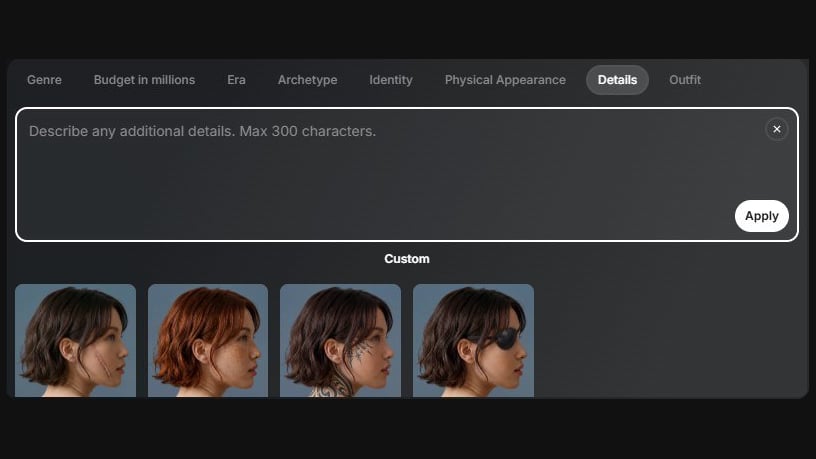
Custom: specify the position, size and character of the feature.
Start with one or two meaningful features. This makes it easier to judge whether they support the look and to keep them recognisable in the following scenes.
Clothing and Custom
Outfit sets the wardrobe and helps connect the appearance with the role, era and circumstances. Clothing can immediately tell the viewer how the character lives, where they are and what situation they are preparing for.
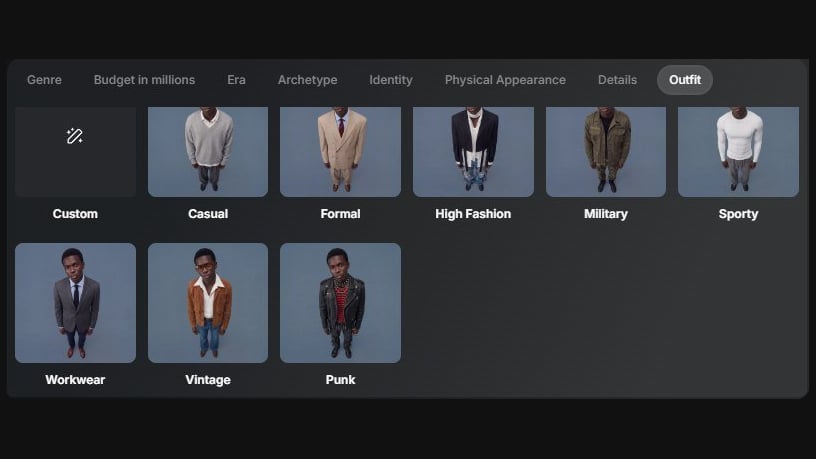
Outfit: stylistic directions for the wardrobe.
For an everyday story it is convenient to start with Casual, for a formal situation with Formal. Workwear helps you find practical work clothes, Sporty a sporty look, Military a military one. Vintage sets a retro wardrobe direction, High Fashion suits an expressive fashion look, and Punk a more rebellious style.
If you need a specific costume, choose Custom. Describe the main items, their colour and material: for example, a light linen shirt, olive trousers and brown leather shoes. This wording gives a more definite brief than a general "stylishly dressed". The limit is 300 characters; confirm the input with the Apply button.
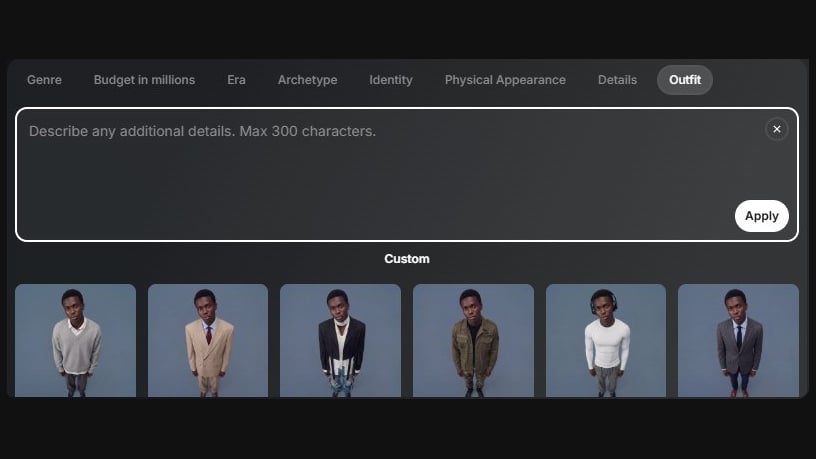
Custom: put together a specific costume from items, colours and materials.
Check the clothing against Era and Genre. For a coherent look, the chosen period, the character's role and the wardrobe should support each other.
Build a character from a description
Example task: "A woman around 30 for a contemporary domestic drama. An ordinary, lively person; long wavy chestnut hair, brown eyes, freckles. A light linen shirt and olive trousers." Break the description down into the matching settings:
Where to choose | Value |
|---|---|
Genre | Drama |
Era | 2020s |
Archetype | Everyman |
Identity → Gender / Age | Female / 30yo |
Physical Appearance → Hair Style | Long |
Physical Appearance → Hair Texture | Wavy |
Physical Appearance → Hair Color | Brown |
Physical Appearance → Eye Color | Brown |
Details | Freckles |
Outfit → Custom | Ivory linen shirt, olive trousers, simple brown shoes, no logos. |
This description does not specify the appearance type, height, build or the film's intended budget. You can leave them without extra conditions. If you choose them yourself, treat it as a creative decision, not a fact taken from the request.
After the filters, add a short coherent description in the general prompt field. It should not contradict the selected settings:
Prompt
After generation, assess the look as a whole: does the face fit the role, are the hairstyle and clothes consistent across the views, are the needed features readable. If the base works, small details can be refined with Edit.
Random set: Randomize
If you are still looking for a look and want to start from an unexpected combination of characteristics, open Build Your Cast and click Randomize in the top right corner. It is a quick way to get a starting point for casting.
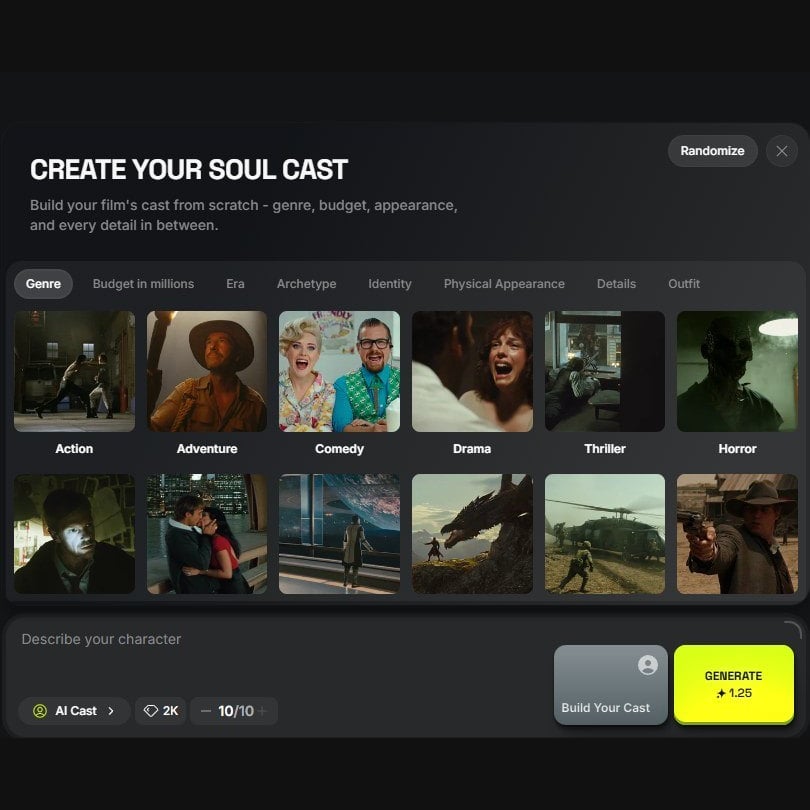
Randomize: random selection of the builder settings.
See what set you got and adjust the traits that matter for your story. Then choose the number of results and click Generate. This way a random combination becomes a base you can steer towards your task.
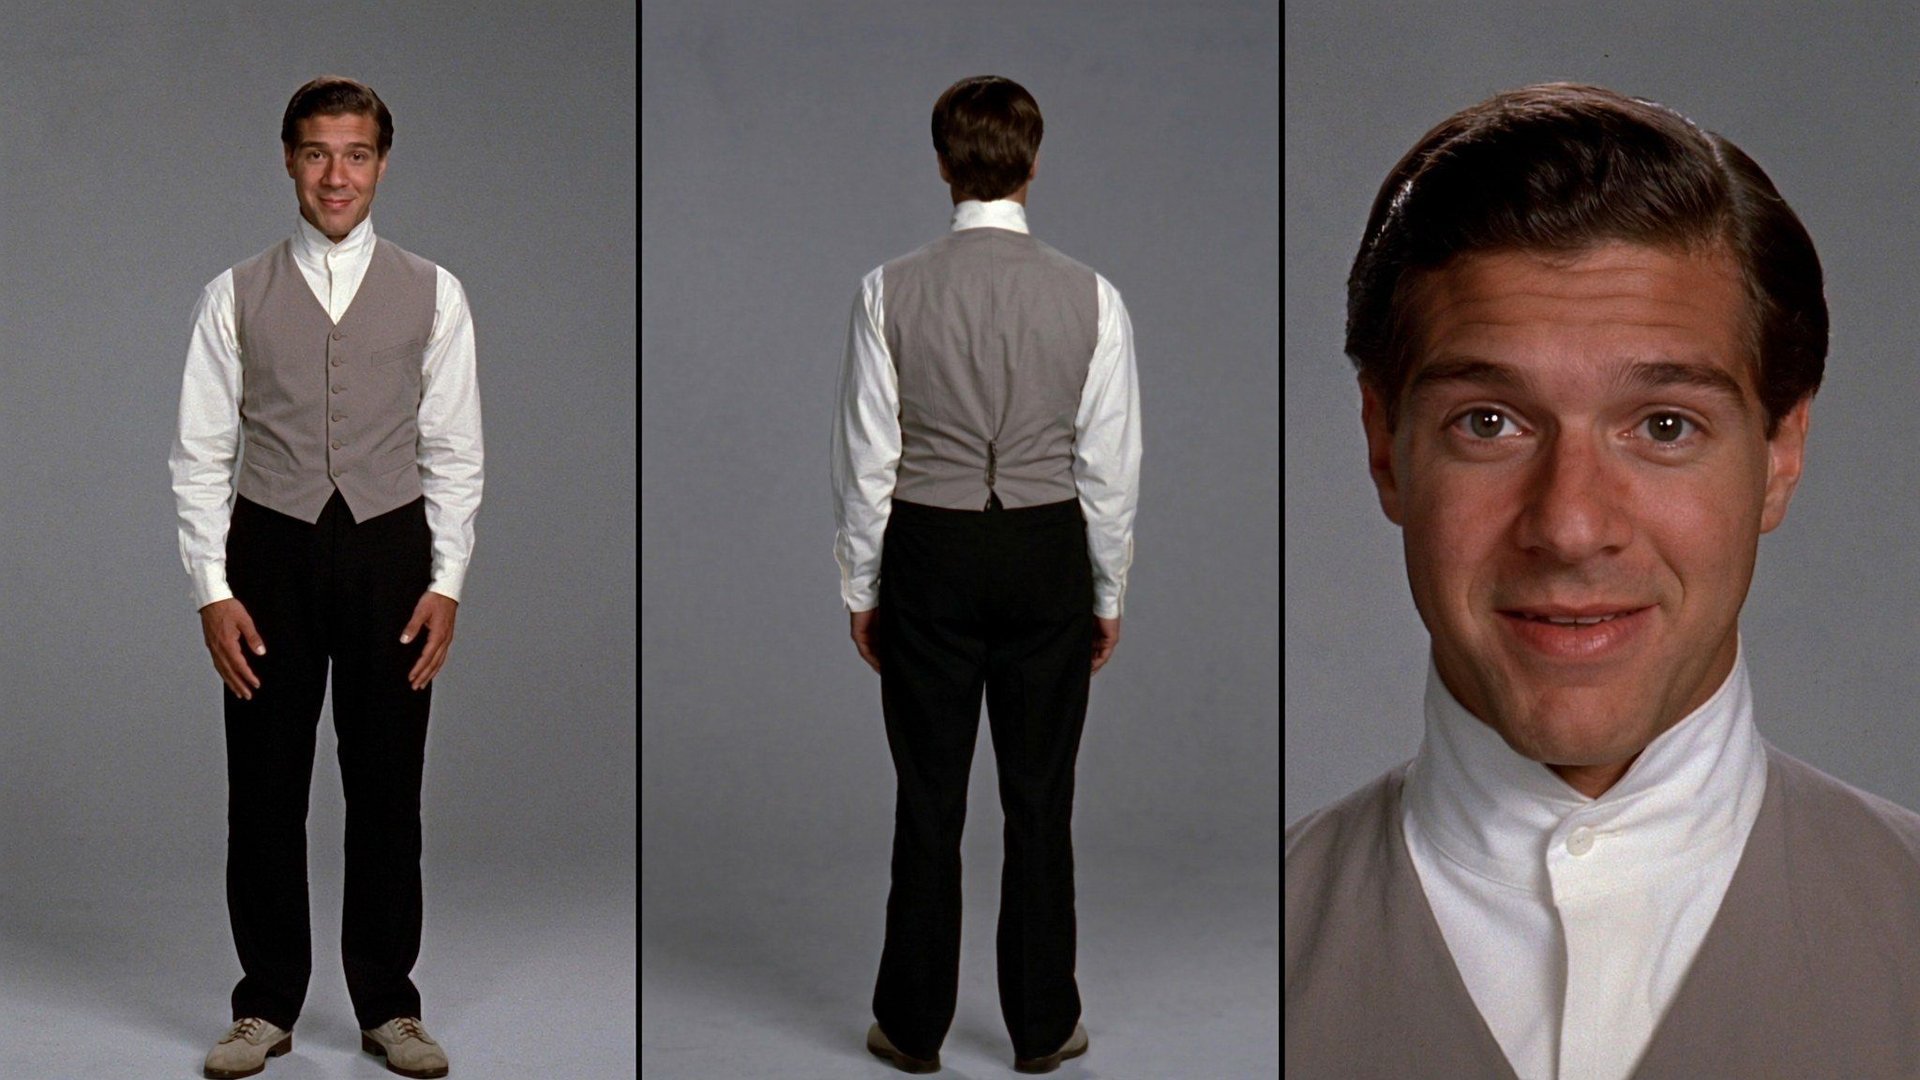
Character variant 1.
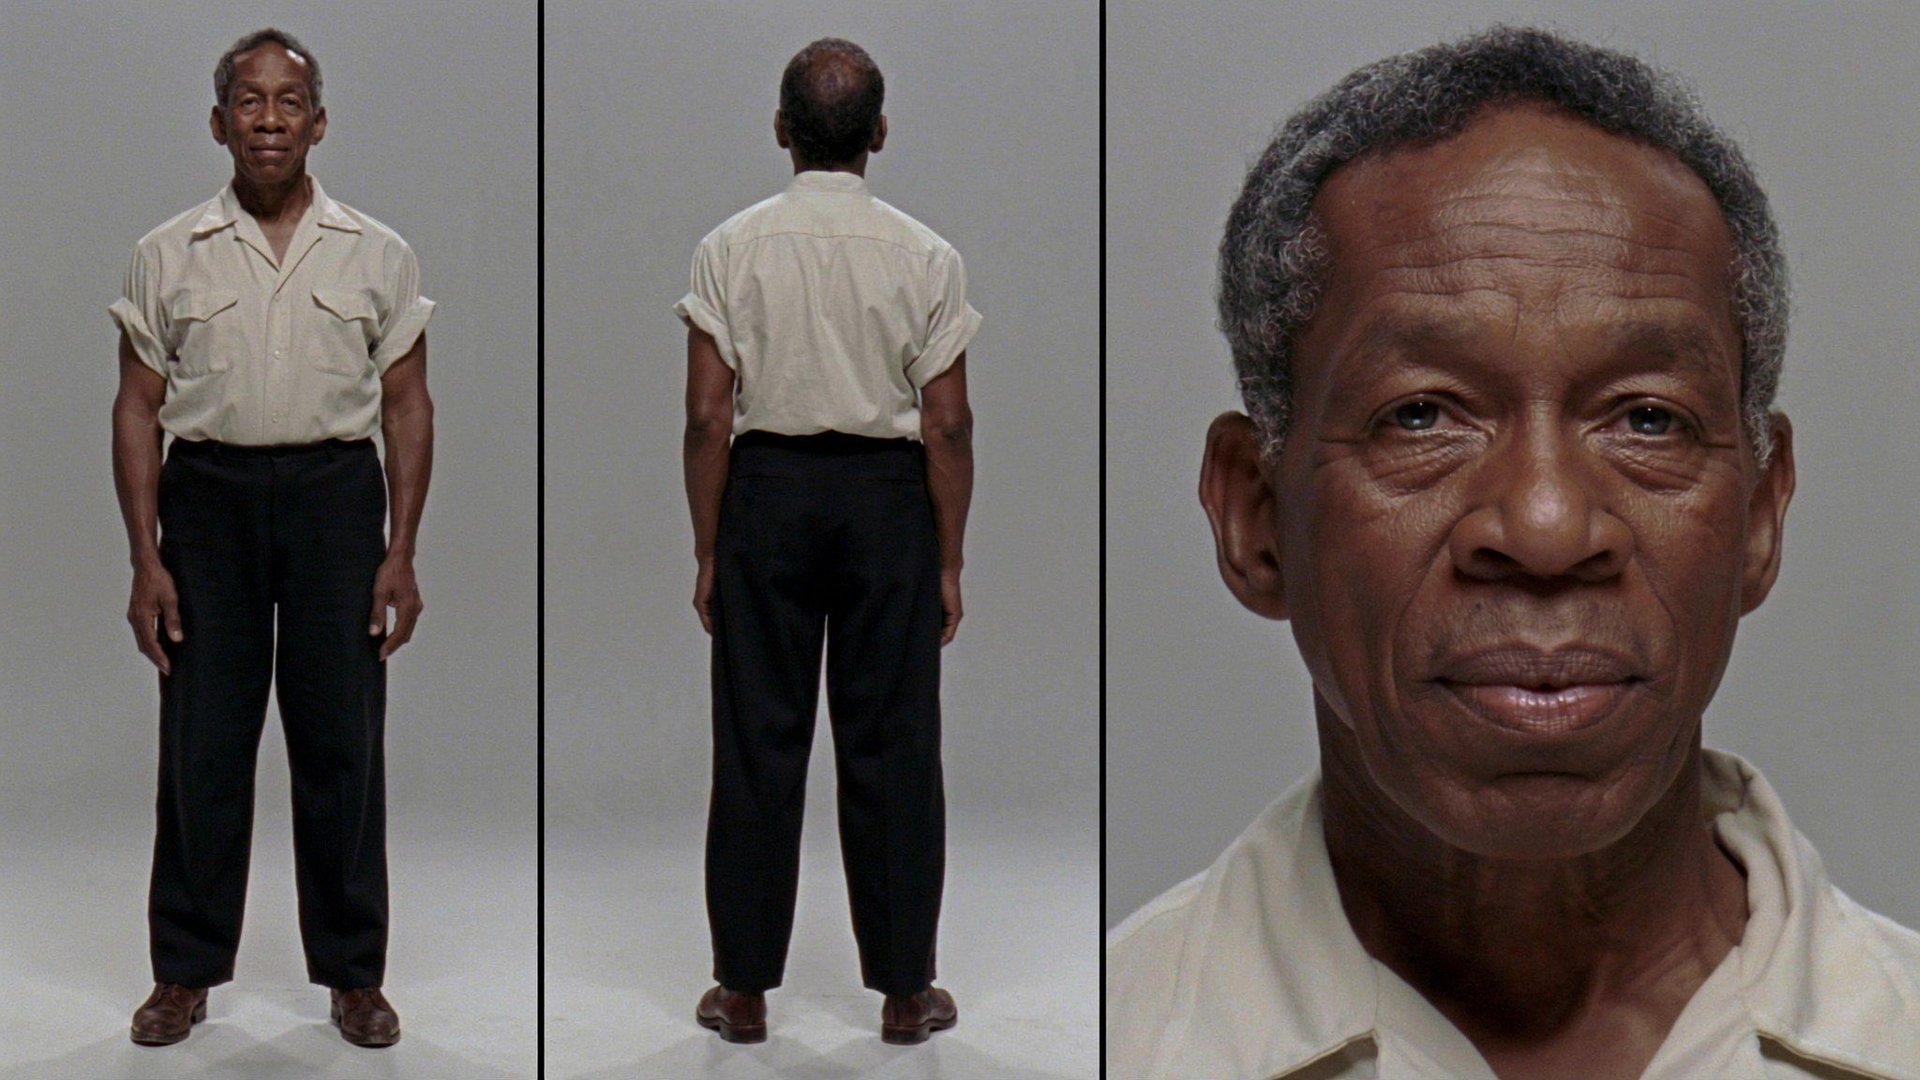
Character variant 2.
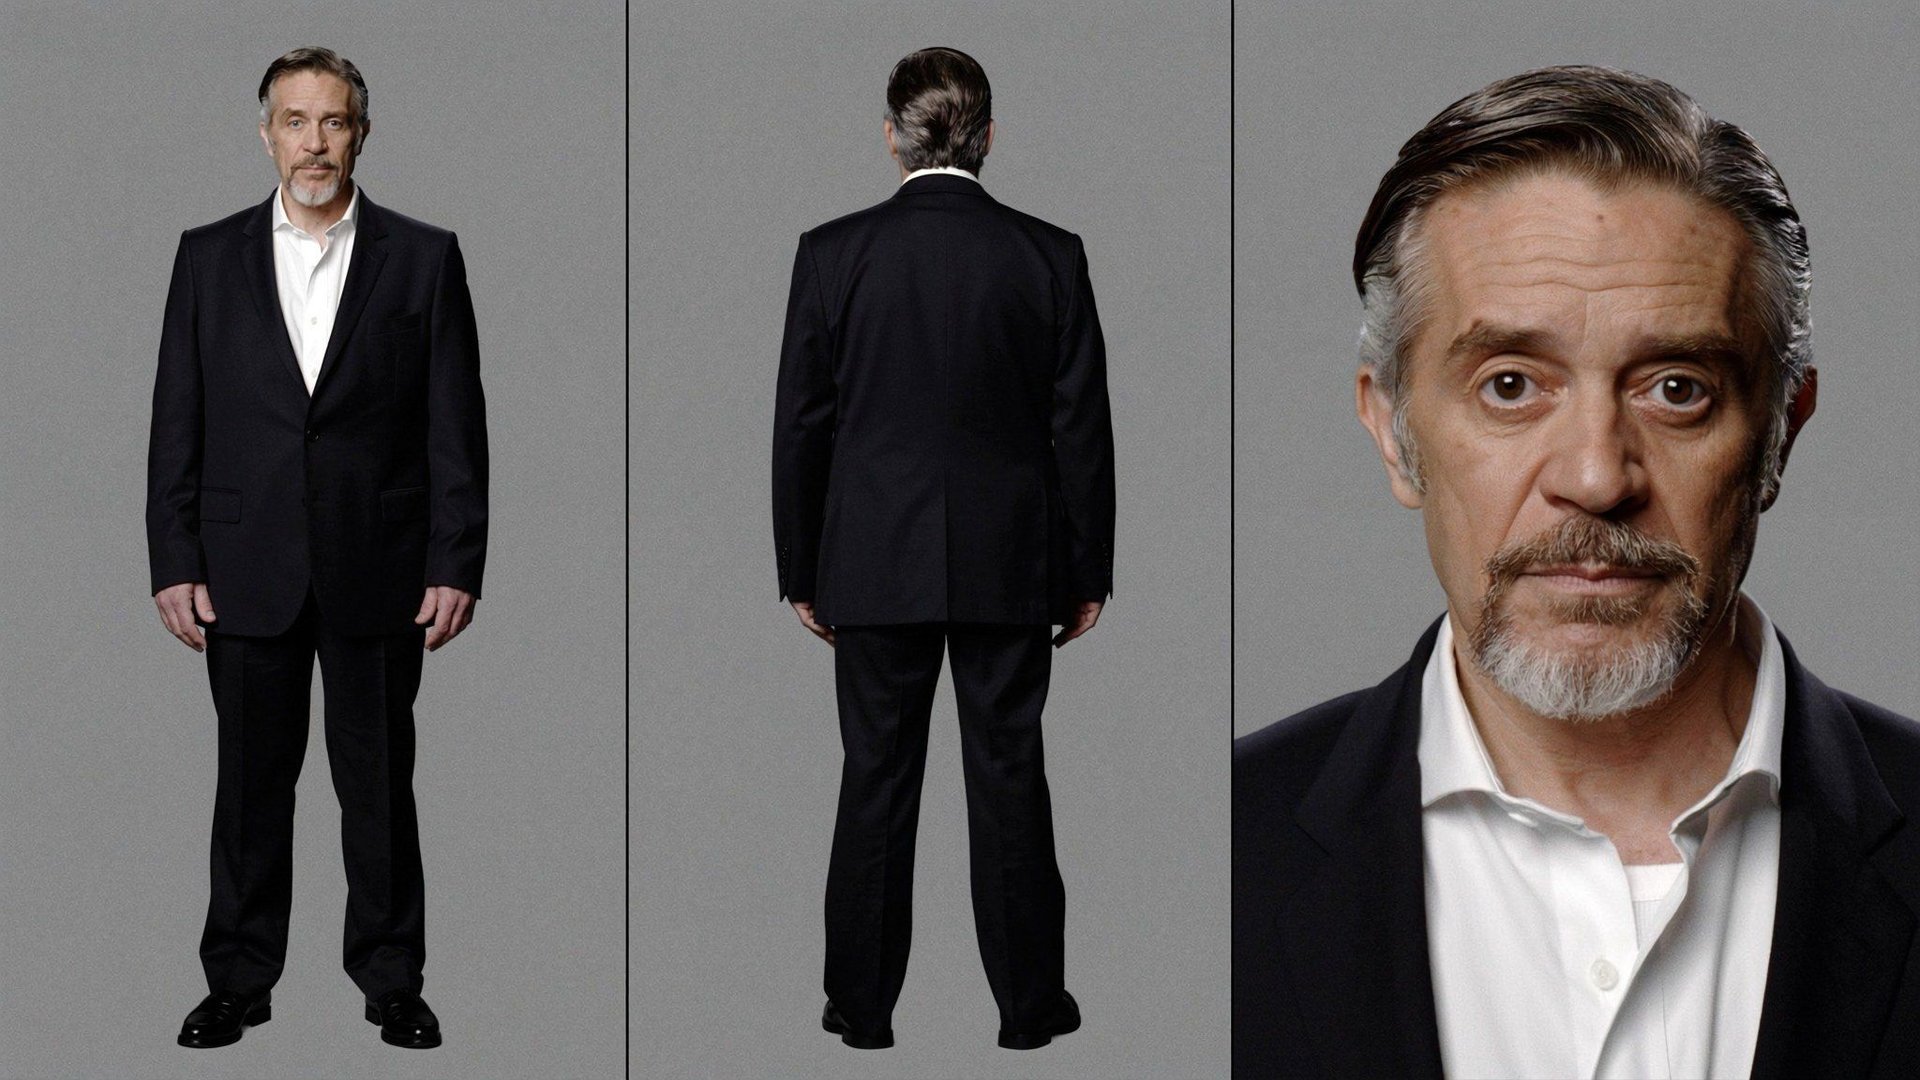
Character variant 3.
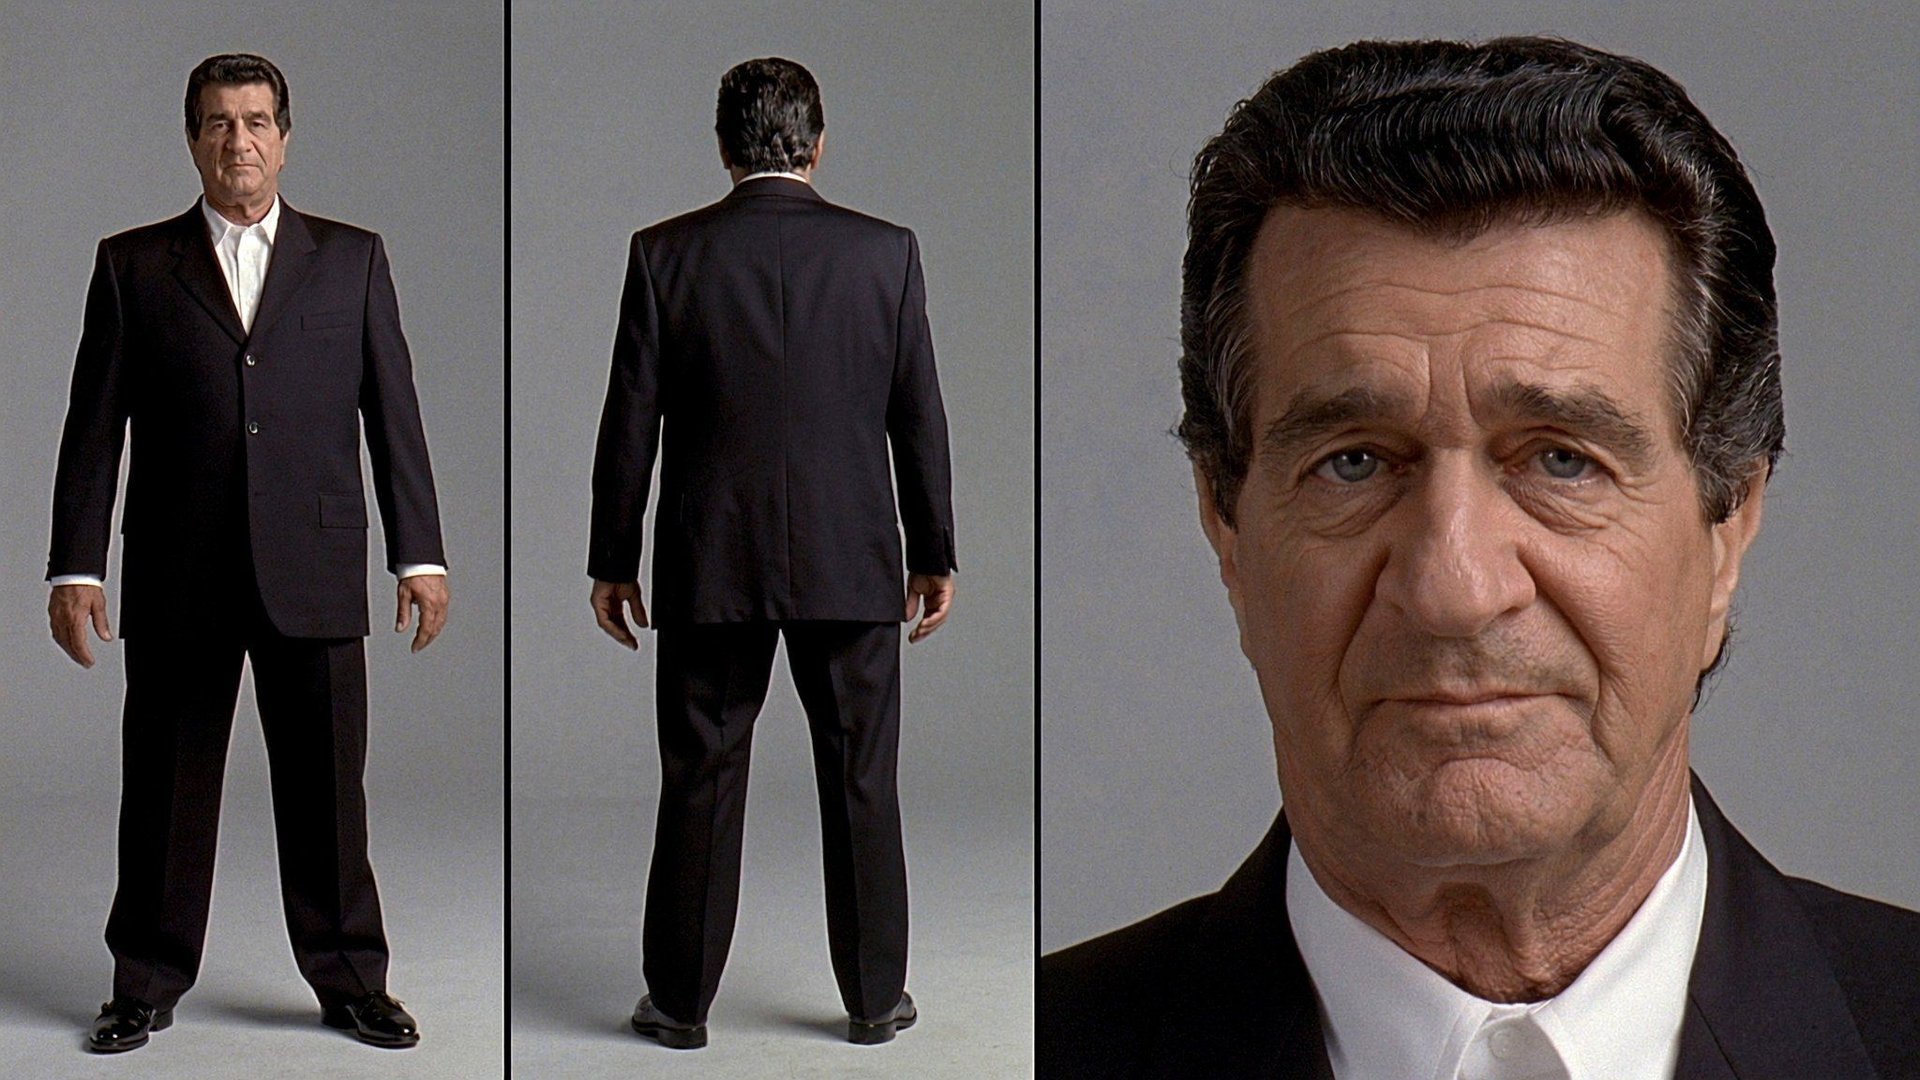
Character variant 4.
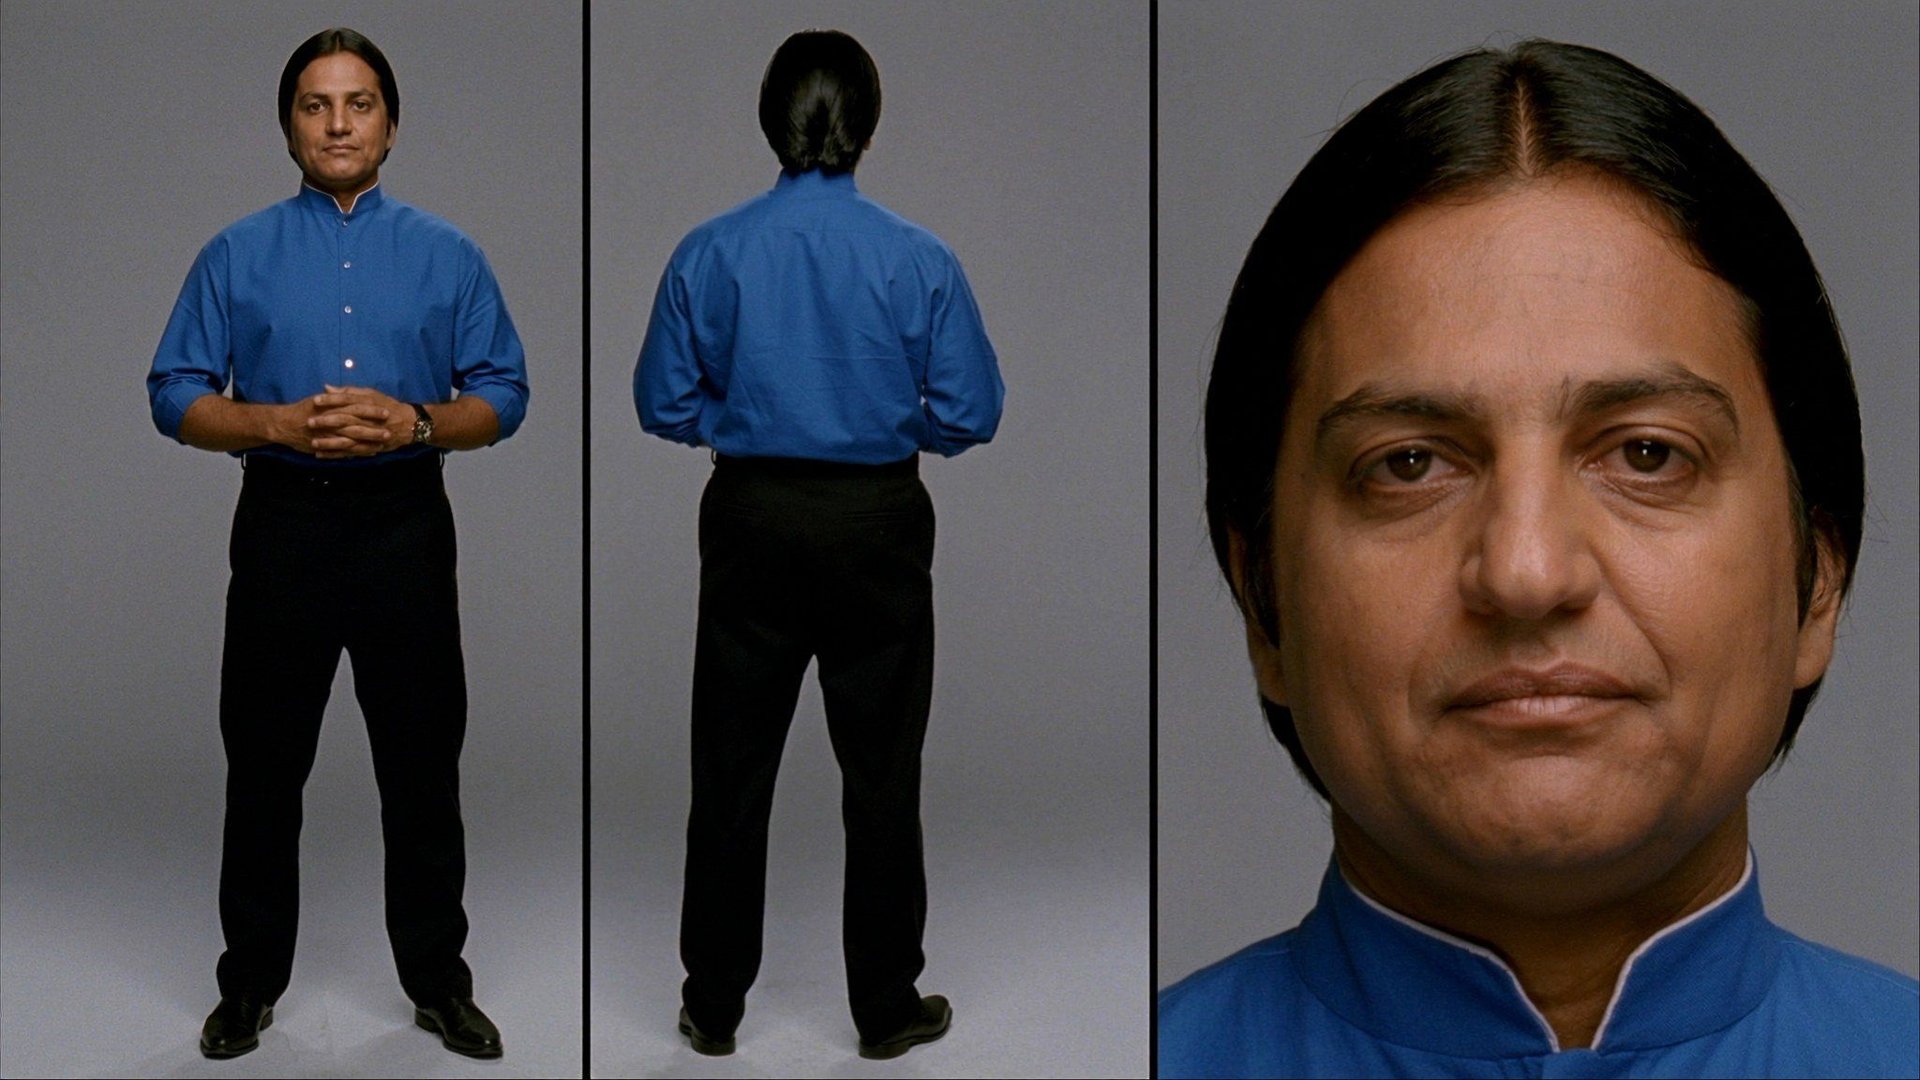
Character variant 5.
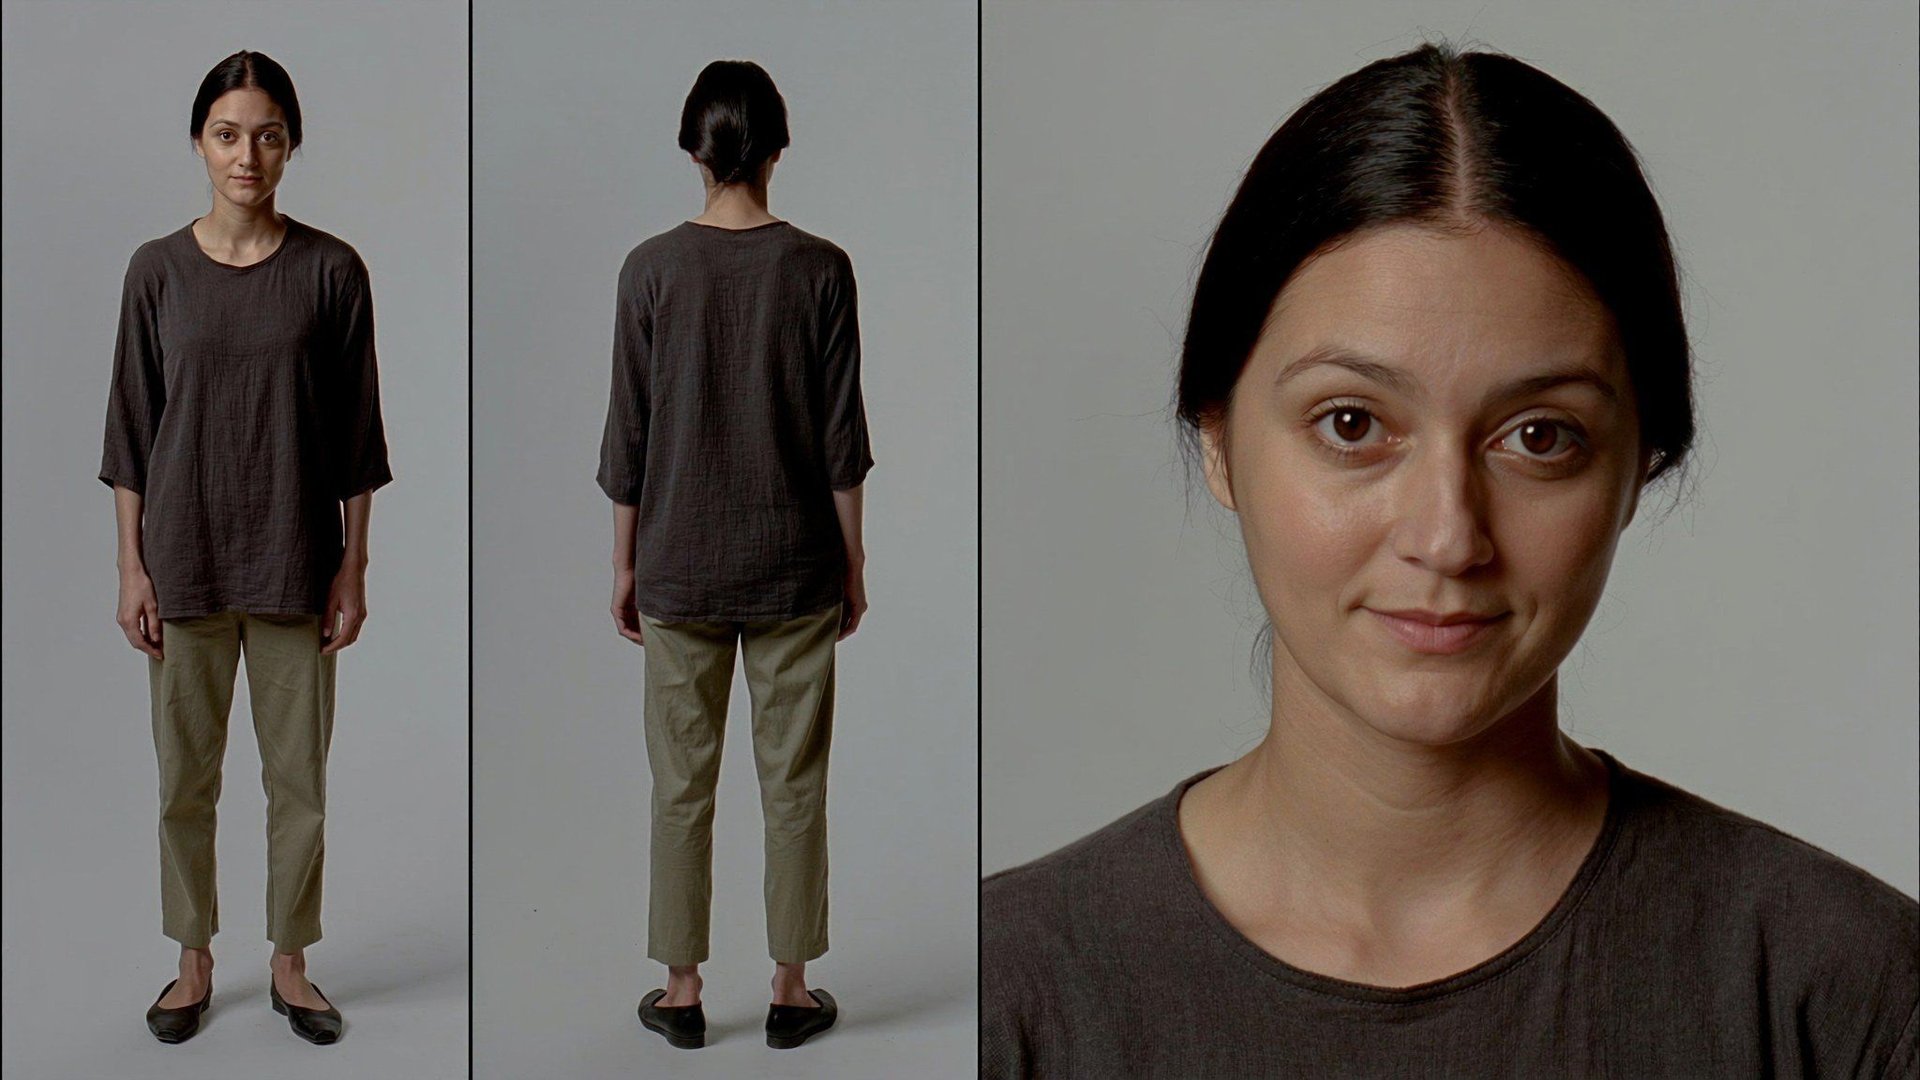
Character variant 6.
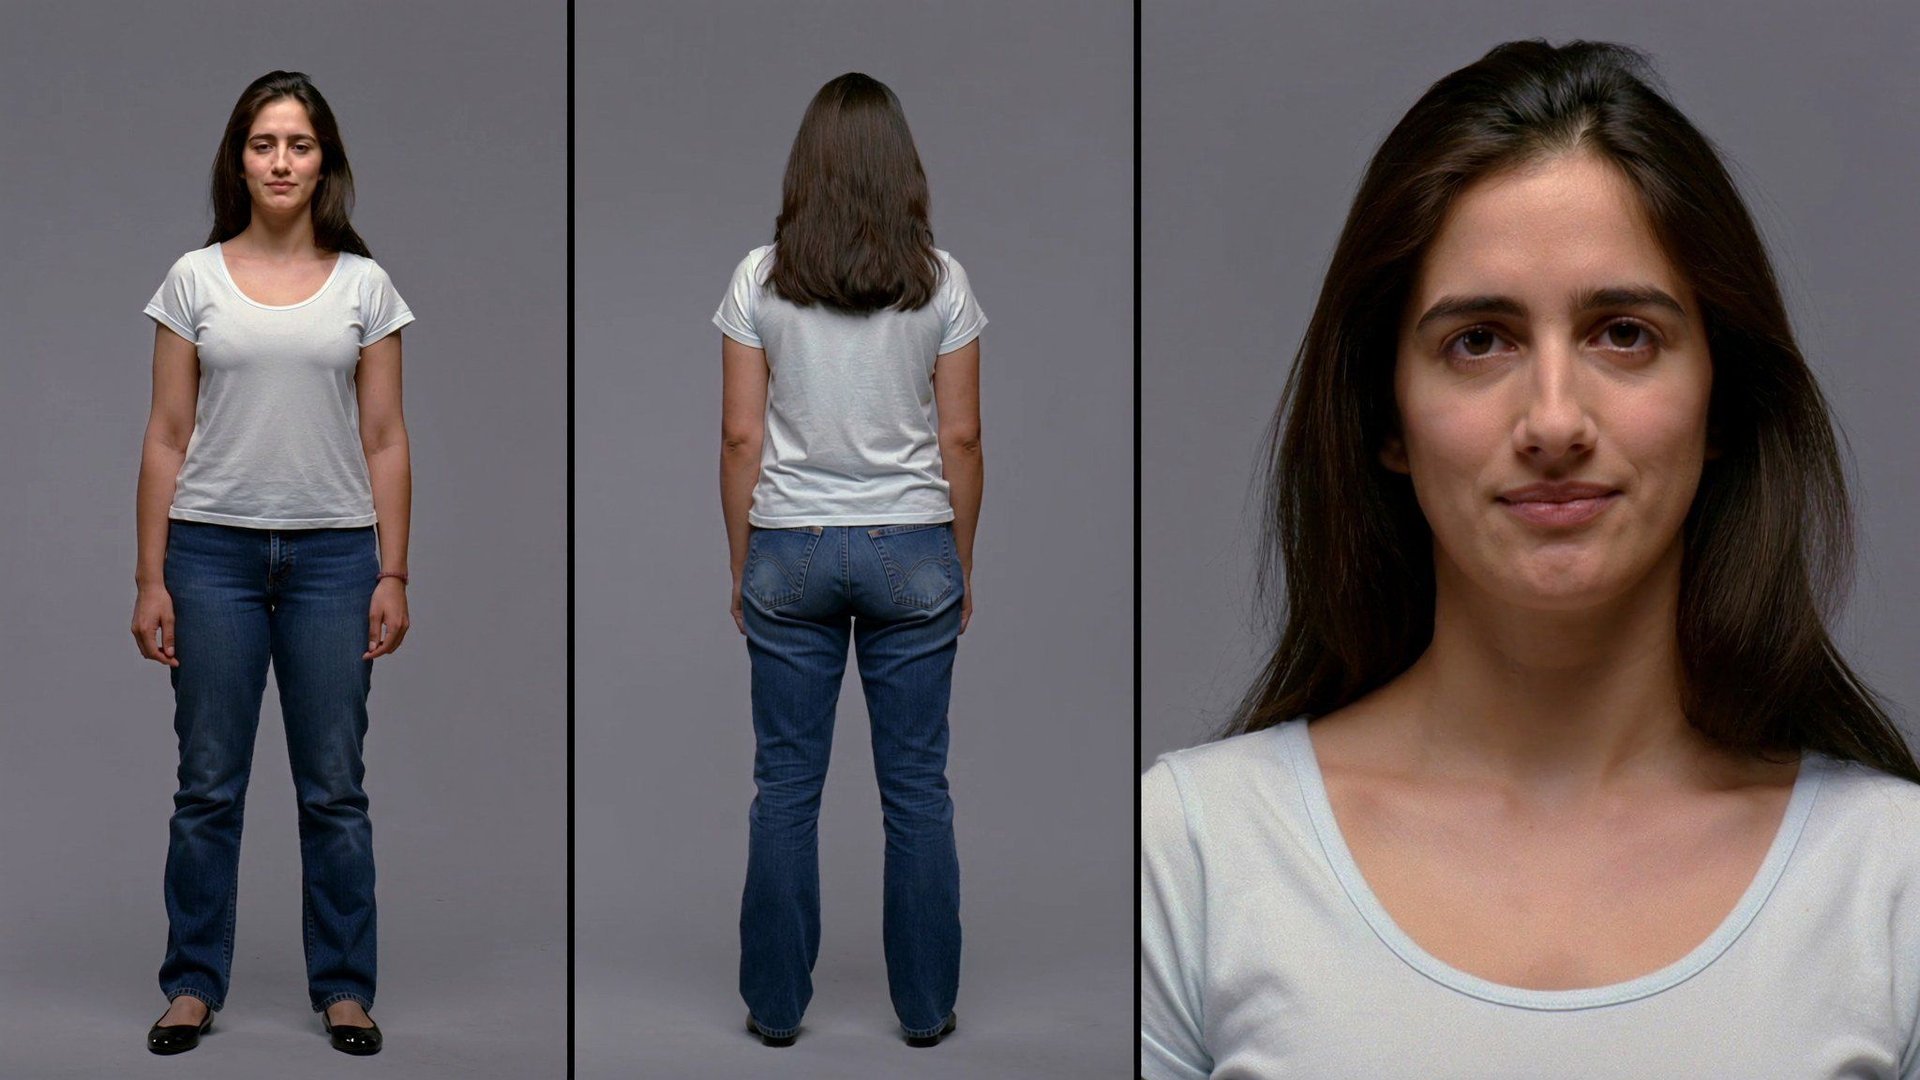
Character variant 7.
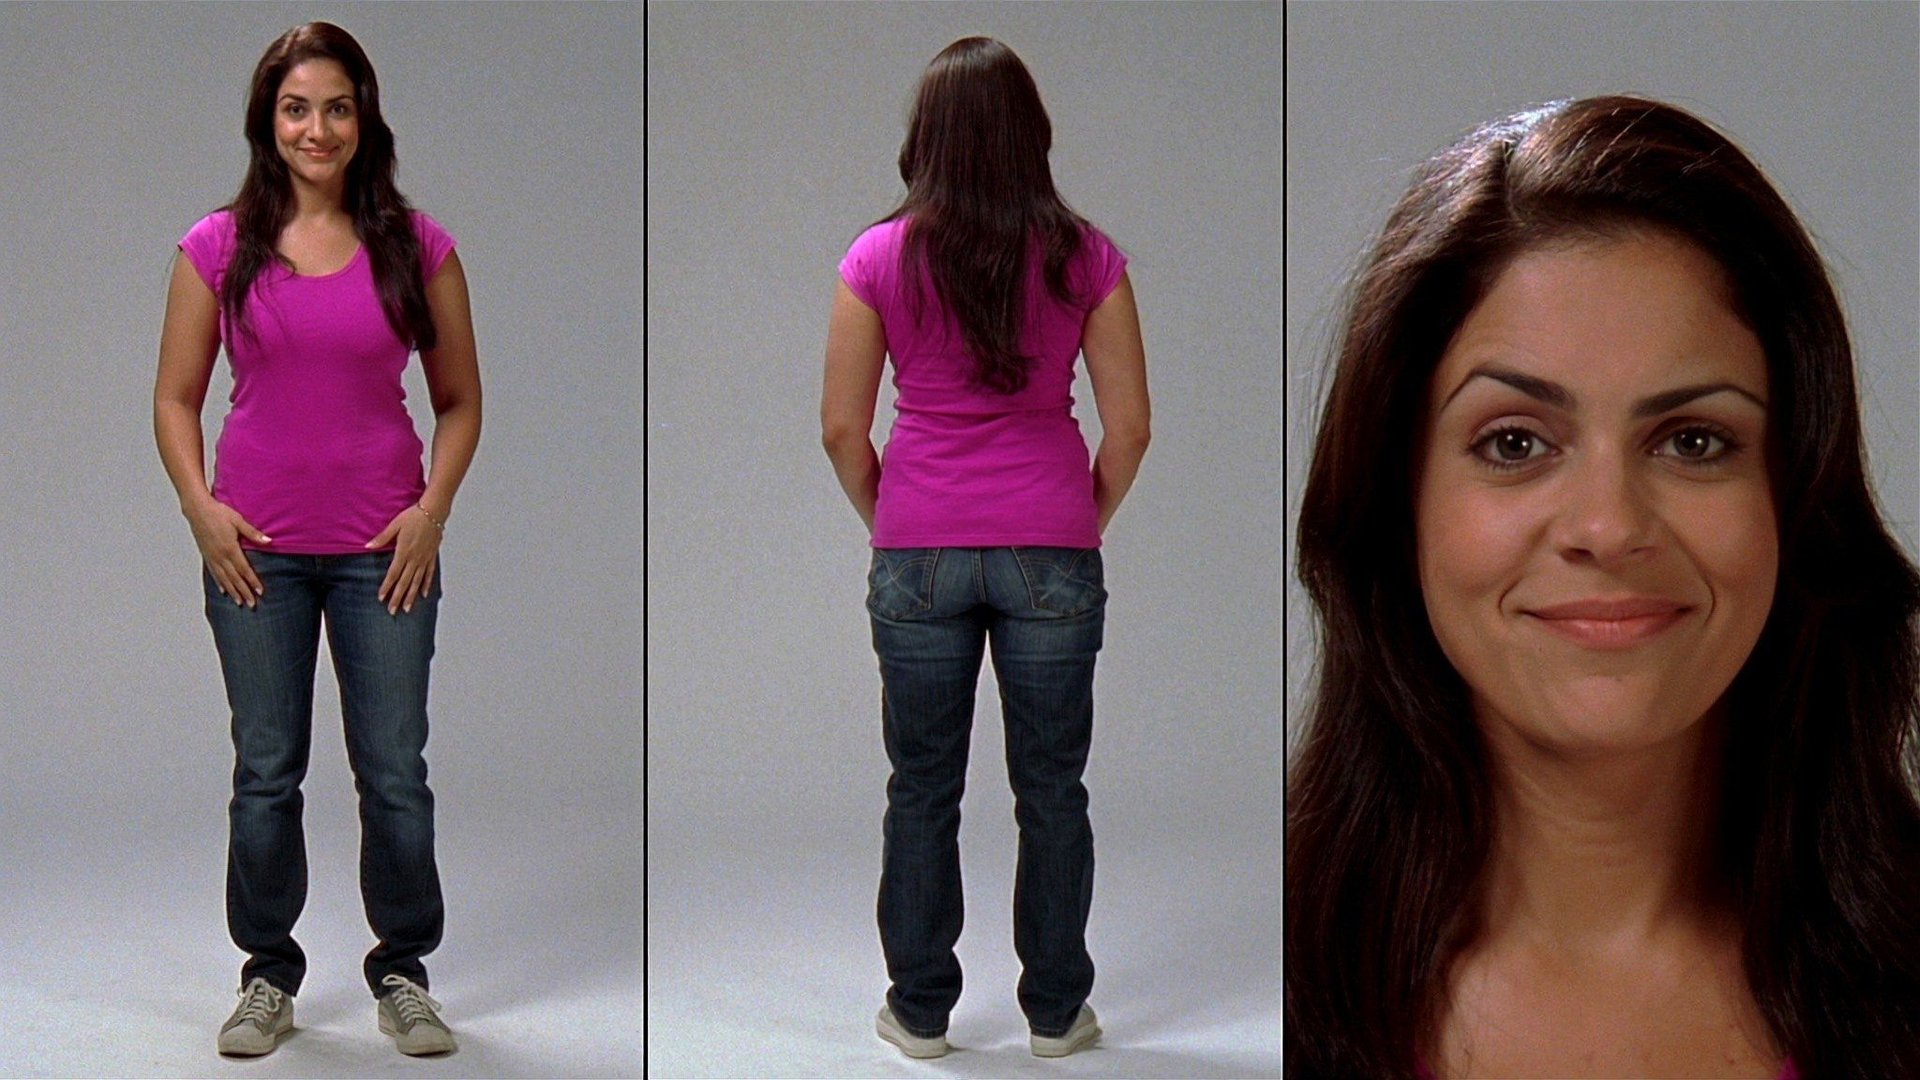
Character variant 8.
The result is a character sheet: a front view, a back view and a close-up portrait. The full-length views help you assess the silhouette and costume, and the portrait the face, eyes and small features.
Resolution, quantity and cost
Once the look is assembled, choose the resolution in the bottom row of the generation panel. The mode determines how closely you can examine the result and at what stage of the work it is most convenient to use.
Mode | What it suits |
|---|---|
1K | For a quick search, when you are still comparing different ideas and choosing a direction. |
2K | For the main work with the character sheet: assessing the face, clothing and overall proportions. |
4K | For a more detailed look at the chosen character, when small features of the face and costume matter. |
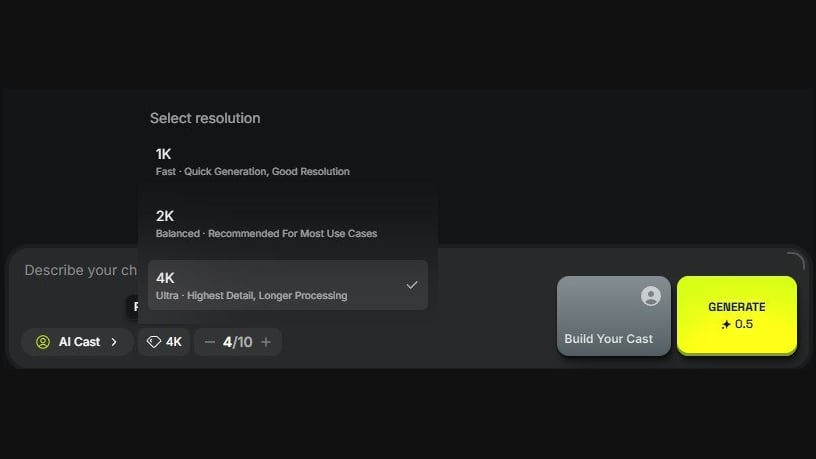
Choosing the resolution next to the AI Cast name.
On the right is the quantity counter. Use the − / + buttons to choose from one to ten results. One result is convenient for checking a specific brief, and a batch helps you get several variants at once and compare them.
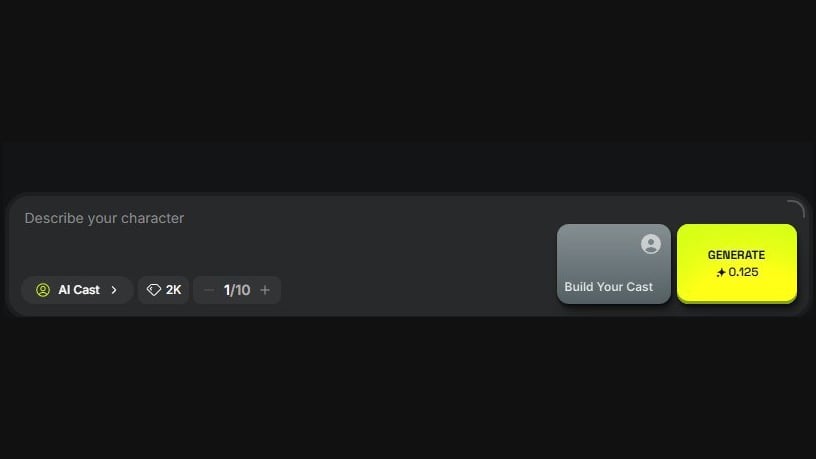
One result: 0.125 credits.
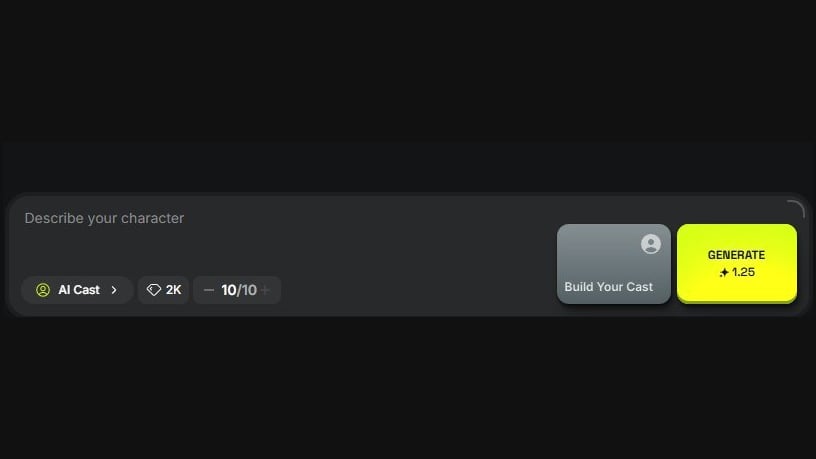
A batch of ten results: 1.25 credits.
Number of results | Cost |
|---|---|
1 | 0.125 credits |
4 | 0.5 credits |
10 | 1.25 credits |
The total cost for the selected quantity is shown on the Generate button. Check the settings and click it to start the generation.
The finished sheets will appear in the workspace. Compare the variants and open the one you like: first assess the overall impression, then the face, hands, proportions and clothes. Check that the front view, back view and portrait read as one character.
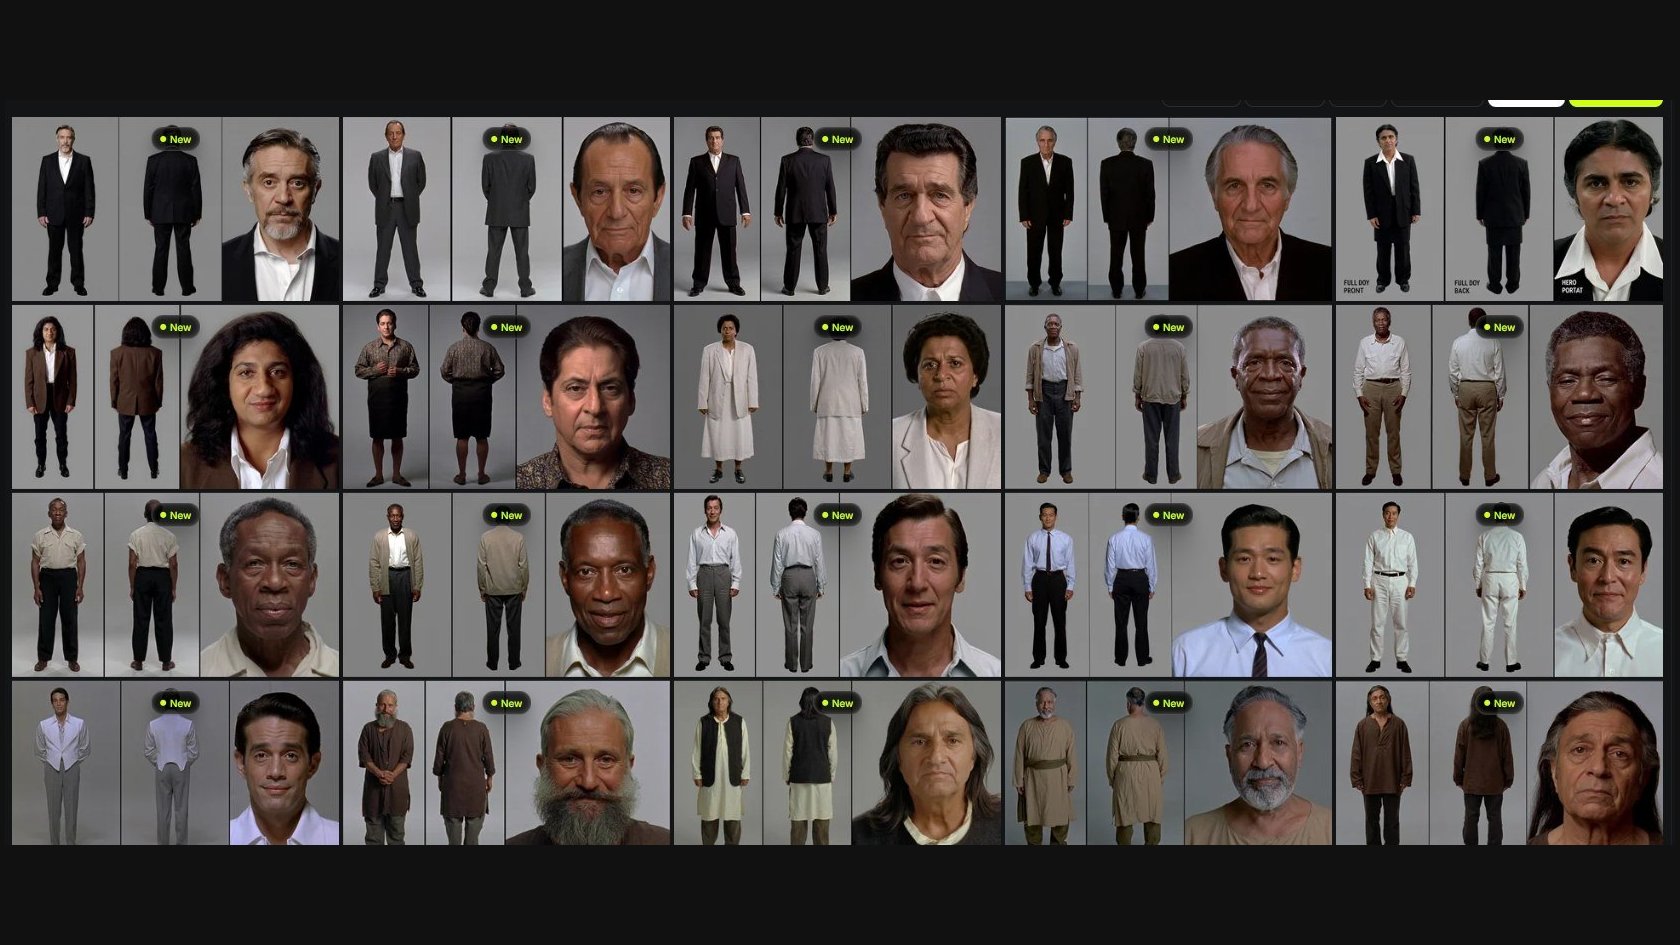
Screen
Results gallery: choose a character for further work.
Save the look and change a detail
If the character works overall and you only want to change one detail, open its preview and go to the Edit tab on the right. This way you can keep working with the chosen look by setting a specific edit.
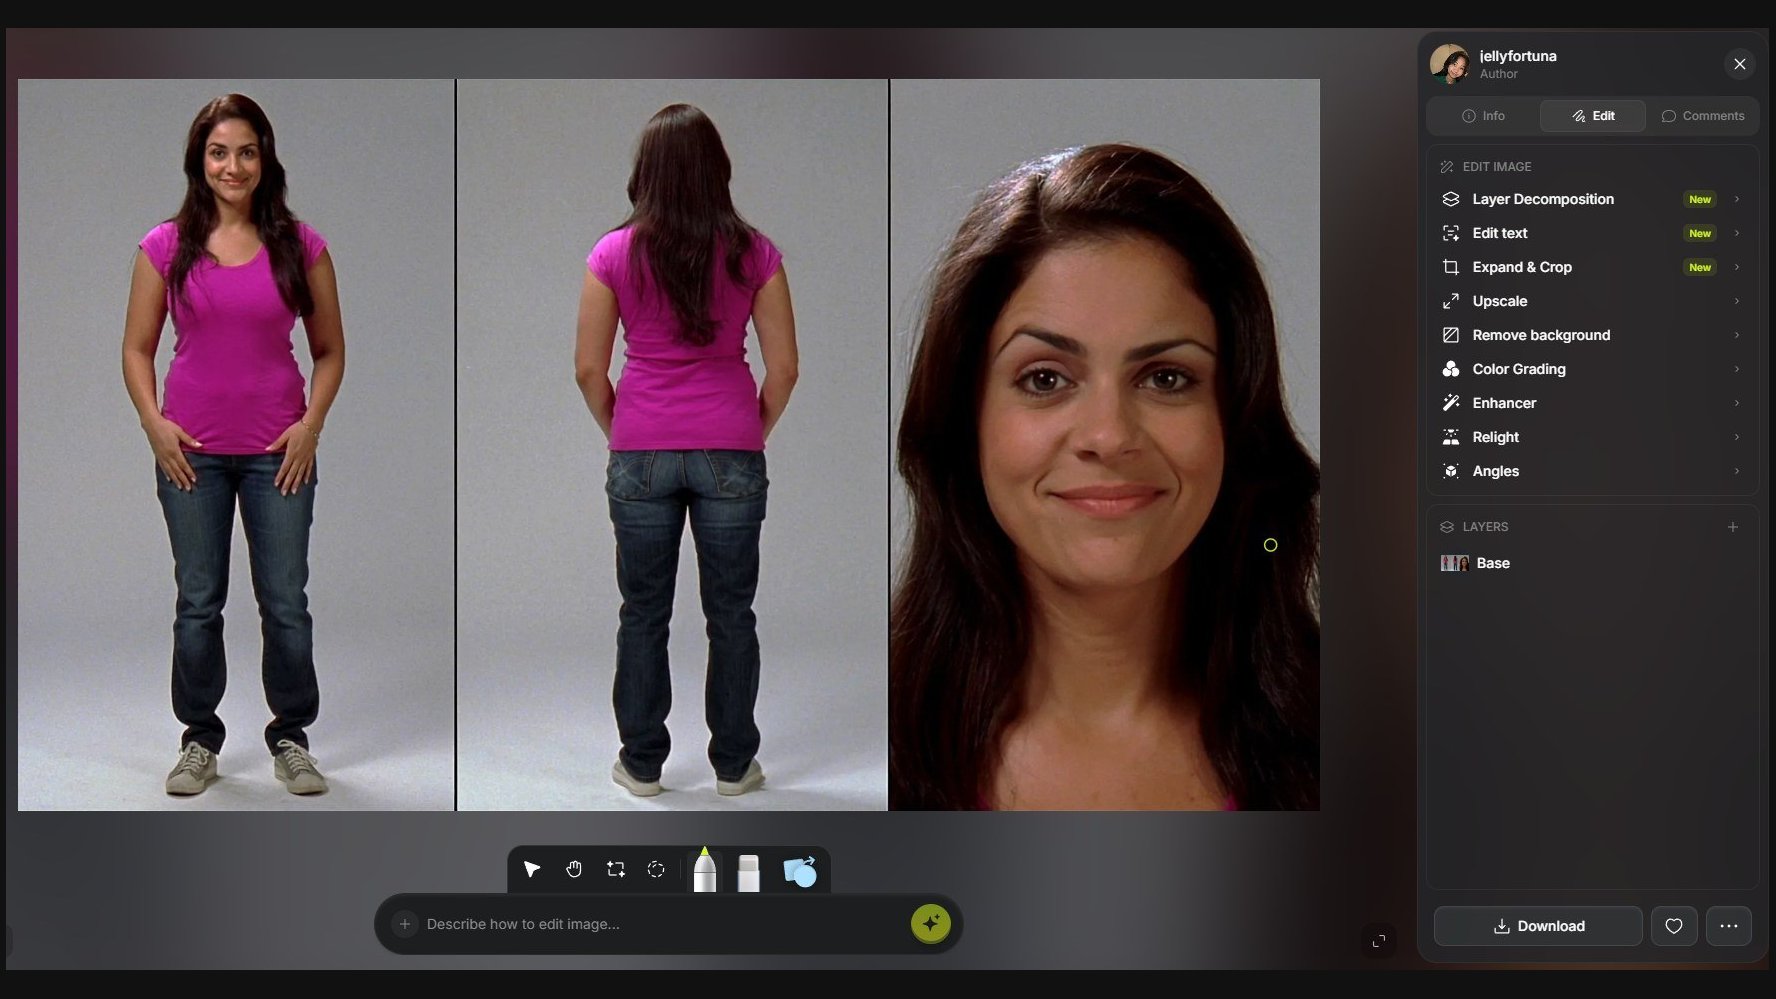
Character preview with the Edit tab open.
Select the area with the lasso
In the bottom panel, choose the tool with a dotted outline and draw around the area to change. For example, to work on a facial detail, select the relevant area on the portrait. The more precisely the area matches the task, the clearer the local brief for the editor.
In the window that appears, describe the action you need. Under the text, open the model list, choose a model and click the round run button on the right.
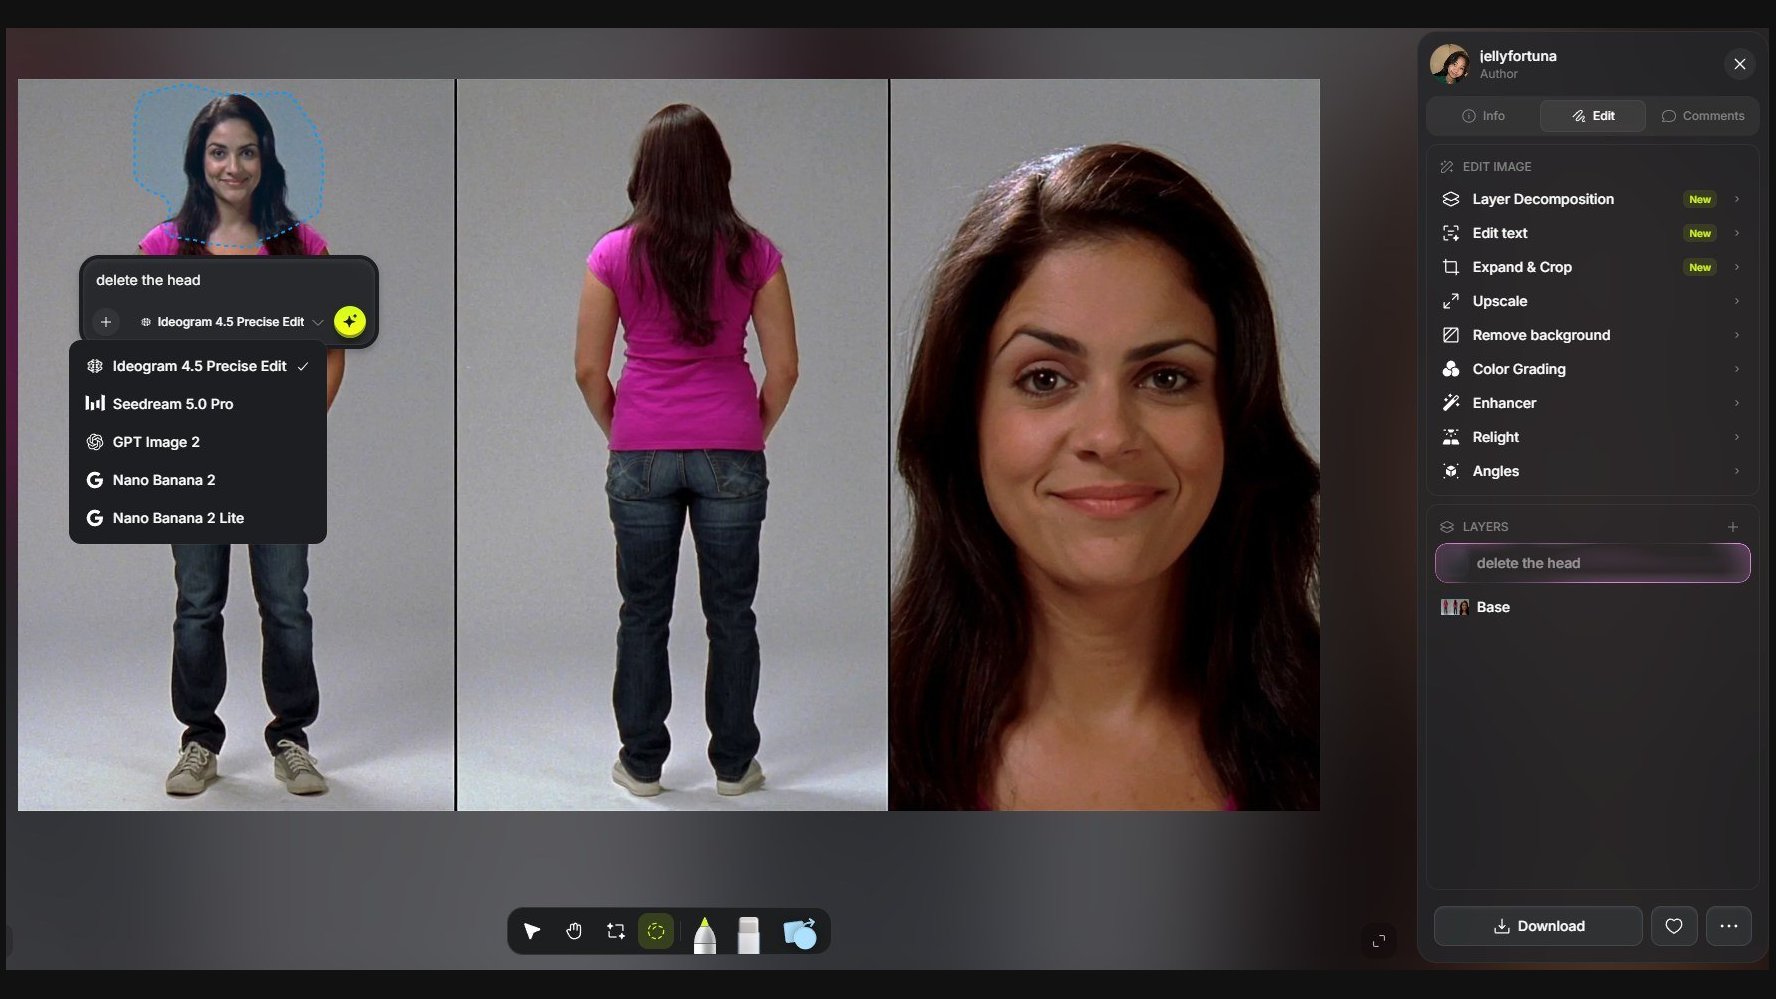
Lasso selection, the edit request and the model list.
For local editing, Ideogram 4.5 Precise Edit, Seedream 5.0 Pro, GPT Image 2, Nano Banana 2 and Nano Banana 2 Lite are available. In this example Ideogram 4.5 Precise Edit is selected.
How to phrase a small edit
Briefly describe the change you need. For example, to change the eye colour:
Prompt
After editing, check the detail itself and the neighbouring areas. If it is visible in several views on the sheet, look at each of them: selecting one area does not replace checking the whole look.
Before and after local editing
In this example the lasso selects the head in the front view, and the request delete the head sets the removal of the selected area. The comparison shows how a local edit works inside a character sheet.
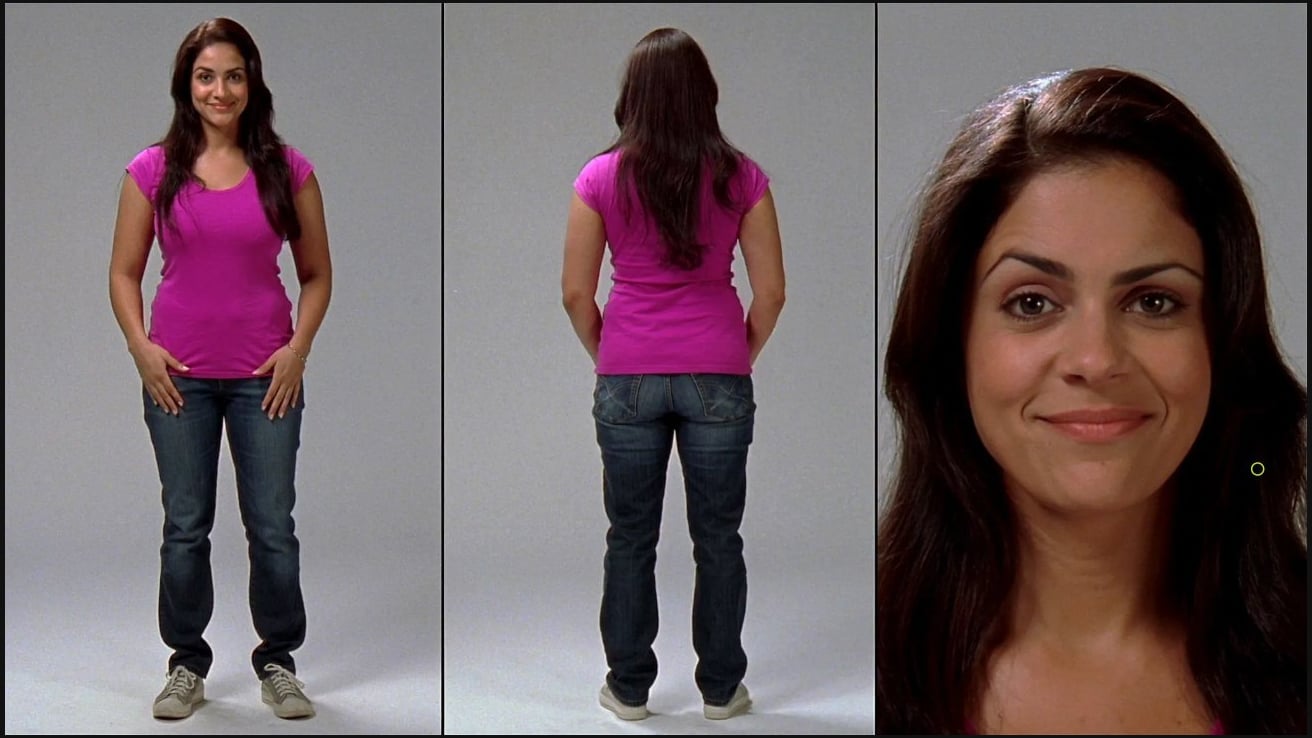
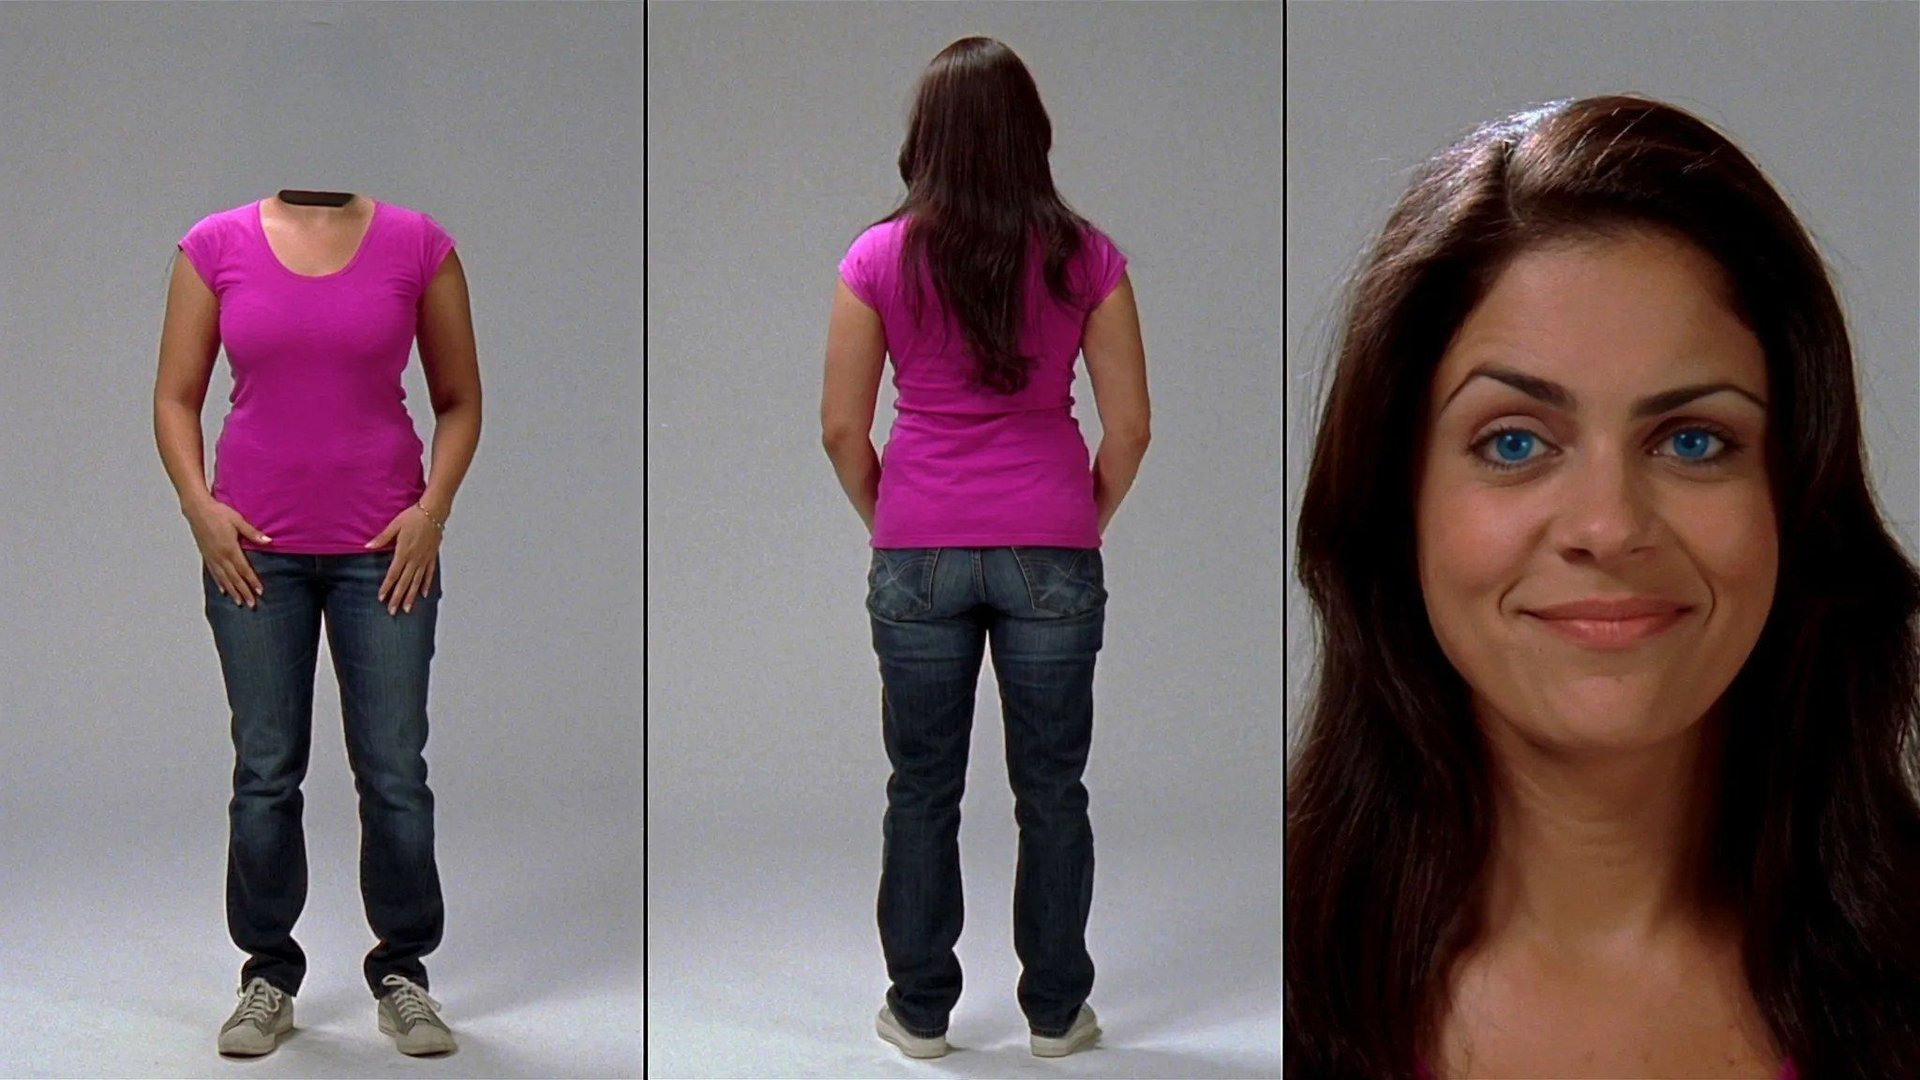
Before: the original character sheet. After: the result of the local removal.
For a small correction, use the same steps, but select only the detail you need and set the corresponding change. Compare the result with the original to notice any side changes.
In the Layers panel the edit appears above the original Base layer. When you are happy with the result, save it with Download. In the preview you can also choose Reference for further work with the image or Turn to video to move on to creating a video.
Skill for MCP
If you use MCP, use the Cinema AI Cast skill. It helps turn a free description of a character into a structured brief: collect the main characteristics, pick the AI Cast settings and prepare a request to pass to MCP for generation.
Describe who you need, for what story and which features of the look are important to keep. The skill helps organise these inputs so it is easier for you to move from an idea to creating a character.