This chapter is organized by time: one project, walked from the moment it has no name to the moment finished clips leave the pipeline.
Everything in this guide so far is organized by topic. This chapter is organized by time: one project, walked from the moment it has no name to the moment finished clips leave the pipeline. Nothing here is new doctrine — every step points back to the section that owns it. What the walkthrough adds is the order, and the handful of habits that make the order fast. The figures are the real ones from the team's onboarding handbook; the numbering matches the figure manifest.
The project for this walkthrough is a short cinematic piece: one location, one recurring character, a few storytelling shots plus b-roll. Scale it up and the loop doesn't change — it nests (1.1).
Stage 1 — Name things before anything exists
The first production act is not a prompt. It is an agreement.
- Agree the project prefix inside the team — before the first generation, not after the hundredth. A museum location can exist in three projects; the prefix is what keeps names from colliding on disk and in the site's Elements panel (3.2). For this walkthrough: FRM .
- Fix the naming standard — it is always the same three patterns: @loc_FRM_farmhouse, @char_FRM_ranger, @prop_FRM_rifle . On the site you type the name without the @ — the symbol is added automatically, and it is exactly what pulls the element into a prompt later.
- Build the folder tree on your machine — think it through now; this one piece of foresight pays back in speed every day after (0.5). Approved assets will live in two places, always: the project's local Claude folder and your ordinary project folder.
- Open the Claude Cowork project — memory enabled in settings, an assets folder inside, and the script, storyboards, and references thrown in (3.11). Claude must know your asset names — it will be writing them into prompts.
The life hack hidden in this stage: names are the only identity mechanism that costs nothing. Every minute spent here is subtracted from every confused search, mismatched @tag, and "which version is canonical?" conversation later.
Stage 2 — Set up the site side
Ten minutes, once per project (0.5): create the project in Cinema Studio and rough out the subfolder structure; open a Canvas for the team and send the invite — planning and the moodboard live there (2.5); and set the deck's habits: aspect ratio explicitly, every time (1.2), batch 4/4 for video, single runs for images, resolution and quality at the tier you will ship — iteration economics on this platform are time and throughput, not credits, so never judge ideas through a downgraded preview.
Stage 3 — The location comes first
Around 70% of a video generation's quality rides on the location (3.3, 3.4). So the location is developed first, like a character — cast, elected, edited, tested.
Open a dedicated location chat and load the Lyra script (3.11). Then feed it your thought exactly as messy as it is:
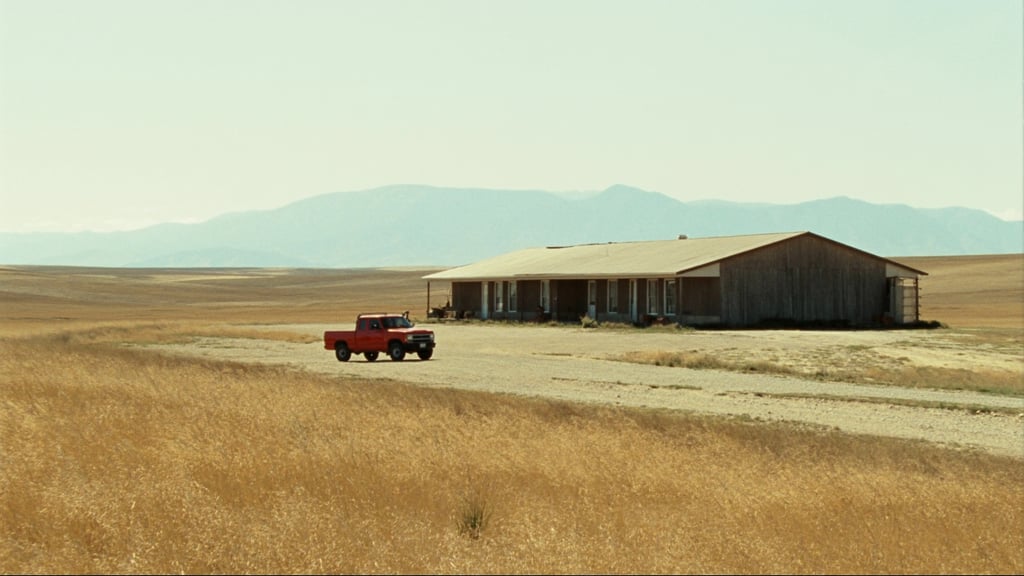
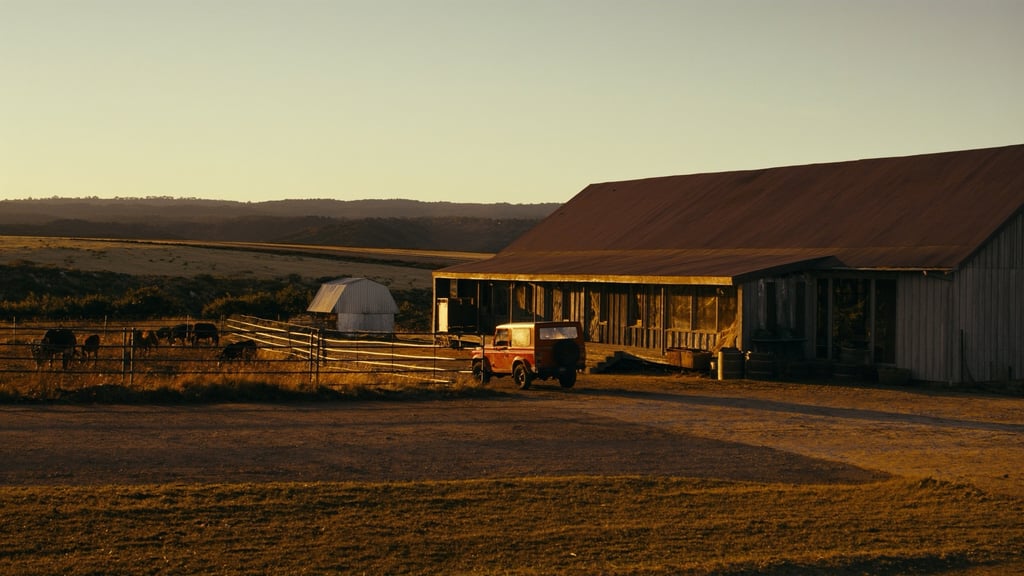
I want some location, really beautiful, a big farmhouse deep in the countryside with a red jeep in front. Summer, hot day.
Lyra returns a structured prompt — palette committed, light named, one bold accent — and you run it in Soul Cinema (1.3), the film pipeline's location generator.
Three geometry rules apply to every location generation before you even look at the content:
- Generate at 21:9 even if the video ships narrower — the wide plate carries reserve space the video model can extend from instead of inventing (3.4).
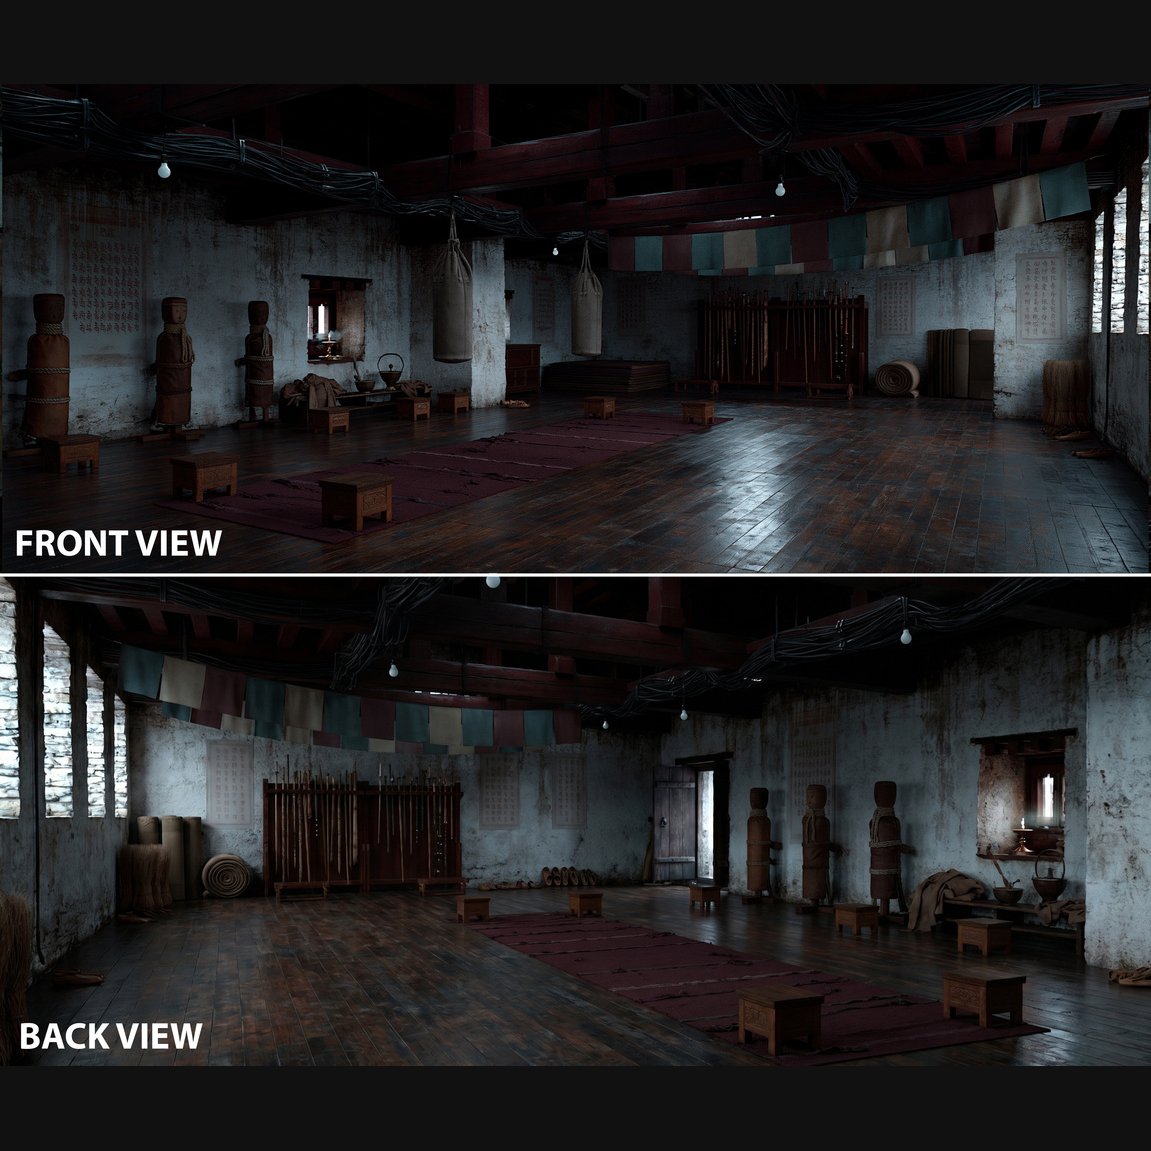
- Put the camera at 3/4, never frontal — a frontal plate becomes a backdrop, and every later attempt to angle the camera makes Seedance improvise new surroundings each run (3.4).
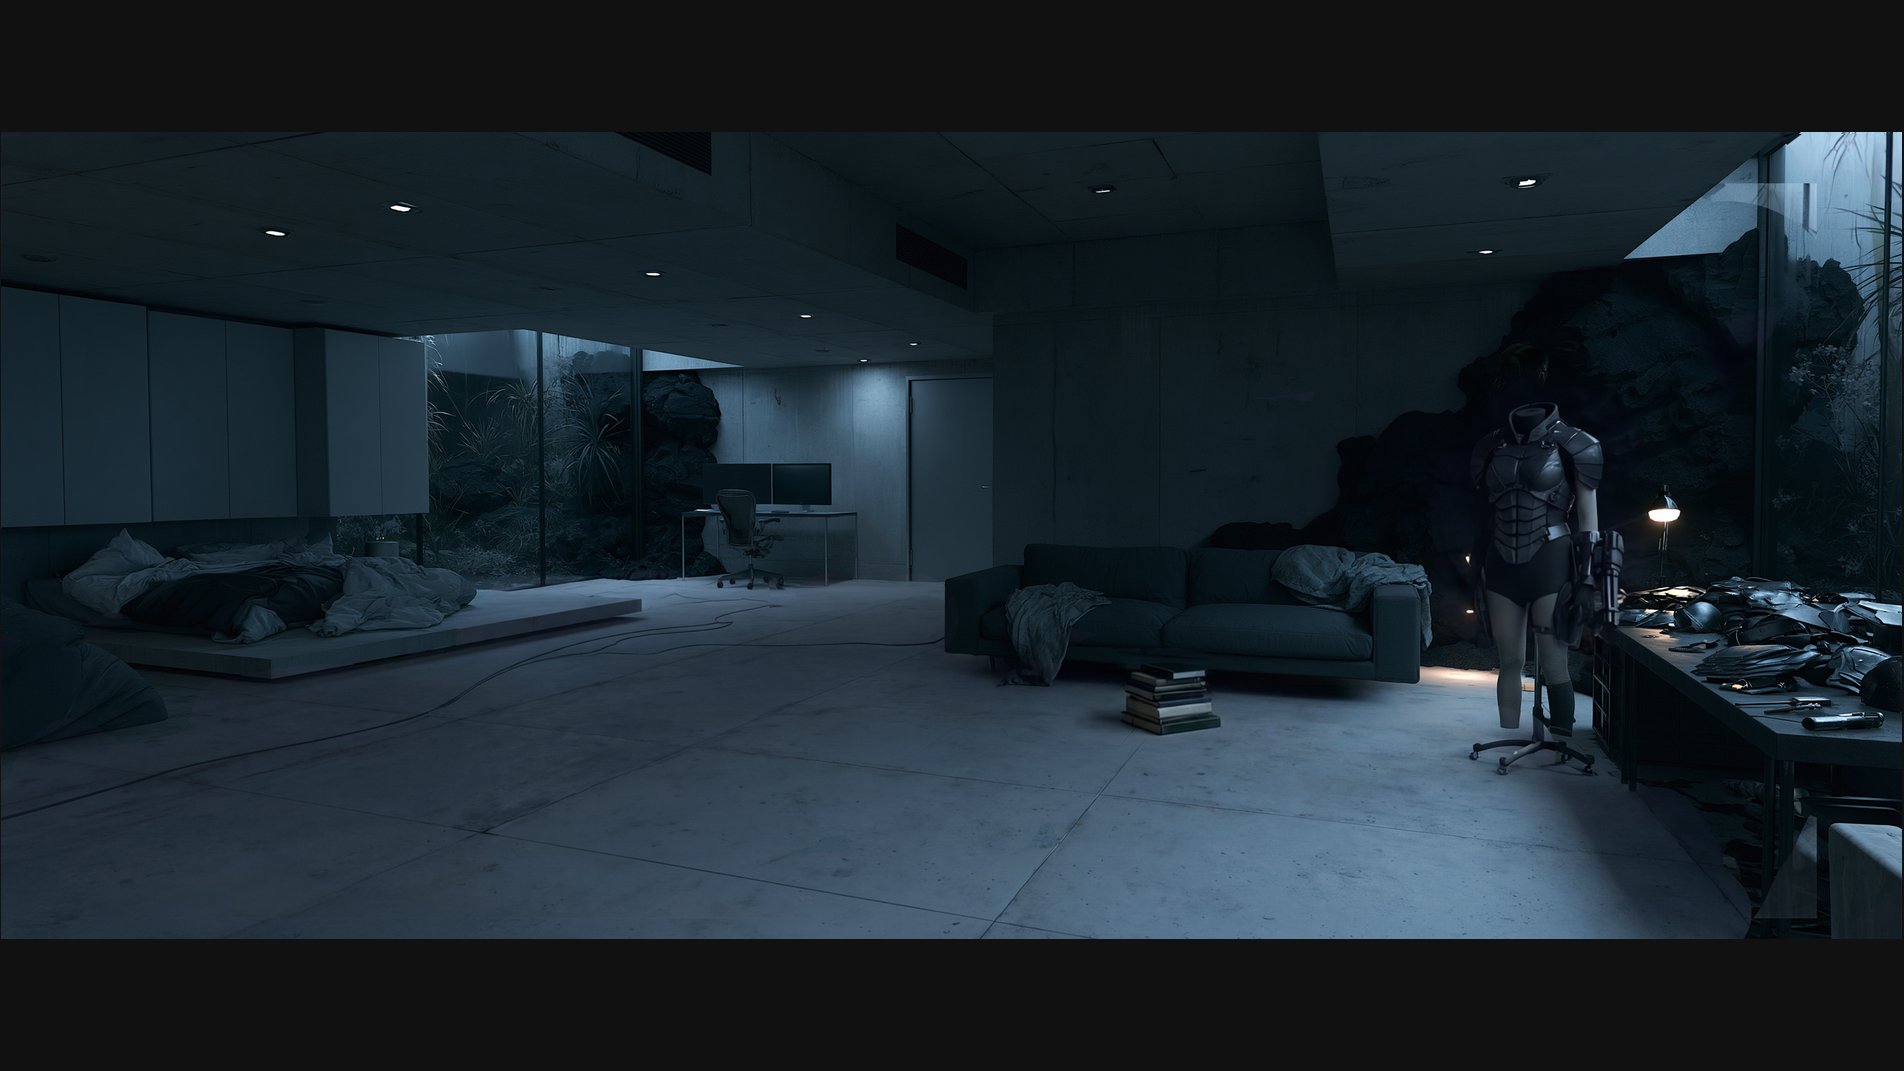
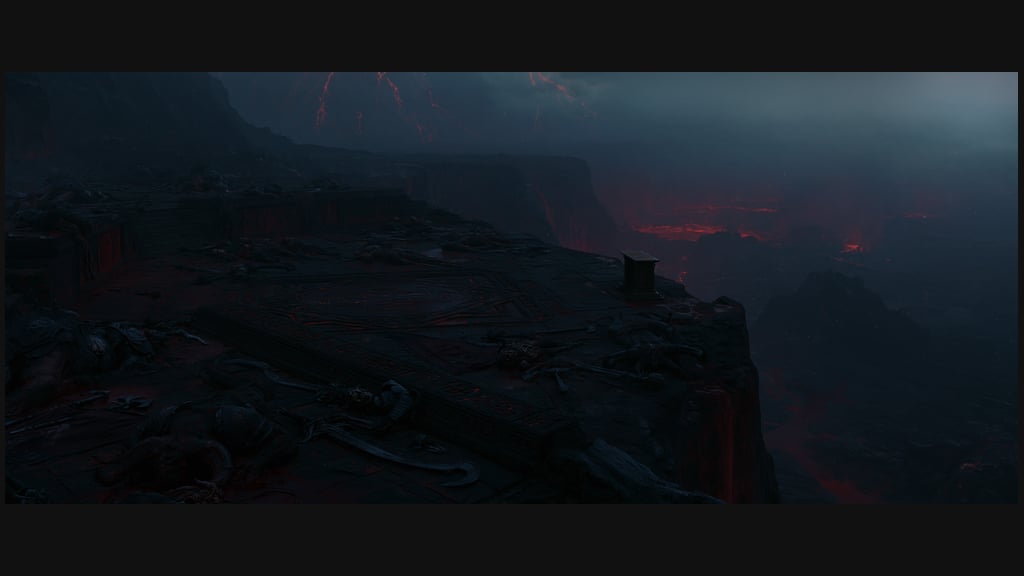
- Make sure there is an anchor — one object the AI reads unambiguously (a sofa, a pulpit, a doorway). Blocking, characters, and camera will all be described relative to it (3.4).
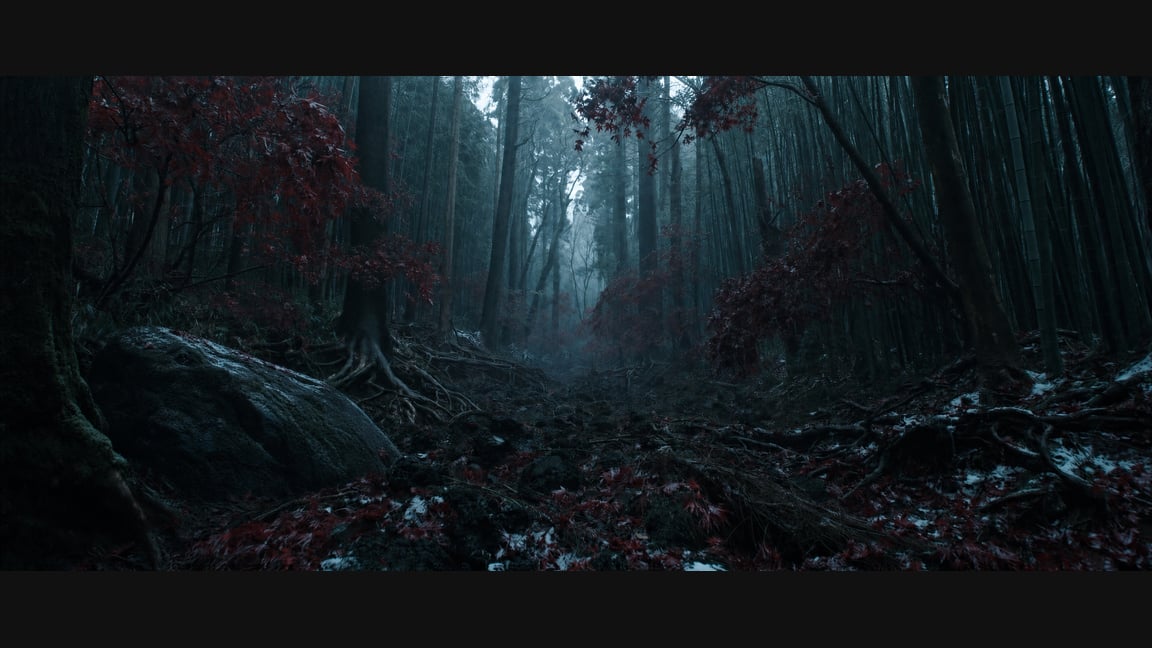
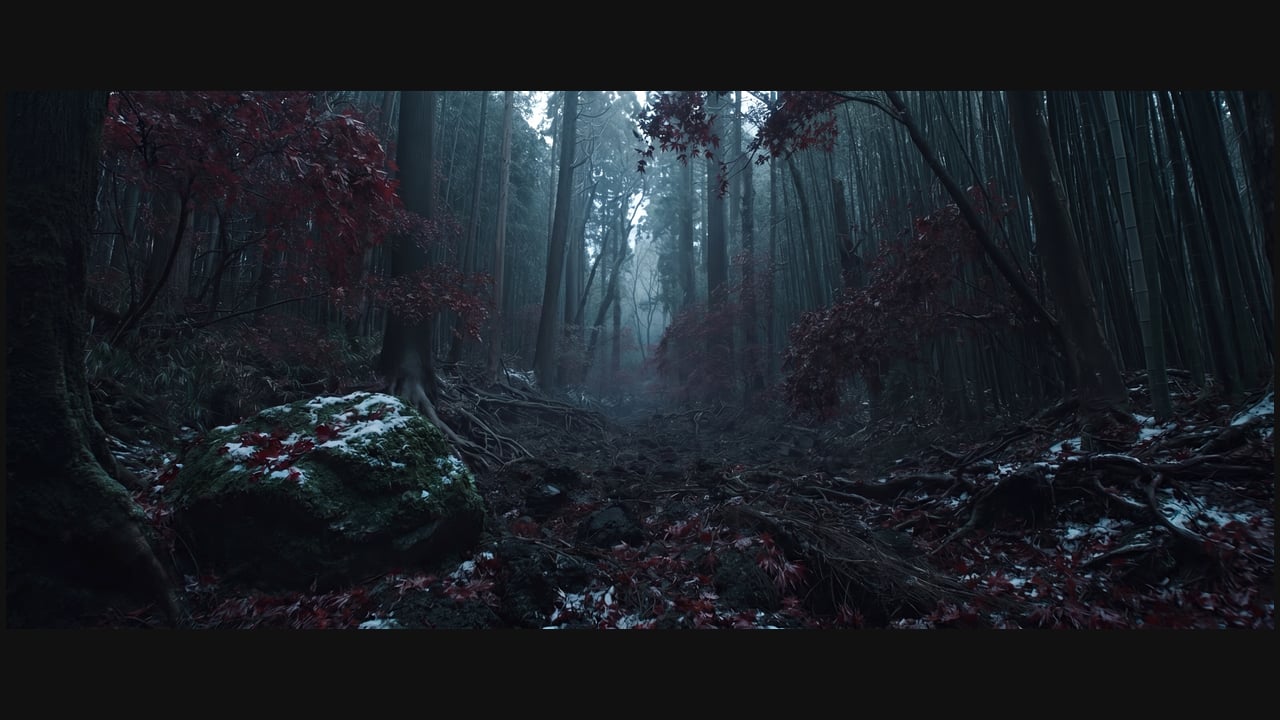
A 3/4 plate and the reverse angle it makes possible; the frontal anti-pattern beside it.
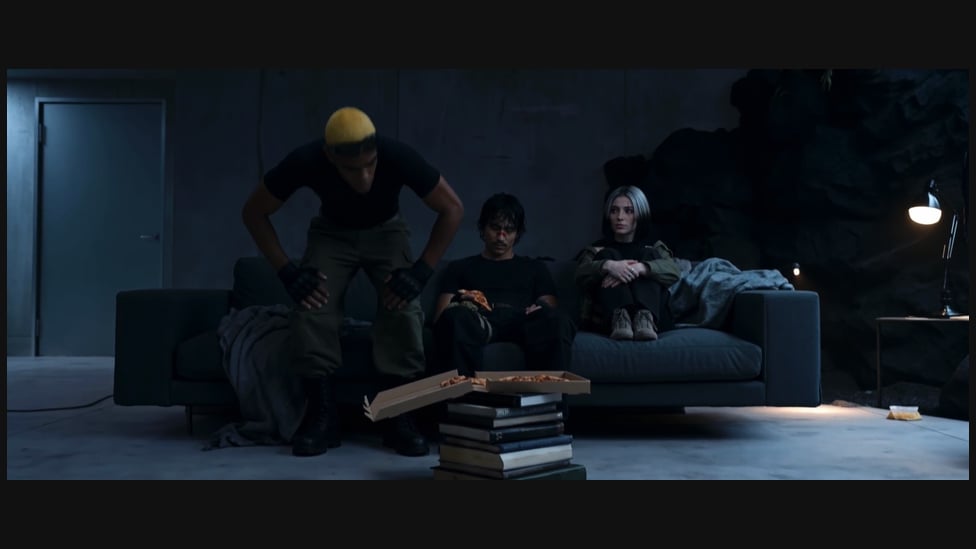
Anchors at work: the sofa with the stack of books; a pulpit at the cliff's edge.
Then iterate in dialogue, one change per run, with a stated reason (3.10). Not a re-roll — a correction:
the house in the right third of the frame, a farm with bulls to the left, change the time to sunset, sun not visible in frame
One iteration later: right-third framing, bulls, sunset.
Judge the winner against the light-and-logic checklist (3.4): tonal range without crushed shadows, one coherent light source, a space that makes sense. Calibrate your eye on the good wall as deliberately as on the slop catalogs .
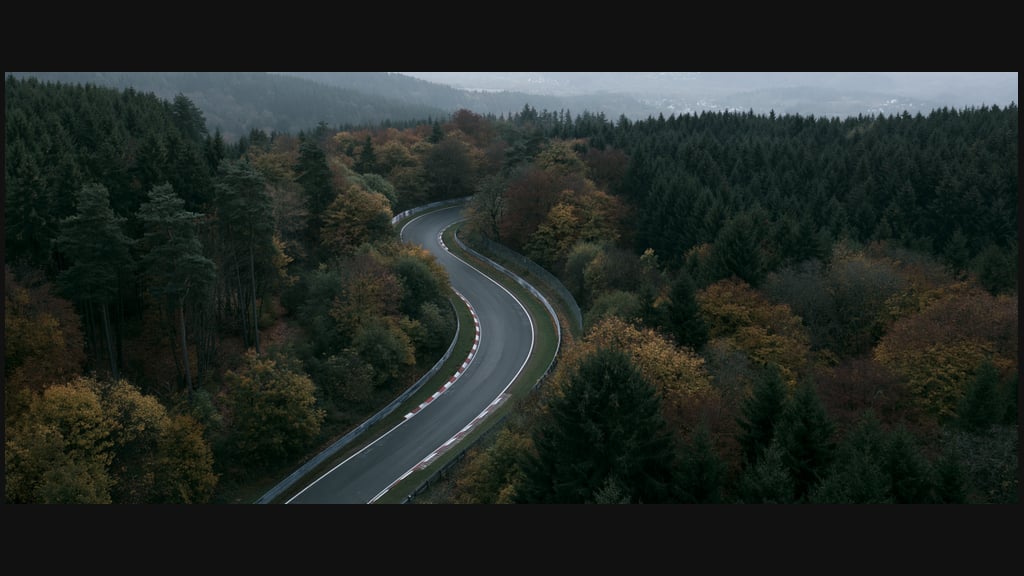
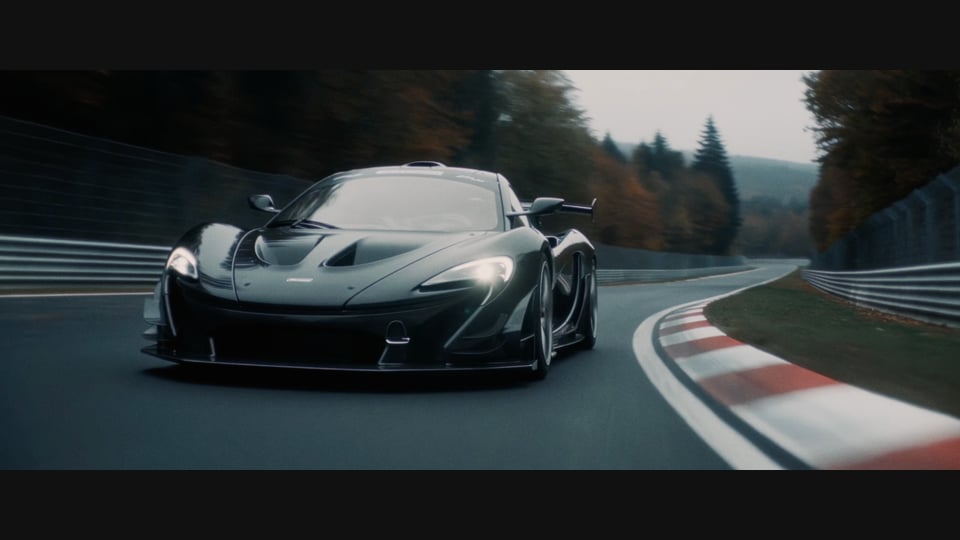
The b-roll shortcut: if a location doesn't need hard consistency between shots, one strong wide is enough — you punch in to mediums and close-ups and let Seedance grow the surroundings logically (3.4).
The mediums and close-ups Seedance grew out of it.
Stage 4 — Edit the location; never re-roll what's half right
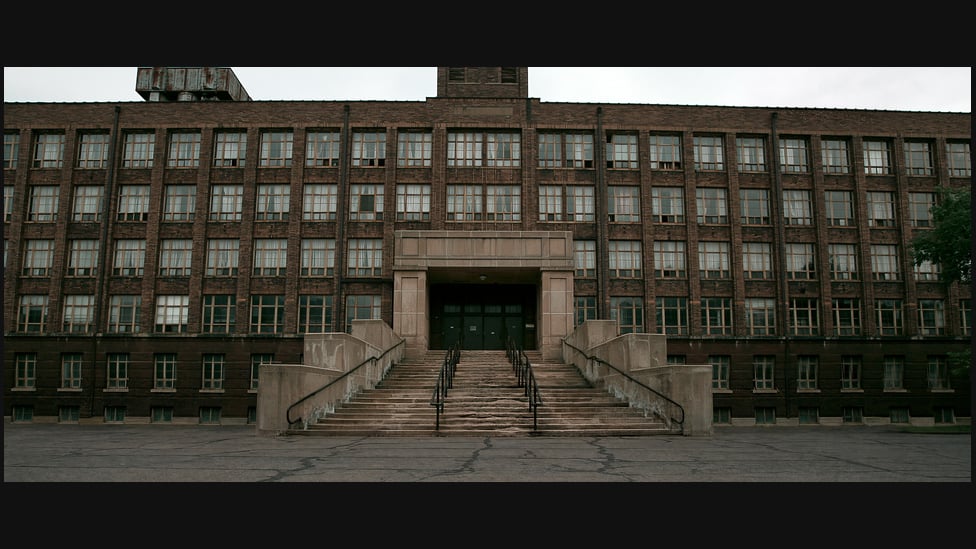
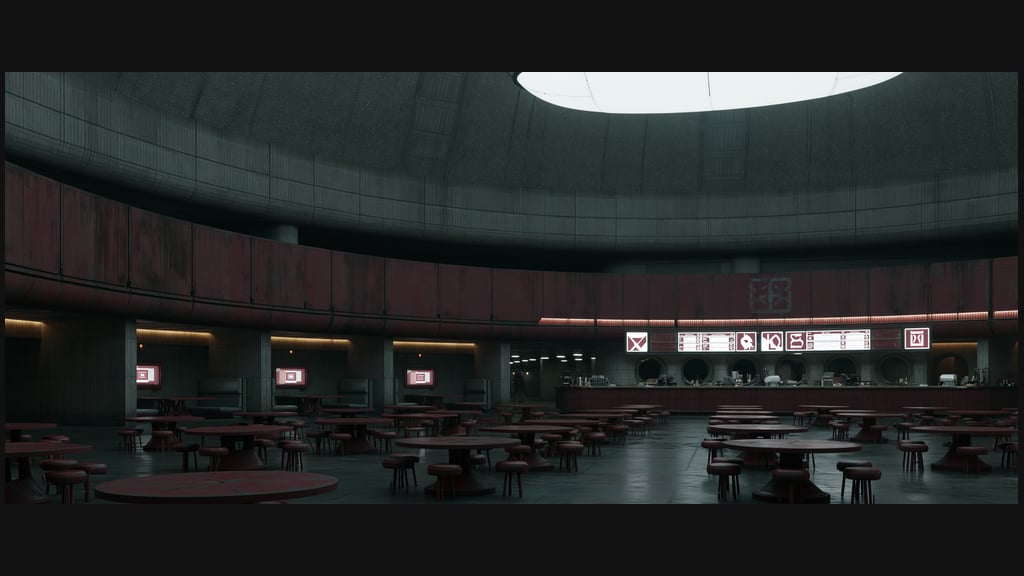
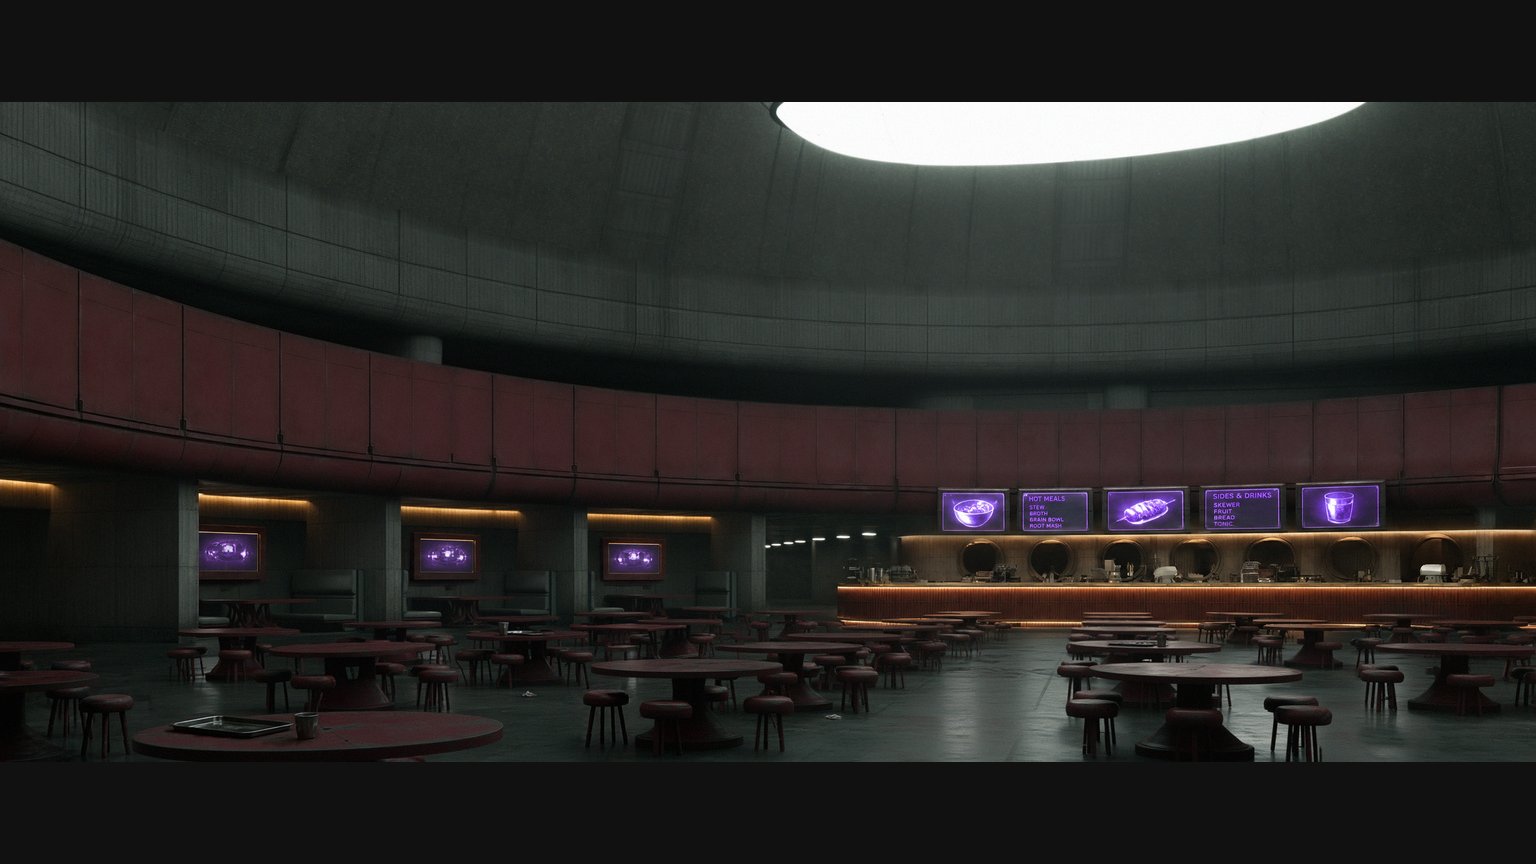
Almost every strong location still needs detail swaps, removals, and a color pass (3.4). The stack, run in parallel: GPT Image 2 for text and mathematically crisp objects, Nano Banana Pro for most other edits, Seedream 4.5 alongside as the low-slop second opinion — and Photoshop assembles everything, because every changed detail is masked back onto the original. One worked pass from the handbook, exactly as production ran it: Nano Banana Pro cleaned the metal and the fused stools and added trays and floor litter; GPT Image 2 replaced lamps, TVs, and menus and added readable text; Photoshop softened textures, cleaned the corridor, corrected color, and merged every edit onto the original.
That pass: raw cafeteria generation → assembled final.
Why masks are non-negotiable — a model pass damages the whole frame, not just the edited spot, and a second pass over an edited file kills it:
The original; one rock added in GPT Image 2 (oversharpened, depth gone); the same rock in Nano Banana Pro (magenta drift).
A second edit on top, against the original: unusable.
Stage 5 — Cast the character
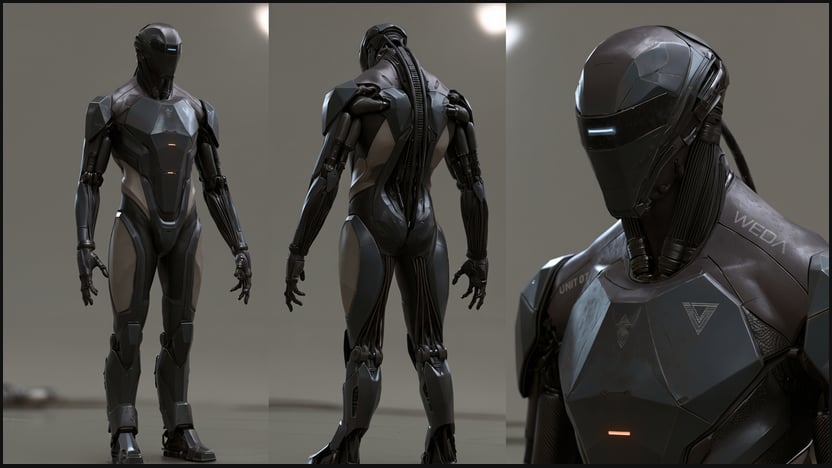
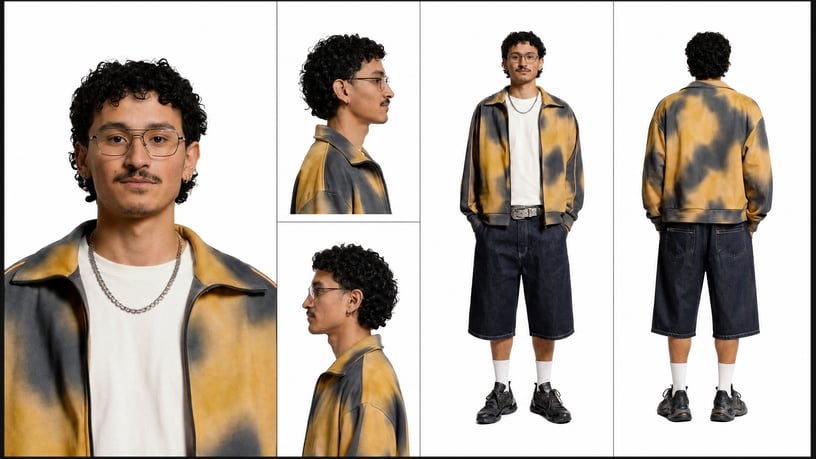
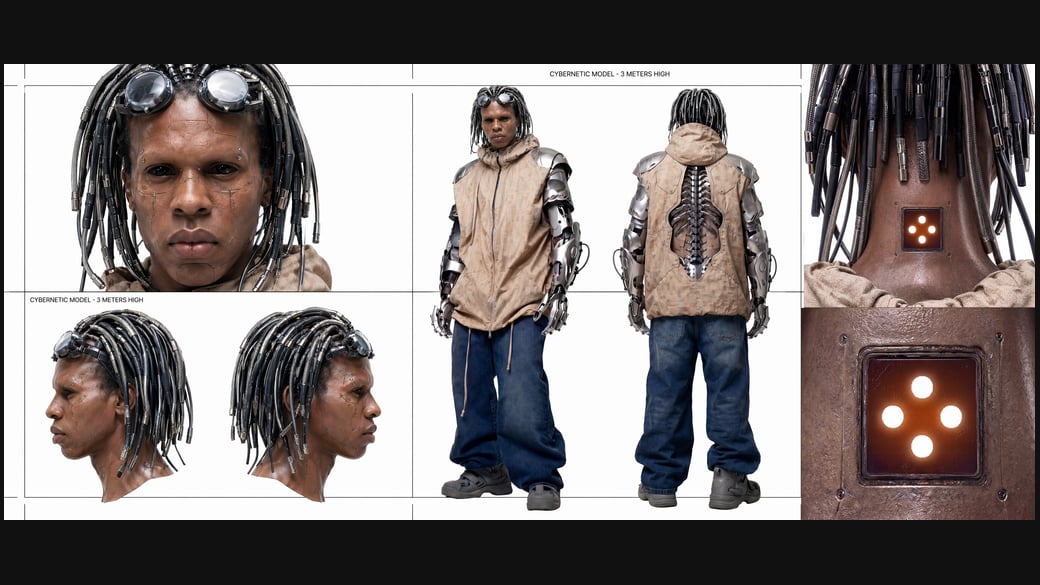
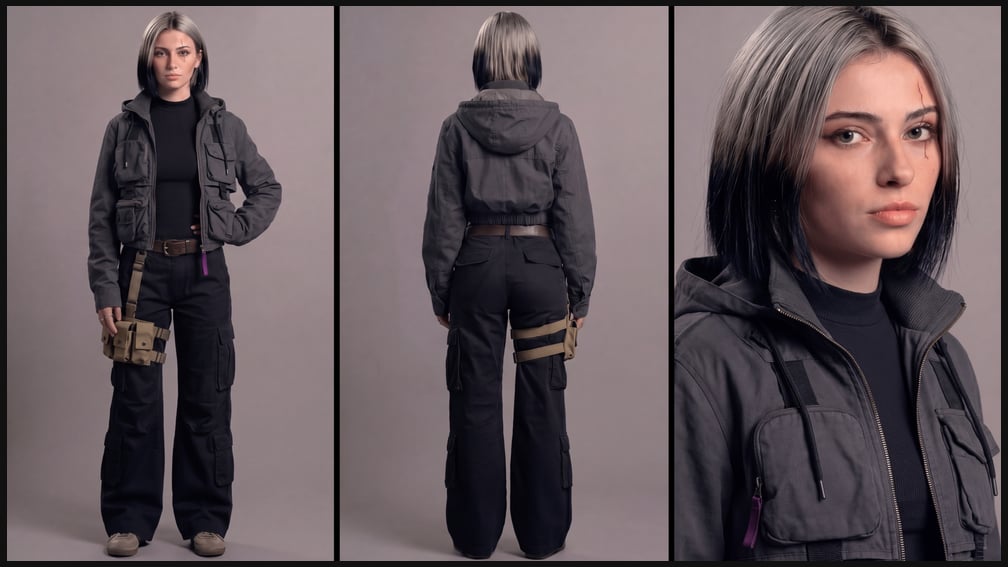
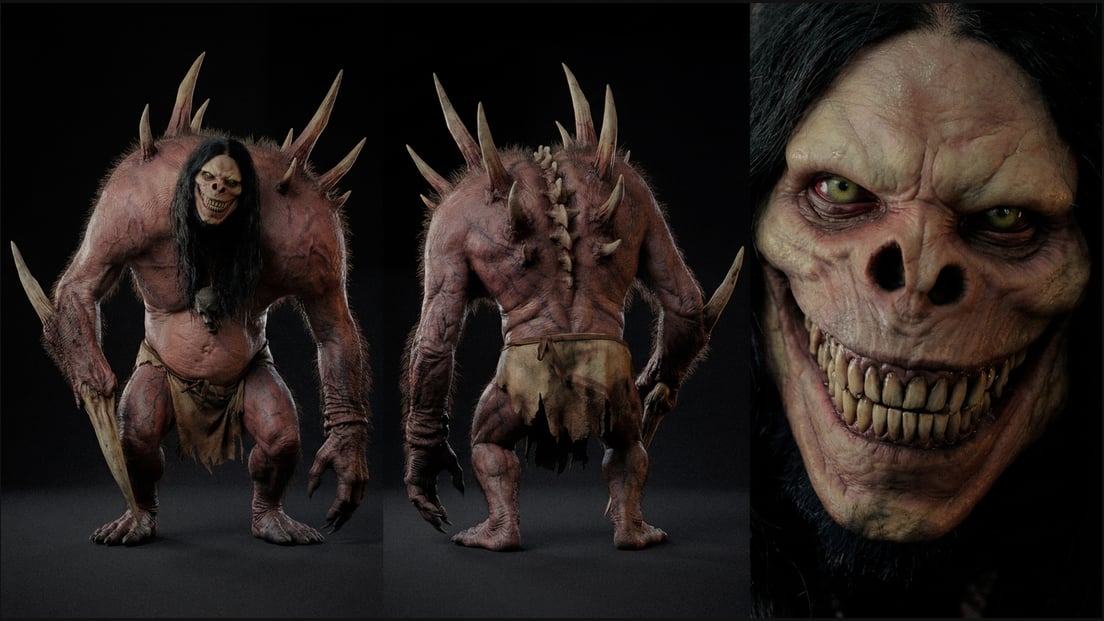
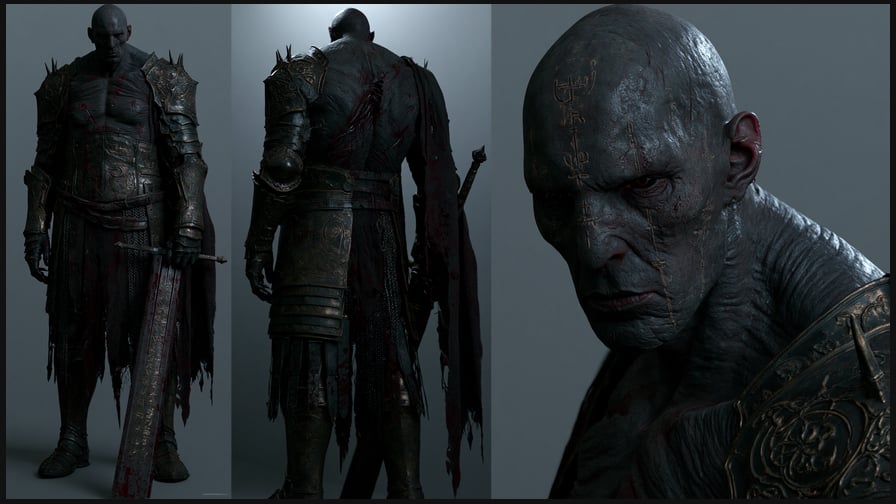
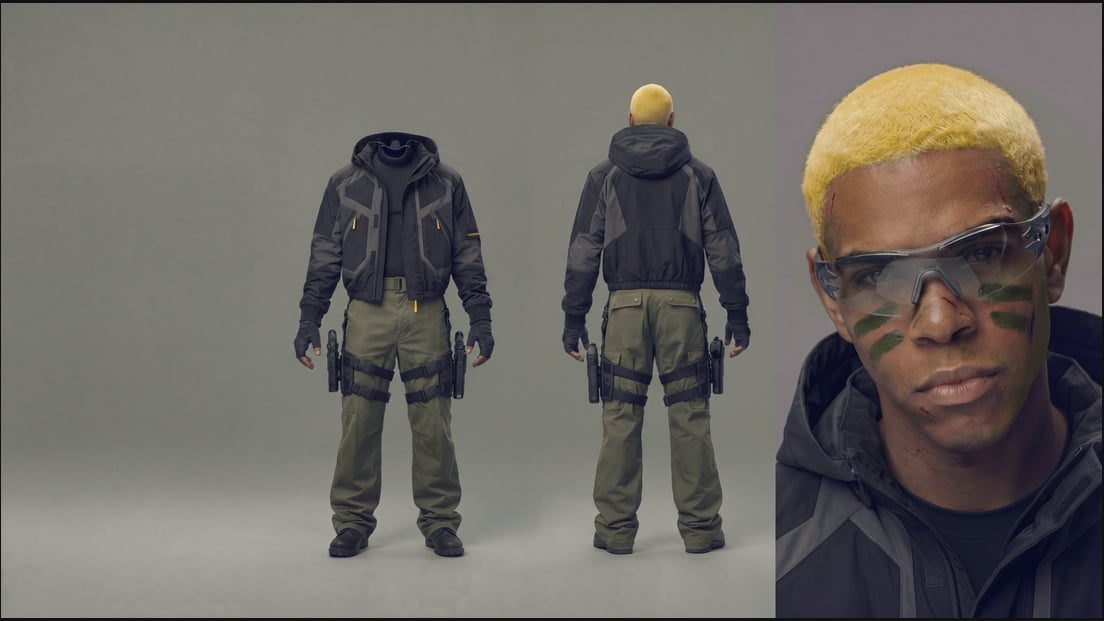
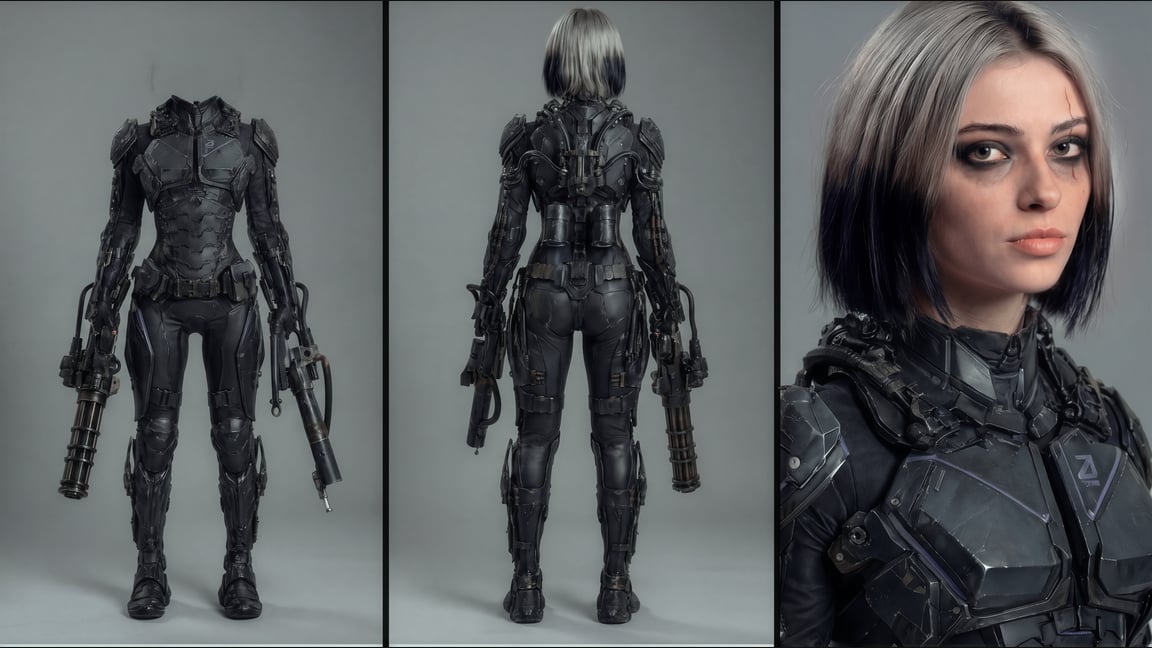
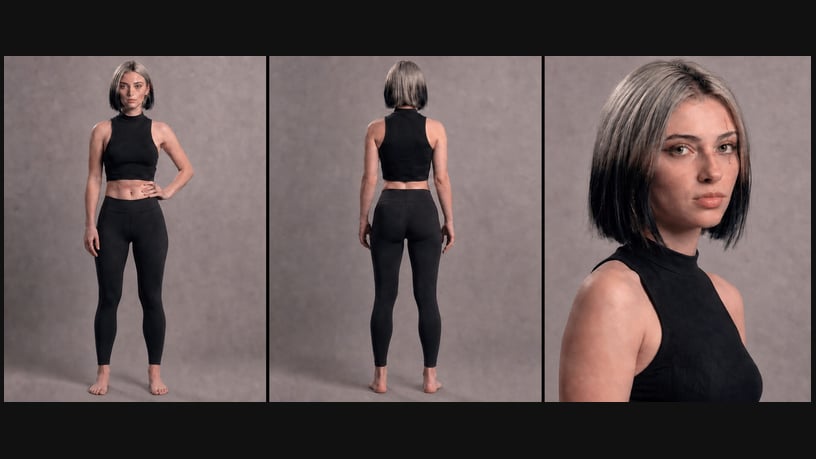
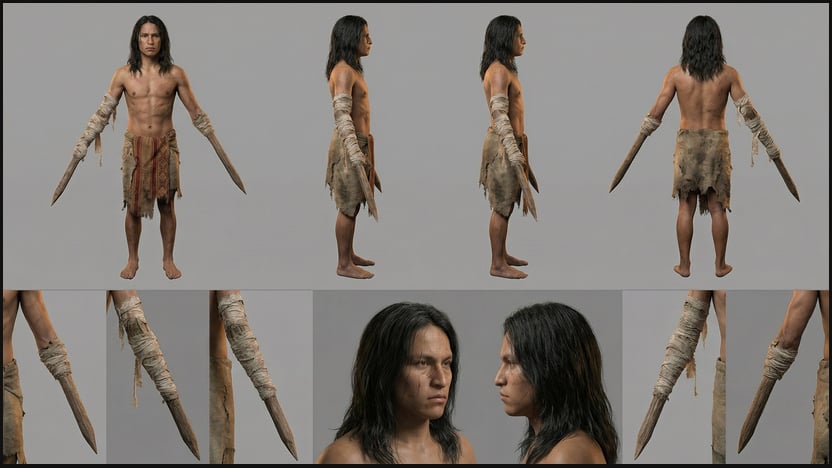
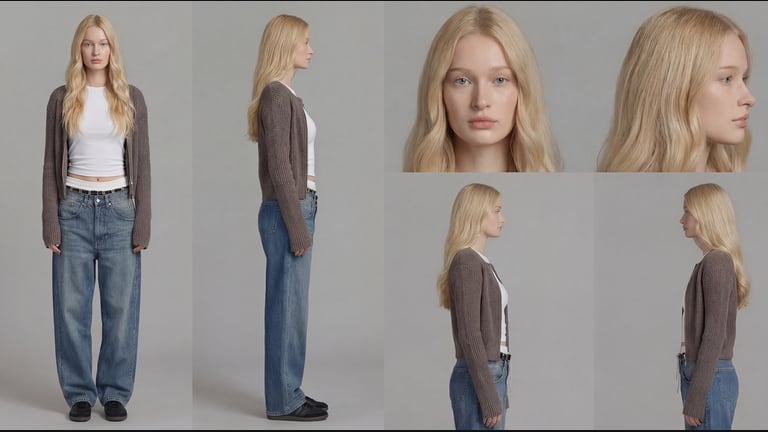
The character starts before generation: references, a moodboard on the project Canvas, a shared direction (3.3). Then Claude turns the description into a character sheet prompt — grey background (#3a3a3c), portrait panel plus full front and back (the full template is in 3.3).
Generation is a casting, not a portrait session (3.2): run the description as several variants in Soul Cinema (or AI Cast in Cinema Studio), elect the winner by spec-match and information content — the most accurate one, never the prettiest one.
The sheet rules that decide whether video will work later (3.3): portrait panel at 25–30% of the image; a 3/4 portrait rather than frontal; irises legible, never black; a catchlight in the eyes; symmetry deliberately broken; small written-in imperfections; realistic texture — not a game render.
And the handbook's best trick: crop the head off on the full-body panels. Seedance is then forced to take the face from the portrait panel, where the pixels and the detail actually are.
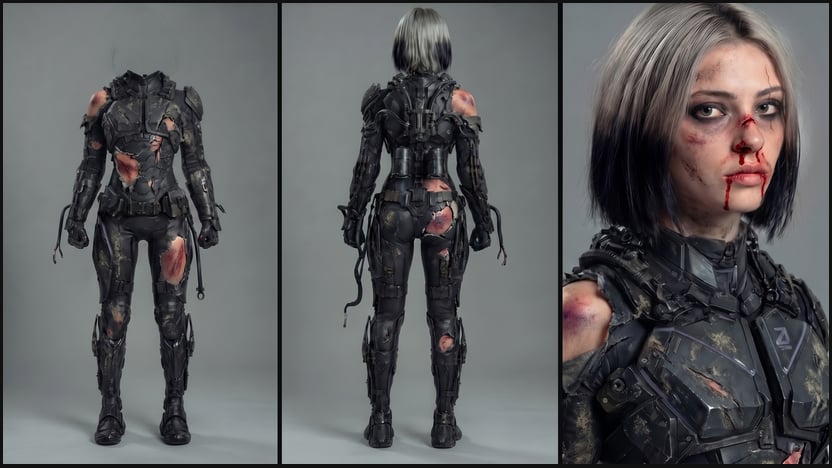
Sheet edits follow the same mask law: Seedream 4.5 is the main sheet editor (it re-dresses without banana or GPT textures — at the cost of slightly shifting the pose), and every change travels back onto the original through a Photoshop mask (3.3).
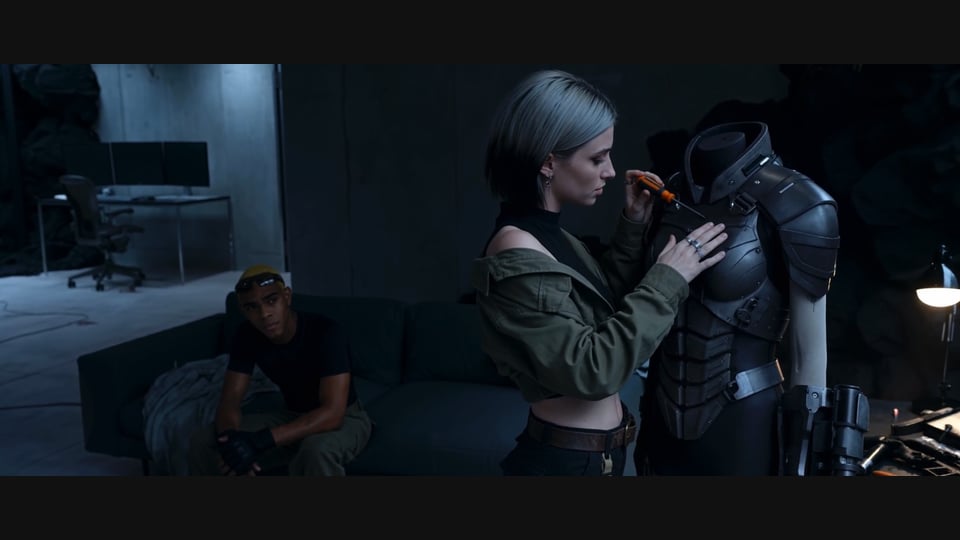
One masked pass: clean armor → battle damage, face and skin untouched.
Then test — before you fall in love with the asset:
- Two batches of four video generations on a good, clean location — so you know whether slop comes from the character or the location (3.3, 3.10).
- The eight-generation rule: a detail bothers you? Eight test generations. In all eight — fix it. Otherwise move on.
- Never spend a full day polishing an asset with zero video tests — if the video then slops, the day is gone.
Know the failure modes on sight:
Full-body face ≠ portrait; plastic render with orange rim light that will bleed into everything; banana symmetry.
Stage 7 — Freeze the winners as assets
The elected location and character become elements on the site under their agreed names — loc_FRM_farmhouse , char_FRM_ranger — and the same files land in both project folders (3.2, 3.11). Winners get a like so the shared feed stays searchable. From here on, every generation runs from the canonical element at depth one — never from a previous output.
Stage 8 — Script to shotlist
The script divides into scenes, scenes into beats of 3–8 seconds — if you can't narrate a clip second by second, you are not ready to generate it (1.2, 2.8). Ask Claude for the shotlist as a .jsx container (3.11): shot numbers, descriptions, timings, prompts, a copy button on every prompt. The first split is always imperfect — fix it pointwise ("split shot 72b into four"), never by regenerating the list. Scan the script for moderation- and IP-sensitive elements now, at script stage — a blocked job at render time costs a full cycle, and an unchanged retry costs another with certainty (4.4).
Stage 9 — Generate the video
Each shot goes to Seedance 2.0 (1.4) as a prompt built from blocks (3.1), and the assets do the identity work, not the words (law 5):
- Pin the start frame — the approved still becomes frame one; the prompt describes only motion (0.2, 1.4).
- @tags only for what is in this shot — a stale tag from the previous shot forces that object into frame (3.2).
- The location enters as a map relative to the anchor: camera position, fore/mid/background, who stands where, where the light comes from (3.4).
- Audio decided by toggle and block, not by "no music" in the prose; diegetic sound only (3.8). Duration set to the beat — padded seconds are where drift lives (1.2).
- Batch 4/4, then iterate with a hypothesis: attribute the failure first — prompt, input, or variance — change exactly one thing, and run again (3.10, 4.3).
Characters and camera placed off the sofa anchor from fig. 34.
Shots longer than ~10–15 seconds are built, not requested: chain beats, each clip's verified last frame becoming the next clip's start frame (2.8).
Stage 10 — Verify, finish, ship
A result is never graded by general impression (3.10): walk the prompt as a pass/fail checklist; watch in four modes — paused, muted, slow motion, audio only; compare first frame against last; score the batch, not the best take — seven of eight is a stable prompt, one of eight is luck. Then the finishing chain (1.7): content fixes first, format changes second — reframe or outpaint for the other ratios rather than regenerating — and the upscale always last, followed by one deliberate full-zoom pass over faces, hands, text, and contact points.
The whole chapter in ten lines
- Agree names and the prefix; build the folder tree; open the Cowork project (memory on).
- Site setup: project, Canvas, deck habits — ratio explicit, 4/4 video, ship-tier quality.
- Location first, through a Lyra chat: 21:9, 3/4 angle, anchor in frame; iterate one change at a time.
- Edit the location in parallel models; every change masked onto the original in Photoshop.
- Cast the character; sheet with dominant 3/4 portrait, catchlights, imperfections; crop the head on full-body panels.
- Edit the sheet via Seedream 4.5 + masks; test on video immediately — 2×4 on a clean location; eight-generation rule.
- Freeze winners as elements under the agreed @names; like them; fan out from the canonical file only.
- Script → .jsx shotlist in beats of 3–8 s; fix it pointwise; pre-check moderation at script stage.
- Generate: start frame pinned, active @tags only, location as a map, audio by toggle, duration to the beat, batch 4/4, one hypothesis per retry.
- Verify in four modes, first-vs-last frame, score the batch; reframe/outpaint the ratios; upscale last; full-zoom pass; ship.
Alternative routes inside the same production pipeline
The approval points stay the same when the tools change: identity, location, staging, motion, and the final sequence. The new routes below solve particular problems inside that pipeline.
Route A — repair the still before animation
Use this when the composition is approved but a sign, prop, garment, or layout element is wrong.
- Preserve the approved still as the original checkpoint.
- Use Layers when the element can be separated cleanly, or a masked/model edit when it cannot.
- Make the specified change and compare the whole image with the original. Check the altered region, its boundary, and the untouched identity and geography.
- Save the corrected still as the approved shot input. Keep the recurring character and location anchors separately.
- Animate the corrected frame with a motion brief. Do not reintroduce the image-edit instructions into the video prompt unless that change must occur on screen.
Route B — solve the camera in previz
Use this when prose repeatedly fails to establish a camera path, a complex crossing, or a precise relationship between subjects.
- Build a simple scene in 3D Jutsu: the minimum objects and landmarks needed to describe the shot.
- Place the subjects and camera. Preview the full movement; correct collisions, occlusions, and unreadable framing.
- Render the previz as a motion and staging reference.
- Attach the approved character and location images alongside it. State the division of authority: previz for movement and framing; image references for appearance.
- Review the generated shot against both contracts. Fix a wrong path in the previz; fix a wrong appearance in the anchors or their role assignment.
Use this when a clip already carries the right acting, timing, and camera work.
- Approve the source passage before editing.
- Use Genjutsu Object Swap or a suitable video-edit model for one targeted change. Use Ad Multiplier when the request is an ordered set of independent versions.
- Compare every result against the same master: action, timing, framing, sound, and the element being changed.
- Inspect contact points and occlusions in motion, not only selected still frames.
- Once content passes, use Video Relight or Color Palette only where a light or look mismatch remains. Finish and deliver from the approved result.
These routes shorten a specific correction. They do not remove the need for the project's anchors, shotlist, and pass/fail review.