Draw Your Vision – No Prompts Needed. UPD: Now With Product Placement.
For years, GenAI revolved around carefully crafted prompts. Today, Higgsfield ended them. Welcome to a world without prompts — where you direct your AI like a real film set, not a text box.
With the updated Draw-to-Video inside Higgsfield, you can now go beyond guiding motion — you can visually insert products, outfits, or extra objects right into the frame. Whether it’s a drink in your character’s hand, a wardrobe change, or combining multiple images into one scene, you now have full creative control without a single prompt.
This is a historic moment for creators: AI no longer needs instructions, it needs your direction.
Step-by-Step: How to Nail Your Draw-to-Video Creations
1. Go to: higgsfield.ai/create/draw-to-video
2. Upload or Generate Your Starting Image
Upload an image or generate one with Higgsfield Soul.
You can also use Soul ID to generate an image with your personal character.
Example image:

3. Open the Editor & Add Your Instructions
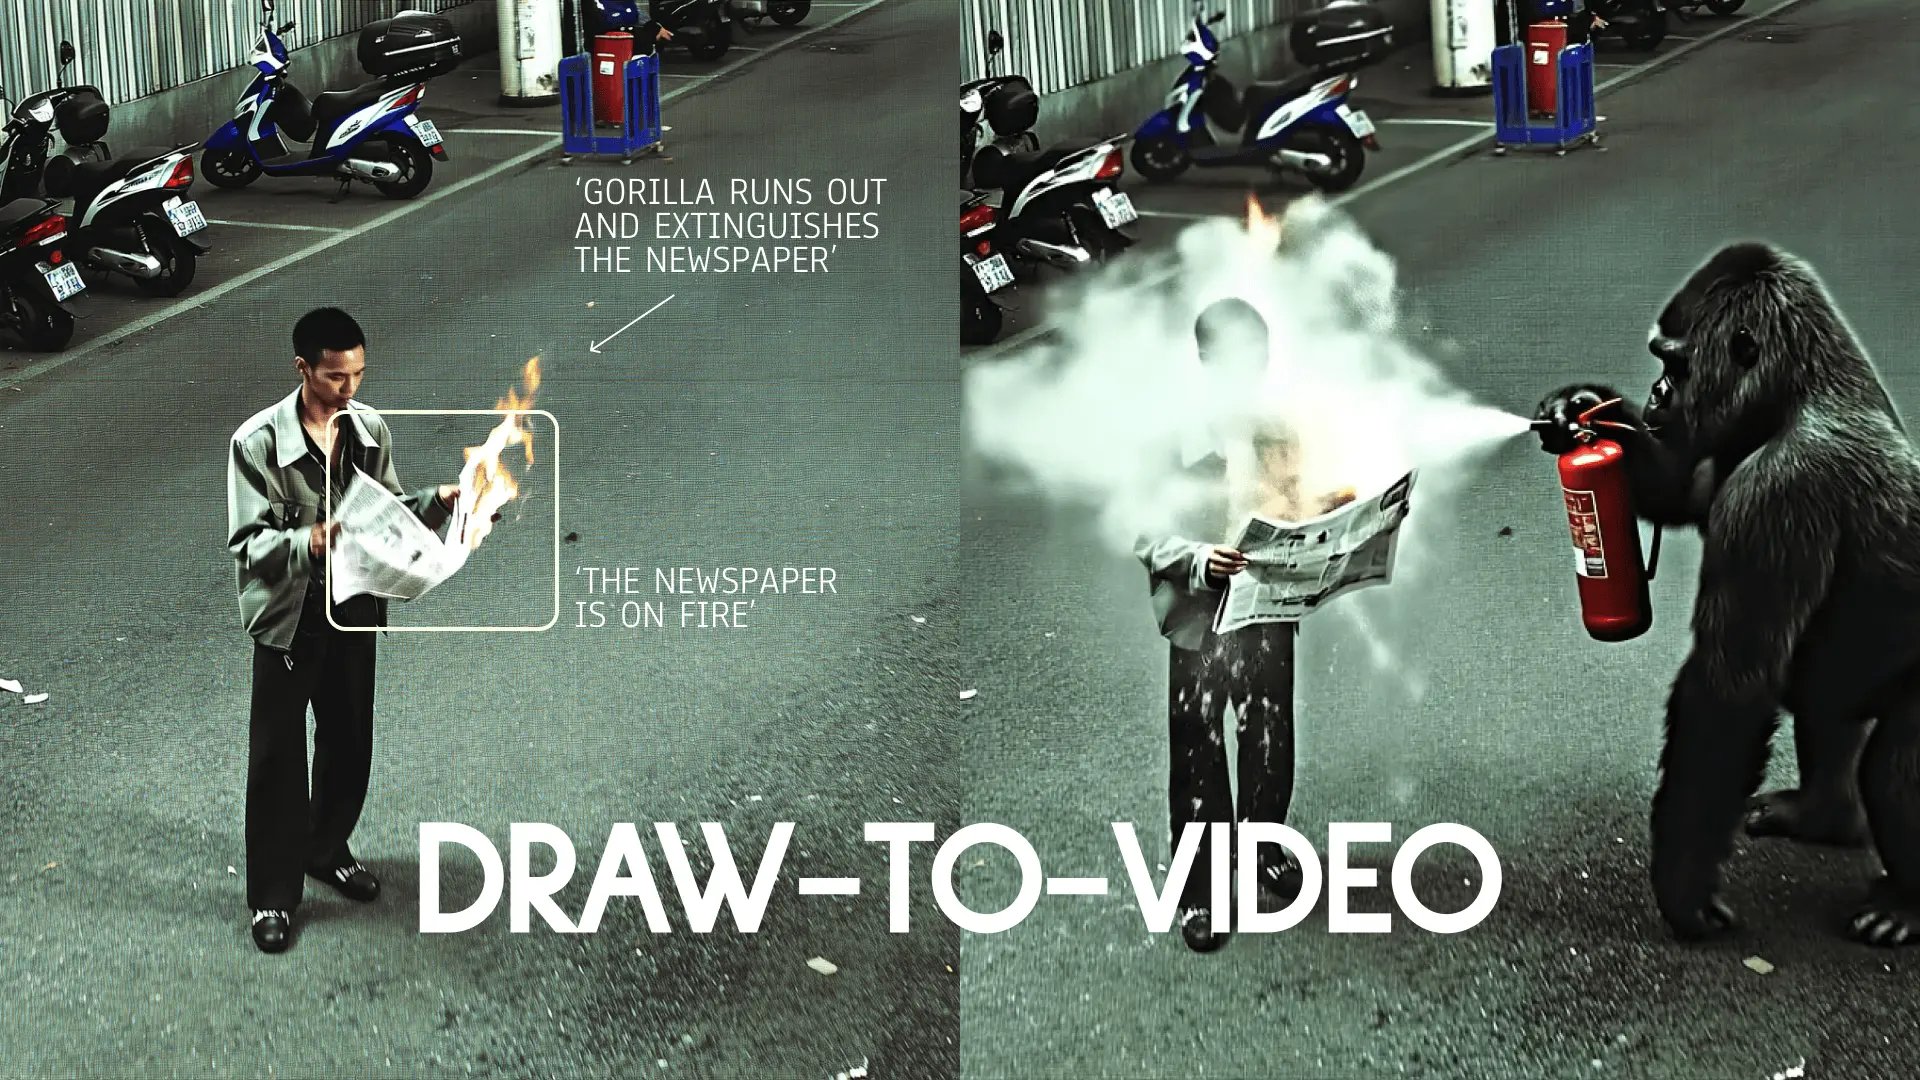
Describe the action: Use the text tool to describe the main action, keep it short and clear — e.g., “Man walks”, “car passes by”, “giraffe appears”
Draw Arrows: Show the movement direction for the subject or object.
Sequence Actions (Optional): Label actions in numbers (1, 2, 3) to create an order of moves.
1. Man walks
2. Car passes by
3. Girrafe appears
Limit Actions: Works best with 2-3 actions, adding more actions might create inconsistency.
Square Frame for Subjects (Optional): Add a square frame to specify the actionable area or item
Example instructions:
4. Insert Images Directly Into Your Frame (NEW):
Press the "Add Image" Icon
Choose an Image
For Product Placement (Best)
Place an image of the product in the area it should be in (e.g., near the hand)
Resize the product so it matches how it would look in real life.
Use arrows and short text to show what happens (e.g., “Character picks up the drink and shows it to the camera”).
For Outfit Changes
Place an image of the clothing item next to the character.
Match its size roughly to the real proportions.
Add arrows and labels indicating the change (e.g., “Character changes into red jacket”).
Tips
Adjust the size of an image to match the real size you need
Always add text or arrows for instructions: “Person drives the car.”
Use high-quality images for high-quality output
Keep the style of an image consistent with the main frame (e.g., mixing cartoon style with realistic style is not recommended)
You can add up to 3–4 images in the frame, but 1-2 is recommended.
Works only with Veo 3 and MiniMax Hailuo 02.
Example instructions:
Link to Example Images Pack -> Here
5. Go Promptless
No typing walls of text. Your images and drawings are your creative brief.
6. Choose the Model
Veo 3 → Best for built-in audio and lip-sync on your videos.
MiniMax Hailuo 02 → Best for high-energy, dynamic shots.
Seedance → Best for high-resolution, crisp videos (does not support image insertion yet).
7. Generate
Hit generate and watch your directed scene unfold exactly how you envisioned.
Wrapping Up
The updated Draw-to-Video in Higgsfield puts you in complete control — not only can you direct motion, but you can also place products, outfits, and extra objects right into your storyboards. From high-end product placements to fashion transformations and cinematic collages, you can now build complex, realistic, and perfectly timed sequences without a single prompt.
The prompt era is over. The director’s era begins.
🎬 Start here: higgsfield.ai/create/draw-to-video
Tag us when you post. We love featuring your work 💚
@higgsfield.ai (IG) | @higgsfield_ai (TT) | @higgsfield_ai (X)
Stop prompting. Start placing.
The Future of Product Placement is here


